Well I planned on doing an instructional video of the process of making these water and feed dispensers.. but honestly it was SO easy that I had started playing with the project and.... it was done lol. Honestly here's what we used and step by step how we did it:
3 nut's
3 short screws
3 washers
2 16 inch pot trays
2 homer bucket's (5 gallon)
1 homer bucket lid
1 5 gallon water jug
And an extra set of hand's (optional just makes it easier)
Tool list:
a couple of those round thinga ma bob's that go over the nut's and a pair of pliers. A variety of drill bit's and a power drill.
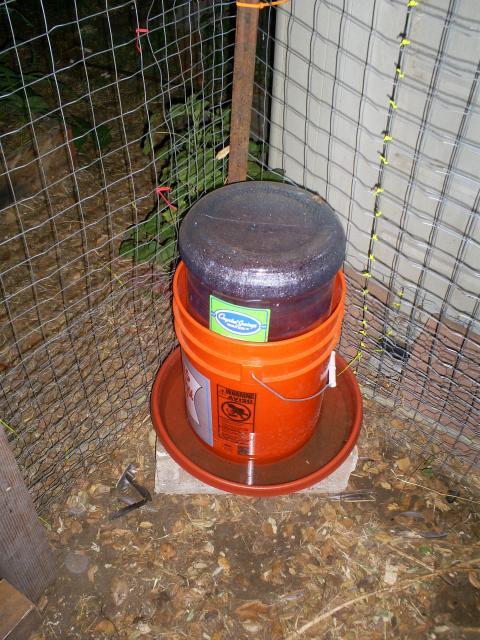
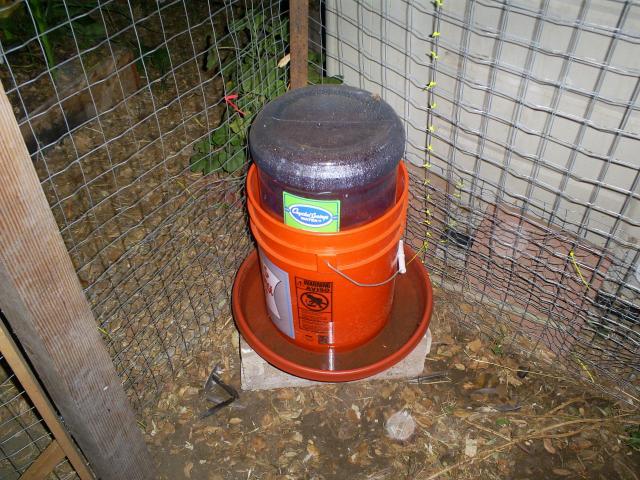
That's it. First for the water dispenser we drilled 2 holes at the bottom (but on the side) of one homer bucket (we made 2 of these one on each side) then take the drill and drill 2 little holes on the neck of the water jug. You want these to be about half an inch from the top of the tray. I just stuck the neck of the jug next to the side of the tray and eye balled it. Drill drill and done fill the jug tip it up side down into the 5 gallon bucket and watch the tray fill with fresh clean water! YAY half way done!

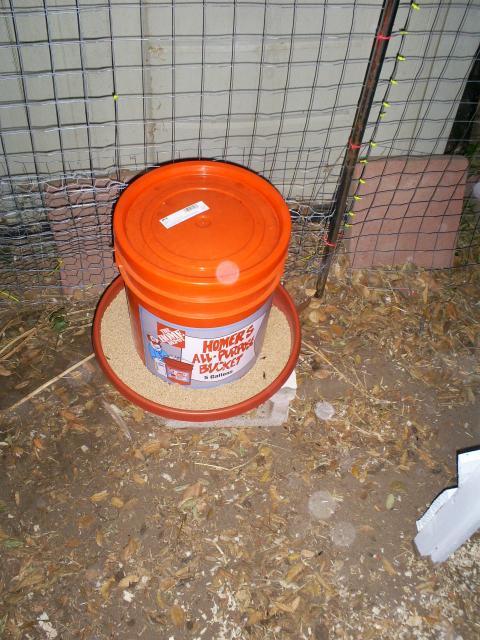
Now for the feed dispensers
I changed the drill bit twice here the first holes my husband drilled and then kinda cut (with the drill because we don't have the proper tools for the job but can make any tool multi usable lol.) we drilled large (inch and a half maybe 2 inch diameter) every 3 or 4 inches around the bottom of the bucket. This allows the feed to spill out into the bottom of the tray. We might need to make the holes bigger down the line but for now they work marvelously! The next drilling we did was in a triangle shape 3 holes through the bottom of the tray and at the same time the bottom of the bucket (please picture the homer bucket upside down with a tray being held onto the bottom kinda centered and drilling 3 holes straight through both, here's where the second set of hands come in handy. lol). Then we took the 3 screws through the bottom of the tray with a washer on it up through the bottom of the bucket and attached the nut to hold to two together. flip the whole thing over and fill place the lid on top and shabang! You got a feeder ready to be eaten out of!!!
The girls enjoy the constant supply of water and feed and we are LOVING the price tag and ability to leave town for long stretches of time without worrying a bit about the girls needing water or food. I plan on buying a gallon of water resistant paint and painting the entire thing to match the coop and keep the water container from developing algae.
And a few pic's I took this am.
Here's the pen with the new door we made this weekend, we also used some recycled lengths of PVC pipe to "raise the roof" it was getting crazy trying to duck and bend to work inside the pen.
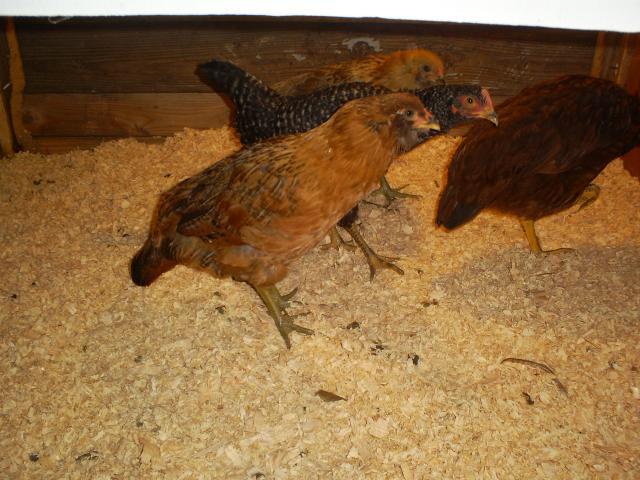
Our girls blinking away the sleep after a good night's rest in their cozy coop
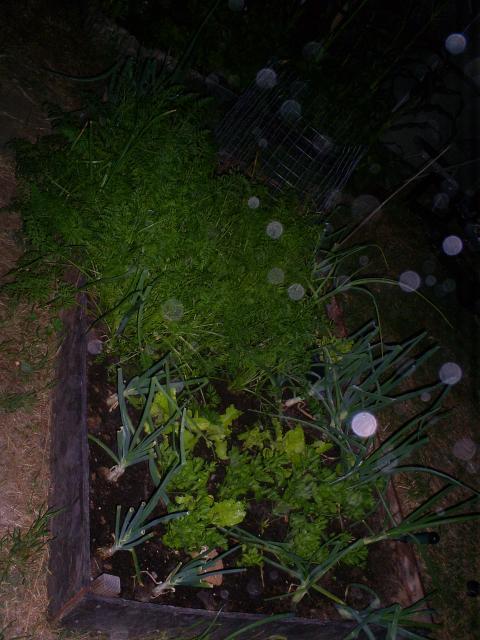
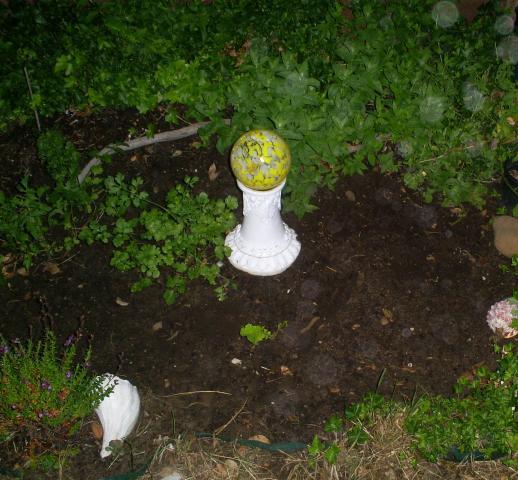
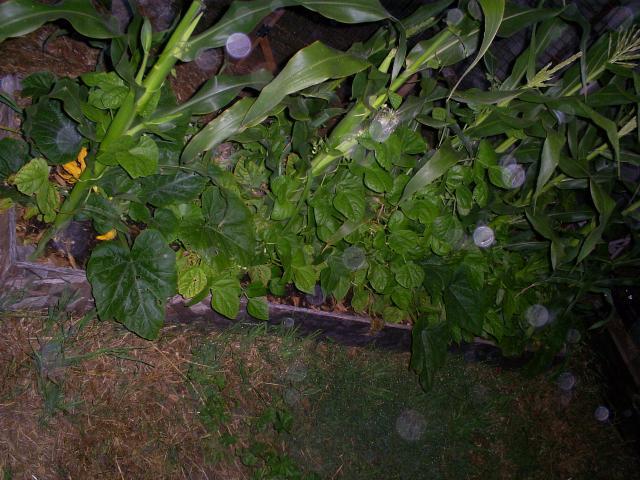
My garden this am before sun rise
3 nut's
3 short screws
3 washers
2 16 inch pot trays
2 homer bucket's (5 gallon)
1 homer bucket lid
1 5 gallon water jug
And an extra set of hand's (optional just makes it easier)
Tool list:
a couple of those round thinga ma bob's that go over the nut's and a pair of pliers. A variety of drill bit's and a power drill.
That's it. First for the water dispenser we drilled 2 holes at the bottom (but on the side) of one homer bucket (we made 2 of these one on each side) then take the drill and drill 2 little holes on the neck of the water jug. You want these to be about half an inch from the top of the tray. I just stuck the neck of the jug next to the side of the tray and eye balled it. Drill drill and done fill the jug tip it up side down into the 5 gallon bucket and watch the tray fill with fresh clean water! YAY half way done!
Now for the feed dispensers
I changed the drill bit twice here the first holes my husband drilled and then kinda cut (with the drill because we don't have the proper tools for the job but can make any tool multi usable lol.) we drilled large (inch and a half maybe 2 inch diameter) every 3 or 4 inches around the bottom of the bucket. This allows the feed to spill out into the bottom of the tray. We might need to make the holes bigger down the line but for now they work marvelously! The next drilling we did was in a triangle shape 3 holes through the bottom of the tray and at the same time the bottom of the bucket (please picture the homer bucket upside down with a tray being held onto the bottom kinda centered and drilling 3 holes straight through both, here's where the second set of hands come in handy. lol). Then we took the 3 screws through the bottom of the tray with a washer on it up through the bottom of the bucket and attached the nut to hold to two together. flip the whole thing over and fill place the lid on top and shabang! You got a feeder ready to be eaten out of!!!
The girls enjoy the constant supply of water and feed and we are LOVING the price tag and ability to leave town for long stretches of time without worrying a bit about the girls needing water or food. I plan on buying a gallon of water resistant paint and painting the entire thing to match the coop and keep the water container from developing algae.
And a few pic's I took this am.
Here's the pen with the new door we made this weekend, we also used some recycled lengths of PVC pipe to "raise the roof" it was getting crazy trying to duck and bend to work inside the pen.

Our girls blinking away the sleep after a good night's rest in their cozy coop
My garden this am before sun rise