Latest coop pics!

Agilityscots

Songster
12 Years
Jun 9, 2007
564
2
151
Central Ohio
Hi everyone!

Here are my latest coop pics. DH and I spent a rainy Independence Day working on our little henhouse. Any comments or thoughts would be appreciated as we are flying by the seats of our pants here.
yippiechickie.gif


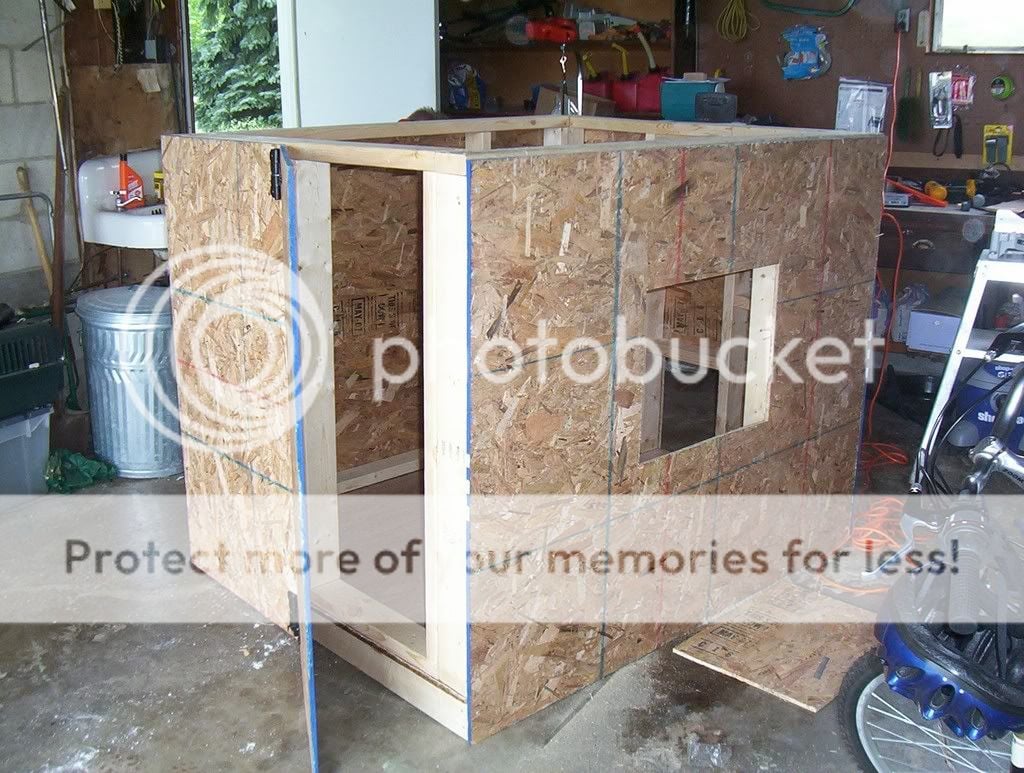
The first picture shows the addition of the sides, the door and you can see one of the windows:

CoopSides.jpg


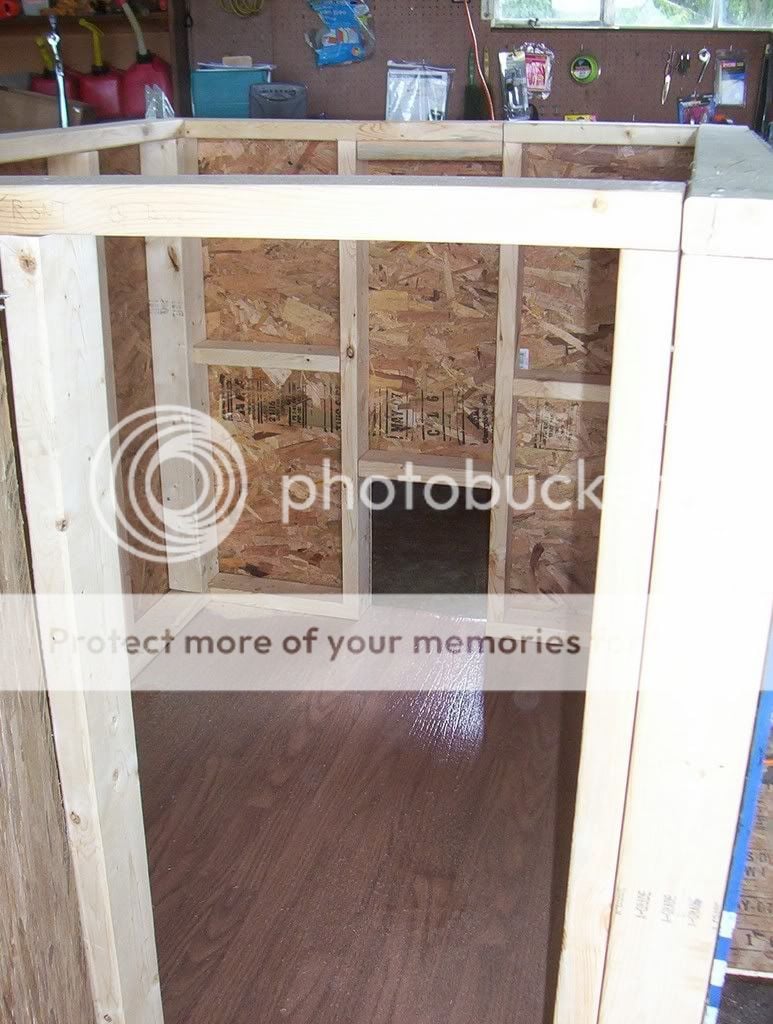
Next, an inside view from the back door:

CoopInside.jpg


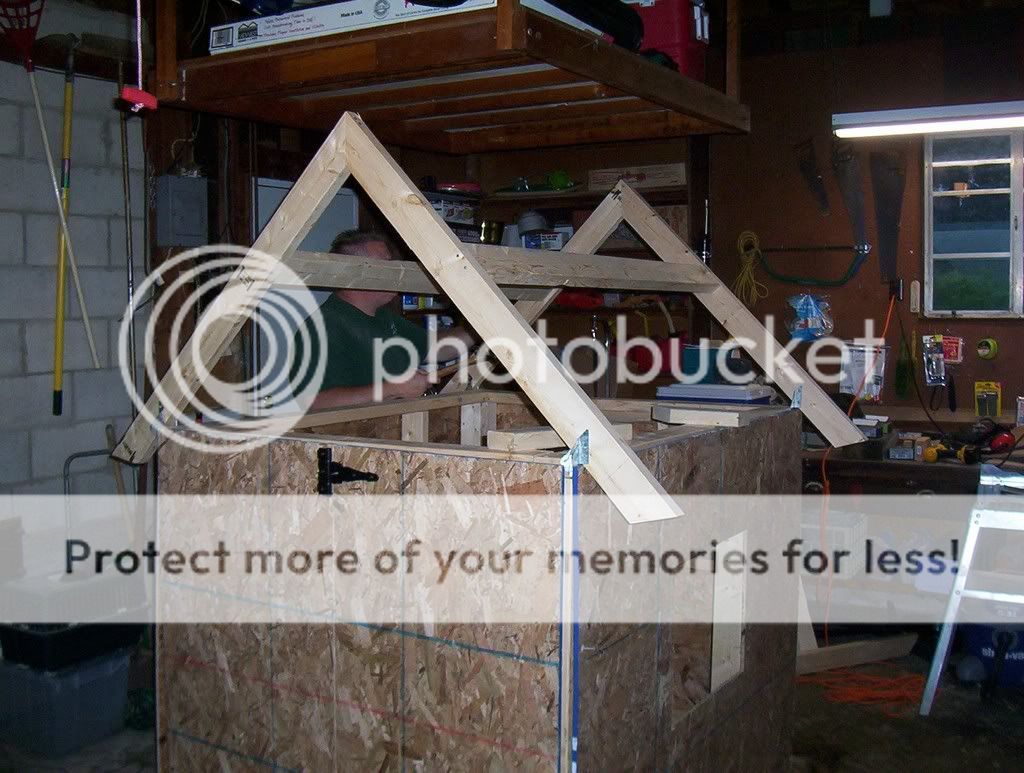
And finally, the beginnings of a roof! (with the "master carpenter" in the background
big_smile.png
) We will probably add one center beam at the peak, too, before adding the roofing plywood.

CoopRoof.jpg
 
That is soooooo cool, my husband and I did the same for our Fourth of July, we built another chicken coop for our newbies in the rain, it is all done except for the roof, so the new chicks get a night in the garage roofless.
 
Hi Cynthia,

Do you think the two windows will be enough? You can't see the other one in my picture because we hadn't cut it yet. I had thought of maybe putting two more windows on opposite ends, in the peaks of the roof on each end (above the back door and far above the chicken door). Would that be better? I was afraid TOO many windows would make it drafty in winter.

Amy
 
Two windows in that size coop is probably going to be enough, but you could put in a ventilation opening in the gable ends, cover it with hardware wire on the inside then make a flip-up opening that you can prop open or close as needed. Or just cover with plastic in the cold months. Here is a pic of my original coop under construction with the ventilation openings all the way across it. They stay open all spring and summer long, but the hatch just closes up in the winter or I can prop it at many different angles, depending on how much air flow I think I need. I like having the option of maximum air flow so I have quite alot of ventilation in this coop and the addition. This original 8x8 coop has that vent, plus a small bsmt type vent on the back, plus a window in the front and did have a window on the side, which is now the opening between the two halves.
DCP_2702.jpg
 
Last edited:
Hi Cynthia,

Thanks for the picture! I think we could do a small version of that on each end very easily. DH has an idea for little round soffets (sp?) but I haven't seen them so don't have any idea what he's describing.

The two side windows in my pictures will be hinged, just like the ones in your picture, with a flap that can drop down and be latched during cold weather. So you leave your windows open 24/7 during spring and summer? I thought they had to be closed in every night! (the little things I'm learning here...)

Amy
 
Over my windows, I have a frame with hardware wire, so nothing but maybe a bear could get into the coop. You're right, I would not open windows without strong wire behind the opening. Here is the frame in the coop addition, which we put on the inside to keep the birds from flying into that window and breaking it. It is hinged and latched, but I can raise it up enough to unlatch the window if I need to:
DCP_5869.jpg

My window in the original coop has the same type thing, but on the outside of the window since that window tilts in for cleaning.
 
Last edited:
That was another excellent picture...our windows are not framed on the inside, but will be on the outside with trim. We had planned on putting hardware cloth in the windows; do you think it would be strong/safe enough for predator control to put the hardware cloth between the plywood and the trim, on the outside (think sandwich)? Or do I need to frame the window on the inside after putting the hardware cloth up? I want to make sure NOTHING can rip that hardware cloth away and get to my girls. I'm so glad I saw your picture...if I hadn't seen that, I probably would have thought it would be enough to just staple it to the window opening.

Amy
 
That sandwich was what I did on the window in the original coop. Here is a picture of it-the white trim around the window has hardware wire behind it, but I think we stapled it to that frame, then put the frame up, if I recall. Wow, it was so clean before the chickens were in it. Now there is another 12' on it and another pen attached, LOL. And there will never be grass in there again!
DCP_2978.jpg


Oh, and this is what happens when you start the Chicken Madness:
DCP_5888.jpg


I don't know if these pictures can help you at the stage you're at, but here is the link to maybe 6 pages of construction photos of both my original coop and the addition on BYC coops section:
https://www.backyardchickens.com/coops/clutch-hutch/index.php
 
Last edited:

New posts New threads Active threads

Back
Top Bottom