I kicked my 8 week old ducklings out of the basement. They needed somewhere safe to sleep so I quickly modified a tote that our rabbit used to sleep in when in his tractor. After 2 nights the boys started putting themselves to bed. I realized quickly that the bin was too small to hold both of them and a little food and water should I not get out early to let them out in the morning. So I went to Home Depot and bought the following things:
1 54 gallon Rubbermaid Roughneck tote $21.00
1 snap in soffit vent $2.00
1 8 ft firring strip $2.00
2 2" hinges $3.00
2 6 packs of washers $2.00
2 locks $5.00
----------------------------------------------------------------------
$35.00
Other things I used that I already had: 1" wood screws, small plastic zip ties, an old drafting table top for door
Tools used: drill, jig saw, chop saw, sharp shears, drywall screen
When you see the pictures it's pretty self explanatory but here is what I did just in case anyone wants to know.
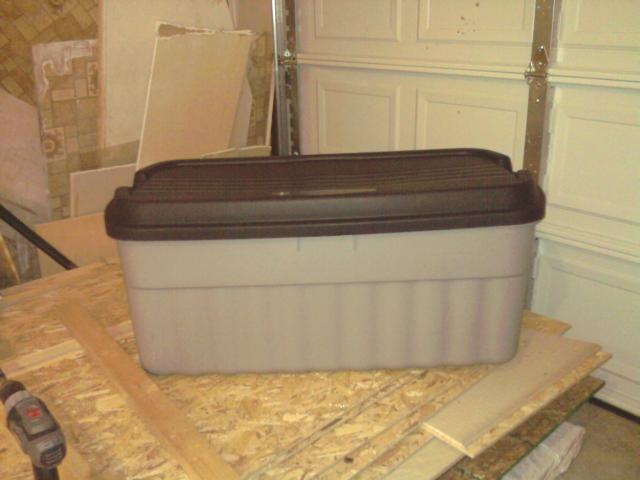
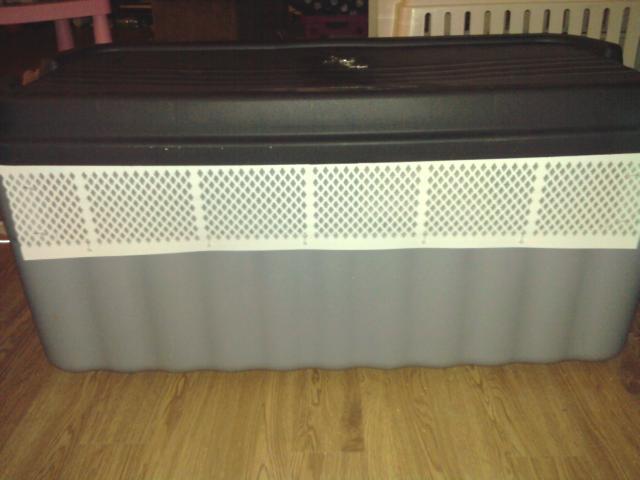
Started with this
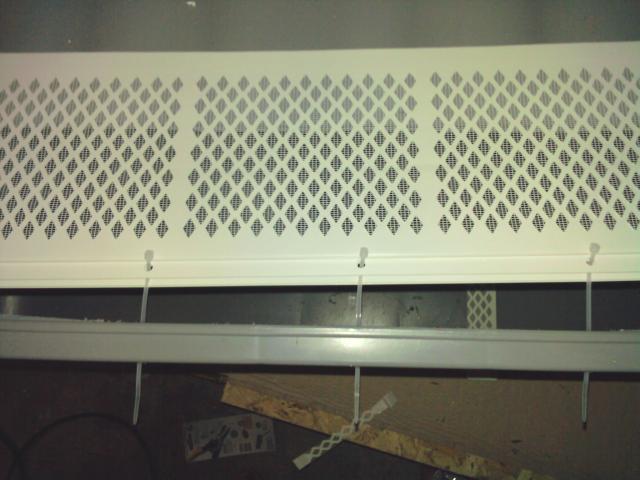
I used a pencil to mark where I wanted the hole on the backside to go for the soffit vent. I used a drill with a large bit and drilled holes in each inside corner of the mark so I could fit my jigsaw in. Then I used the jigsaw to cut the hole. (I feel jigsaws make better cuts and are safer than a utility knife but you could use one for this job). Then I used a small drill bit to drill evenly spaced holes in the top edge of the bin and lined up the soffit vent and drilled matching holes in it. I threaded small zip ties into the holes and closed them. I drilled more holes around the perimeter of the vent and used zip ties to secure it to the tote.
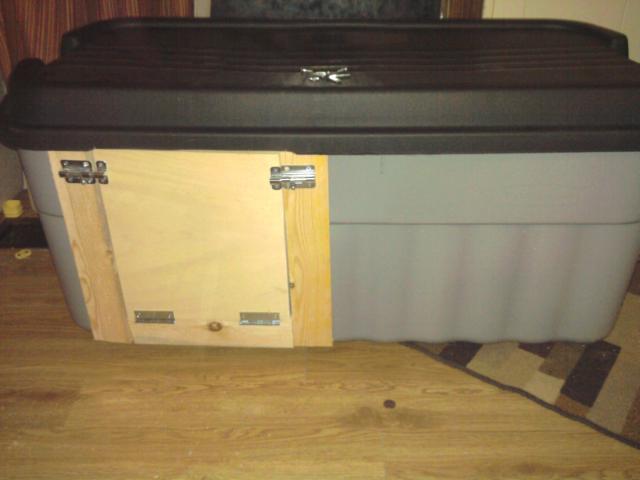
I decided where I wanted my door, making sure to leave enough of a lip at the bottom to keep bedding from falling out. Marked it and cut it using the method above. Then I cut lengths of firring strip to create a 3 sided door frame. The tote isn't flat so the frame helps straighten it out to minimize gaps and gives something to screw the hardware into.I predrilled holes through the inside of the tote into the firring strips and screwed in wood screws with washers from the inside. It's important to predrill or the firring strips crack. The washers are important to keep the screws from going all the way through the plastic.
Since the frame wasn't square I held the wood for the door up to the hole and used a pencil to draw the outline from inside the tote and then used the jigsaw to cut out the door. Then I installed the hinges and locks.
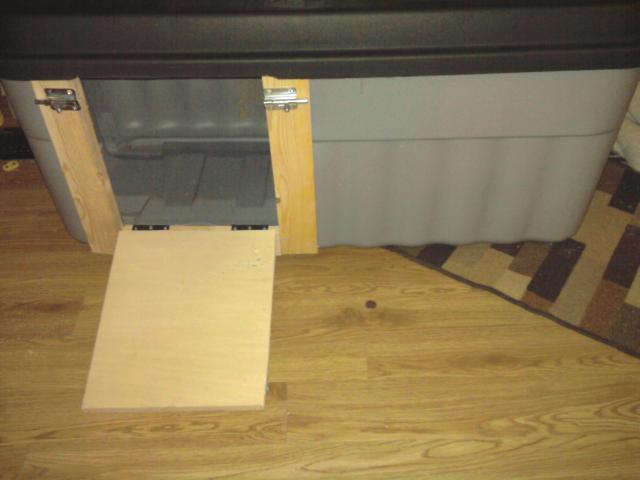
I used the jigsaw to notch out the lid over the door since it was catching a little. Here are pics of the finished product. Hope you like it!
FRONT WITH DOOR CLOSED
FRONT WITH DOOR OPEN (DOUBLES AS RAMP)
BACK VIEW OF VENT
Just a side note, my 2 adult pekin drakes used to comfortably fit in a tote this size to sleep. Too bad I cut that one up to make a big brooder!
1 54 gallon Rubbermaid Roughneck tote $21.00
1 snap in soffit vent $2.00
1 8 ft firring strip $2.00
2 2" hinges $3.00
2 6 packs of washers $2.00
2 locks $5.00
----------------------------------------------------------------------
$35.00
Other things I used that I already had: 1" wood screws, small plastic zip ties, an old drafting table top for door
Tools used: drill, jig saw, chop saw, sharp shears, drywall screen
When you see the pictures it's pretty self explanatory but here is what I did just in case anyone wants to know.
Started with this
I used a pencil to mark where I wanted the hole on the backside to go for the soffit vent. I used a drill with a large bit and drilled holes in each inside corner of the mark so I could fit my jigsaw in. Then I used the jigsaw to cut the hole. (I feel jigsaws make better cuts and are safer than a utility knife but you could use one for this job). Then I used a small drill bit to drill evenly spaced holes in the top edge of the bin and lined up the soffit vent and drilled matching holes in it. I threaded small zip ties into the holes and closed them. I drilled more holes around the perimeter of the vent and used zip ties to secure it to the tote.
I decided where I wanted my door, making sure to leave enough of a lip at the bottom to keep bedding from falling out. Marked it and cut it using the method above. Then I cut lengths of firring strip to create a 3 sided door frame. The tote isn't flat so the frame helps straighten it out to minimize gaps and gives something to screw the hardware into.I predrilled holes through the inside of the tote into the firring strips and screwed in wood screws with washers from the inside. It's important to predrill or the firring strips crack. The washers are important to keep the screws from going all the way through the plastic.
Since the frame wasn't square I held the wood for the door up to the hole and used a pencil to draw the outline from inside the tote and then used the jigsaw to cut out the door. Then I installed the hinges and locks.
I used the jigsaw to notch out the lid over the door since it was catching a little. Here are pics of the finished product. Hope you like it!
FRONT WITH DOOR CLOSED
FRONT WITH DOOR OPEN (DOUBLES AS RAMP)
BACK VIEW OF VENT
Just a side note, my 2 adult pekin drakes used to comfortably fit in a tote this size to sleep. Too bad I cut that one up to make a big brooder!
Last edited:


