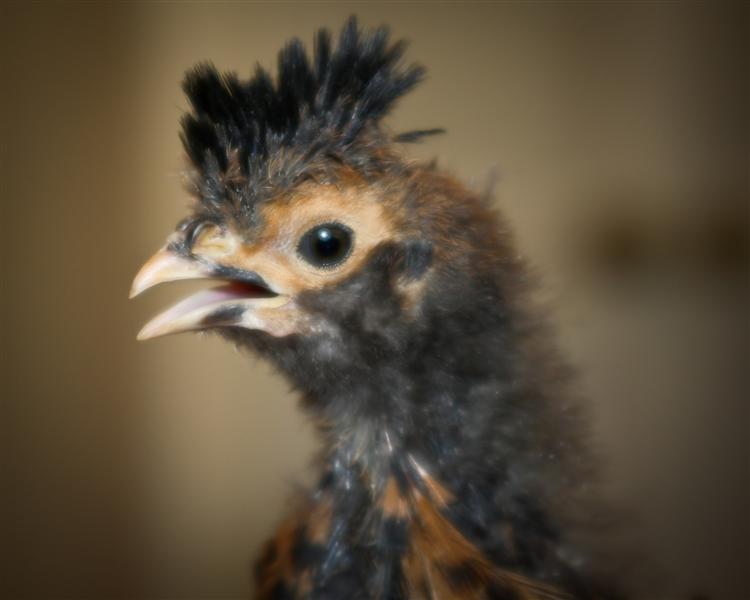
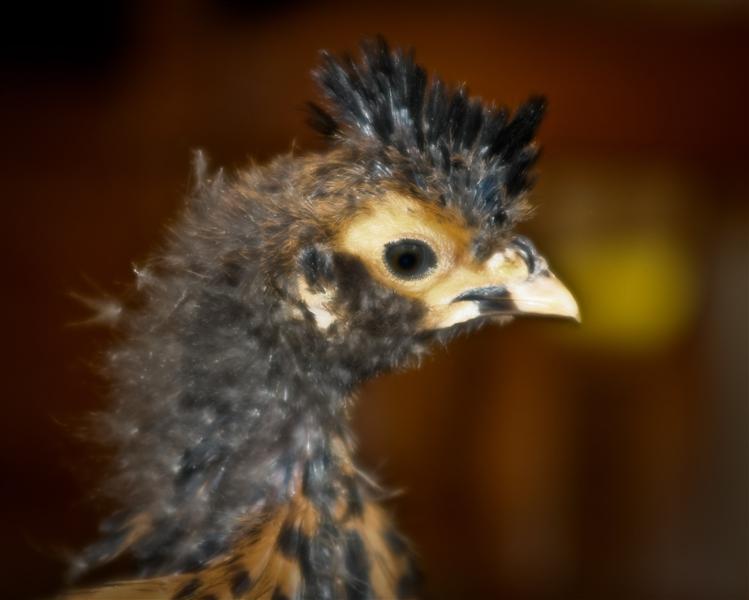
Well, I figured I'd start a worklog for my coop, which is NO where near being built just yet. I however have chicks sitting beside as I type this, which helps to remind me that I only have so many weekends before they're too big to stick around in the house.
I've got some basic lumber laying around from a prior buy which I can use, so it won't be a big pinch to the wallet. Or as much of one.
PLANNING
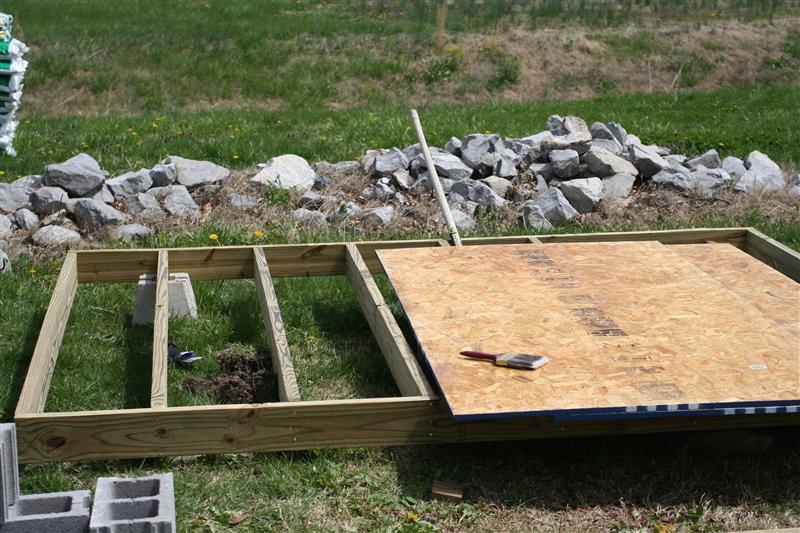
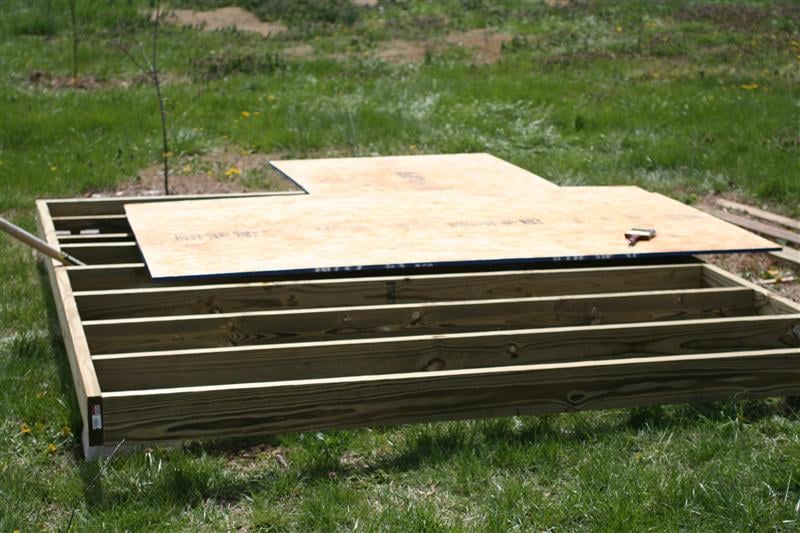
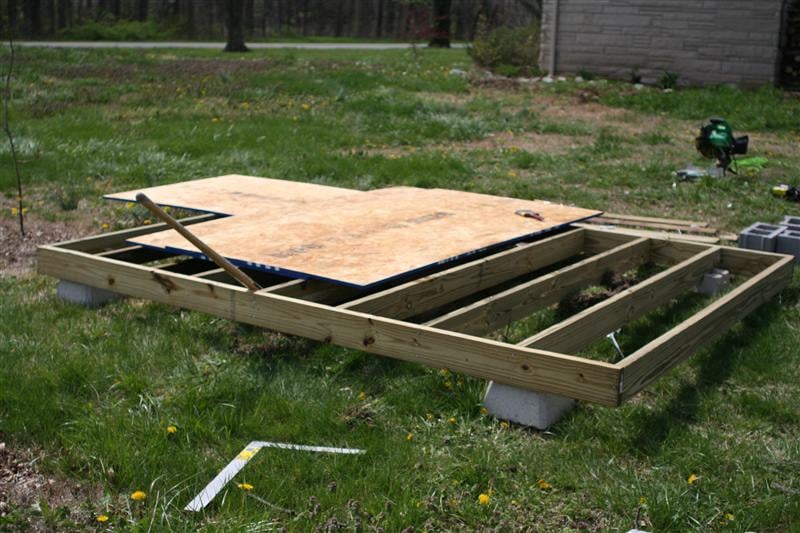
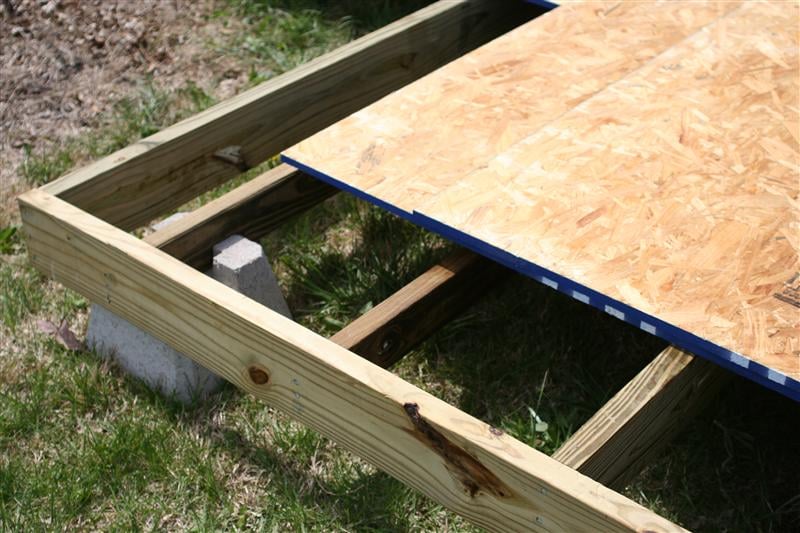
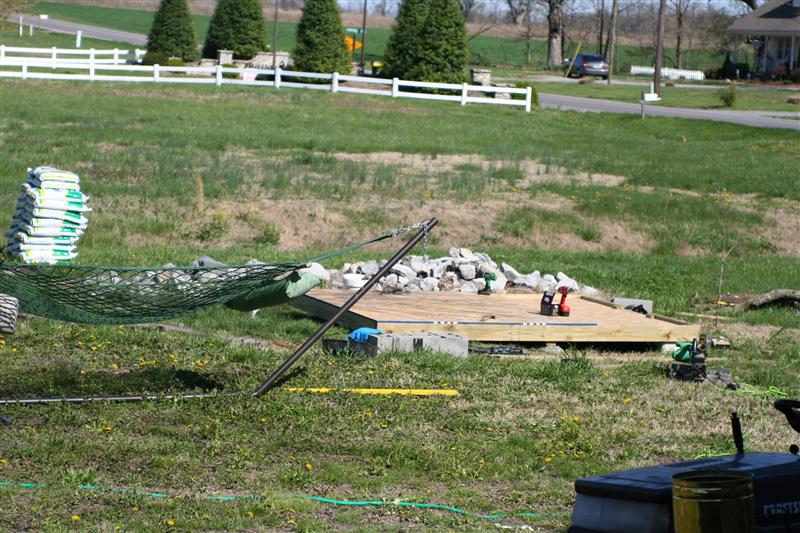
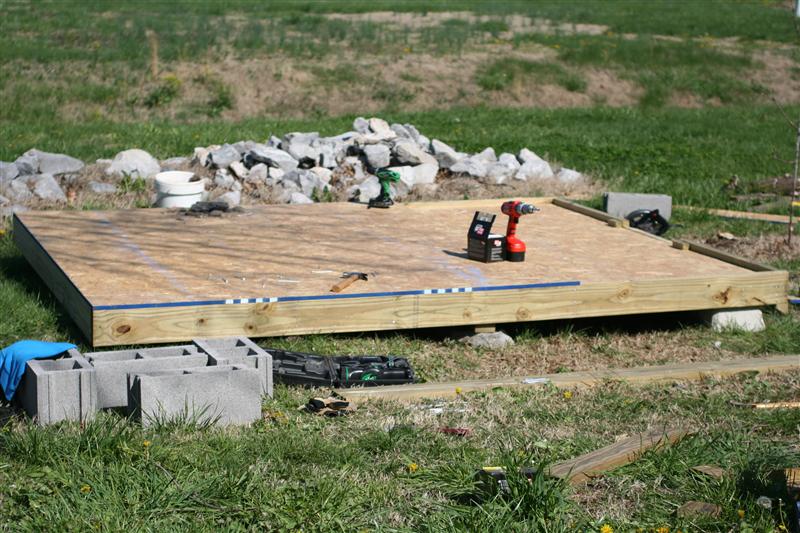
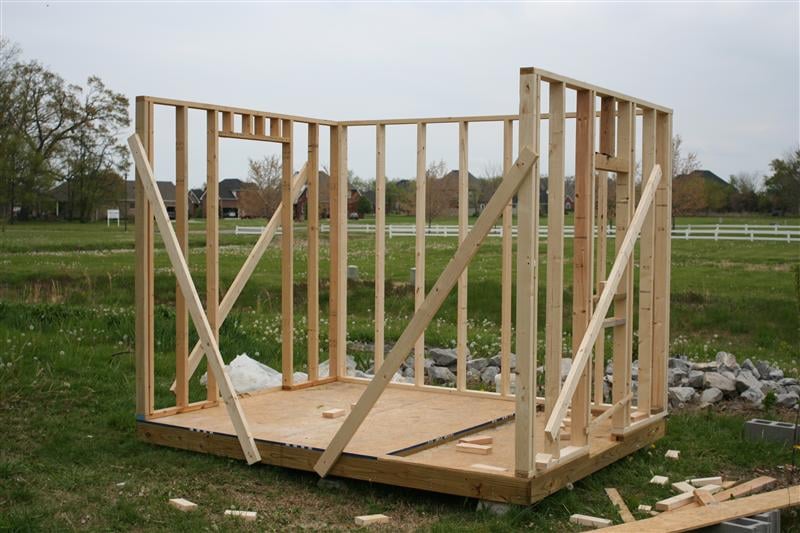
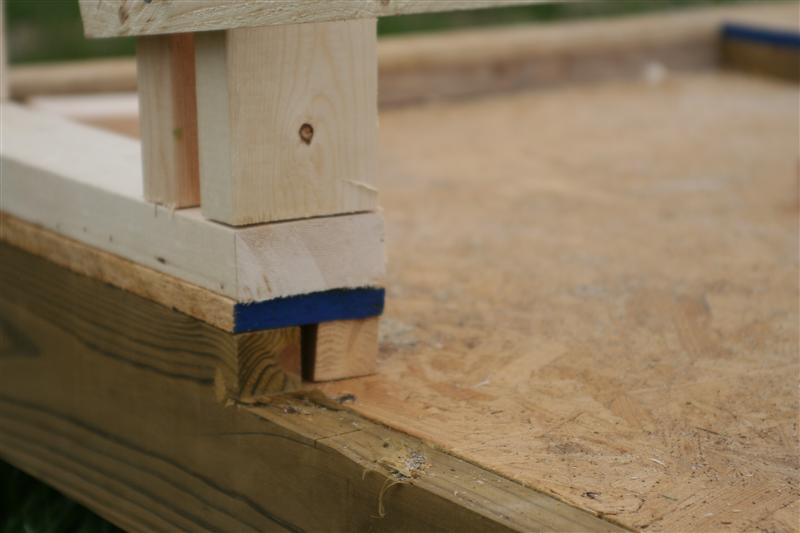
My plan is for a 10' by 8' coop, set on 4x6 skids resting against cinder block to level them up. This will allow for ample room inside for storage or whatnot.
The roof will be a 40 degree pitch or so, having gable dormers on both sides to give both ventilation as well as window seats for those birds which may feel like perching high.
A 3 foot section of the back floor will be under cut by 2 inches to allow for a deeper litter area in which will be used for roost space. Along this back wall will also be a thin "clean out" door which can be opened at floor level and litter may be swept directly outside of. The floor itself will be vinyl covered to make cleanup easier.
Walls will be 7' high. Back rafters will have collar ties set at 12" from peak with a shelf tying the walls together at 6' height and used for storage. Front rafters will have ceiling joists set at 7' and will be shelved as well.. Coverings will be required to prevent roosting.
The run will be made up of pressure treated 2x material nailed to the ground to prevent base movement via aluminum nails. The run will be covered to 3' high by hardware cloth with the remaining side and top covered with chicken wire. A chicken wire skirt will also be buried at least 16" out along the ground.
----------------------------------------------------------------
I'm sure there's more I'll add in just to keep track of everything.. This first post is almost a notepad for myself so sorry if it's more of a ramble..
This is to house 8 birds at current, though may try and hatch a few eggs and add to the group. A coop this size can house from 20 to 26 birds, so alot of room to grow.. But 8 is real nice right now.
It's possible that I may downsize this plan to a 8' by 6' coop, in which case shed dormers would be used instead as well as other changes made to make better use of the space. At 8x6 I can still house 12 to 16 birds, so not a problem there. So long as it's comfortable to work in. Once I put together a supply sheet I'll adjust for each and see how much added cost the extra space will actually be.
Anyone have any other "MUST HAVE!" points or tidbits that should be included in a coop? Beyond electricity, that is.
I've got some basic lumber laying around from a prior buy which I can use, so it won't be a big pinch to the wallet. Or as much of one.
PLANNING
My plan is for a 10' by 8' coop, set on 4x6 skids resting against cinder block to level them up. This will allow for ample room inside for storage or whatnot.
The roof will be a 40 degree pitch or so, having gable dormers on both sides to give both ventilation as well as window seats for those birds which may feel like perching high.
A 3 foot section of the back floor will be under cut by 2 inches to allow for a deeper litter area in which will be used for roost space. Along this back wall will also be a thin "clean out" door which can be opened at floor level and litter may be swept directly outside of. The floor itself will be vinyl covered to make cleanup easier.
Walls will be 7' high. Back rafters will have collar ties set at 12" from peak with a shelf tying the walls together at 6' height and used for storage. Front rafters will have ceiling joists set at 7' and will be shelved as well.. Coverings will be required to prevent roosting.
The run will be made up of pressure treated 2x material nailed to the ground to prevent base movement via aluminum nails. The run will be covered to 3' high by hardware cloth with the remaining side and top covered with chicken wire. A chicken wire skirt will also be buried at least 16" out along the ground.
----------------------------------------------------------------
I'm sure there's more I'll add in just to keep track of everything.. This first post is almost a notepad for myself so sorry if it's more of a ramble..
This is to house 8 birds at current, though may try and hatch a few eggs and add to the group. A coop this size can house from 20 to 26 birds, so alot of room to grow.. But 8 is real nice right now.
It's possible that I may downsize this plan to a 8' by 6' coop, in which case shed dormers would be used instead as well as other changes made to make better use of the space. At 8x6 I can still house 12 to 16 birds, so not a problem there. So long as it's comfortable to work in. Once I put together a supply sheet I'll adjust for each and see how much added cost the extra space will actually be.
Anyone have any other "MUST HAVE!" points or tidbits that should be included in a coop? Beyond electricity, that is.
Last edited: