For over a year, since I purchased my first 8 chicks from MPC, I've been eyeing our 17 year old mini-van that has been sitting in the meadow, only used to haul stuff to the dump for several years. I had this notion to turn the back end (2 rows of seats removed) into a mobile chicken coop and attach a large chicken tractor to the trailer hitch and be able to move it every day to fresh pasture.
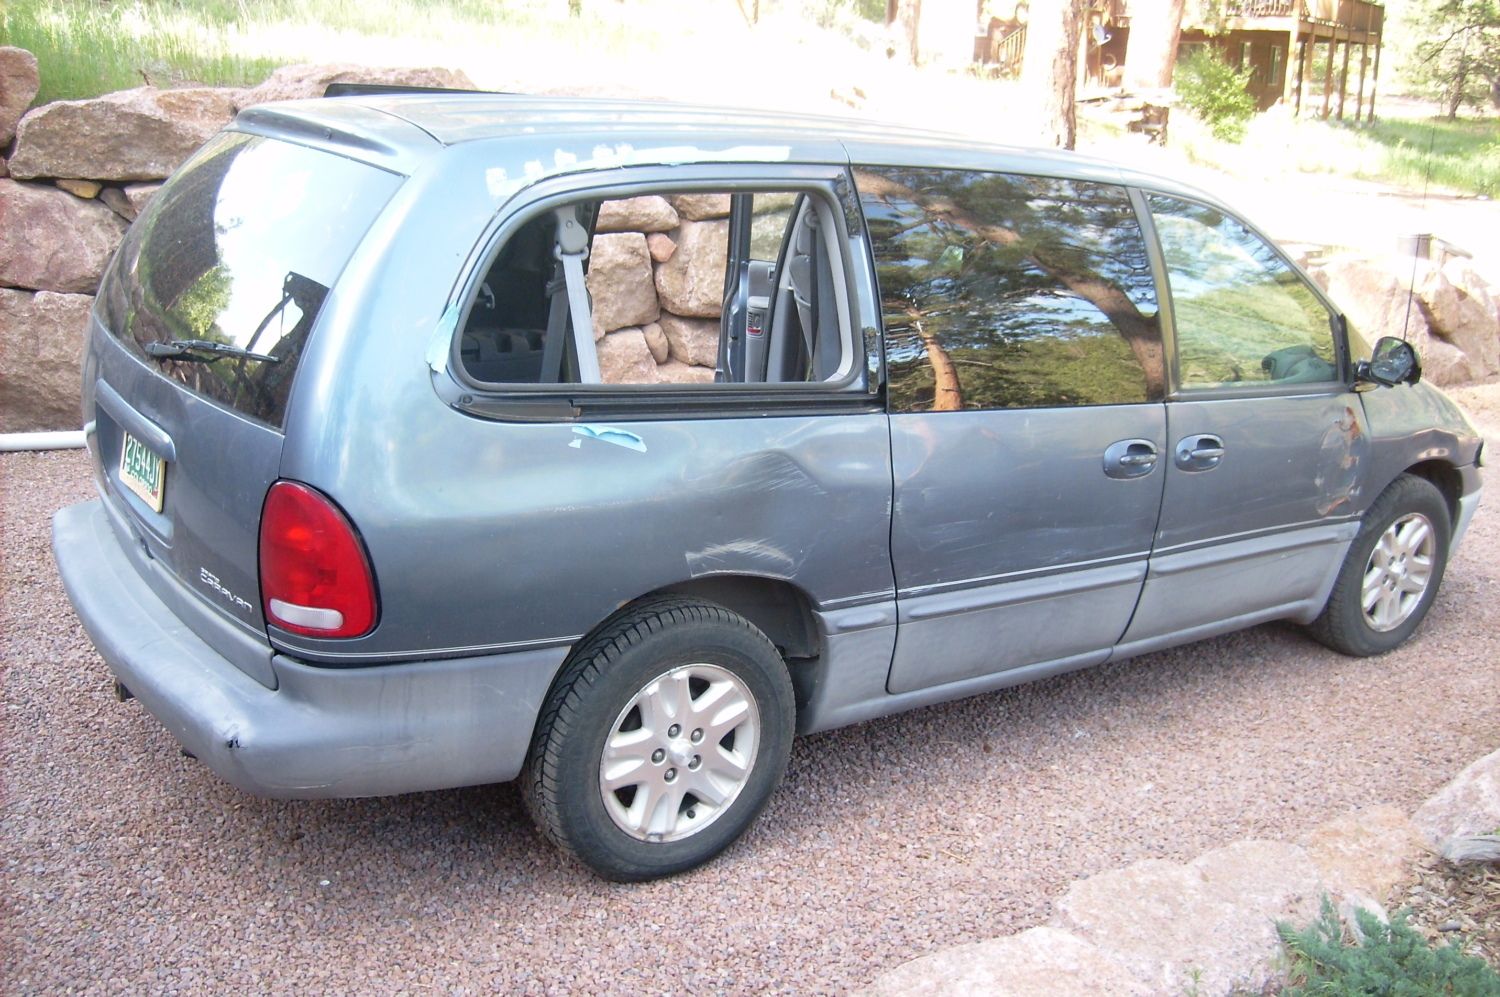
So, here's what I'm working with, note the dent and missing rear window, thanks mostly to eldest son's first year driving.
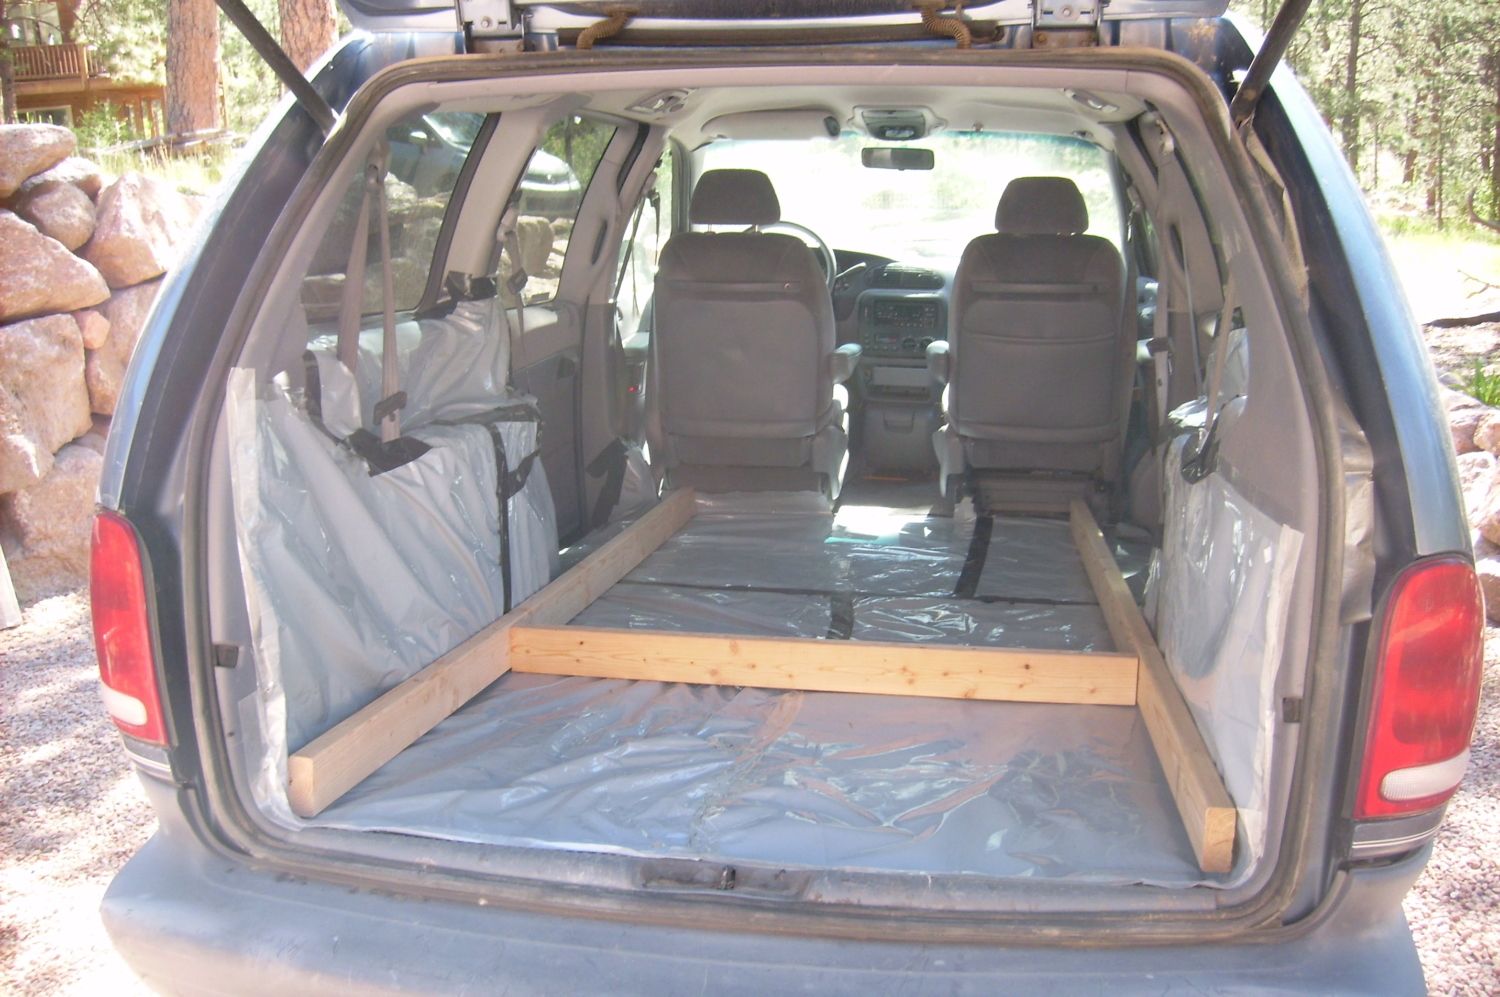
The inside is a mess, full of broken glass, charcoal from dragging an old grill to the scrap yard plus being used as a mobile trash can by my son for almost a year.
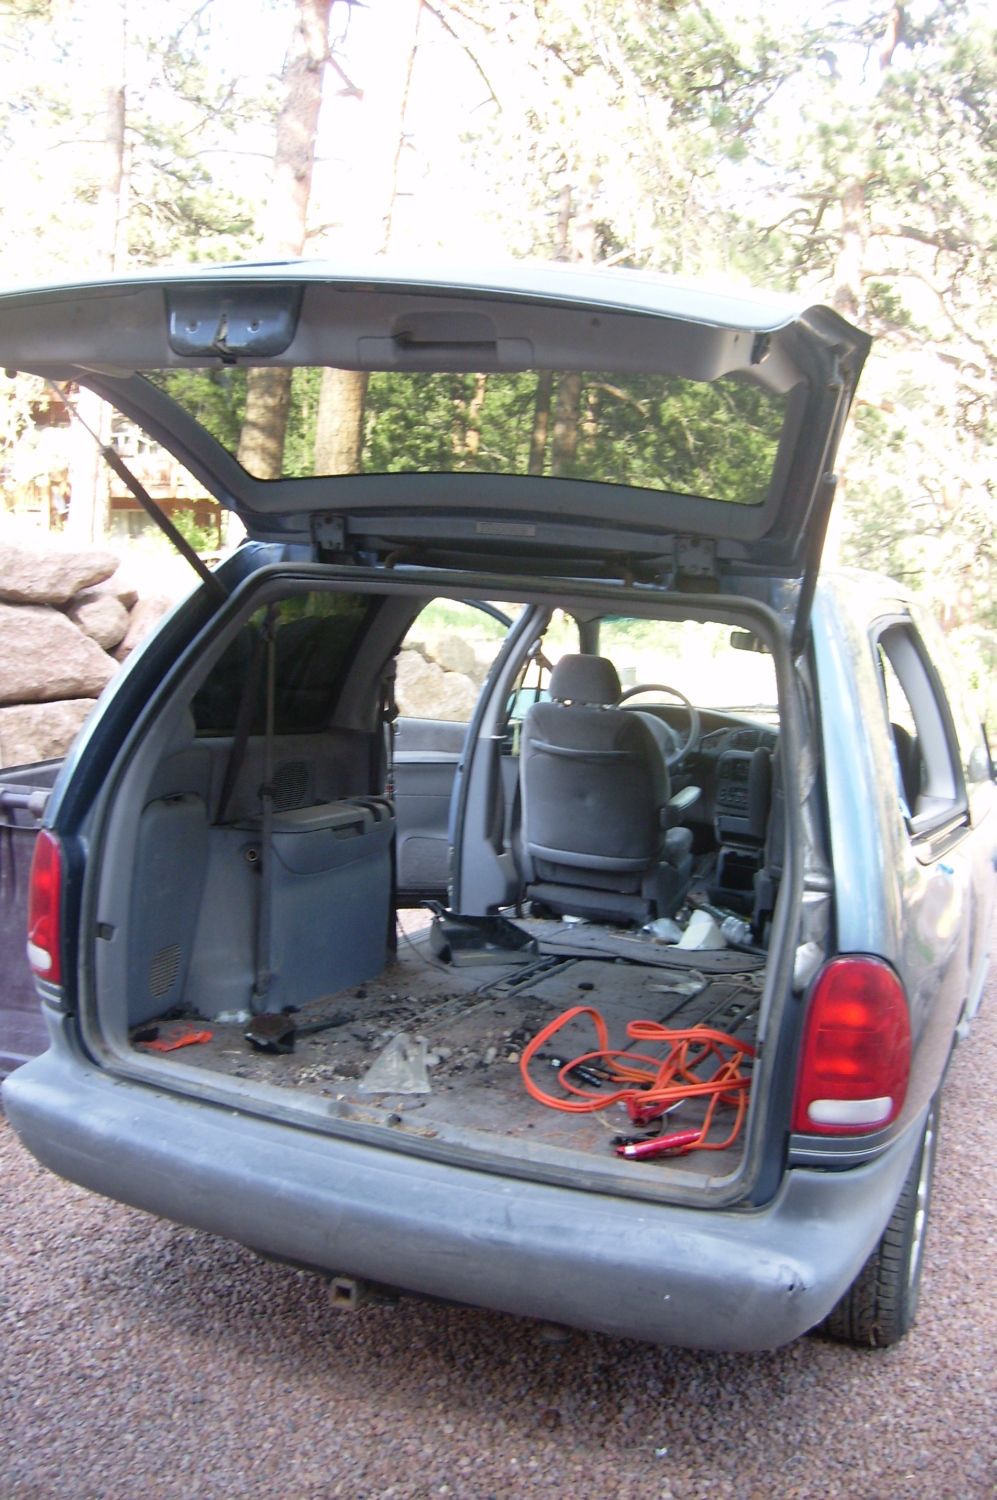
The back end is a little over 4'X8' (I know because I've lugged 4'X8' pieces of plywood home in it. My first step was to clean it out as best as I could. I then turned my attention to the tractor.
My plan was to create something that would attach to the van where I could open the back hatch of the van and let the chickens out every morning, locking them into the van at night for extra predator protection (lots of those in the mountains of Colorado)
I started building the walls for a 6'X12' tractor.
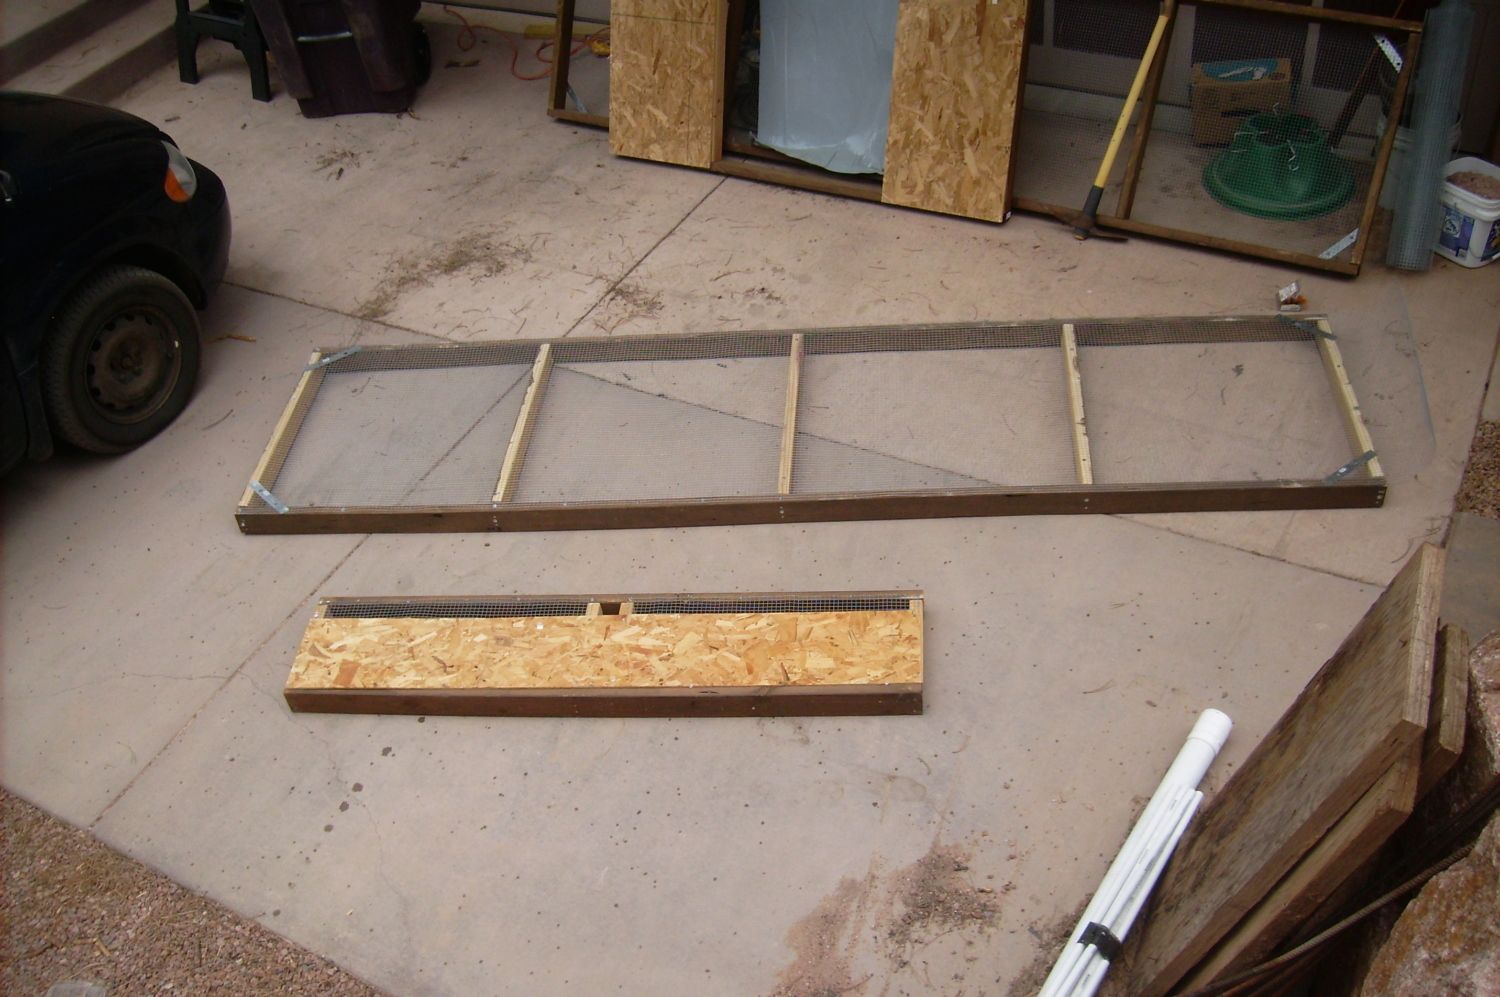
Here are the first two walls. The bottom pieces are pressure treated lumber, the rest is regular 2"X4"s. The short wall being the end that would tuck up against the rear bumper of the van. Because my main concern with the tractor construction is that it would pull apart over time when dragged behind the mini-van, I decided to reinforce the end to make it stronger. I used a scrap piece of....um....don't remember what it is called...that I picked up at the Restore for $0.80.
I thought it would be easier to build each wall and attach the hardware cloth before I assembled it. Not sure now whether that was wise or not. In hindsight, while wrapping a continuous roll of hardware cloth around three sides of the tractor would have been more difficult, it may have added extra strength and support to keep it together when it is being dragged.
To compensate, I've reinforced every corner of the walls, and then added "L" brackets to the top and bottom corners.
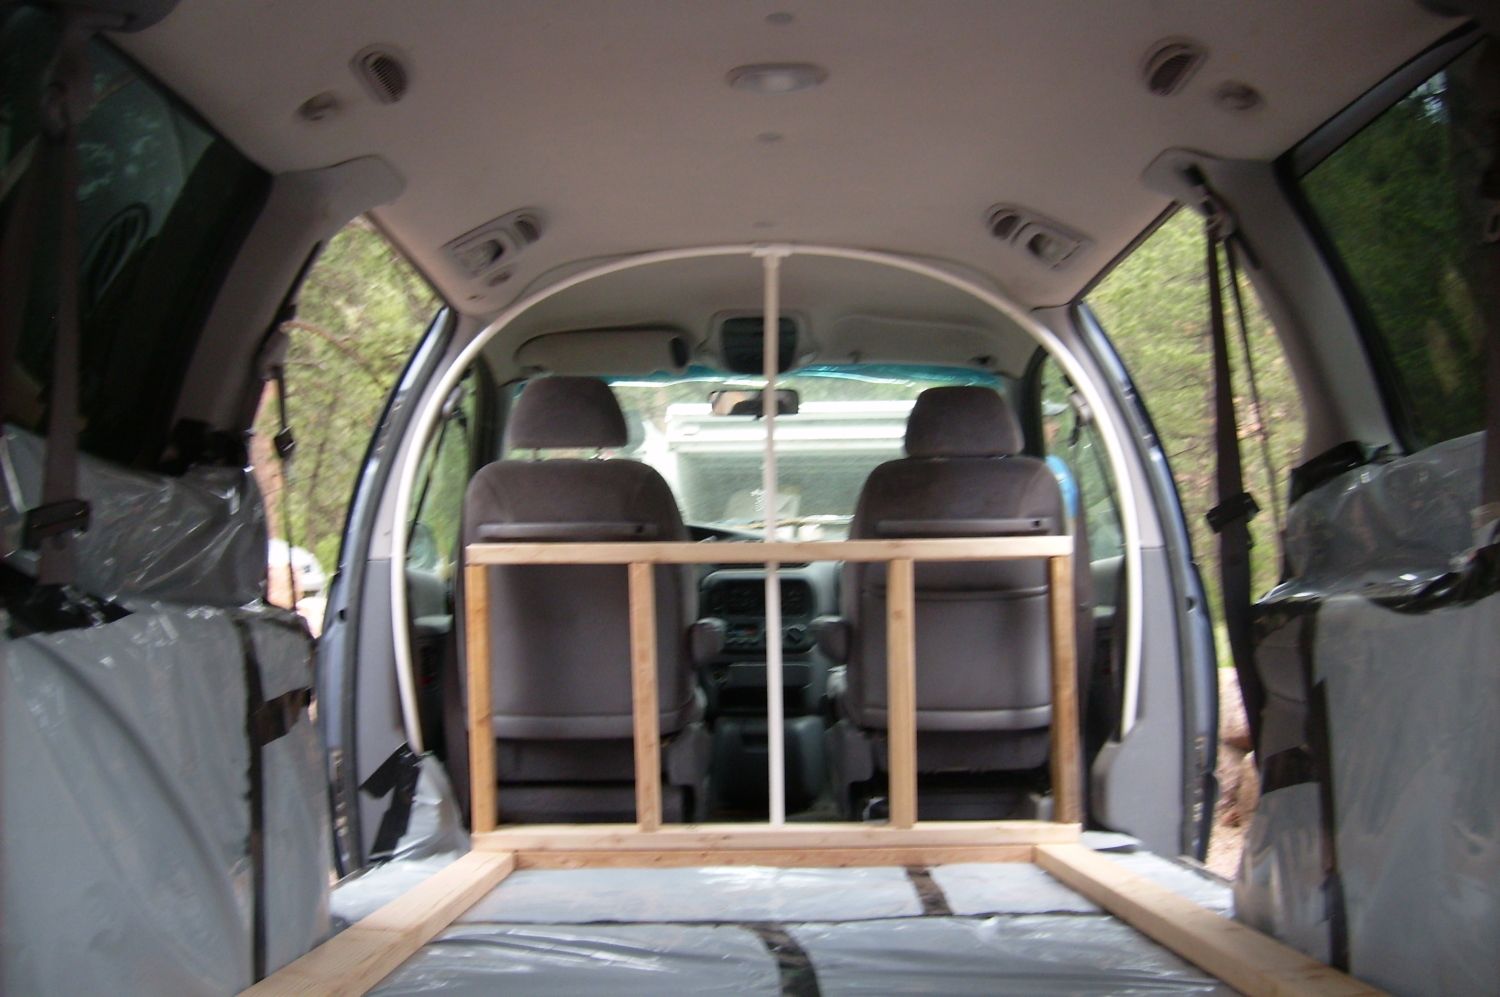
Here are the first three sides connected:
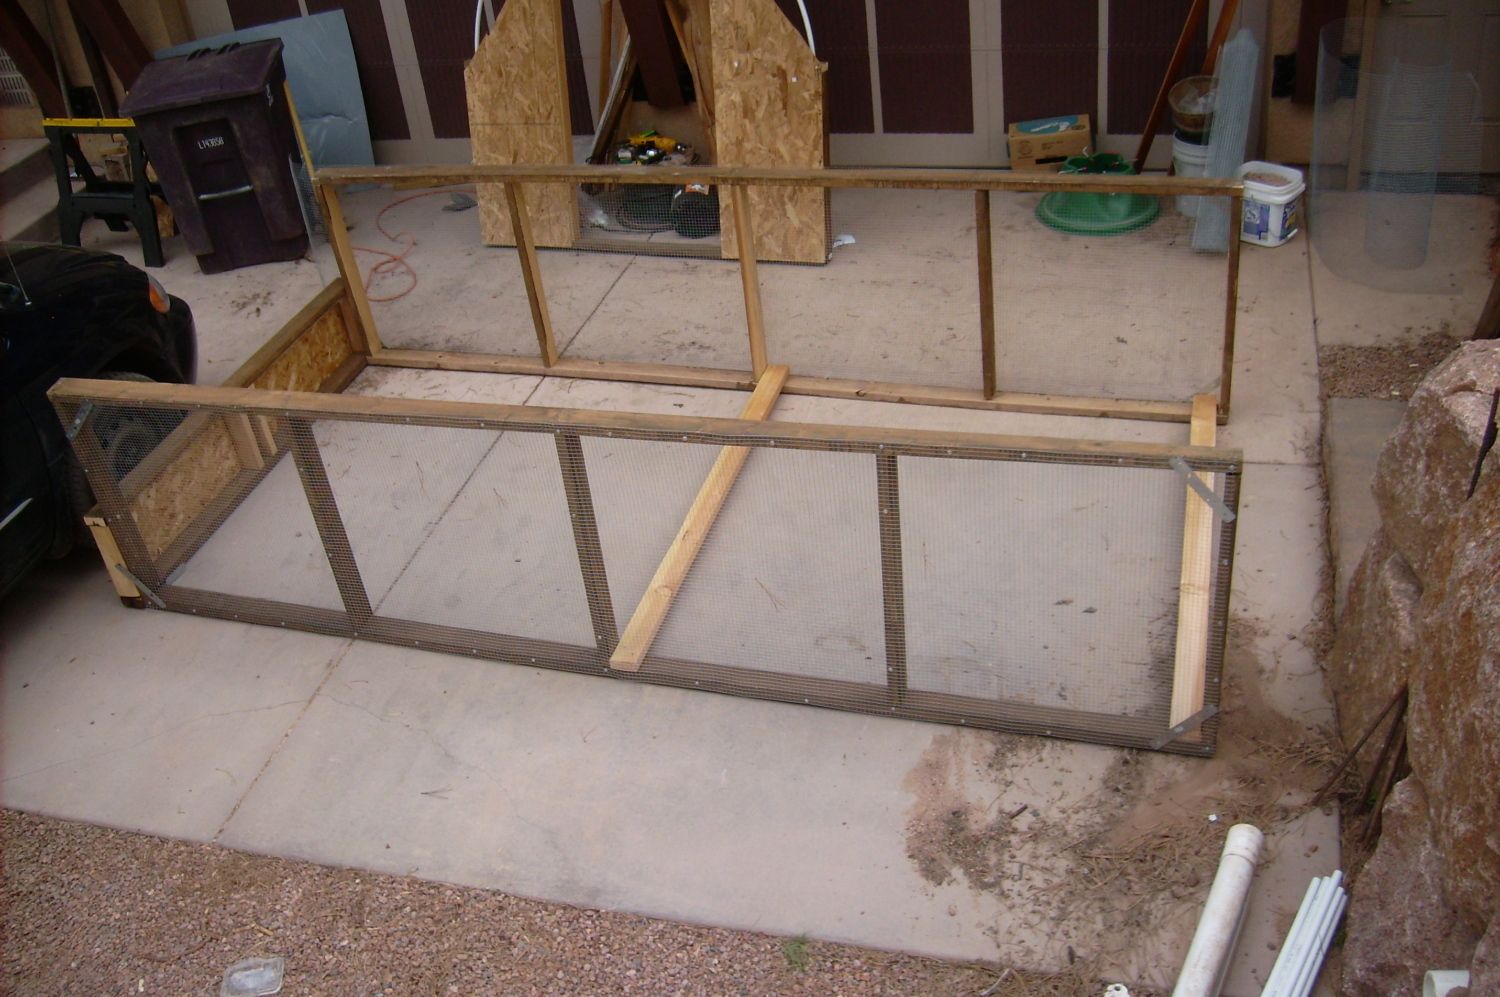
I completed the third side...with the opening for the door (which you can see in the background), also reinforced with scrap picked up at the Restore for $1.50, and attached it to the other three.
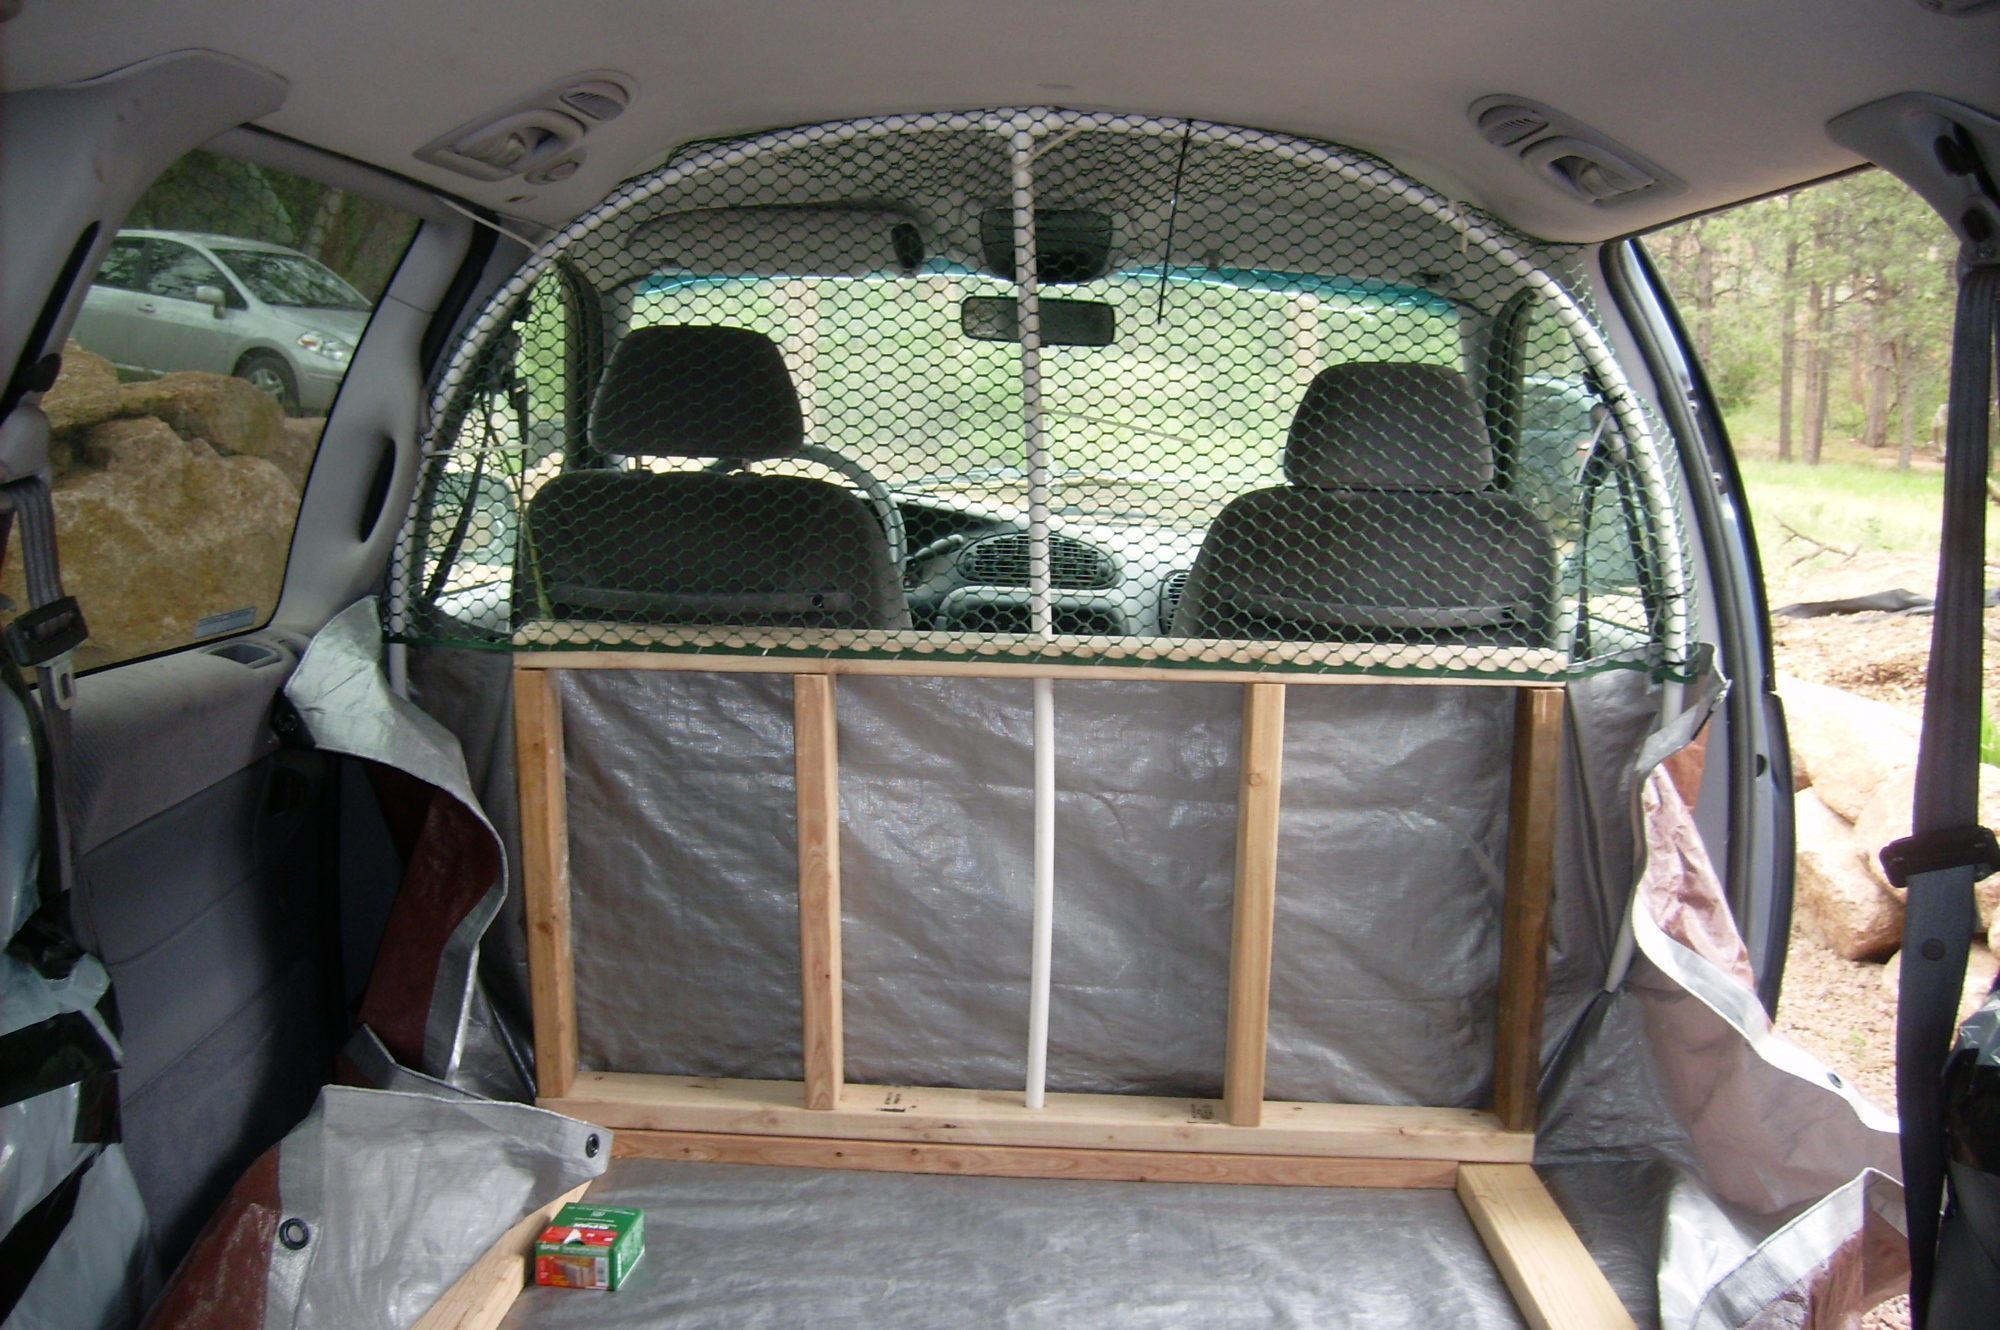
I'm feeling particularly clever about the next step. I cut 5/8th inch holes in the top 2"X4"s right on the inside of each vertical stud and bent a 10' length of 1/2" PVC pipe and slid them into the holes. Since I planned on using 3' wide chicken wire on the top part of the tractor, I had spaced the vertical studs 3 feet apart, so the sections of PVC pipe were also 3 feet apart.
It wasn't a big deal (although 2 people would have been a great help) to fasten the chicken wire to the PVC pipe with zip-ties. At each end, I unscrewed the screws & washers that were holding the hardware cloth to the top of the bottom section (does that make sense?) tucked the end of the chicken wire under it and re-screw it down.
Perhaps I should take another photo of that for clarification.
So here's where I am today:
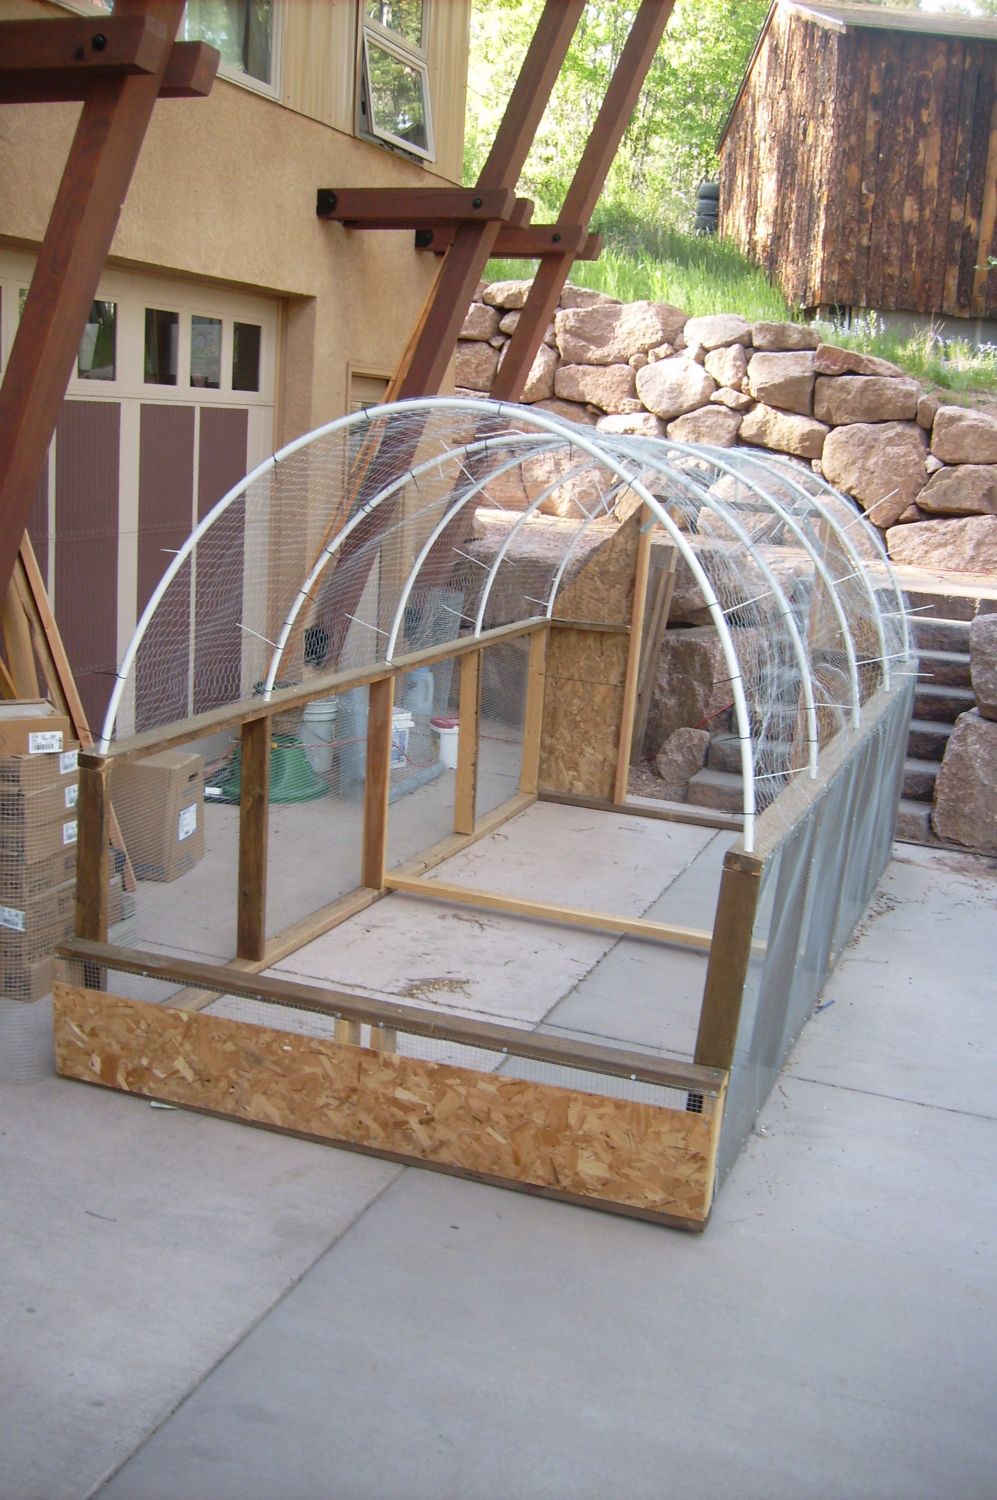
I need to build and install a door to the tractor. The opening is 5' tall, and me being 5'7" I have to duck a bit to get in, but once in I can stand without bumping my head.
Now to turn my focus back to the van. I don't have all of the issues worked out...like how, when the rear hatch is opened to let the chickens out, do I keep them from hopping out the little side gap between the van and the tractor, and is there a more elegant solution than just screwing hardware cloth over the outside of the broken window and it's un-broken counterpart on the other side, so that I can maximize ventilation without inviting predators in for a midnight feast.
Here's the time constraint I'm working with:
35 3-week-old Freedom Rangers that are getting too big and too smelly for their garage brooder.
Your comments and suggestions, brain-storms would be very welcome!
So, here's what I'm working with, note the dent and missing rear window, thanks mostly to eldest son's first year driving.
The inside is a mess, full of broken glass, charcoal from dragging an old grill to the scrap yard plus being used as a mobile trash can by my son for almost a year.
The back end is a little over 4'X8' (I know because I've lugged 4'X8' pieces of plywood home in it. My first step was to clean it out as best as I could. I then turned my attention to the tractor.
My plan was to create something that would attach to the van where I could open the back hatch of the van and let the chickens out every morning, locking them into the van at night for extra predator protection (lots of those in the mountains of Colorado)
I started building the walls for a 6'X12' tractor.
Here are the first two walls. The bottom pieces are pressure treated lumber, the rest is regular 2"X4"s. The short wall being the end that would tuck up against the rear bumper of the van. Because my main concern with the tractor construction is that it would pull apart over time when dragged behind the mini-van, I decided to reinforce the end to make it stronger. I used a scrap piece of....um....don't remember what it is called...that I picked up at the Restore for $0.80.
I thought it would be easier to build each wall and attach the hardware cloth before I assembled it. Not sure now whether that was wise or not. In hindsight, while wrapping a continuous roll of hardware cloth around three sides of the tractor would have been more difficult, it may have added extra strength and support to keep it together when it is being dragged.
To compensate, I've reinforced every corner of the walls, and then added "L" brackets to the top and bottom corners.
Here are the first three sides connected:
I completed the third side...with the opening for the door (which you can see in the background), also reinforced with scrap picked up at the Restore for $1.50, and attached it to the other three.
I'm feeling particularly clever about the next step. I cut 5/8th inch holes in the top 2"X4"s right on the inside of each vertical stud and bent a 10' length of 1/2" PVC pipe and slid them into the holes. Since I planned on using 3' wide chicken wire on the top part of the tractor, I had spaced the vertical studs 3 feet apart, so the sections of PVC pipe were also 3 feet apart.
It wasn't a big deal (although 2 people would have been a great help) to fasten the chicken wire to the PVC pipe with zip-ties. At each end, I unscrewed the screws & washers that were holding the hardware cloth to the top of the bottom section (does that make sense?) tucked the end of the chicken wire under it and re-screw it down.
Perhaps I should take another photo of that for clarification.
So here's where I am today:
I need to build and install a door to the tractor. The opening is 5' tall, and me being 5'7" I have to duck a bit to get in, but once in I can stand without bumping my head.
Now to turn my focus back to the van. I don't have all of the issues worked out...like how, when the rear hatch is opened to let the chickens out, do I keep them from hopping out the little side gap between the van and the tractor, and is there a more elegant solution than just screwing hardware cloth over the outside of the broken window and it's un-broken counterpart on the other side, so that I can maximize ventilation without inviting predators in for a midnight feast.
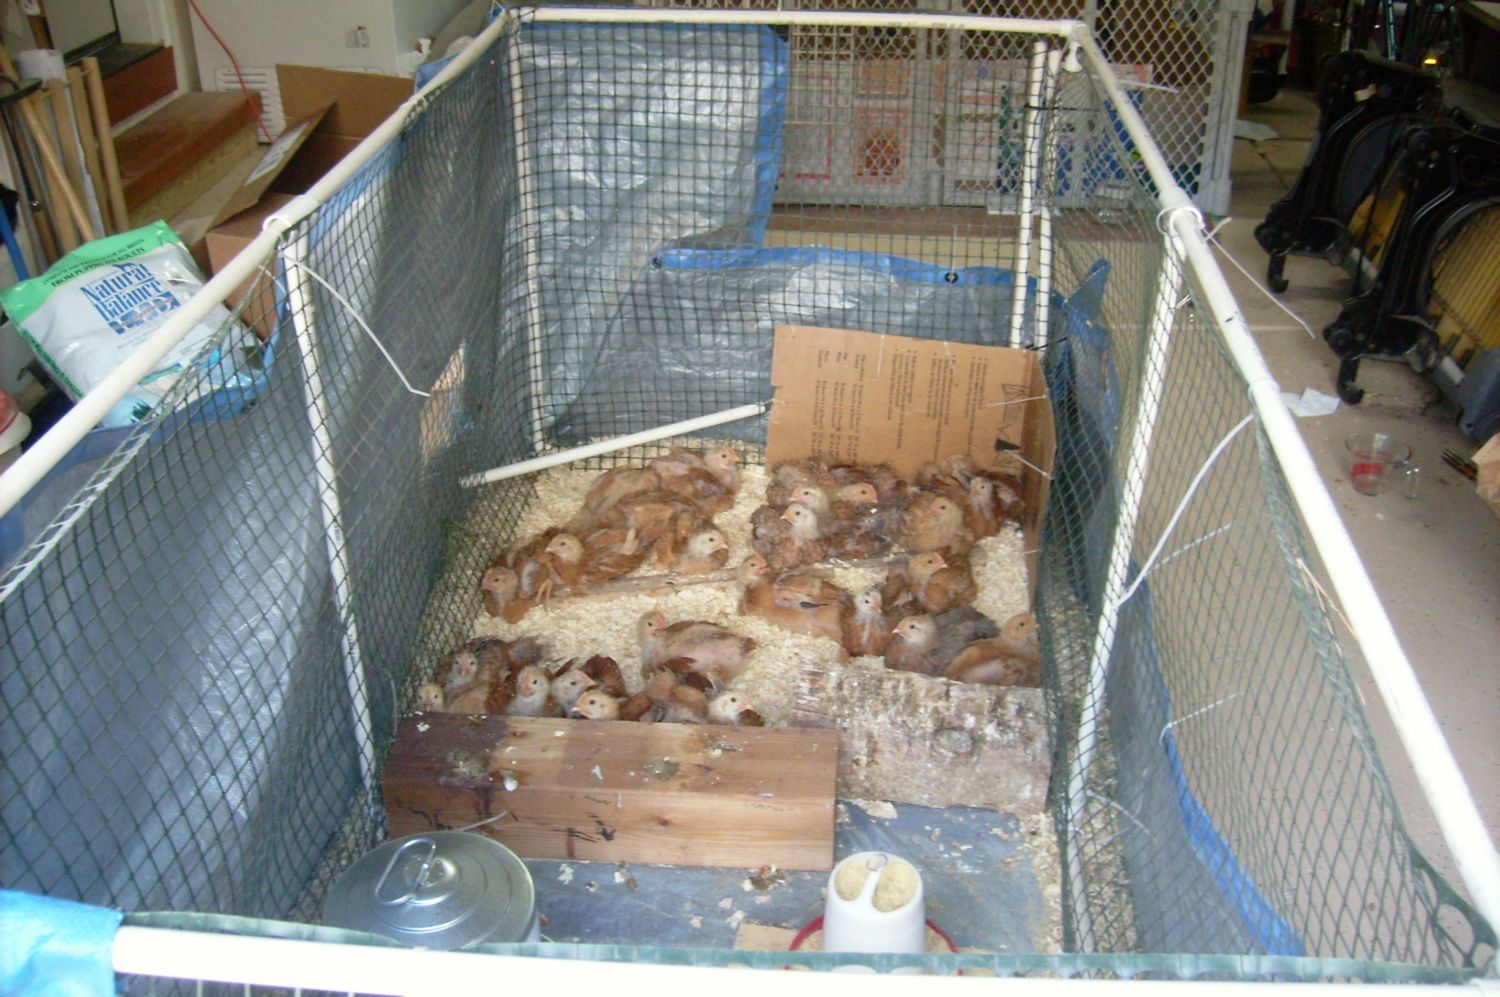
Here's the time constraint I'm working with:
35 3-week-old Freedom Rangers that are getting too big and too smelly for their garage brooder.
Your comments and suggestions, brain-storms would be very welcome!
Last edited: