- May 2, 2011
- 80
- 2
- 49
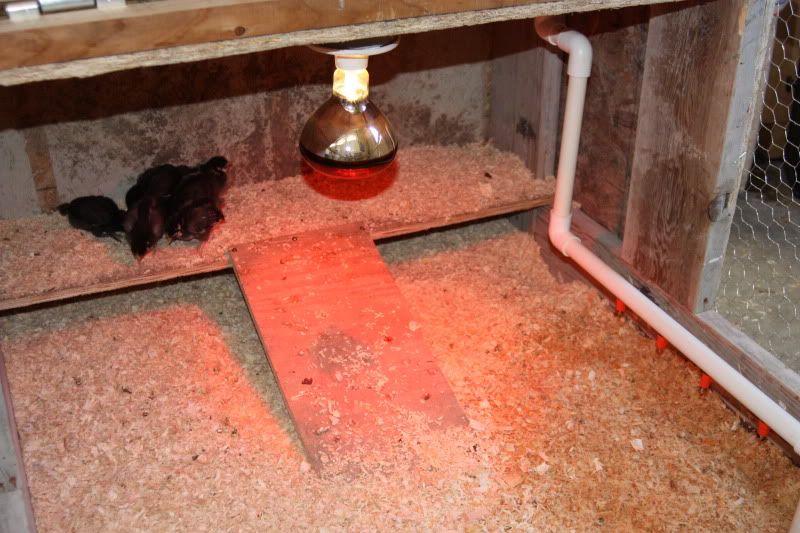
This is my completed brooder that works very well!
- I don't have to check the water or food often
- Very easy to refill water/feed without even putting my hands in the brooder
- Nice area for the chicks to hang out and drink and eat all day!
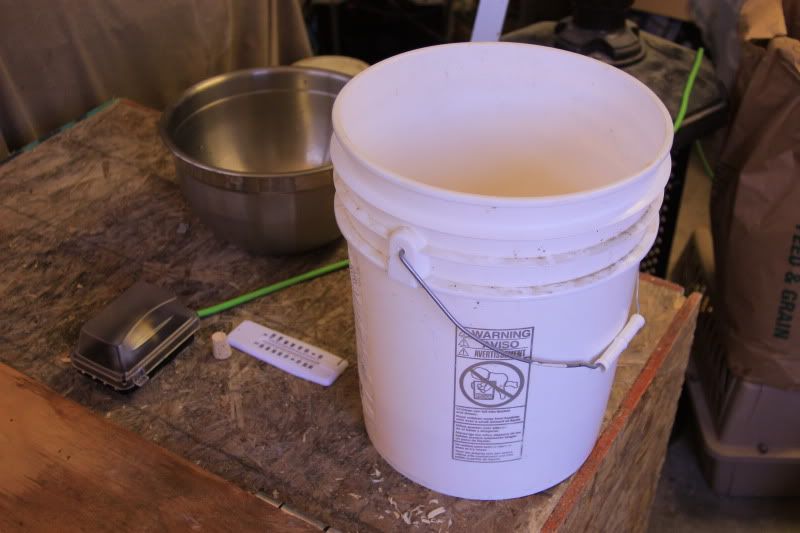
Here is what I started with... just some scraps we had laying around the house - wood, pvc, and other random items

I'll start with the auto feeder!
This is what it looks like with the lid open:
Lid Closed:
Then I can just put feed in without open the top:
Here is the inside with the lid closed:
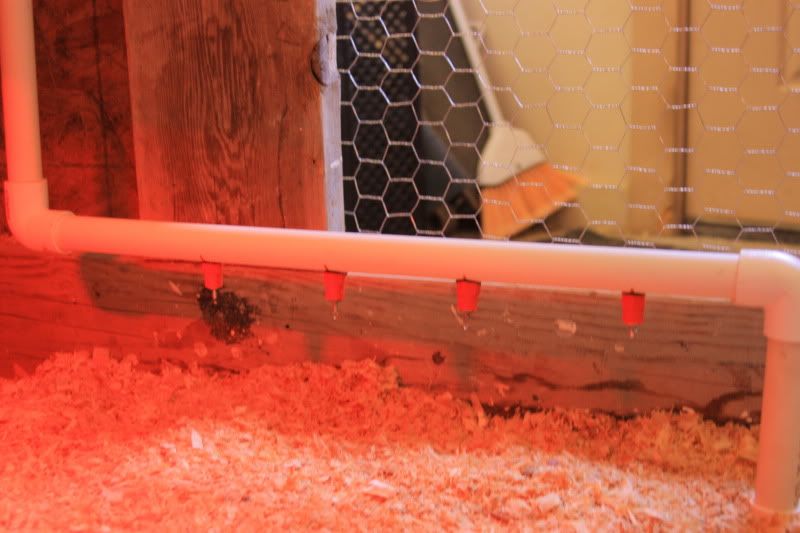
Now to the Waterer:
The Bucket that holds my water is sitting on the backside of the brooder, above where their lamp is:
Here is a better to get an idea of how the top looks:
Then you can just fill up the water (currently have chicken gatorade in there right now - that "save a chick stuff")
More Pictures so you can get the idea on how it comes down into the brooder:
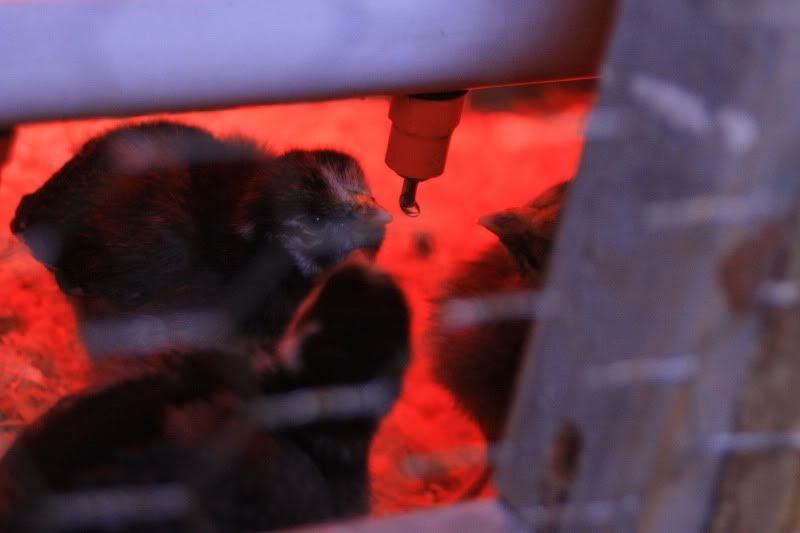
This is where the chicks actually drink off of:
They figured it out right away, and loved it! I couldn't get pictures of them with the lid open but here is some through the chicken wire:
Here are some pictures of how the light system works, I just took a light socket and hard wired it to a male end!
Light/Light Socket coming out into the Brooder:
This is what it looks like coming out of the top:
And here are some details you can view:
And here it is closed and protected:
That is all for my Coop Design, it works very very well!
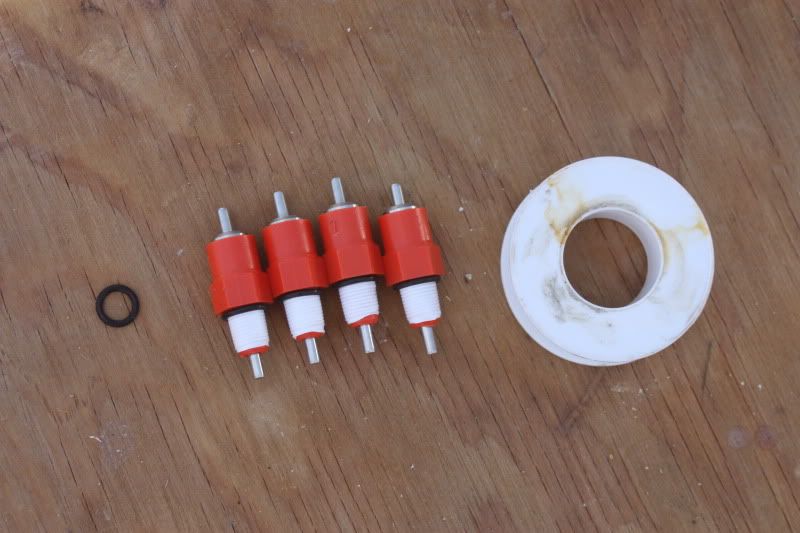
Tips for the nipples that worked out very well after them leaking the first time I used them:
- Use teflon and an o-oring for each nipple and it won't leak!
- Drill the 23/64 hole
- and it works great!
Thank you for looking! I hope you guys liked it! Please let me know what you think!
If you have any questions or comments you can post here or PM me!
Thanks Again,
Preston
- I don't have to check the water or food often
- Very easy to refill water/feed without even putting my hands in the brooder
- Nice area for the chicks to hang out and drink and eat all day!
Here is what I started with... just some scraps we had laying around the house - wood, pvc, and other random items

I'll start with the auto feeder!
This is what it looks like with the lid open:

Lid Closed:

Then I can just put feed in without open the top:


Here is the inside with the lid closed:


Now to the Waterer:
The Bucket that holds my water is sitting on the backside of the brooder, above where their lamp is:
Here is a better to get an idea of how the top looks:

Then you can just fill up the water (currently have chicken gatorade in there right now - that "save a chick stuff")

More Pictures so you can get the idea on how it comes down into the brooder:


This is where the chicks actually drink off of:

They figured it out right away, and loved it! I couldn't get pictures of them with the lid open but here is some through the chicken wire:


Here are some pictures of how the light system works, I just took a light socket and hard wired it to a male end!
Light/Light Socket coming out into the Brooder:

This is what it looks like coming out of the top:

And here are some details you can view:


And here it is closed and protected:

That is all for my Coop Design, it works very very well!
Tips for the nipples that worked out very well after them leaking the first time I used them:
- Use teflon and an o-oring for each nipple and it won't leak!
- Drill the 23/64 hole

- and it works great!

Thank you for looking! I hope you guys liked it! Please let me know what you think!
If you have any questions or comments you can post here or PM me!
Thanks Again,
Preston
Last edited:


