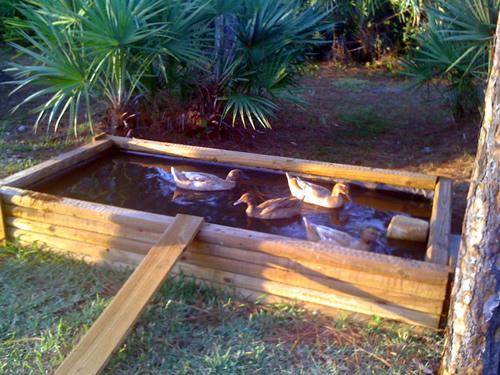
Well, I finally got tired of emptying the baby pool every day (or should I say my back got tired of it), and decided to make something more permanent and easier for me. I have been looking at all the great duckponics threads, but decided that was a bit too involved for me right now; I just needed something easier to empty, clean and fill. I have no construction skills, and this was really easy to do.
So this is what I came up with, and so far, it's working great and the ducks love it! It cost about $150, and the most expensive thing was the pond liner.
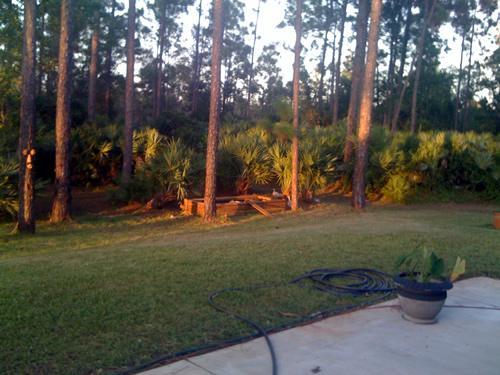
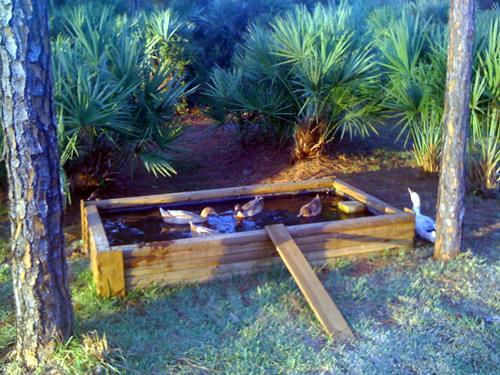
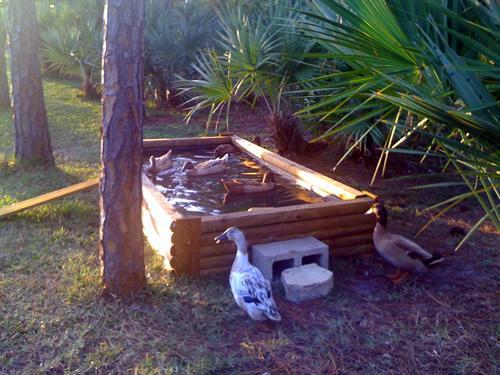
I nestled it in between the pines so it would blend into the yard:
I leveled the ground with paver sand, then built a frame with pressure-treated 8' landscape timbers. I left them 8' on the sides, and cut them in half for the ends. I stacked the timbers 4 high, securing them with stakes as I went. I used pressure-treated 1" x 6" to secure the ends. After the drain was installed and dry, I layed the liner, secured it with staples, then screwed another timber on top to hold it.
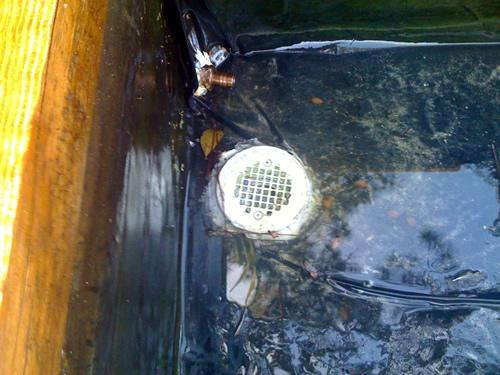
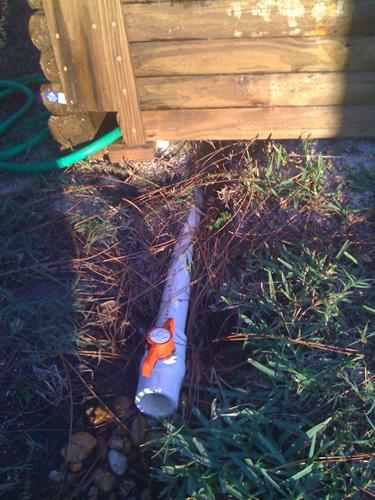
Before I secured the liner to the frame, I attached a pvc drain to the liner by cutting a small hole in the liner, stretching it over the drain, then gluing it with plumbers glue, securing it between the drain base, and the metal cover. I used pvc glue to attach the drain pipe. I let it dry overnight before securing the liner. Then I caulked the entire edge of the drain, and let it dry. (The small brass pipe on the left above the drain is an hose pipe I installed to water my garden).
The pipe coming out of the bottom of the pond. The pipe is 3" diameter, so drains the entire pond in about 15 minutes. It takes about 20-30 minutes to refill, and I just used a long-handled brush to scrub it as it's draining.
From the side - you can see where I dug a shallow trench so the pipe would be below the pond. I also angled everything slightly downward:
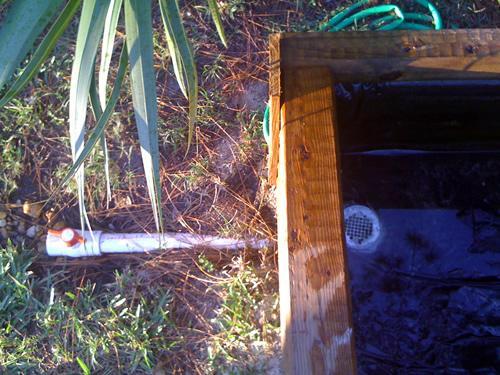
Another view - I also put a smaller drain on the side of the liner with a hose attached (the green one), so I could also run the hose to my garden to make use of the nutrient-rich pond water ( just knotched the timbers to accomodate the hose):
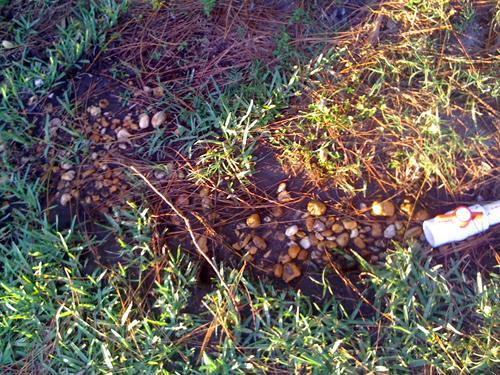
I put down some gravel when the pipe ends to help the flow of water when it drains:
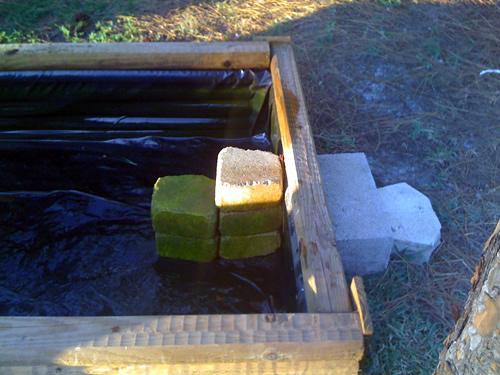
Steps for the ducks:
Voila - duck pond! I put the ramp in temporarily for the younger ducks, but they all love to run up it and jump in, so I may leave it:
They love it, and I have to usher them out in the evening to go to bed


 Help, before its too late!
 Some pages not loading and blaming it on ad blocker (don’t use)
 Fermented feed for chickens