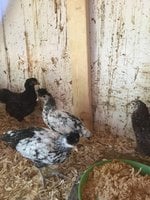
I've been dreaming about doing this ever since I got my first chickens, a year and a half ago. I was really inspired by all the gorgeous sheds and chicken coops I found on Google image searches, and Pinterest. Well, the company I found to build the basic structure is coming today to get started!
I took some before photos, and my intention is to take a lot of "during" photos too, as long as I don't get in their way too much. They are going to build the basic structure for me, and then I am going to outfit the interior for ultimate chicken convenience, and I am going to do the exterior siding myself, because I have a dream of making it look like a vintage shed that has been standing for a hundred years.
This photo from Better Homes and Gardens was my main inspiration:
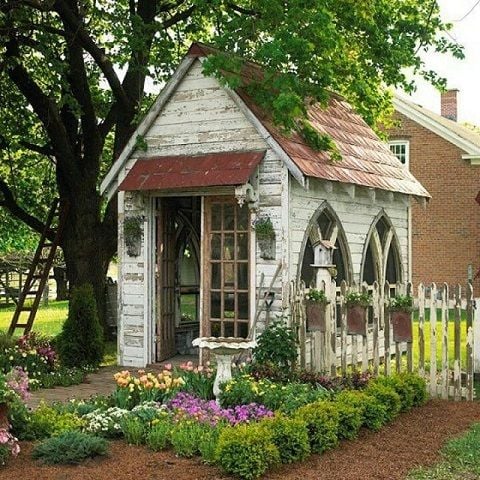
Mine won't have church windows, to my chagrin. The day I first saw this photo, I looked on Craigslist, and would you believe, I found THE EXACT SAME WINDOWS for sale!!! But I didn't have clearance from DH to build a project then, and it was days before Christmas that year, and I just couldn't take the time or the money to drive an hour and buy the windows. Of course, after Christmas when I looked for it, the ad was gone.
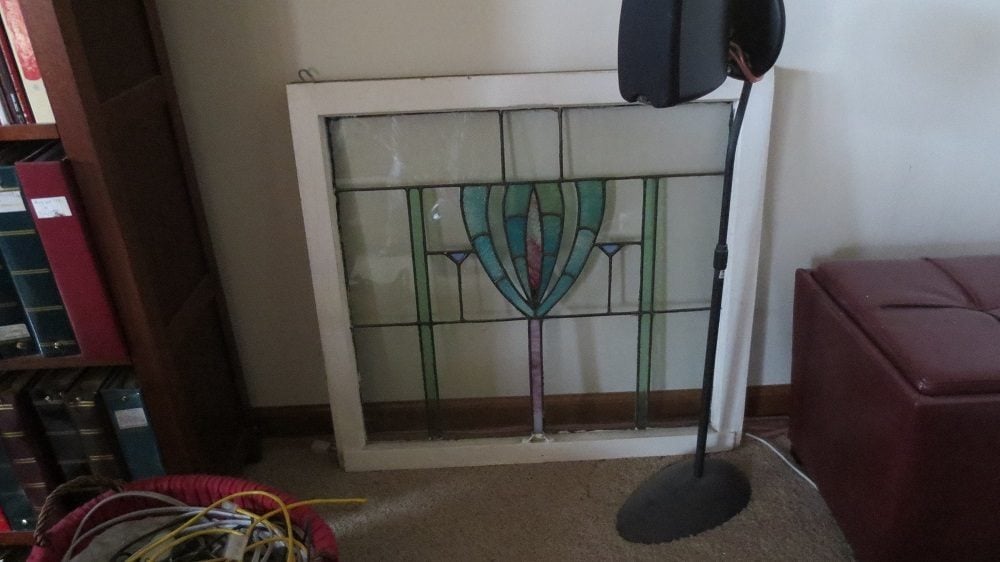
So I found regular rectangle vintage windows instead, and vintage French doors, and I even found a nice tulip design stained glass window that I will probably put in the interior room divider wall between the chicken side and the human side:
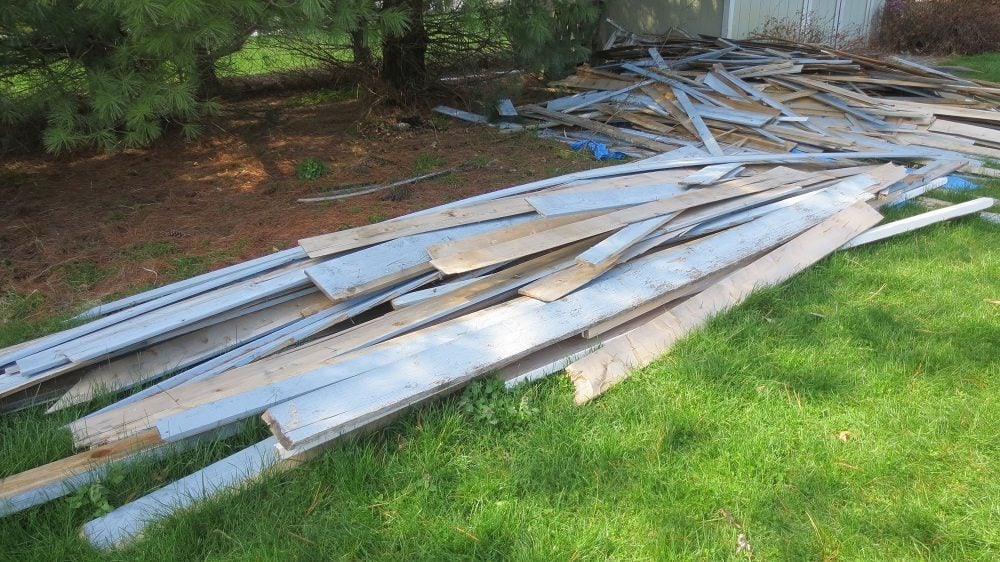
For the siding, I am going to try to recycle cedar siding from off our house. We had Hardie Plank siding put on last fall, and I asked the contractor if I could re use the old siding, and he said sure. What he didn't tell me was that trying to take the old siding off without ruining it would make the job a ton harder for the workers. Or that there would be an awful mess when they "stacked" it. They were supposed to just save the good pieces, and haul away the bad stuff, but it was so tedious sorting it, that they finally just dumped it all. Now I don't know if even any of it will still be usable:
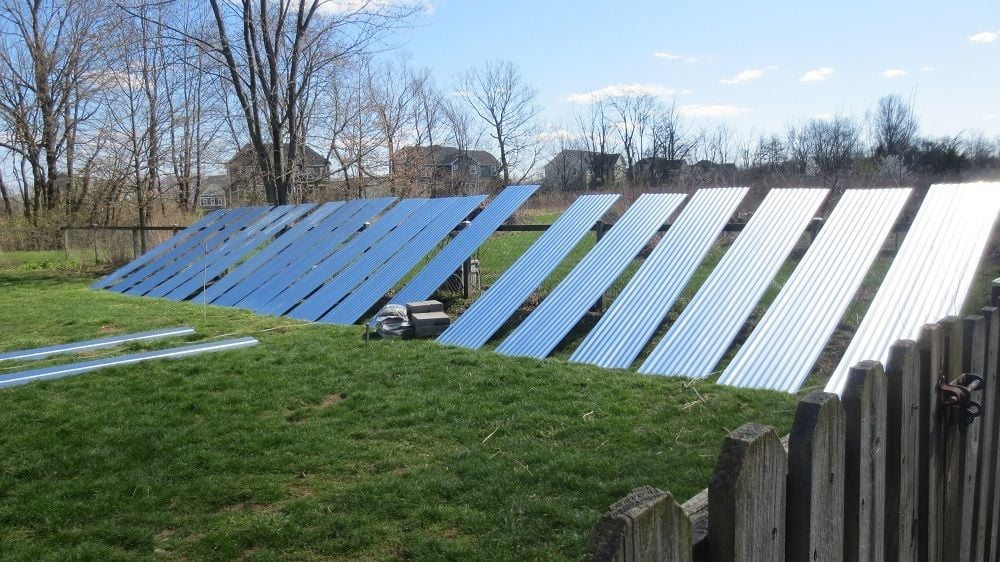
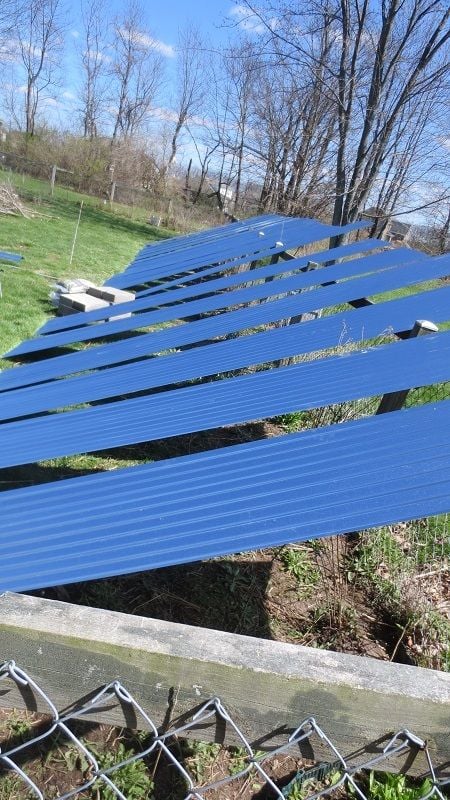
The antique metal shingles on the BH&G inspiration photos would be impossible ($$$) to duplicate, so I am going to use galvanized steel metal roofing. Originally I wanted to recycle roofing material from an old barn. But I was told it would be full of nail holes, and my roof would be leaky. So instead, I bought new roof metal, and treated it with vinegar, so that the valleys will rust sooner, and give the illusion that it is aged. Here are my metal panels being treated:
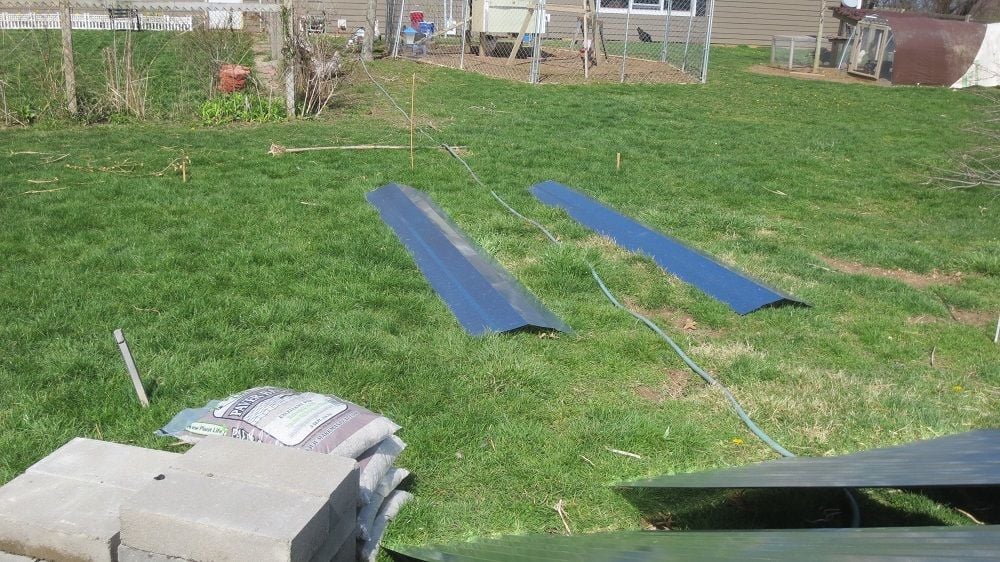
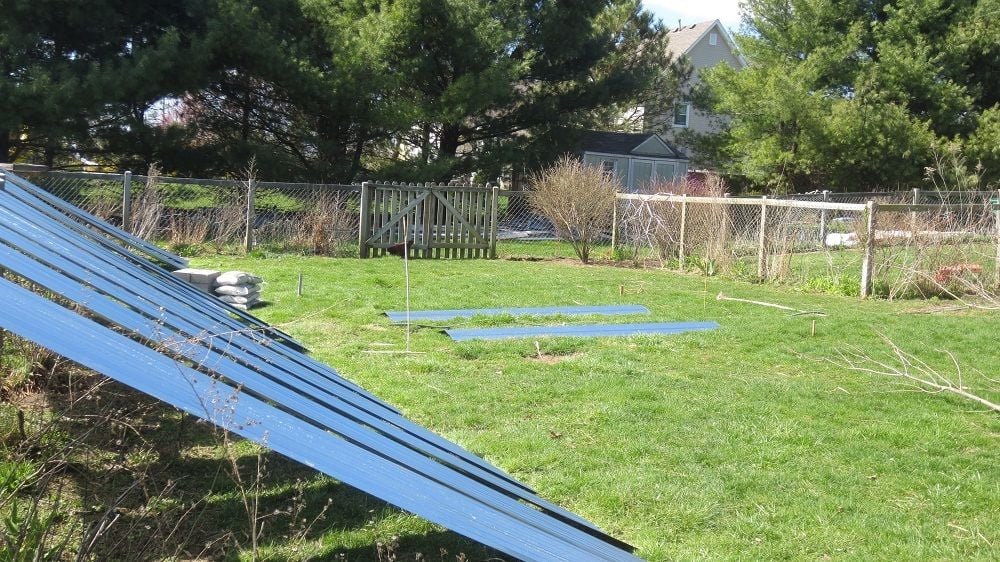
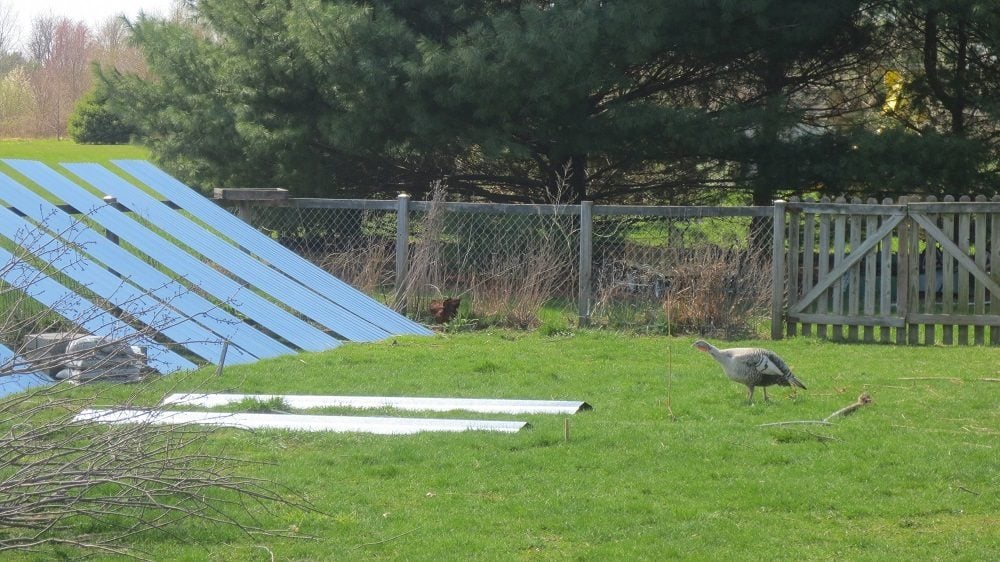
And here are some before shots of the site. I staked out the corners and where the front door is to be located. And I got concrete builder's blocks and paving stone to help level the area.
My Narragansett turkey, Muffin checking out the future entrance:
It's going to be a lot bigger than the shed in the inspiration photo. 12' wide and 14' deep, with 8' side walls and the peak at about 16'. When I found out from the city that I could go as large as 200 square feet without needing a permit, then the scope of the project kept growing from my original idea of 10x12. I even almost went as large as 14x14, but I felt it would look better if it was not quite that wide in the front.
I have read that no one ever says they wished they had made their coop smaller, so even though I think 12x14 is overkill, I decided to just try to make is as large as the site where I want it will allow. My husband has his misgivings. He keeps saying, you sure you don't want to put it outside the fence, further back in the field? Well no. The idea is to make a beautiful thing in the yard that I can landscape around. Plus, I don't want to walk that far in the winter to take care of the chickens. And there's coyotes out in that field, too. (Although I already have plans to move my old chicken compound coops out there and continue to use them if I can make them predator proof enough. No sense letting my previous building efforts go to waste.)
I took some before photos, and my intention is to take a lot of "during" photos too, as long as I don't get in their way too much. They are going to build the basic structure for me, and then I am going to outfit the interior for ultimate chicken convenience, and I am going to do the exterior siding myself, because I have a dream of making it look like a vintage shed that has been standing for a hundred years.
This photo from Better Homes and Gardens was my main inspiration:
Mine won't have church windows, to my chagrin. The day I first saw this photo, I looked on Craigslist, and would you believe, I found THE EXACT SAME WINDOWS for sale!!! But I didn't have clearance from DH to build a project then, and it was days before Christmas that year, and I just couldn't take the time or the money to drive an hour and buy the windows. Of course, after Christmas when I looked for it, the ad was gone.
So I found regular rectangle vintage windows instead, and vintage French doors, and I even found a nice tulip design stained glass window that I will probably put in the interior room divider wall between the chicken side and the human side:
For the siding, I am going to try to recycle cedar siding from off our house. We had Hardie Plank siding put on last fall, and I asked the contractor if I could re use the old siding, and he said sure. What he didn't tell me was that trying to take the old siding off without ruining it would make the job a ton harder for the workers. Or that there would be an awful mess when they "stacked" it. They were supposed to just save the good pieces, and haul away the bad stuff, but it was so tedious sorting it, that they finally just dumped it all. Now I don't know if even any of it will still be usable:
The antique metal shingles on the BH&G inspiration photos would be impossible ($$$) to duplicate, so I am going to use galvanized steel metal roofing. Originally I wanted to recycle roofing material from an old barn. But I was told it would be full of nail holes, and my roof would be leaky. So instead, I bought new roof metal, and treated it with vinegar, so that the valleys will rust sooner, and give the illusion that it is aged. Here are my metal panels being treated:
And here are some before shots of the site. I staked out the corners and where the front door is to be located. And I got concrete builder's blocks and paving stone to help level the area.
My Narragansett turkey, Muffin checking out the future entrance:
It's going to be a lot bigger than the shed in the inspiration photo. 12' wide and 14' deep, with 8' side walls and the peak at about 16'. When I found out from the city that I could go as large as 200 square feet without needing a permit, then the scope of the project kept growing from my original idea of 10x12. I even almost went as large as 14x14, but I felt it would look better if it was not quite that wide in the front.
I have read that no one ever says they wished they had made their coop smaller, so even though I think 12x14 is overkill, I decided to just try to make is as large as the site where I want it will allow. My husband has his misgivings. He keeps saying, you sure you don't want to put it outside the fence, further back in the field? Well no. The idea is to make a beautiful thing in the yard that I can landscape around. Plus, I don't want to walk that far in the winter to take care of the chickens. And there's coyotes out in that field, too. (Although I already have plans to move my old chicken compound coops out there and continue to use them if I can make them predator proof enough. No sense letting my previous building efforts go to waste.)
")
 )
)
 But it has taken me until now to learn how to use it. It's pretty nifty!

")

 . At least I have 3 more inches of space to access that pop door. Which by the way is the Ador1.