• giveaway ENDS SOON! Cutest Baby Fowl Photo Contest: Win a Brinsea Maxi 24 EX Connect CLICK HERE!

Our first attempt at a coop

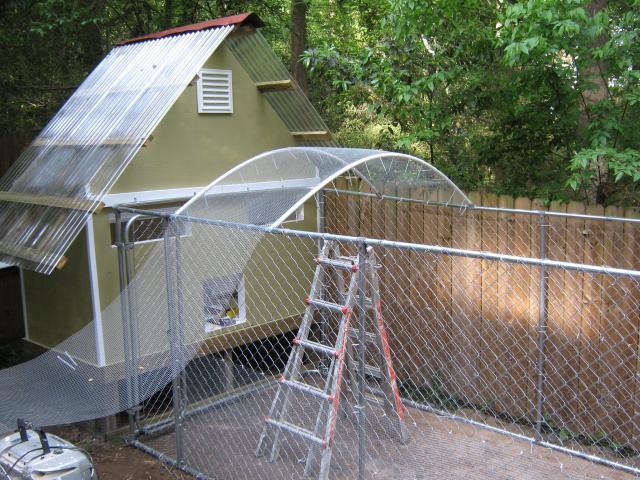
Just about finished...

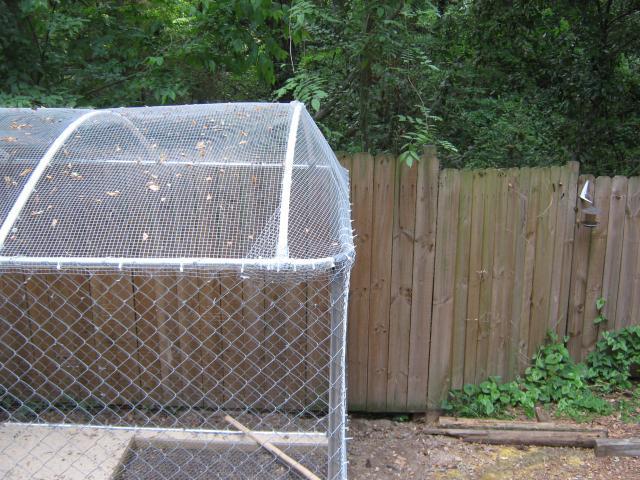
Put the nest boxes on at the back...

84140_img_0876.jpg


The back of the coop in the middle of the afternoon with lots of shade:

84140_img_0881.jpg


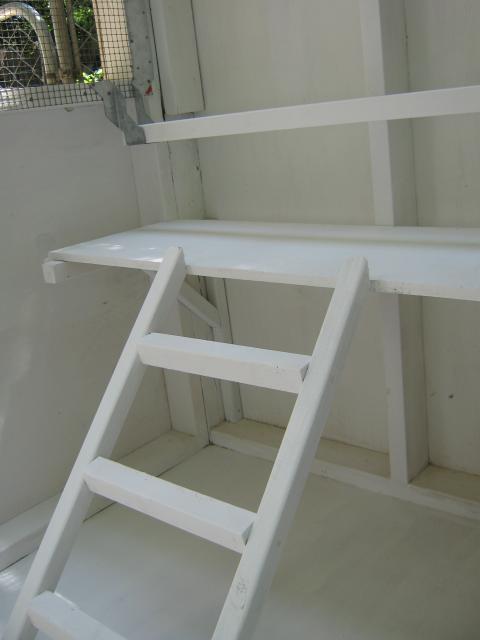
The inside of the coop with the ladder to the roost and poop boards (there's a second same setup on the other side of the coop):

84140_img_0871.jpg


The outside PVC feeder:

84140_img_0879.jpg


Still need to work on the watering system...

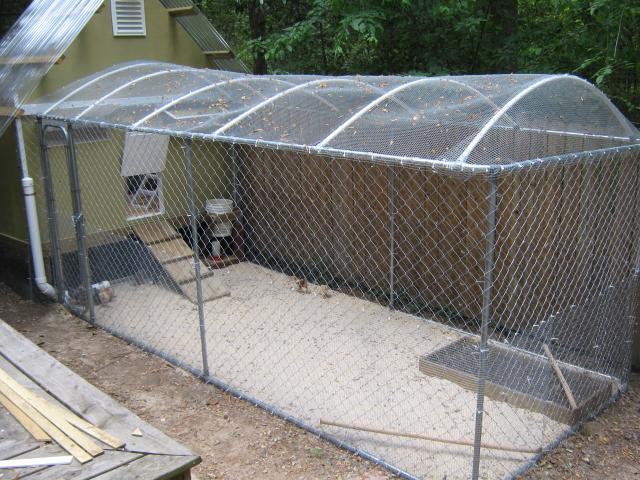
Took 12 scrawny kids out to introduce them to the run. They loved the sand we had hauled in and protested loudly when we had to bring them in after playtime.

84140_img_0860.jpg


Gail
 
very cute!! Do you have a picture of the pvc pipe top done, yet? I think that is a GREAT idea! Can you stand up in the run area? It all looks pretty sturdy and ready for chicks. I'd love to see a picture of the inside of the nest box area, too! Love your yard! I wish we had shade. ANY shade!!
tongue.png
We're on the plains. Sigh.
 
It looks Really Great!

Excellet work!

I am a bit concerned about the "Greenhouse Effect" with that clear roof...
You don't want summertime solar roasted chicken...
However, the green house effect should be fantastic in the winter...

Here, take a quick Look At your picture:
84140_img_0813.jpg


Ok:
I would cut an inch or two off that bottom edge, up to the bottom board,
Then I would nail a 2X4 to it so that it formed a ledge just a bit higher,
then the top ripple of the clear roof at the bottom edge of the clear roof.
That way you can lay some non-see-through roof sheets (with the same ripple pattern) over the top of clear ones when it gets hot.
the top would slide up under your "ondura" top peice and the bottom would rest on the new edge ledge you made.
locking it all into place.

perhaps on each non-see-through section (2 or 3 to a side) you could install wood rods for easy add and removal. (with the wood rod handles, each section alone would look sort of like a LONG corrigated protest sign)
attach a few clips to grab the base of your wood rods to keep the non-see-through roof sections from flying away in any wind,
and your good to go!

Anyhow, that is my 2 cents...
wink.png
 
Last edited:
"Do you have a picture of the pvc pipe top done, yet? I think that is a GREAT idea! Can you stand up in the run area? It all looks pretty sturdy and ready for chicks."


This is a picture of the first stage of the run roof; used 3/4" PVC pipe attached to the edge of the run with brace rail clamps (found in the chain link fencing section at Lowes) at 3 foot intervals, then ran 36" wide hardware cloth along the top of each pipe, attaching these with zip ties:

84140_img_0826.jpg


The finished roof:

84140_img_0884.jpg


We attached the end piece by zip tying it for the the last top rail, then folding to over the last PVC pipe, attaching it and trimming off the excess:

84140_img_0883.jpg


The dog kennel used as the run was six feet tall and seven feet wide. The "hoop" effect was achieved by trimming the pipe to 7.5 feet long. One could still work on attaching the hardware cloth to the pipe even with this height.

Gail
 
Bravo!
wink.png


Brilliant, excellent and affordible solution for your "hoop effect" run roof!

as you chickens get older, you will want to add higher and higher rods in side your run...
chickens like high places and your head chicken will want the highest rung.
 
Last edited:

New posts New threads Active threads

Back
Top Bottom