Well we just bought our home in April, and our little chicks will be here sometime this week. I really enjoy reading others stories and seeing their pics as they go along, so I decided to try a story of my own.
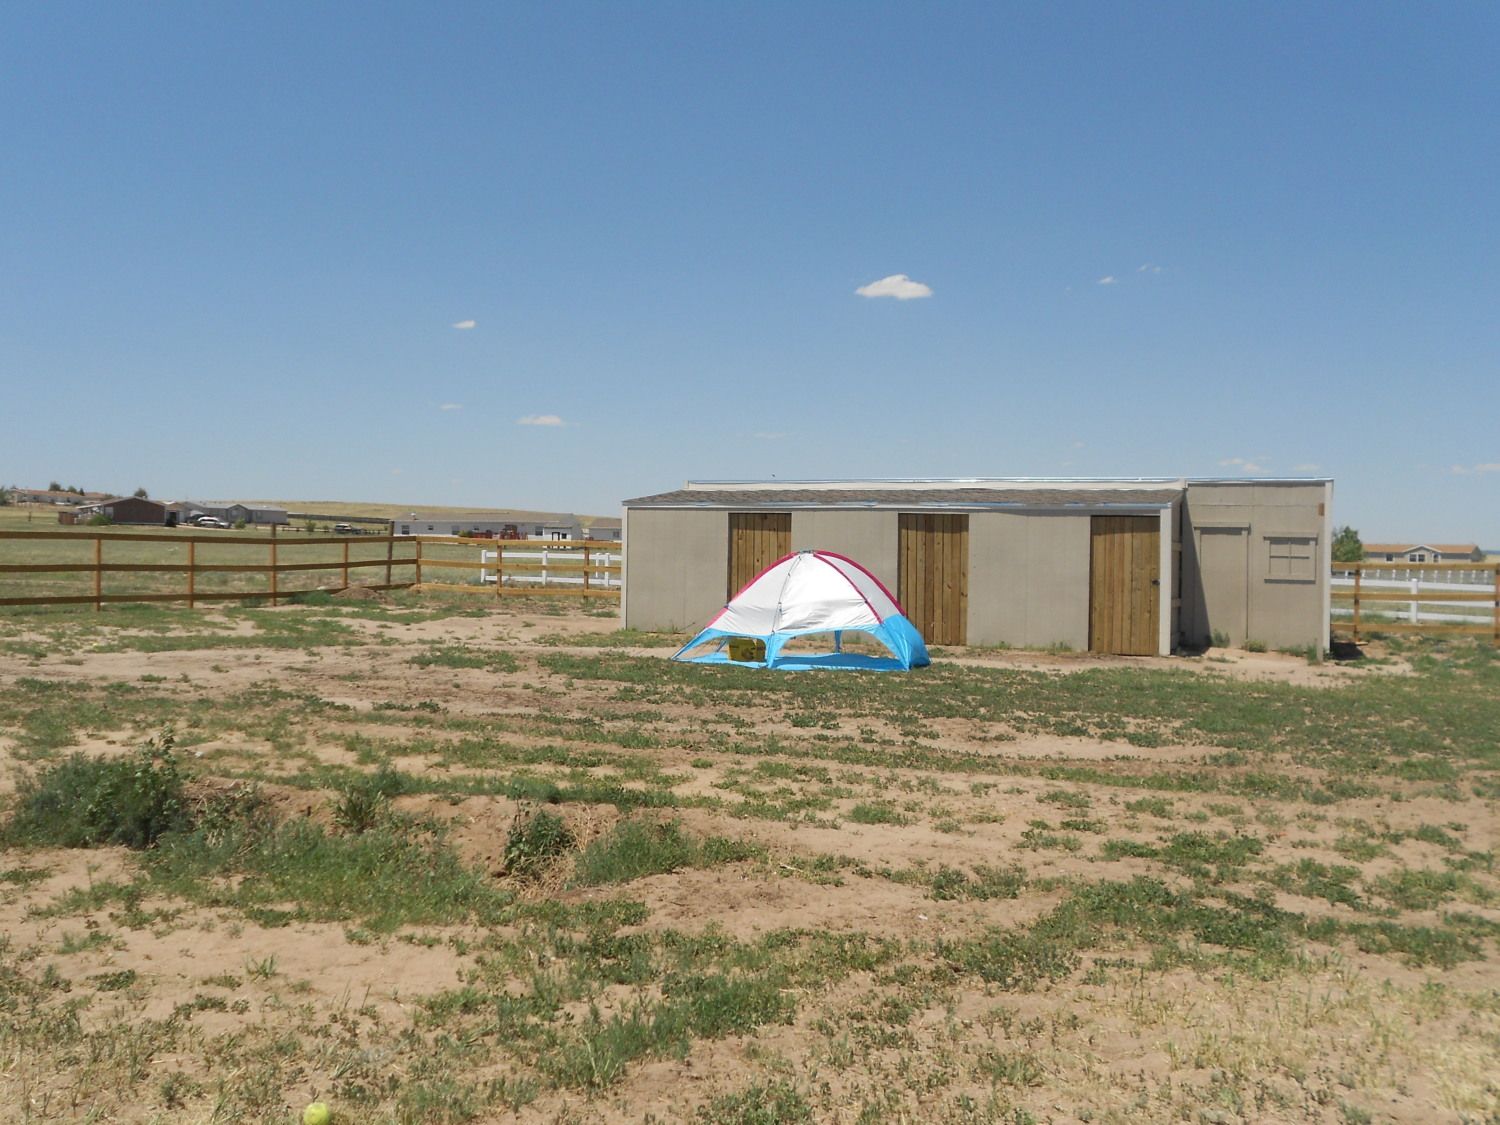
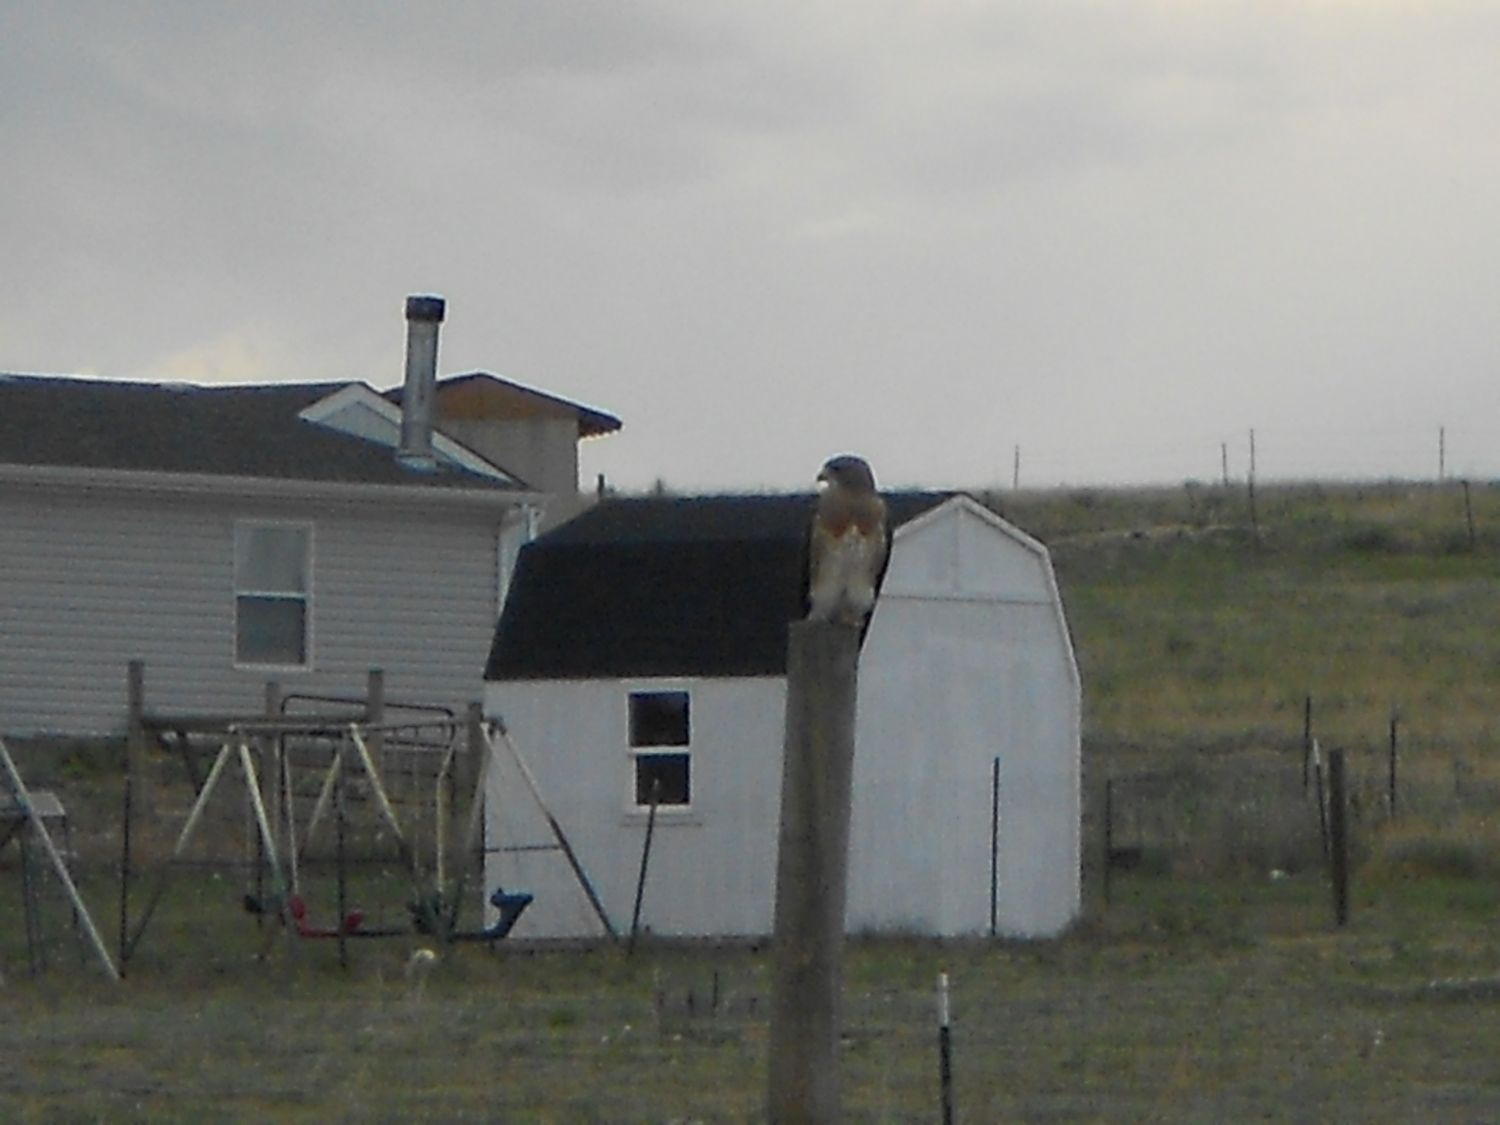
We live in a smallish community of 2.5 acre lots. Our property was completely un-fenced when we bought it, so the first thing we did was fence a huge backyard. Which leaves about an acre behind that, that still needs to be fenced, and of course the front yard is quite large as well. There was a pole barn already built, which we included in our backyard area, and is what started us wanting chickens right away. There was a huge horse corral that we took down, and saved all the wood from. The posts will be used to fence the back of the property, and the rails were what we used for the coop. Its all sun aged wood, very pretty and "free". So our coop ended up costing maybe $100 total out of pocket. The coop is inside the barn, in one of three stalls, and the run will be attached to one end of the barn. We've yet to build the run, but have 6 weeks at least till the chickens will need it.
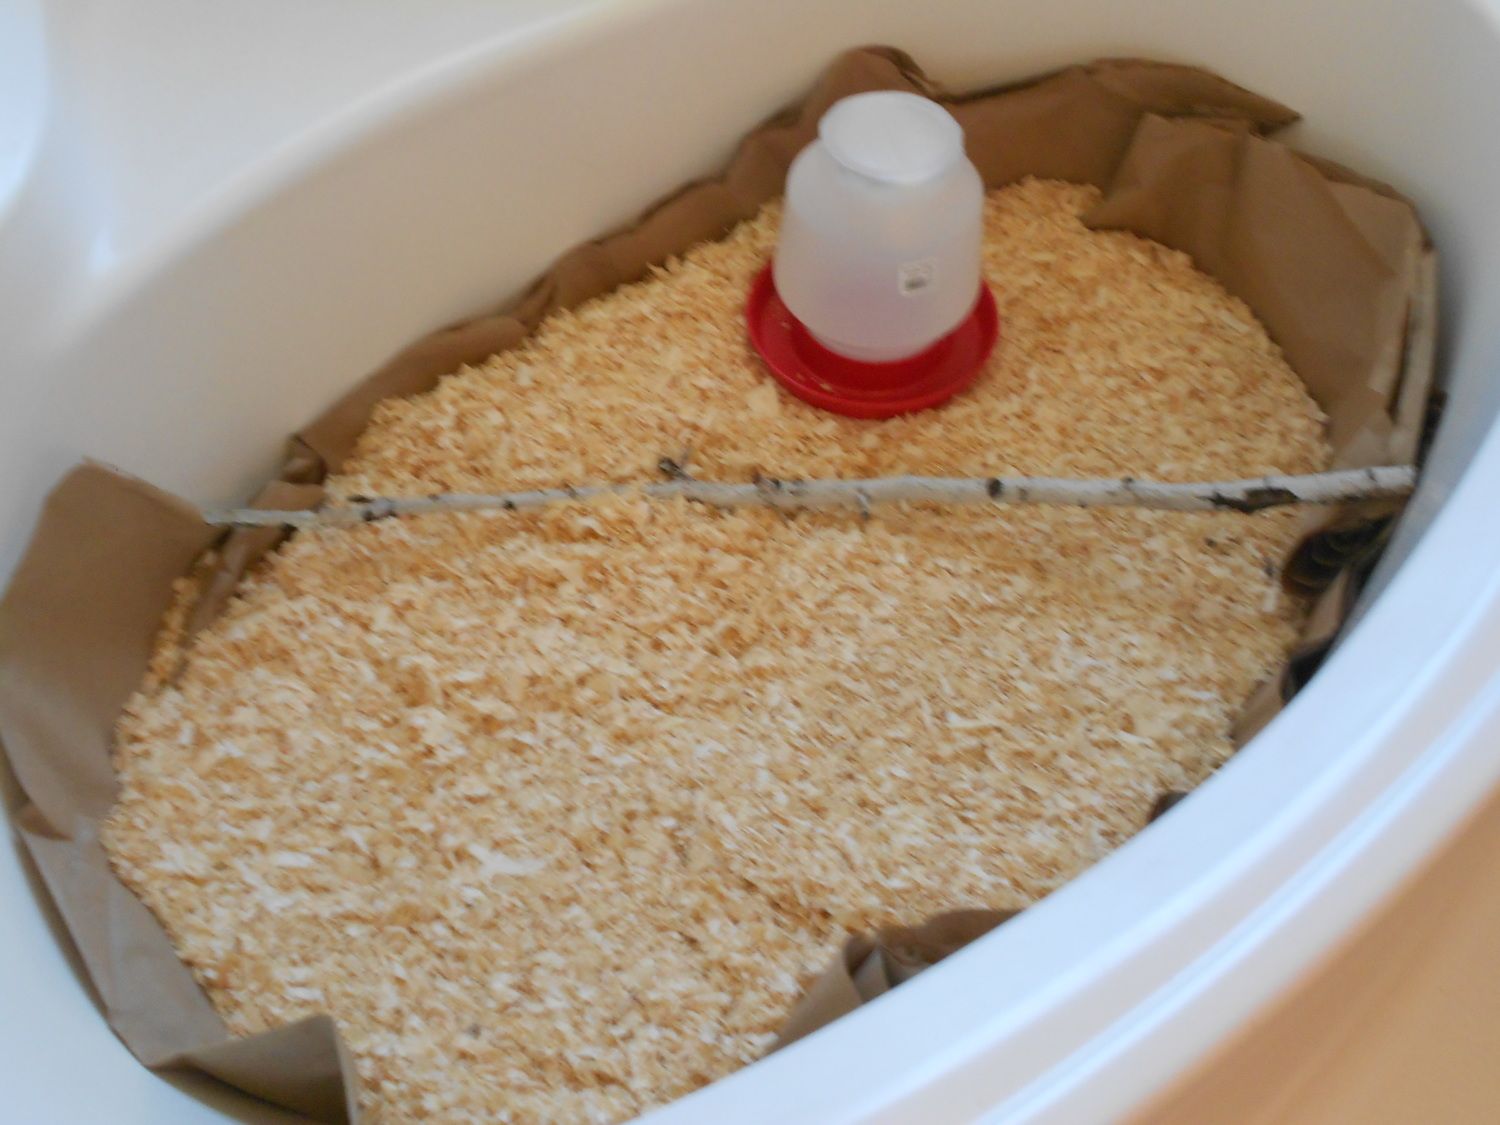
Our master bathroom has a garden tub, that I hate, but is going to be the perfect brooder. I really didn't want the chicks in the garage, having to go out there constantly just doesn't seem like much fun.
We're getting 7 to start...2 Barred Rocks, 2 Silver laced Wyandottes, 2 Golden Buffs and 1 Silver Laced Polish. And now for every ones favorite part. My Brooder, prior to the lamp being set up.
Here's the barn. The run will be from the far left door to the fence. Our fence is a three rail, with goat wire all the way around.
Here is the coop. Almost everything is the wood from the old corral. Only 2 pieces of plywood were used. One of them was left over from finishing the garage, and one large piece was bought to do the flooring. All we have left is to install the locks on the doors, the ramp and door for the chickies and the roosts and nesting boxes. We literally only have scraps of this old wood left, used every piece we could.
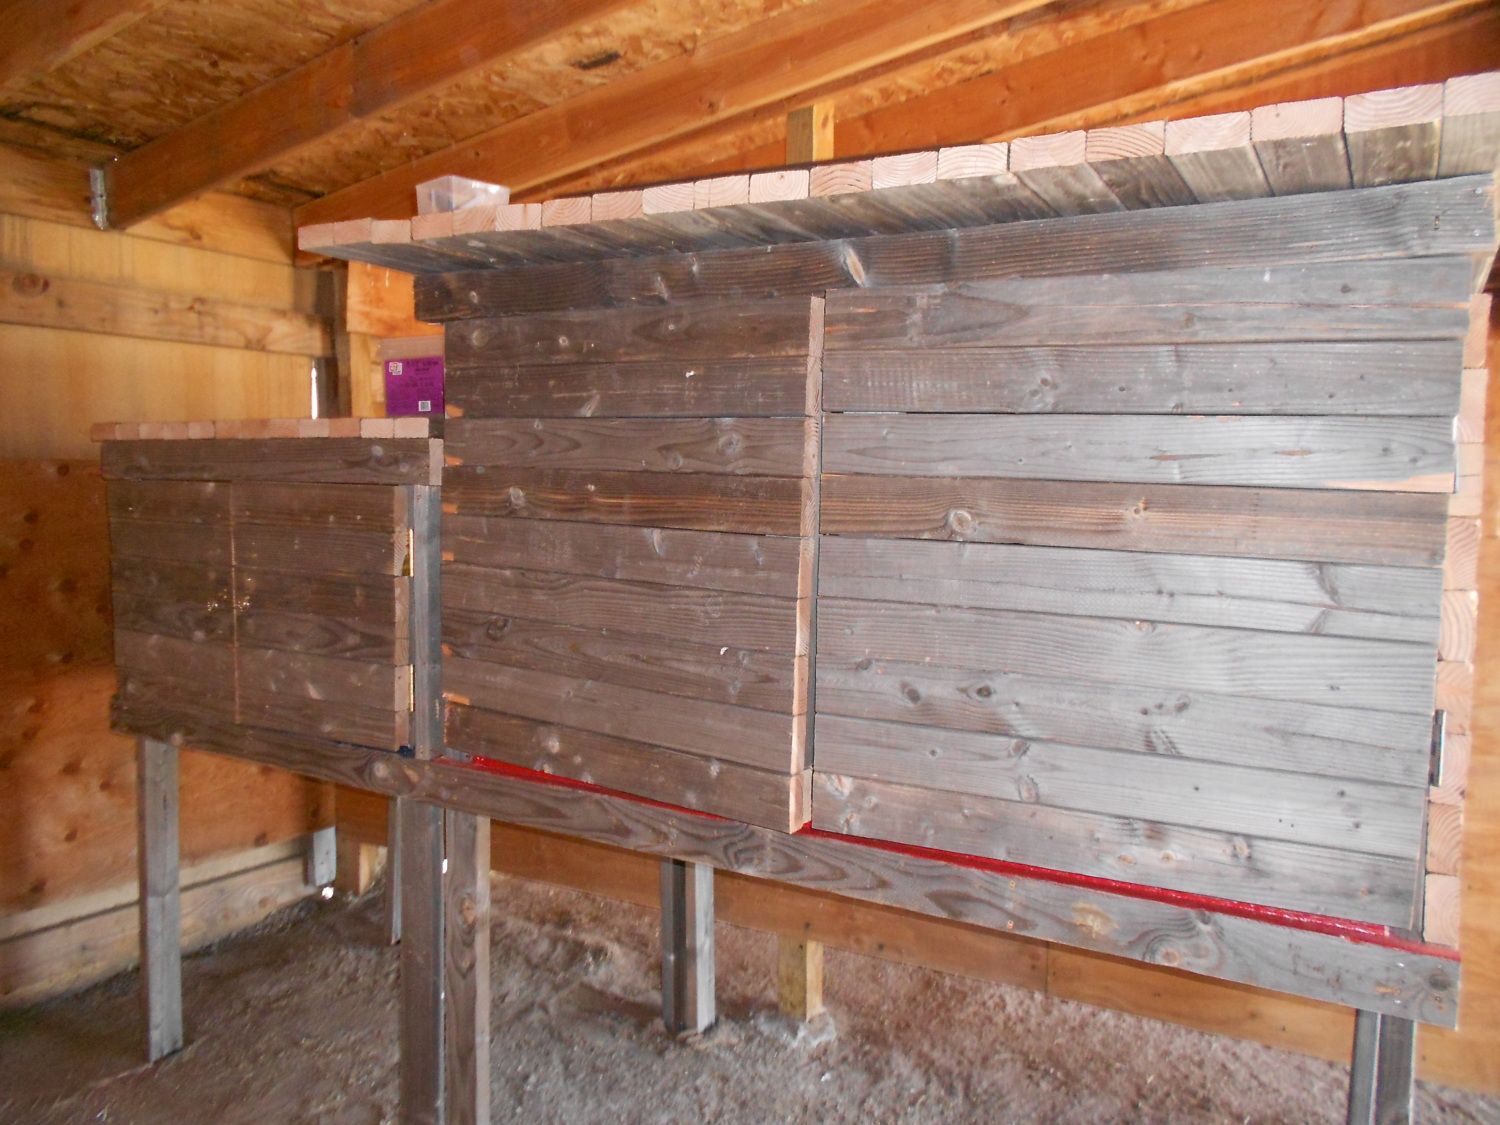
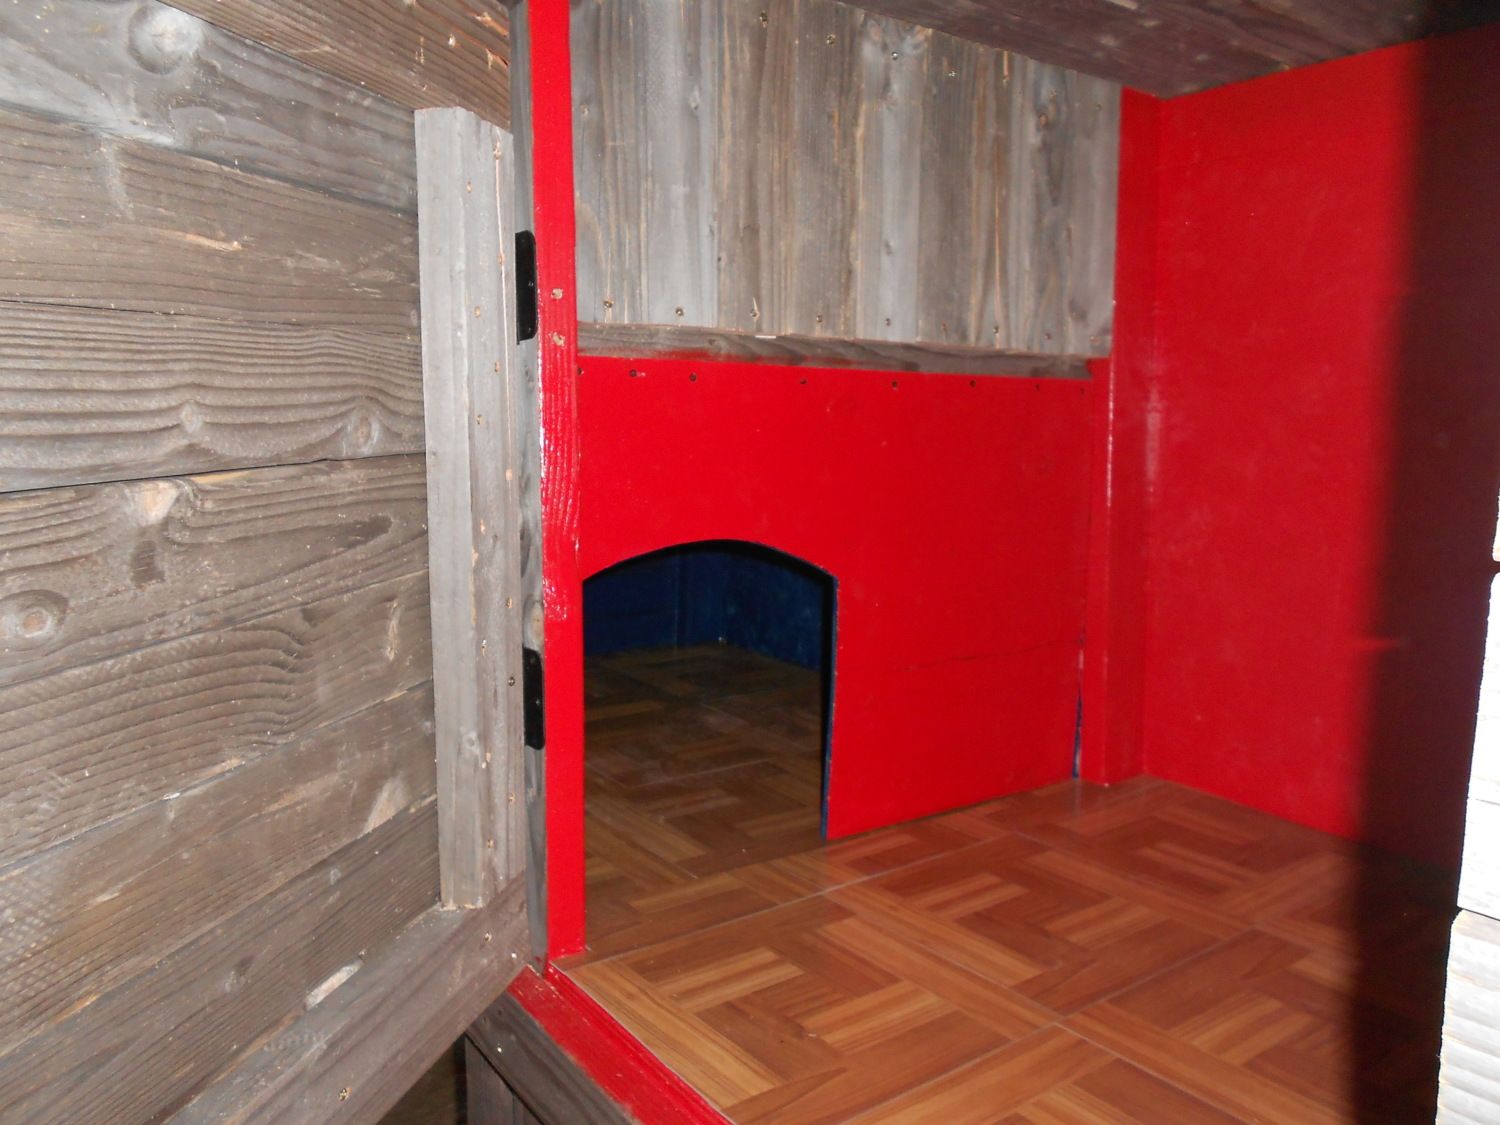
The nesting side...
Roosting side...
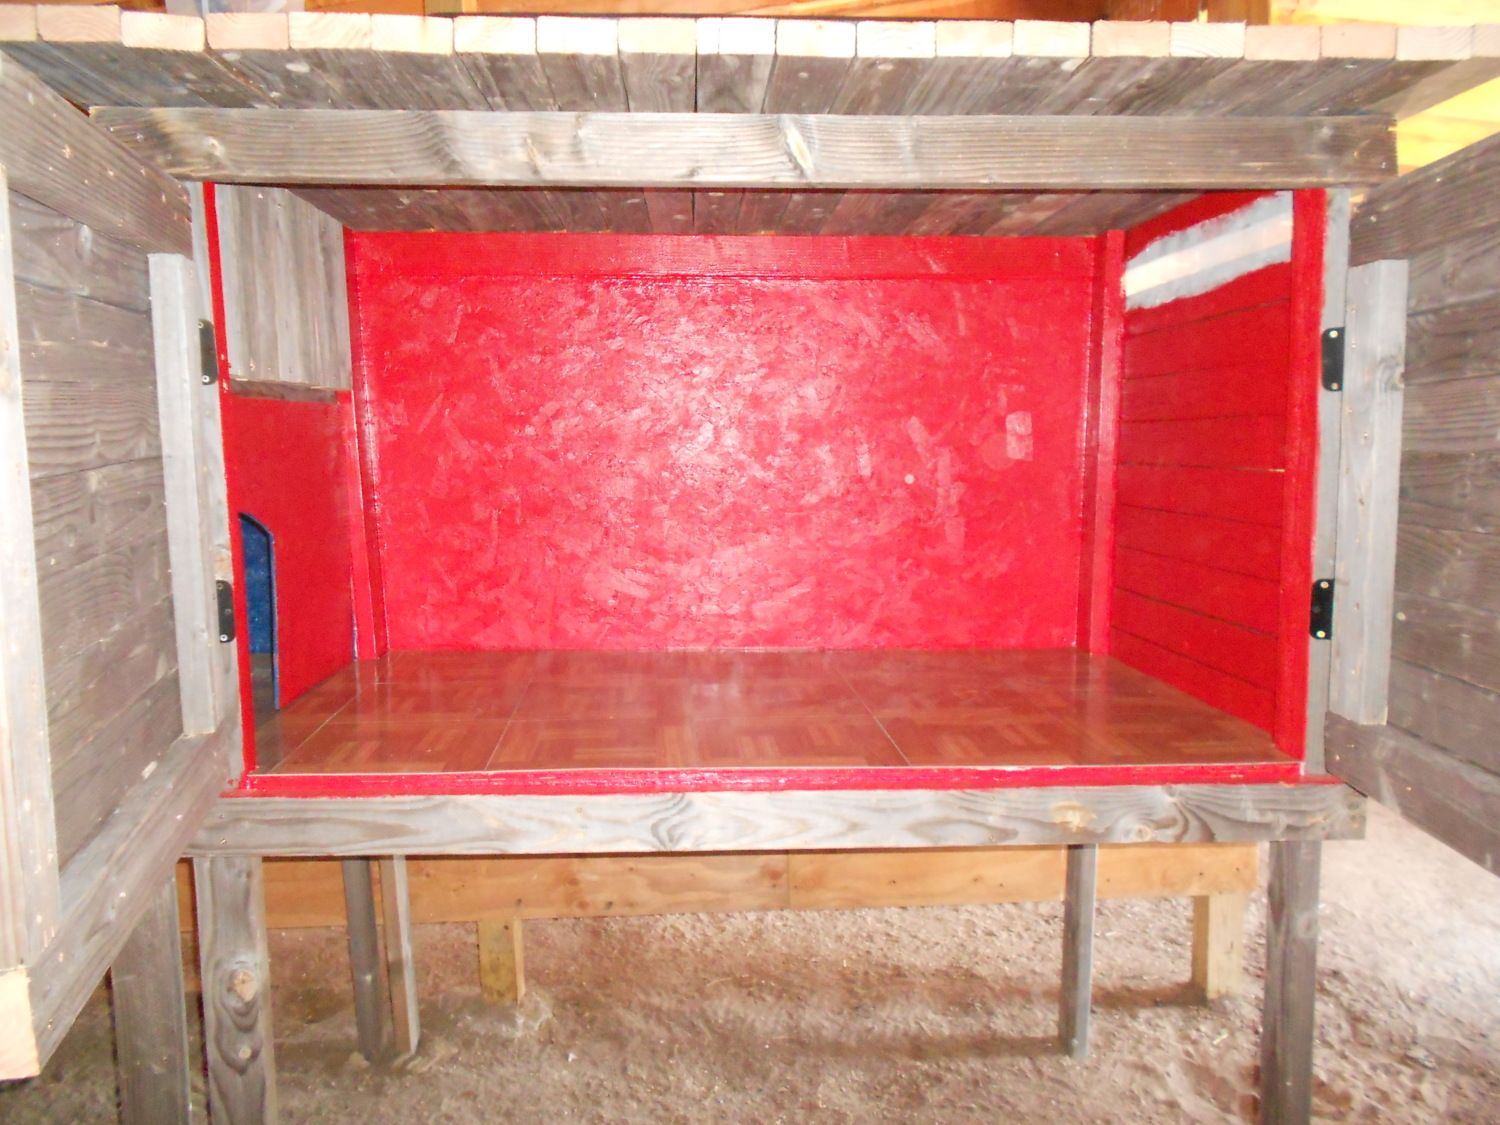
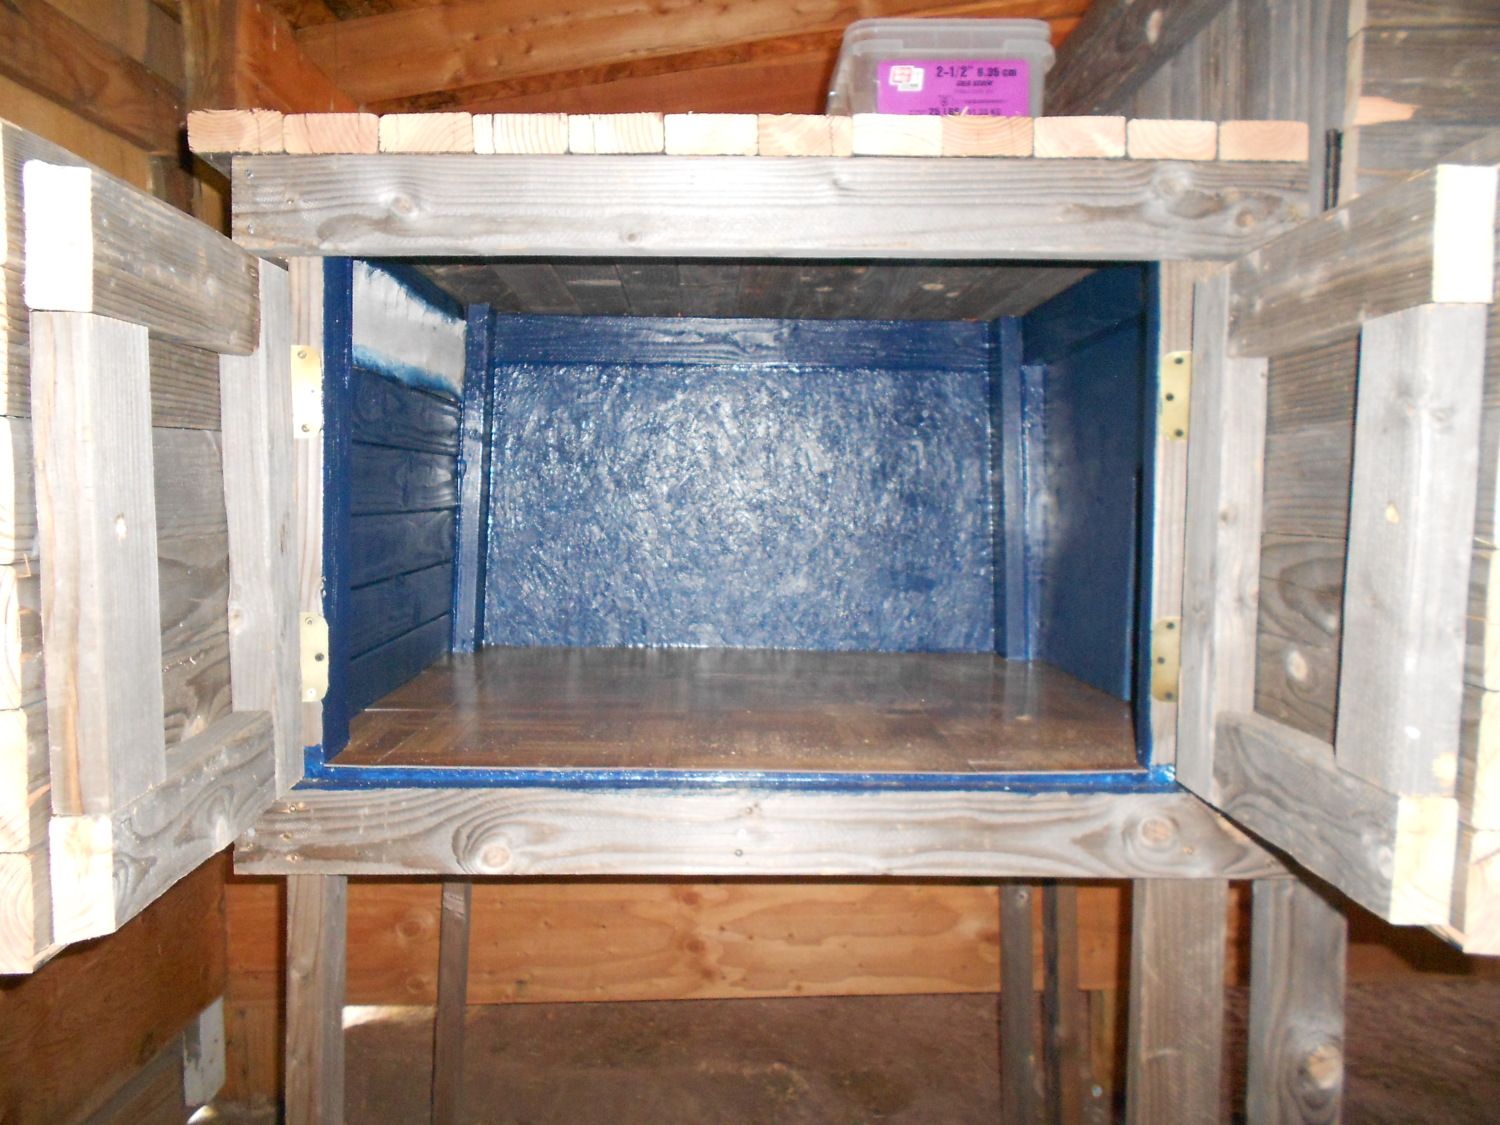
Here's the walk-through. As you can see we laminated the floor, for easy cleaning. They walls are calked and painted high gloss, also for easy cleaning. And since I was painting, why not make it nice and colorful? We've got venting on both ends, plus all the boards has some sort of slight spacing between them. If at some point we notice the humidity level getting too high we can add more venting quite easily.
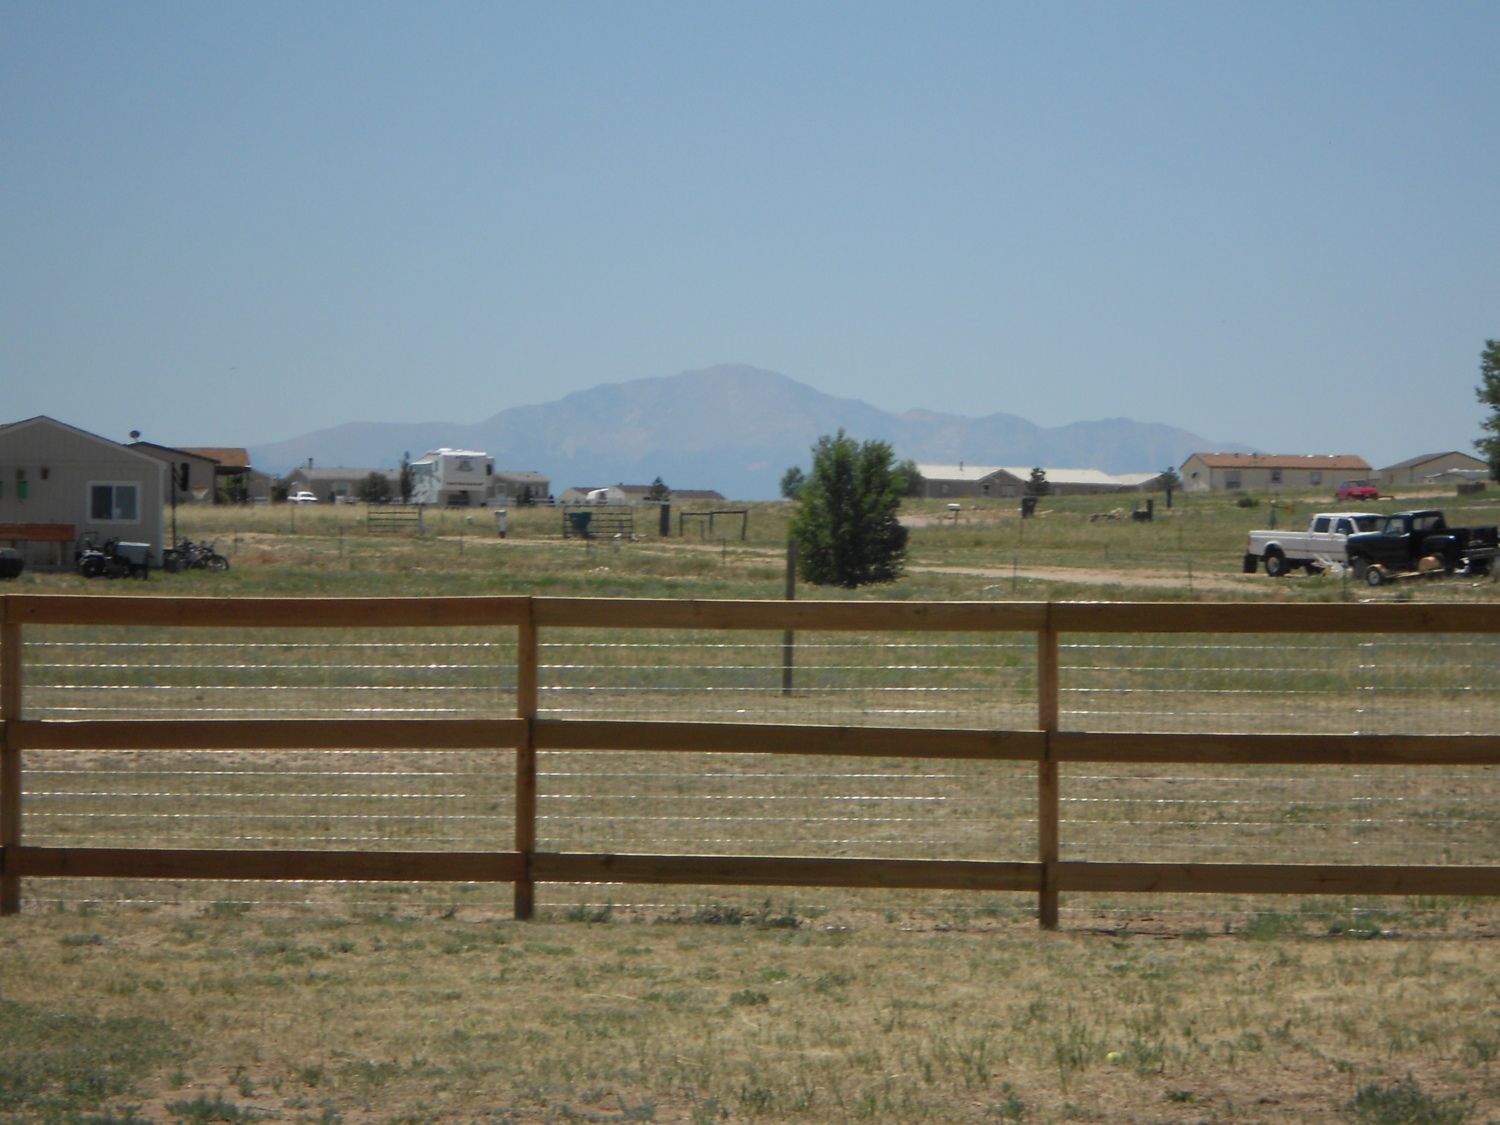
Well there's our set up. We're pretty happy with it so far. We are definetly learning as we go, and have to take apart and re-do things from time to time. We hoping the fact that we'll be using new wood for the run means it will be easier. This older wood is a little warped in places, making some things crooked, and not measuring true. I'll be adding a few more posts showing our property and what-not. It's very new to us being in a "country" setting, after 12 years moving from base to base. It's good to be home in Colorado, and hopefully we do not have to PCS for the rest of my husbands career.
Thanks for reading, and all comments are welcome and appreciated.
~Ashley
We live in a smallish community of 2.5 acre lots. Our property was completely un-fenced when we bought it, so the first thing we did was fence a huge backyard. Which leaves about an acre behind that, that still needs to be fenced, and of course the front yard is quite large as well. There was a pole barn already built, which we included in our backyard area, and is what started us wanting chickens right away. There was a huge horse corral that we took down, and saved all the wood from. The posts will be used to fence the back of the property, and the rails were what we used for the coop. Its all sun aged wood, very pretty and "free". So our coop ended up costing maybe $100 total out of pocket. The coop is inside the barn, in one of three stalls, and the run will be attached to one end of the barn. We've yet to build the run, but have 6 weeks at least till the chickens will need it.
Our master bathroom has a garden tub, that I hate, but is going to be the perfect brooder. I really didn't want the chicks in the garage, having to go out there constantly just doesn't seem like much fun.
We're getting 7 to start...2 Barred Rocks, 2 Silver laced Wyandottes, 2 Golden Buffs and 1 Silver Laced Polish. And now for every ones favorite part. My Brooder, prior to the lamp being set up.
Here's the barn. The run will be from the far left door to the fence. Our fence is a three rail, with goat wire all the way around.
Here is the coop. Almost everything is the wood from the old corral. Only 2 pieces of plywood were used. One of them was left over from finishing the garage, and one large piece was bought to do the flooring. All we have left is to install the locks on the doors, the ramp and door for the chickies and the roosts and nesting boxes. We literally only have scraps of this old wood left, used every piece we could.
The nesting side...
Roosting side...
Here's the walk-through. As you can see we laminated the floor, for easy cleaning. They walls are calked and painted high gloss, also for easy cleaning. And since I was painting, why not make it nice and colorful? We've got venting on both ends, plus all the boards has some sort of slight spacing between them. If at some point we notice the humidity level getting too high we can add more venting quite easily.
Well there's our set up. We're pretty happy with it so far. We are definetly learning as we go, and have to take apart and re-do things from time to time. We hoping the fact that we'll be using new wood for the run means it will be easier. This older wood is a little warped in places, making some things crooked, and not measuring true. I'll be adding a few more posts showing our property and what-not. It's very new to us being in a "country" setting, after 12 years moving from base to base. It's good to be home in Colorado, and hopefully we do not have to PCS for the rest of my husbands career.
Thanks for reading, and all comments are welcome and appreciated.
~Ashley


")


