Our 'Stagecoach' Clone

Do you have a door that closes them in at night? I'd be a bit worried that something could get through the chicken wire and then inside the coop part.

Yup! in this picture if you look close, you can see the sliding door! It doesn't show up to well 'cause it blends in, but it's on the right of the opening. The ramp comes off. It's not permanently attached right now.

 
Last edited:
Thanks bangar!! I'm still undecided on building this or a coop and run under an existing lean to roof off my shop. Portability would be nice.
wee.gif

Just to put some ideas out there...I've designed a way to drop the floor toward the rear under the nesting boxes. This way when the floor is tilted down i can just rake/sweep the bedding/litter out without being hunched over inside. Being able to pull it straight into a wheelbarrow would be even better, but still working on that. Also by ripping a 2x4 on an angle and mount half to the back of the coop and the other half to the nesting box (does this make sense?) so the nesting box can be lifted off and cleaned as well as provide access to the inside of the coop, again from outside the pen.
I'll be sure to post picks of any successful ideas to help others as well as get intuitive feedback!
wink.png
 
Oh, someone told me the thinner wall PVC won't hold up as long in the sun, that it would become brittle and break. I wonder if a UV paint would be worth the hassle?
 
I thought you drilled the holes in the peak board as well, and slipped it into place, but on your last pics, it's not in place. Did you just notch it then put that furring strip across the top?
 
Beautiful tractor!
Can you post an even closer up pic of the wheel mechanism and explain how you assembled it? I have been looking to copy the Stagecoach wheels b/c they look SO easy in the youtube video I watched. But I don't know much about how wheels mechanisms work... so far I just have 2 wheels :) How did you figure out where the wheels should go so it would be balanced?
 
Last edited:
I actually got the plans. When I took a close look at it I felt it was too small even for the 6 Jersey Giants I wanted to put in it. But - I liked the basic design. So I heavily modified it. Some major changes-
1.) The size is now 6x12, 6 feet high so I can stand up in it. coop area is 6x4. This required joining together sheets of plywood to make the 6x6 pieces I needed. You also need longer than 10' pvc pipe tp male the hoops, but you can just glue pieces together for the proper length. I used the grey SCH 40 electrical conduit pvc since it is UV resistant and intended for outdoor installations.
2.) I added a ridge vent alond the top for more ventilation in addition to the vents on the side.
3.) The nest box is much larger, with 3 16" wide boxes, and in addition to the small door to get eggs the whole box is hinged on one side so i can swing it open and I have a huge 4' opening to clean the coop.
4.) I did put 4x2 wire along the bottom.
5.) I used a sliding door instead of the bottom open type so I could get 6" of litter in the coop.
6.) The roof is insulated. I didn't like the idea of a bare metal roof radiating heat in the summer, but I liked the idea of a galvanized roof for ease of installation and longevity. So, I used 1/4" plywood painted with a gloss paint for the layer that lines the coop, put 3/4" foam board over that, and the metal roof is over the foam board making it weather tight.

I have way too much time into it, but its finally done and the chickens are in. They seem to like it. I only have one picture of when it was about 90% done.
 
Last edited:

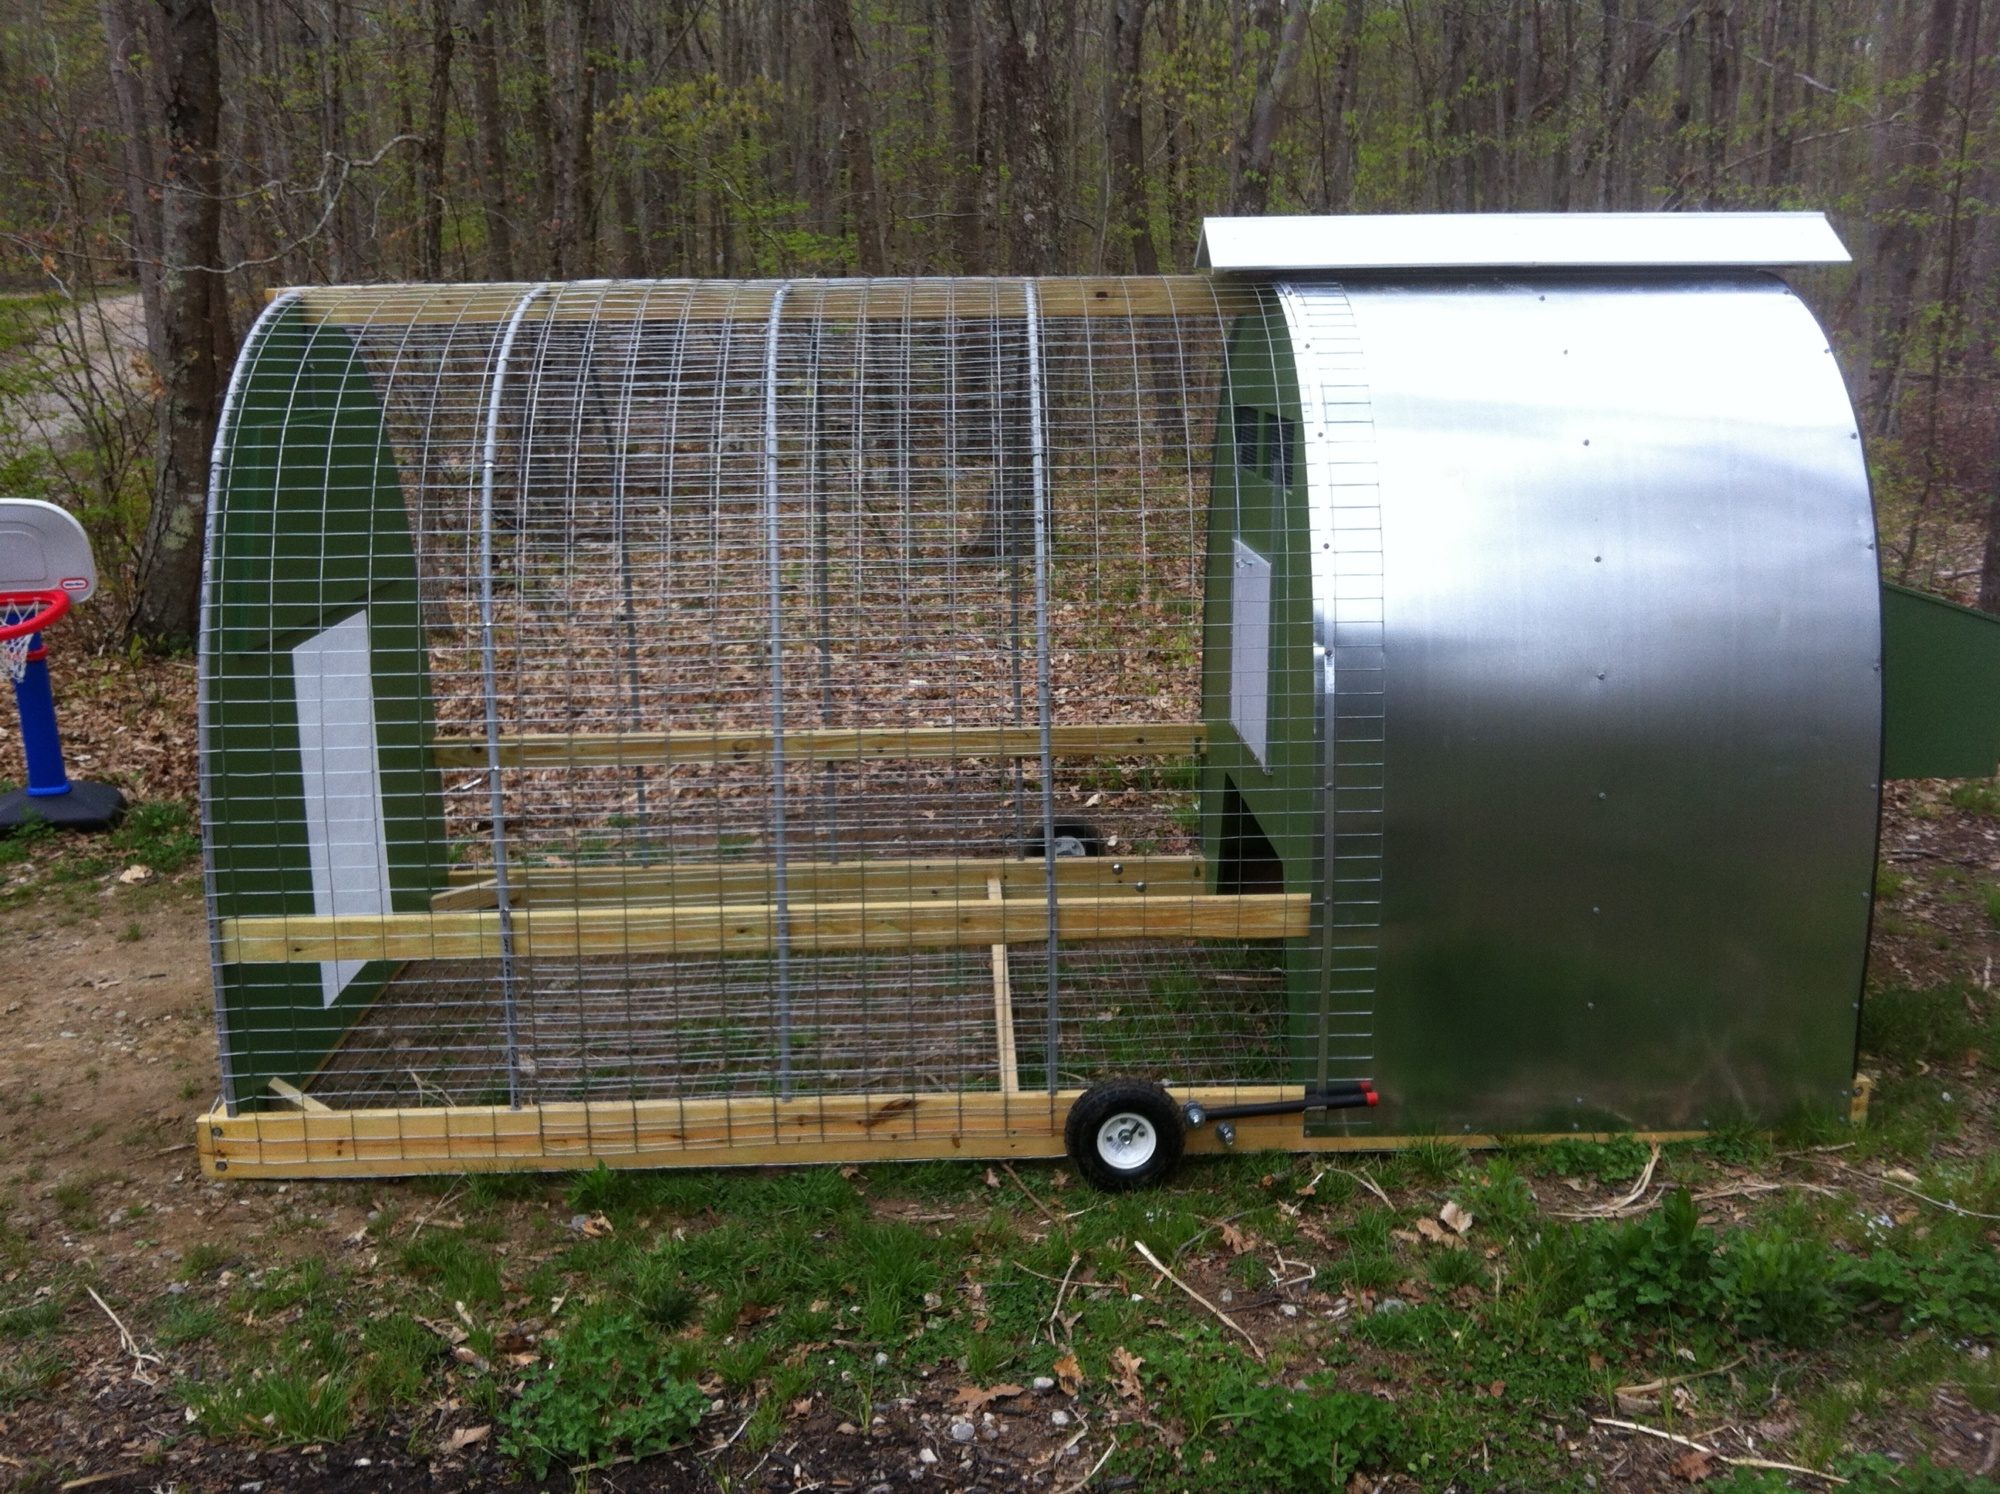
New posts New threads Active threads

Back
Top Bottom