Update:
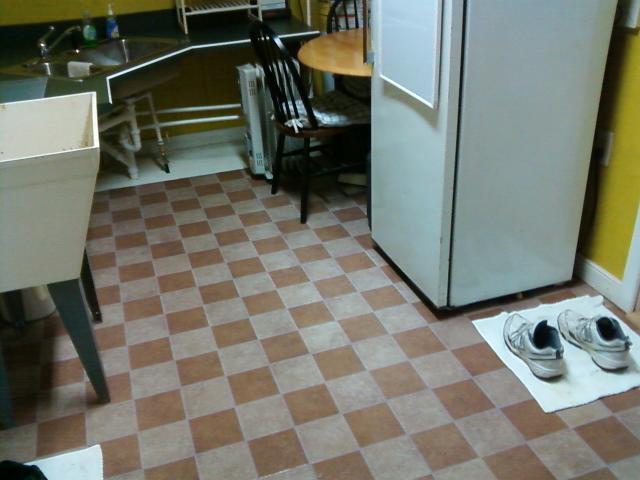
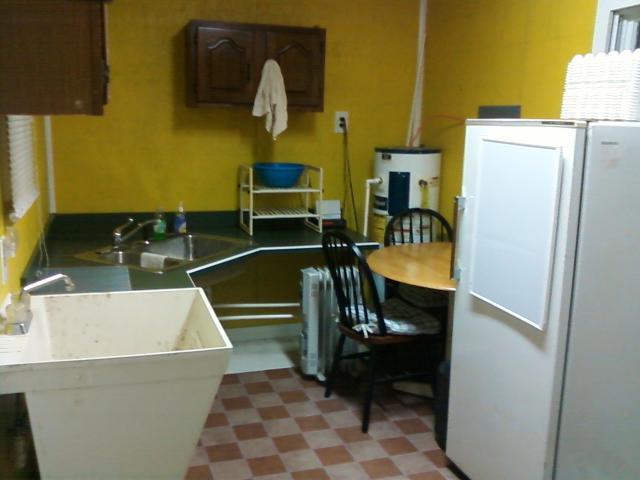
The cleaning room is pretty much completed and is now being used daily. Praise the Lord! The design of this new building with the cleaning room has been a great blessing. The idea is that we can walk into the cleaning room and let it be homebase for carrying out daily chores associated with the raising the chickens. No longer do I have to carry 50 eggs across the yard and into the family kitchen to be cleaning and stored each day but rather most everything that needs to be done can be carried out from the new room.
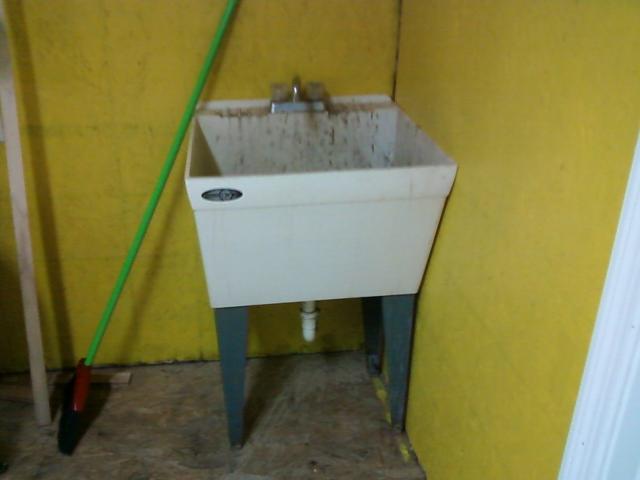
With about 65 chickens we refill two 3 gal water cans daily. This is so much easier now than last year. Separate from the egg cleaning sink I have installed a large square utility sink in the cleaning room next to the door that goes into the chicken house. The waterers are just 5 steps away from the utility sink in the heated room so it is quick and easy to have nice clean water everyday.
Also feeding is simplified as the feed is kept on the other side of the door in the cleaning room again just 5 steps away and the feeding is done. By storing the feed in the new room it is fast and always clean and protected from pests. No more picking up a bag that the chicken have pooped on.
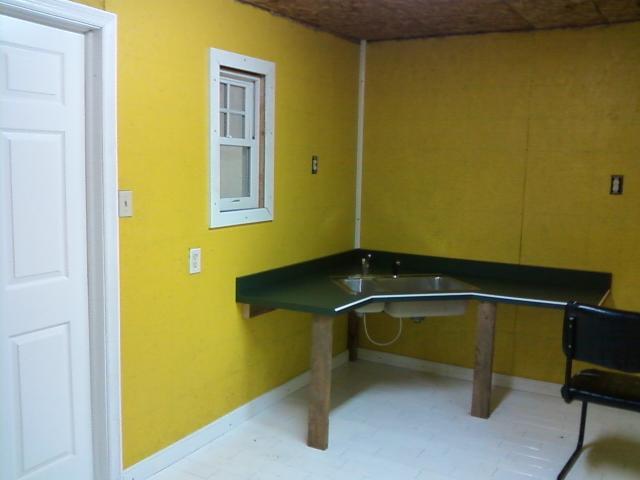
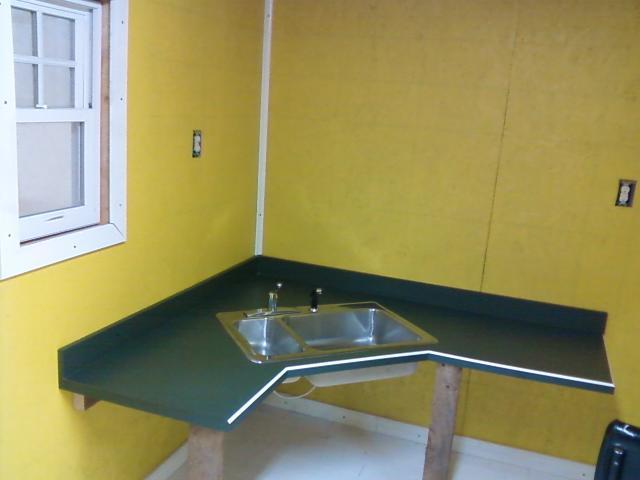
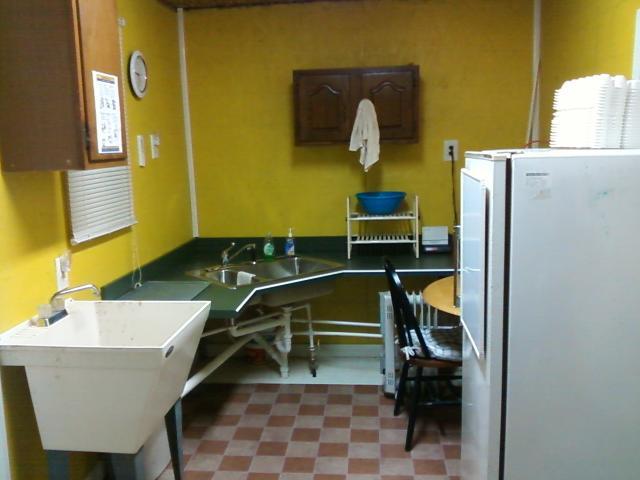
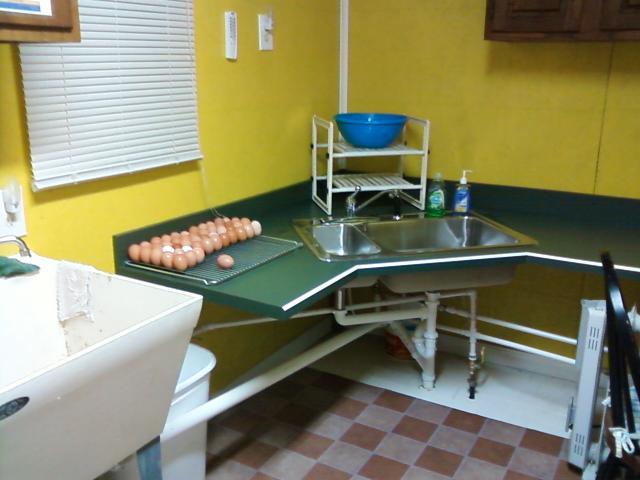
Although I wanted access to the nest from outside the chicken house, I instead opted to just build the old traditional nests inside. We have all of the nests in one area built along an interior wall to prevent freezing. The nests also have an additional seam of 3 1/2 insulation along the bottom row sealed between the nest boxes and the floor. Dealing with eggs has been one of the most valuable changes in this whole project. I can take a basket in to gather the eggs and then walk into the other room, put them in the sink wash and sanitize the eggs laying them on the counter to dry. The egg washing sink is stainless steel with hot and cold water and plenty of counter on each side making this a quick and easy task.
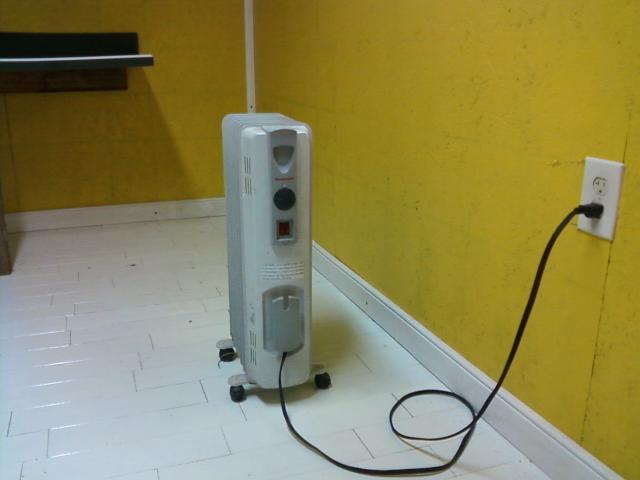
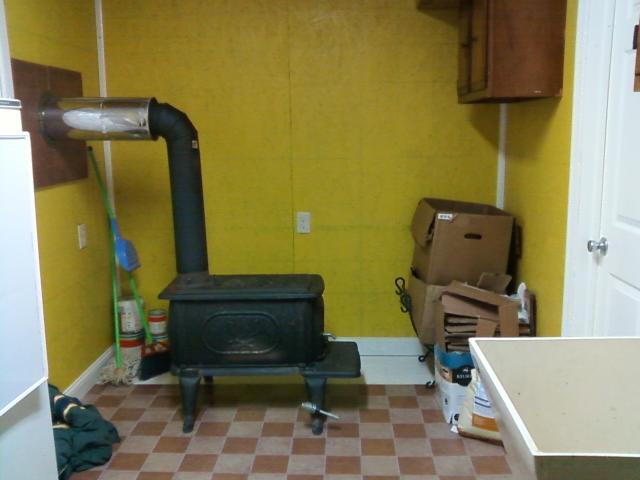
During cold weather we keep an oil filled electric heater running on low to maintain at least 45 deg even in the coldest weather. If I plan to spend much time in the cleaning room I will build a fire in the wood burning stove. I have a small table for filling and labeling cartons and a refrigerator right across from the sink. Having a setup designed to be efficient makes this whole project so much more enjoyable.
Perfect spot to hide away for Bible study time as well
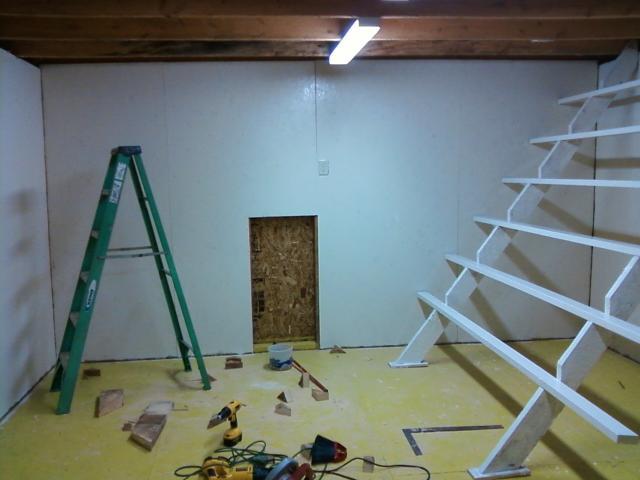
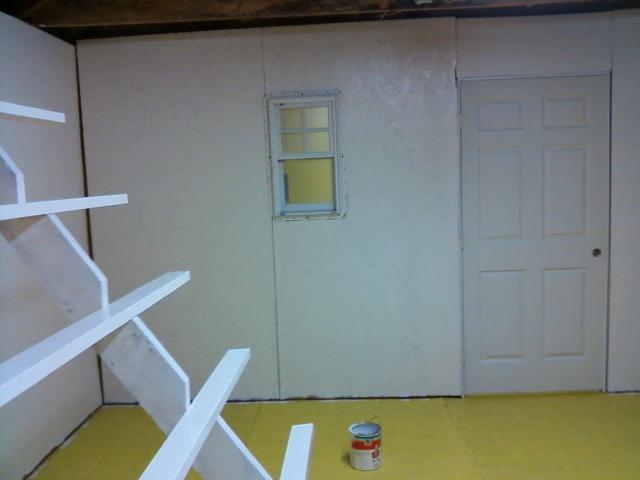
Here are some Pictures - keep in mind this room is only 8' x 16'
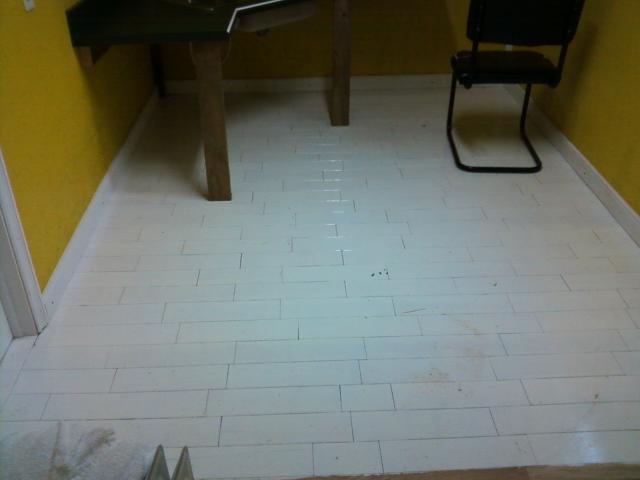
Even though we have been using this room for a about 2 weeks we just added the linoleum this weekend
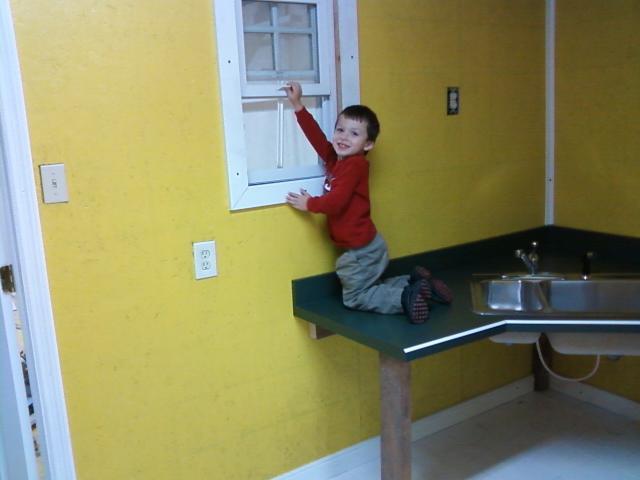
The room is small but efficient
This deep utility sink has been wonderful for washing and filling waterers
If I plan on being in here very long i will build a fire otherwise the small oil filled electric heater breaks the chill.
I was drying eggs on a towel but I found that it head a lot of moisture like a sponge so I started using this rack and it works great.


 Wet chickens, cold weather
 BYC's 52-week Photography Challenge. Week 9: (Mar 2 - Mar 8, 2026) Theme: Frame within a Frame
 BYC's 52-week Photography Challenge. Week 10: (Mar 9 - Mar 15, 2026) Theme: Get Low!