- Jul 14, 2010
- 3,577
- 29
- 181
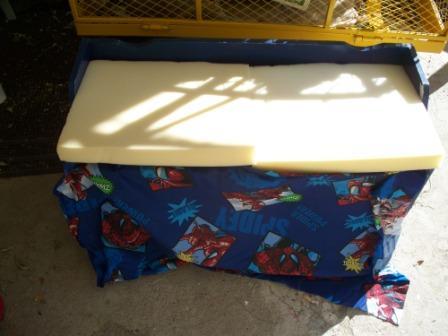
Here's a small brooder I just did today. It started out looking like the first picture. I found it at a thrift shop. Obviously, it was ugly as sin. The hinges had paint in them, as did the screws. The spiderman fabric was stapled down. I am assuming it was supposed to be wrapped up around the foam but who knows? The paint was all streaky.
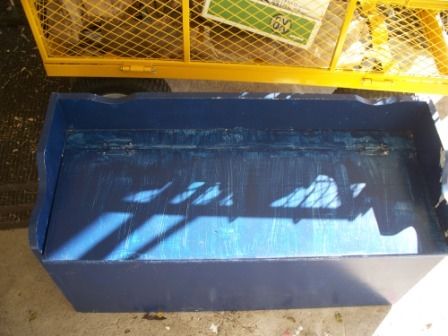
We managed (after a good bit of work) to get the two hinges off the top and the one off the inside. Ripped off the spiderman fabric and set the (clean looking) foam aside to repurpose. (The spiderman fabric will get repurposed, too, though not where I have to look at it!)
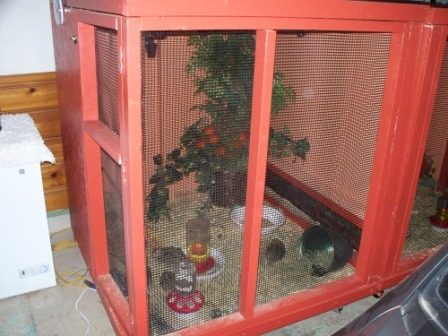
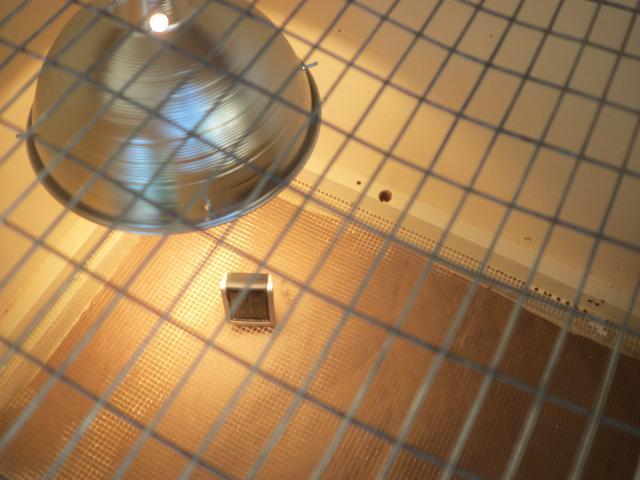
Cut pieces for a new top, painted everything, and assembled it all. The lower two pictures show what it looks like now. This "bench" turned brooder is not huge. It's intended for small hatches of coturnix (my incubator holds 12 with the turner or a MAX of about 20 without it) or a batch of button quail. I have been watching and hoping to find something more permanent than Rubermaid tubs.
Plus, if I don't like this for a brooder, it will now make a very nice cage for a pair of button quail. In a pinch I could even use it to isolate a coturnix or two from the rest of the birds (ahem like moving mr noisy Roo from the garage to the basement...)
Total cost:About $13.50
$9 for the bench at a secondhand shop. 50 cents worth of paint (Walmart, mis-mixed shelf. Had on hand.) about $3 for the two furring strips used to make the top. about a buck for the hardware wire scrap & screws. I had everything on hand so didn't have to go buy anything.
Before:

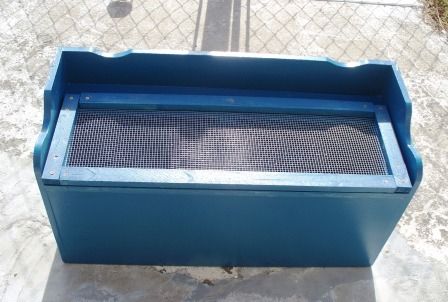
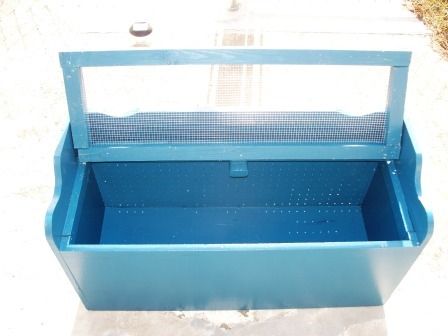
After:
We managed (after a good bit of work) to get the two hinges off the top and the one off the inside. Ripped off the spiderman fabric and set the (clean looking) foam aside to repurpose. (The spiderman fabric will get repurposed, too, though not where I have to look at it!)
Cut pieces for a new top, painted everything, and assembled it all. The lower two pictures show what it looks like now. This "bench" turned brooder is not huge. It's intended for small hatches of coturnix (my incubator holds 12 with the turner or a MAX of about 20 without it) or a batch of button quail. I have been watching and hoping to find something more permanent than Rubermaid tubs.
Plus, if I don't like this for a brooder, it will now make a very nice cage for a pair of button quail. In a pinch I could even use it to isolate a coturnix or two from the rest of the birds (ahem like moving mr noisy Roo from the garage to the basement...)
Total cost:About $13.50
$9 for the bench at a secondhand shop. 50 cents worth of paint (Walmart, mis-mixed shelf. Had on hand.) about $3 for the two furring strips used to make the top. about a buck for the hardware wire scrap & screws. I had everything on hand so didn't have to go buy anything.
Before:
After:
Last edited: