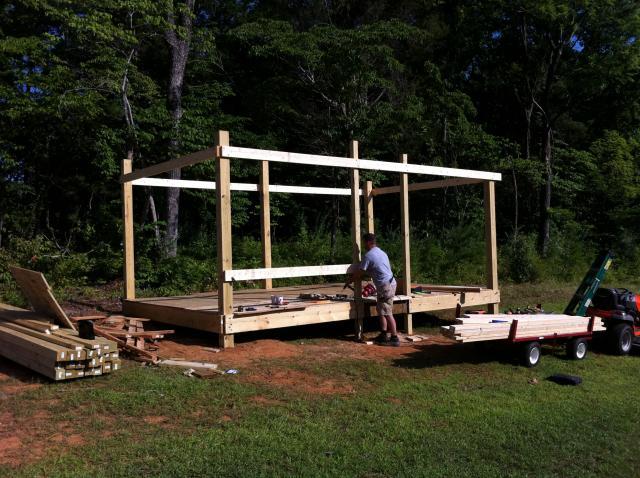
DH selected the site, away from the house, Eastward facing, good afternoon shade and started with 6x6 posts sunk 3 feet deep in concrete. Next came the framing...
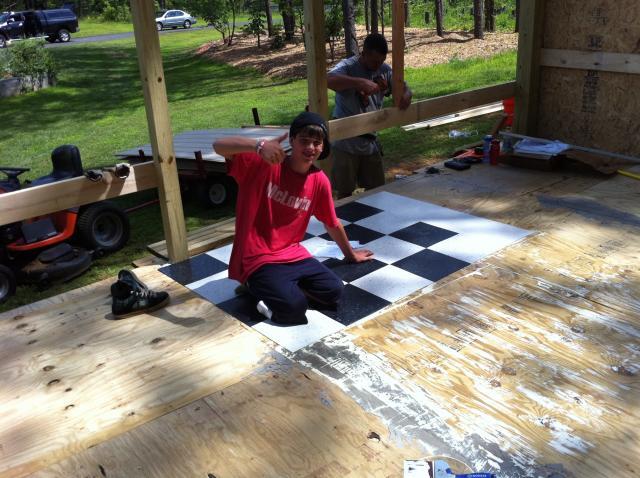
Of course we put the kids (and their friends) to work....here my oldest is installing the VCT floor....
The walls going up.....
The walls are up....
At this point it had taken us about 1 month....and we had guests in the basement....
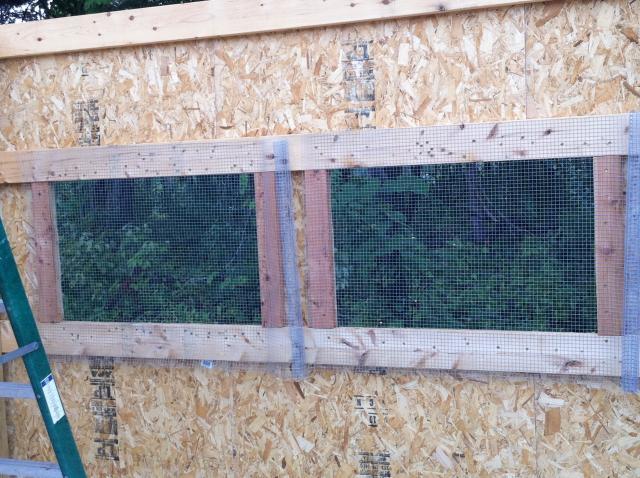
Next came the 1x1 hardware cloth rear windows....lots of ventilation....
 and more
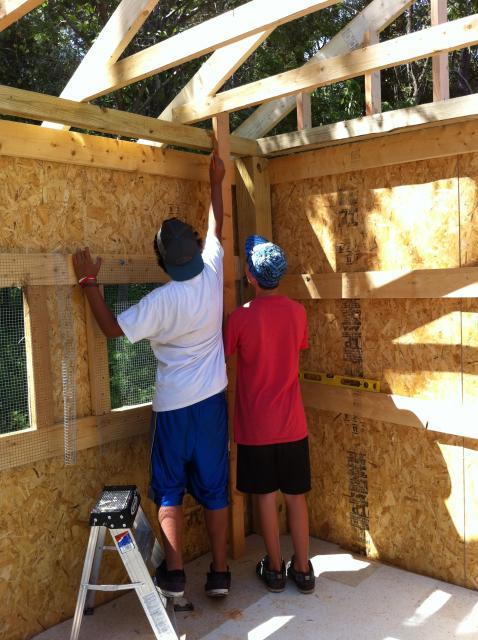
More slave labor...
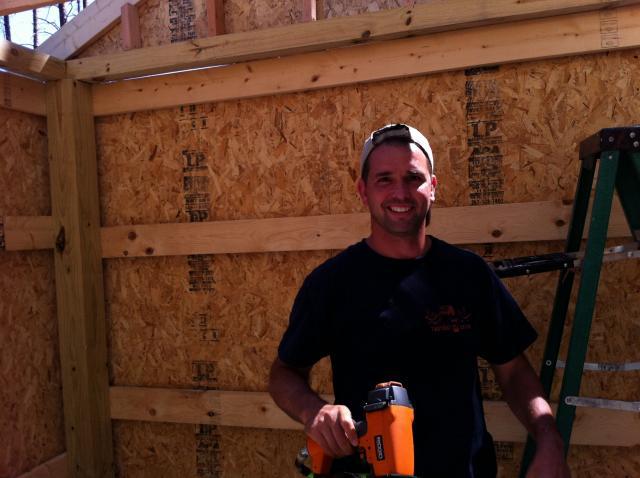
DH playing with his new pneumatic tools....
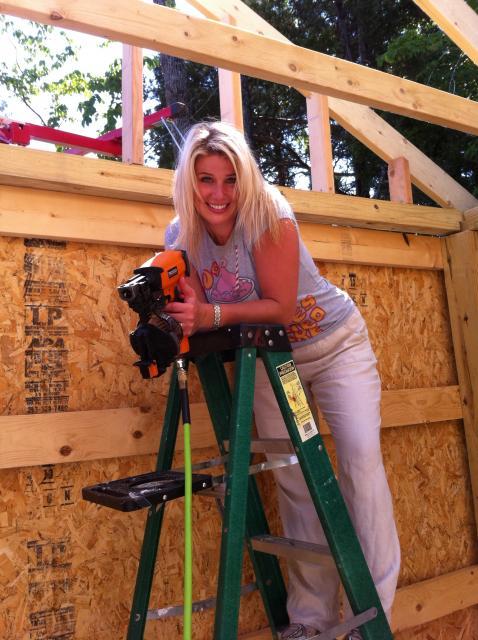
He shared with me...
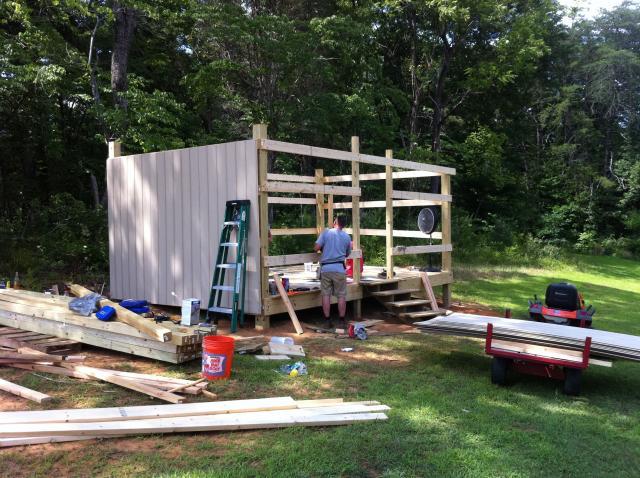
DH put up the roof joists (with the help of a drywall lift)....
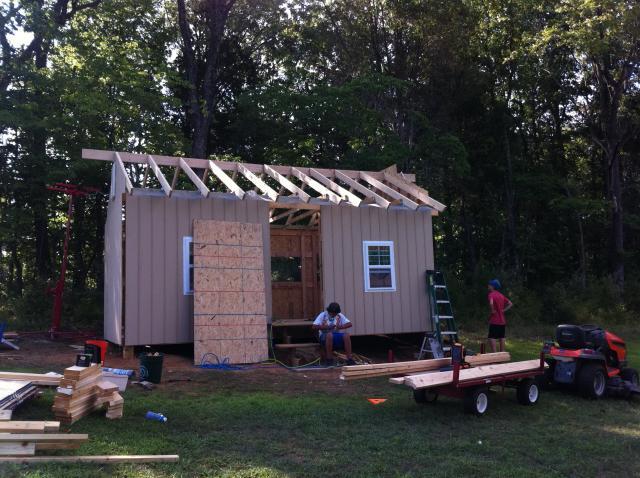
Roof complete and shingled....
The run (12x40) has been framed (4x4's) and is waiting the 1x2 hardward cloth....
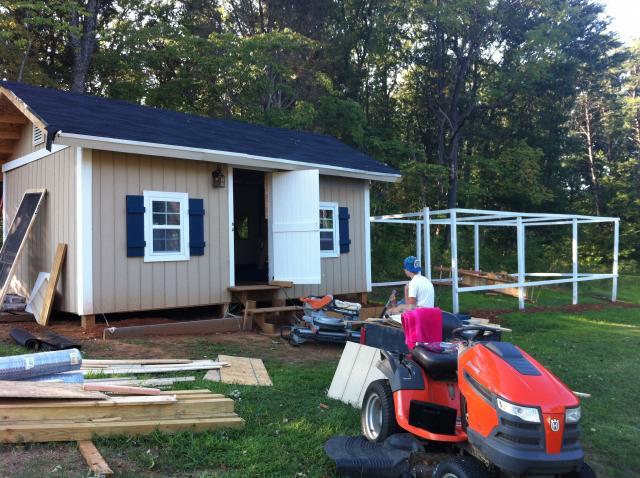
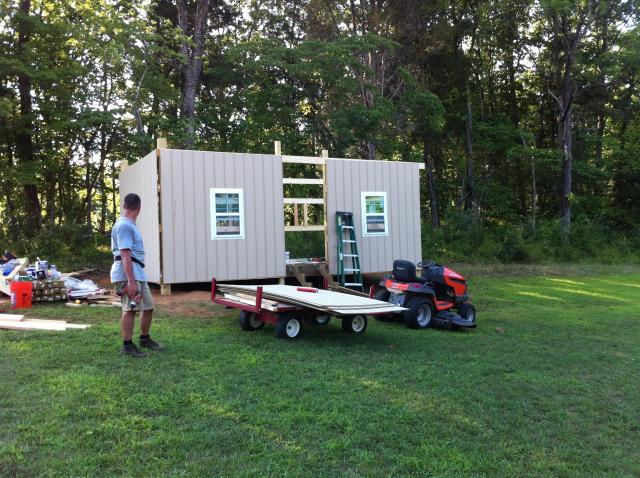
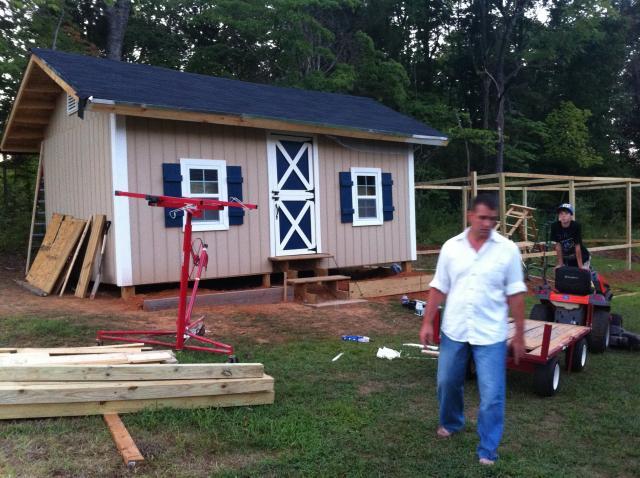
Exterior from the driveway...

Interior is 12x20 (minus 40 s.f. for foyer/storage), the enclosed height is 9 ft.....
You can see the roost, it's 6 feet high and a little over 5 feet wide, 18" spacing.
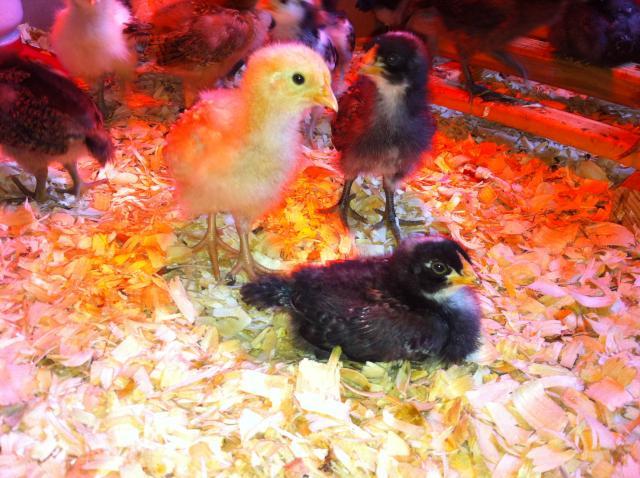
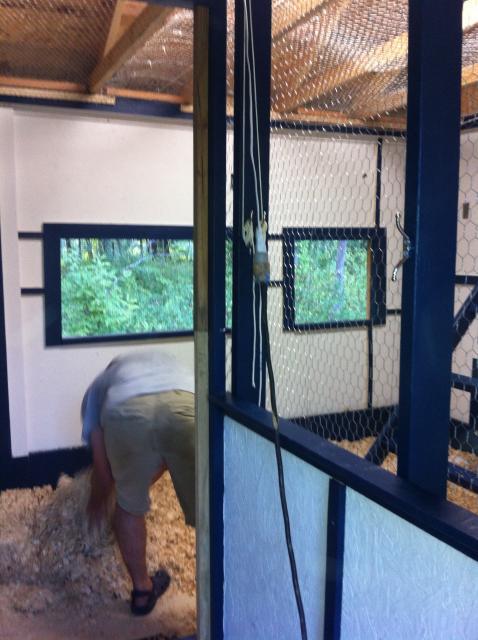
DH putting in the bedding....
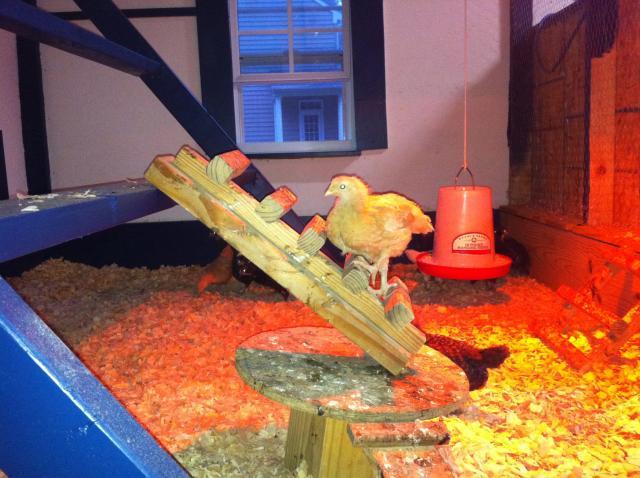
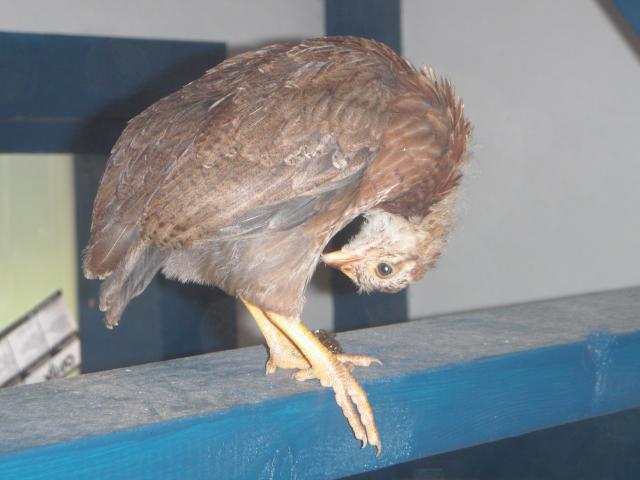
Patsy exploring the roost...
"I know I put it here somewhere"....
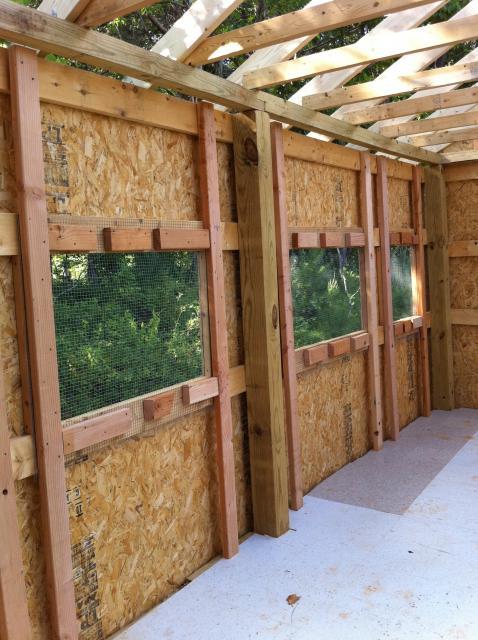
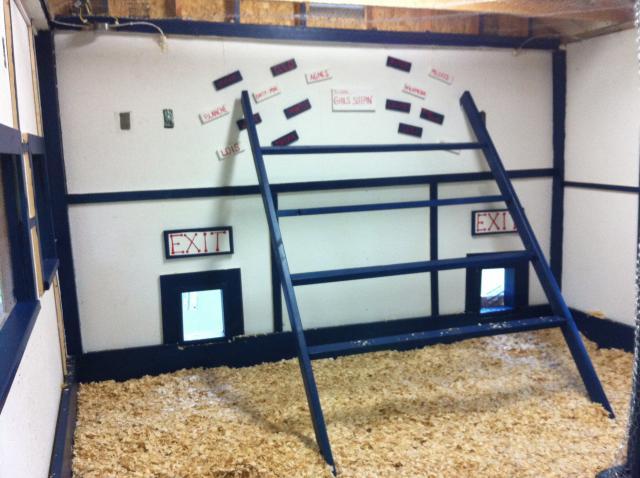
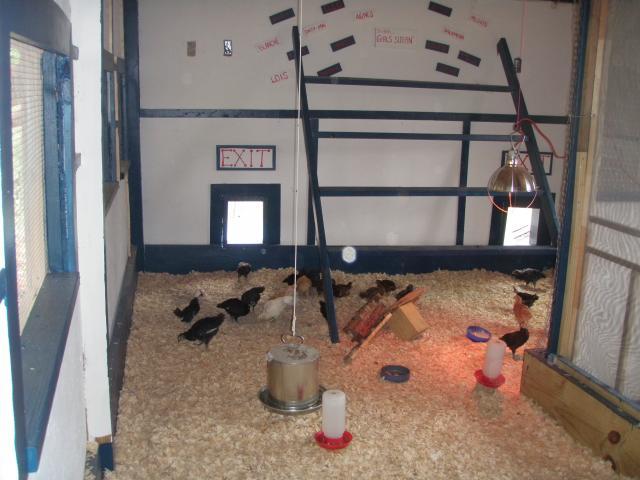
Another interior shot...I don't have all their names up yet but yes, my chickens can read!
Pasty and Lucy...
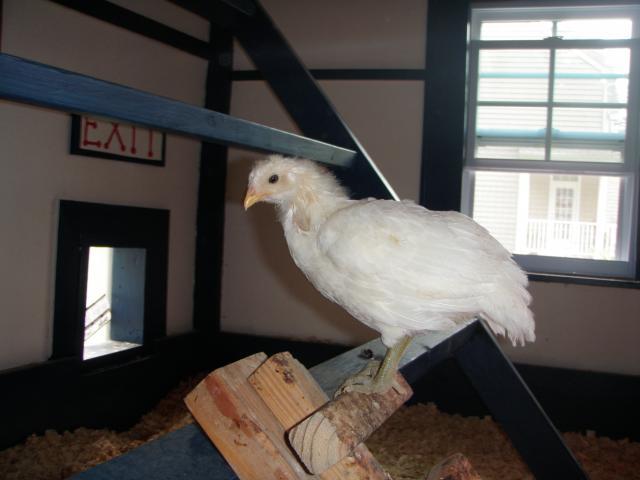
Stella...
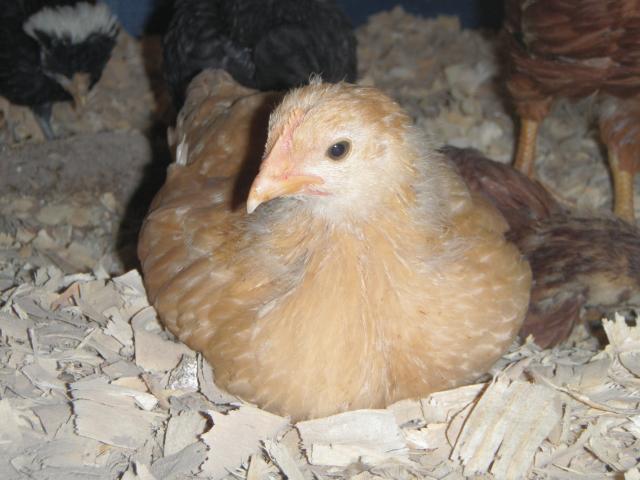
Patsy again.....
What a project and it's still not done. We have the wire for the run (galv 1x2") and are planning to complete it next weekend. DH ran the lines for the rear windows and popholes so I can control them from the "foyer/storage" area of the coop. We're also planning to install auto-waterers and feeders. We have our friend, who is an electrician, coming next weekend as well. We decided to run a dedicated 50 amp circuit to the coop. I have 6 GFI outlets, 2 light fixtures, 2 security lights, temp controlled roof fan and the "porch" light. We are on a well so we decided not to run water to it (I really wanted to though). We went with plexiglass popholes so we wouldn't have to deal with the wood swelling.
A HUGE thanks to everyone on this site. We were able to get tons of ideas and great information.
Just one question...have we missed anything?
Thanks!
Jen
Of course we put the kids (and their friends) to work....here my oldest is installing the VCT floor....
The walls going up.....
The walls are up....
At this point it had taken us about 1 month....and we had guests in the basement....
Next came the 1x1 hardware cloth rear windows....lots of ventilation....
More slave labor...
DH playing with his new pneumatic tools....
He shared with me...
DH put up the roof joists (with the help of a drywall lift)....
Roof complete and shingled....
The run (12x40) has been framed (4x4's) and is waiting the 1x2 hardward cloth....
Exterior from the driveway...
Interior is 12x20 (minus 40 s.f. for foyer/storage), the enclosed height is 9 ft.....
You can see the roost, it's 6 feet high and a little over 5 feet wide, 18" spacing.
DH putting in the bedding....
Patsy exploring the roost...
"I know I put it here somewhere"....
Another interior shot...I don't have all their names up yet but yes, my chickens can read!
Pasty and Lucy...
Stella...
Patsy again.....
What a project and it's still not done. We have the wire for the run (galv 1x2") and are planning to complete it next weekend. DH ran the lines for the rear windows and popholes so I can control them from the "foyer/storage" area of the coop. We're also planning to install auto-waterers and feeders. We have our friend, who is an electrician, coming next weekend as well. We decided to run a dedicated 50 amp circuit to the coop. I have 6 GFI outlets, 2 light fixtures, 2 security lights, temp controlled roof fan and the "porch" light. We are on a well so we decided not to run water to it (I really wanted to though). We went with plexiglass popholes so we wouldn't have to deal with the wood swelling.
A HUGE thanks to everyone on this site. We were able to get tons of ideas and great information.
Just one question...have we missed anything?
Thanks!
Jen


