Trailer Coop Build (Pic heavy)

You are correct, knowing these things has helped me layout and plan the coop already. I've never built anything like this, the closest I've come is a tiny (like 4x4) wood shelter. Will try to provide as much information as I can...there's a lot in my head and I often forget you all are not in there! :D

The primary goal for this coop is to maintain ~20-30 layers. Floor space of ~80 sq. ft., which (based on my personal standards) will max out ~25-30 birds at ~3 sq ft per bird inside with a large free range area outside enclosed by portable electric netting. This year I'm going to start around 20 so I'll be on the low end of what the coop should hold. I also do not keep food or water inside the coop.

Yes, I plan to replenish every year or two. Therefore, I'd like to reserve ~16 sq ft for brooding smaller batches in the future but I'll be honest, I'd rather have more coop space than a brooder inside the coop so I may end up building a brooder trailer to pull up next to the main flock trailer. :D :D

I'm trying to design this coop to be very open with as much open floor space as possible. The nest boxes hang off the side, roost bars high with ladders/ramps to them and as small of a poop box as possible. I don't plan on putting anything else inside the coop. It's all about space for the girls!!
 
Last edited:
Already altering the plans, lol. Made the rear door the full height. Scrapped the skillion roof and decided on gable style which changed the overall wall heights. Good thing I figured this all out before making the walls!

The weather was unbelievably nice so I spent Saturday breaking down the rest of the pallets I had. I am glad to be done and to have the space back inside. Today I cut the wood and framed out the front and rear walls with doors.

Front door, don't plan to use it often but like the idea of being able to open two doors and clear the place out
yfjxpGI.jpg


Rear door. I will hinge, remove, or make part of the door, the bottom 2x4 of the door opening so there's nothing blocking me from pushing everything out easily come cleaning time.
INq0QNP.jpg
 
Last edited:
I'm always learning about things which I don't know. And there's a lot of that. Which is how I came upon these terms :D

The short answer...yes it's a lean-to.

The long winded version...when reading about roof styles I have seen the terms shed style, lean-to, and mono-pitch used alongside skillion. Based on what I can tell the biggest difference from a design standpoint is that the skillion will have an extra box (or frame) specifically used to provide the pitch. My understanding is, with a lean-to style roof you set the rafters directly on top of the wall and the rear wall is built shorter to attain the proper pitch. With skillion, all 4 walls are equal in height, then an additional "wall" is added to one side making it taller and providing the required pitch. It appears that would really be a subtle difference if I'm interpreting things correctly :)

In the design I've posted there was no roof yet. That was still to be designed! The walls were 6' and 5'. I learned that a proper pitch for these lean-to style roofs using metal needs to be at least 3 in 12 but more likely should be 4 in 12 (at a minimum). This meant I could not have a 6ft and 5ft wall. I did not want to lower the 5ft side and did not want to raise the other from 6ft to 7ft. Soooo....change in plans :)

I really, really, really like gambrel (barn style) roofs but my metal roofing material doesn't work as easily with this style and would require a lot (I mean A LOT) of cutting. In the end, I wouldn't gain much other than shortening the walls more and giving more headroom, so I nixed that. Now I'm on to gable style which means all 4 walls are the same height (5' 7 1/2") which will have greater than 4 in 12 pitch. Whew!

If I lived where it was possible I'd use a butterfly roof hands down.
 
Based on what I can tell the biggest difference from a design standpoint is that the skillion will have an extra box (or frame) specifically used to provide the pitch.
That kinda makes sense. How the taller wall is made is not really important, IMO.
Interesting to learn new terms tho.

I really, really, really like gambrel (barn style) roofs
Noooooo.....
They look cool, but not great for ventilation.
Great for tall 'barns' for hay storage on second floor above livestock...
....not so great if the chickens start roosting up there.
....and the short walls on gambrel roofed storage sheds is fine, but limiting in a coop.
Saw a guy add ventilation when re-shingling a gambrel roof...
...thought it's brilliant, so drew it up.
1580744233250.png
 
Yes cool looking and you are right, not the best for a coop. I had seen that picture which gave me the thought it was possible, but in the end not really feasible for me. Sure am glad to have some software, a site like this, and of course Google, to help with some of these things ahead of building it.
 
This post isn't looking for sympathy, please do not feel bad for my first world problems. :lau

Well, this weekend sucked to put it simply :wee

On Saturday I finished all headers and wall framing. I have all of the boards stacked, marked, and waiting to be nailed. :yesss: 
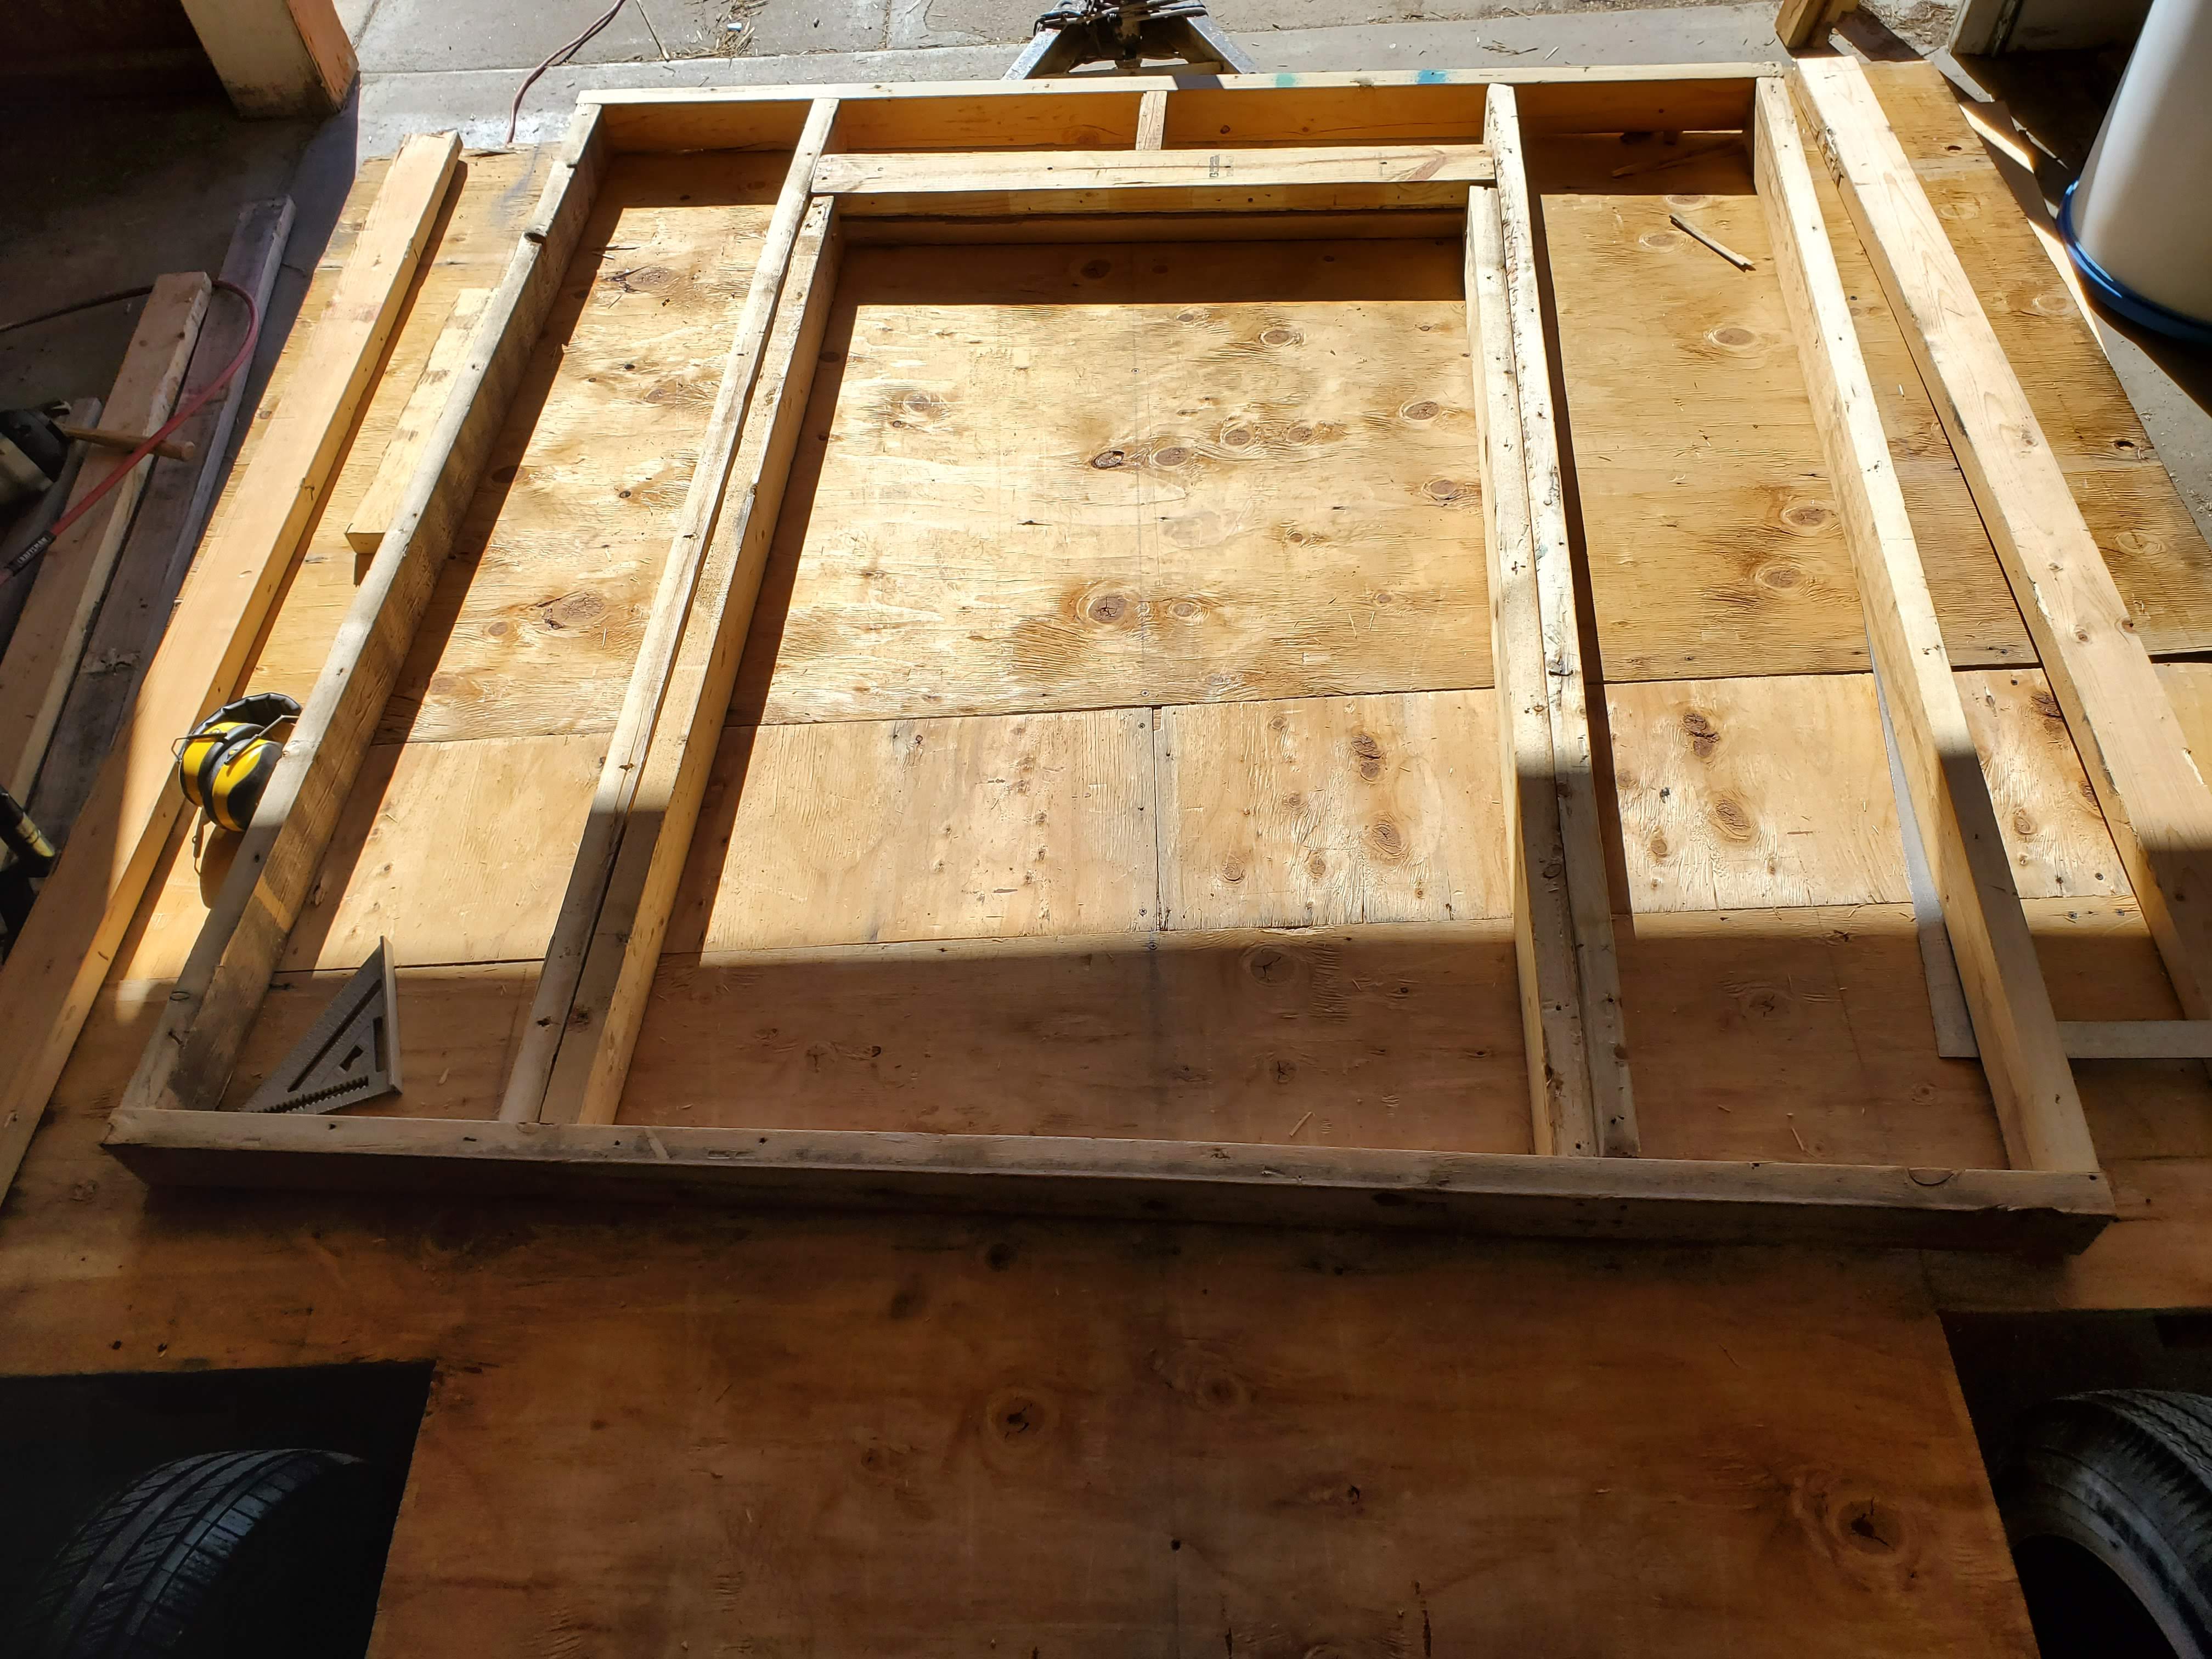
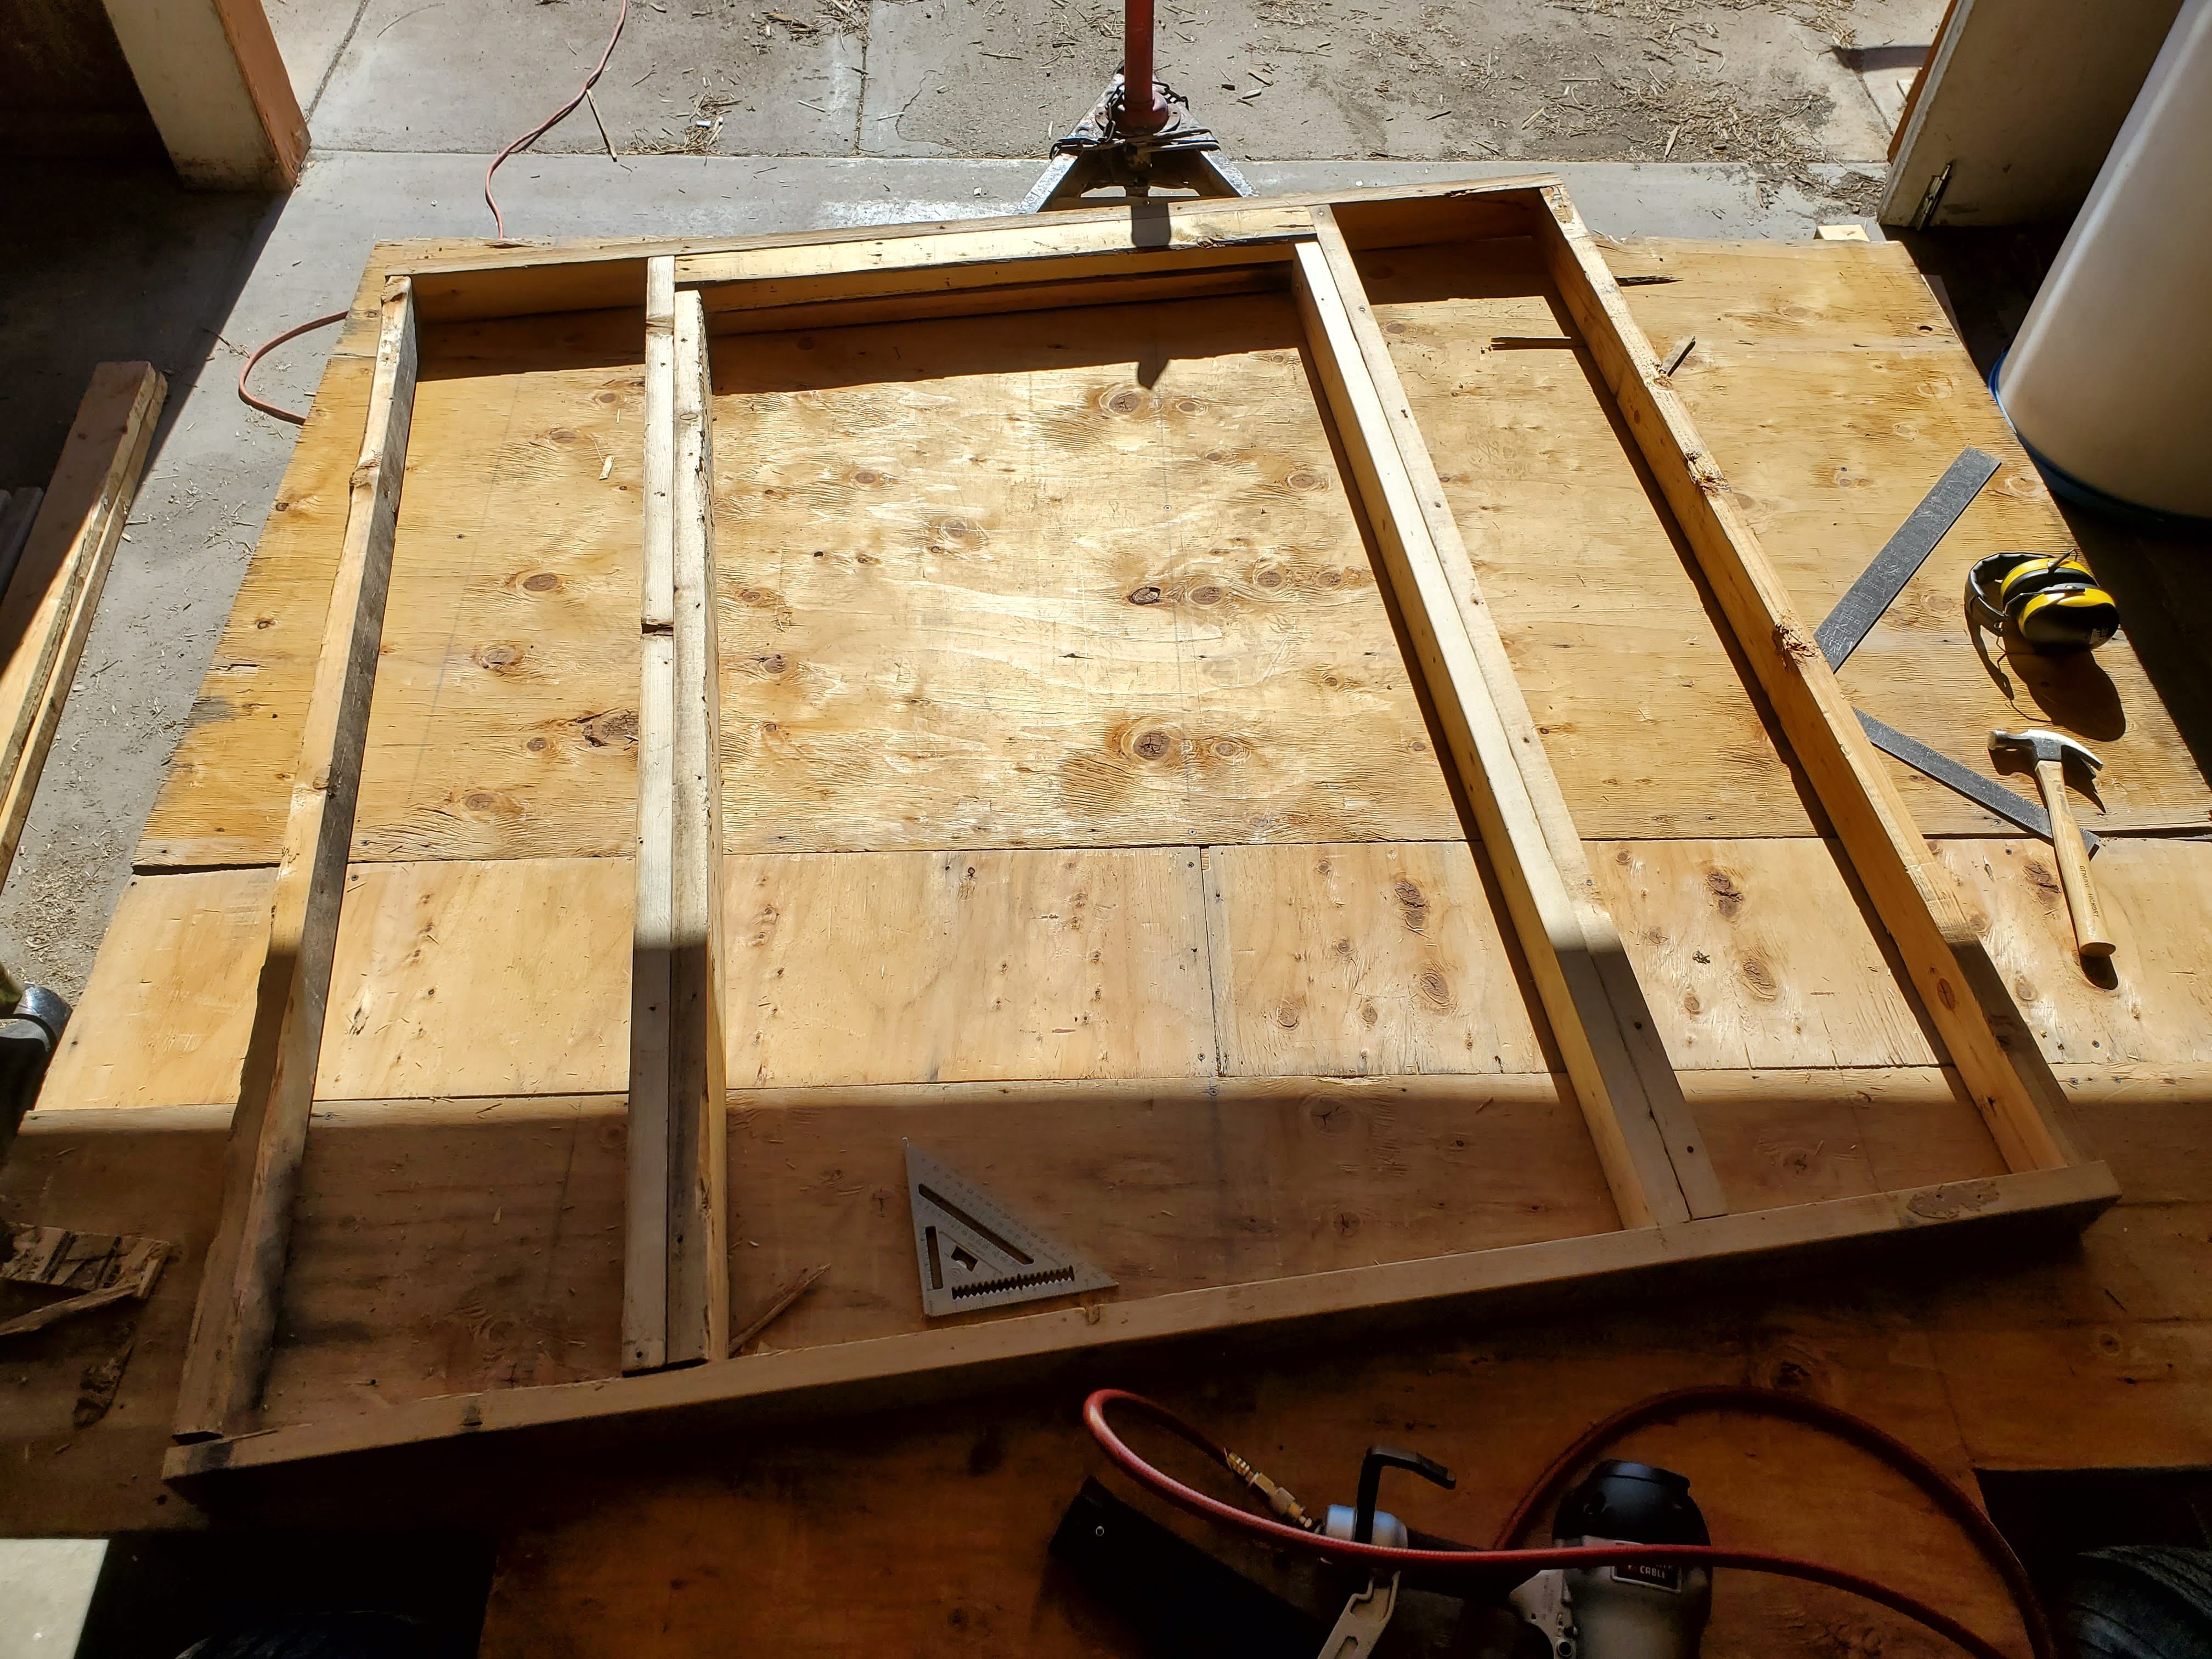
Felt good, but I knew those were all the easy parts!

I started the nest box. Or should I say...what turned into an abomination of loosely nailed together, shattered in places, wood, roughly shaped in a rectangle, which looks as if it is one wrong breath away from collapse. It took me all day and in the end is an utter failure. :hit:hit

Sunday I decided to take a hand at the roof. Oh my. The internet makes it look so easy and I'm not horrible at math...I mean, does it get any easier than Pythagorean's theorem?!?! Apparently it does. :pop

I spent the day measuring, calculating, scratching my head, measuring, cutting, scratching my head, measuring, calculating, scratching my head, and on and on, in an endless loop for pretty much the entire day. :confused: It really shouldn't be so difficult but it was, and at the end of the day I still did not feel like I had a good handle on it, nor did I have a rafter template that was as precise as I'd like. :he:he:he

I keep telling myself perfection is not attainable but can't help being frustrated and annoyed at all of the mistakes and lack of professional fit and finish!! Logically, all of this is so simple :old

Realizing the major mistakes I made while building the nest box, I will rebuild it much, much faster, and way better quality. I'll also be back at the roof, which I left very close to having a rafter template ready. :fl

Like the song says, I get knocked down, but I get up again, you are never gonna keep me down. :rant:rant:rant

:wee
 
Realizing the major mistakes I made while building the nest box, I will rebuild it much, much faster, and way better quality.
Second time is always better. :highfive:
Use drywall screws easy in and easy out when you need to 'fix' something, still take care to use pilot holes near the edge of lumber that is not plywood.
 
...

Realizing the major mistakes I made while building the nest box, I will rebuild it much, much faster, and way better quality. I'll also be back at the roof, which I left very close to having a rafter template ready. :fl

Like the song says, I get knocked down, but I get up again, you are never gonna keep me down. :rant:rant:rant

:wee

I too went through the nest box missteps. At first my pullets used them but then moved to the floor in a back dark corner. Re-start.

I found @aart 's design and liked it, also comforted by the knowledge that she provides very good advice. Her's is designed to sit on a wall that is coop on one side, people access on the other. I needed to mount mine inside on a wall so did not need the full box construction.

I coped aart's front exactly (see https://www.backyardchickens.com/articles/aarts-coop-page.65912/ scroll down halfway or so), became bold and painted mine bright red. I then constructed sides and a brace along the bottom back and screwed it to the wall.

IMG_3817.JPG

I used hardware cloth for the bottom as I wanted to mount a pipe heater underneath to help prevent the eggs from freezing.

I did have to coax my pullets to use it (block the old area off completely but they adapted easily afterwards.

Works very well, will accommodate up to 15-16 layers.

Good luck with version 2.
 
Last edited:
Thanks Ted. I do like those entrances! I'll wait to rebuild the box now. Spent this weekend
1. Cutting the roof rafters, finally.
2. Then I started to stain the outside of walls to protect them from the weather.
3. Cut the metal roof
4. I also attempted to cut vinyl floor. Found a 12x8 roll at Lowes for $50. Junk. Once unrolled it had a tear. When I returned to the store, the plastic bag holder poked right through it as the clerk went to scan it. Then my finger went right through it. So I bought 90 sq ft of sticky back vinyl tiles for $60. Will take more time but saves money in the end because I can also return $30 tub of adhesive. The posts about black jack 57 hzve me also rethinking the floor since it will be last.

If the weather is good next weekend, I will put it together!!!

phY4JaG.jpg
 
Last edited:

New posts New threads Active threads

Back
Top Bottom