My trailer coop project has begun in earnest. I will try to update this first post as I build the coop so all pics and descriptions are here. I have taken a huge number of ideas, plans, etc. from this forum and am happy to document everything, start, progress, end, along with as much cost information as possible.
If anyone has questions, or suggestions as I go, please post them!!
It started with a dream and a vision, I'm building an orchestra to conduct. This is the percussion section, carrying the rhythm and heartbeat of the farm")
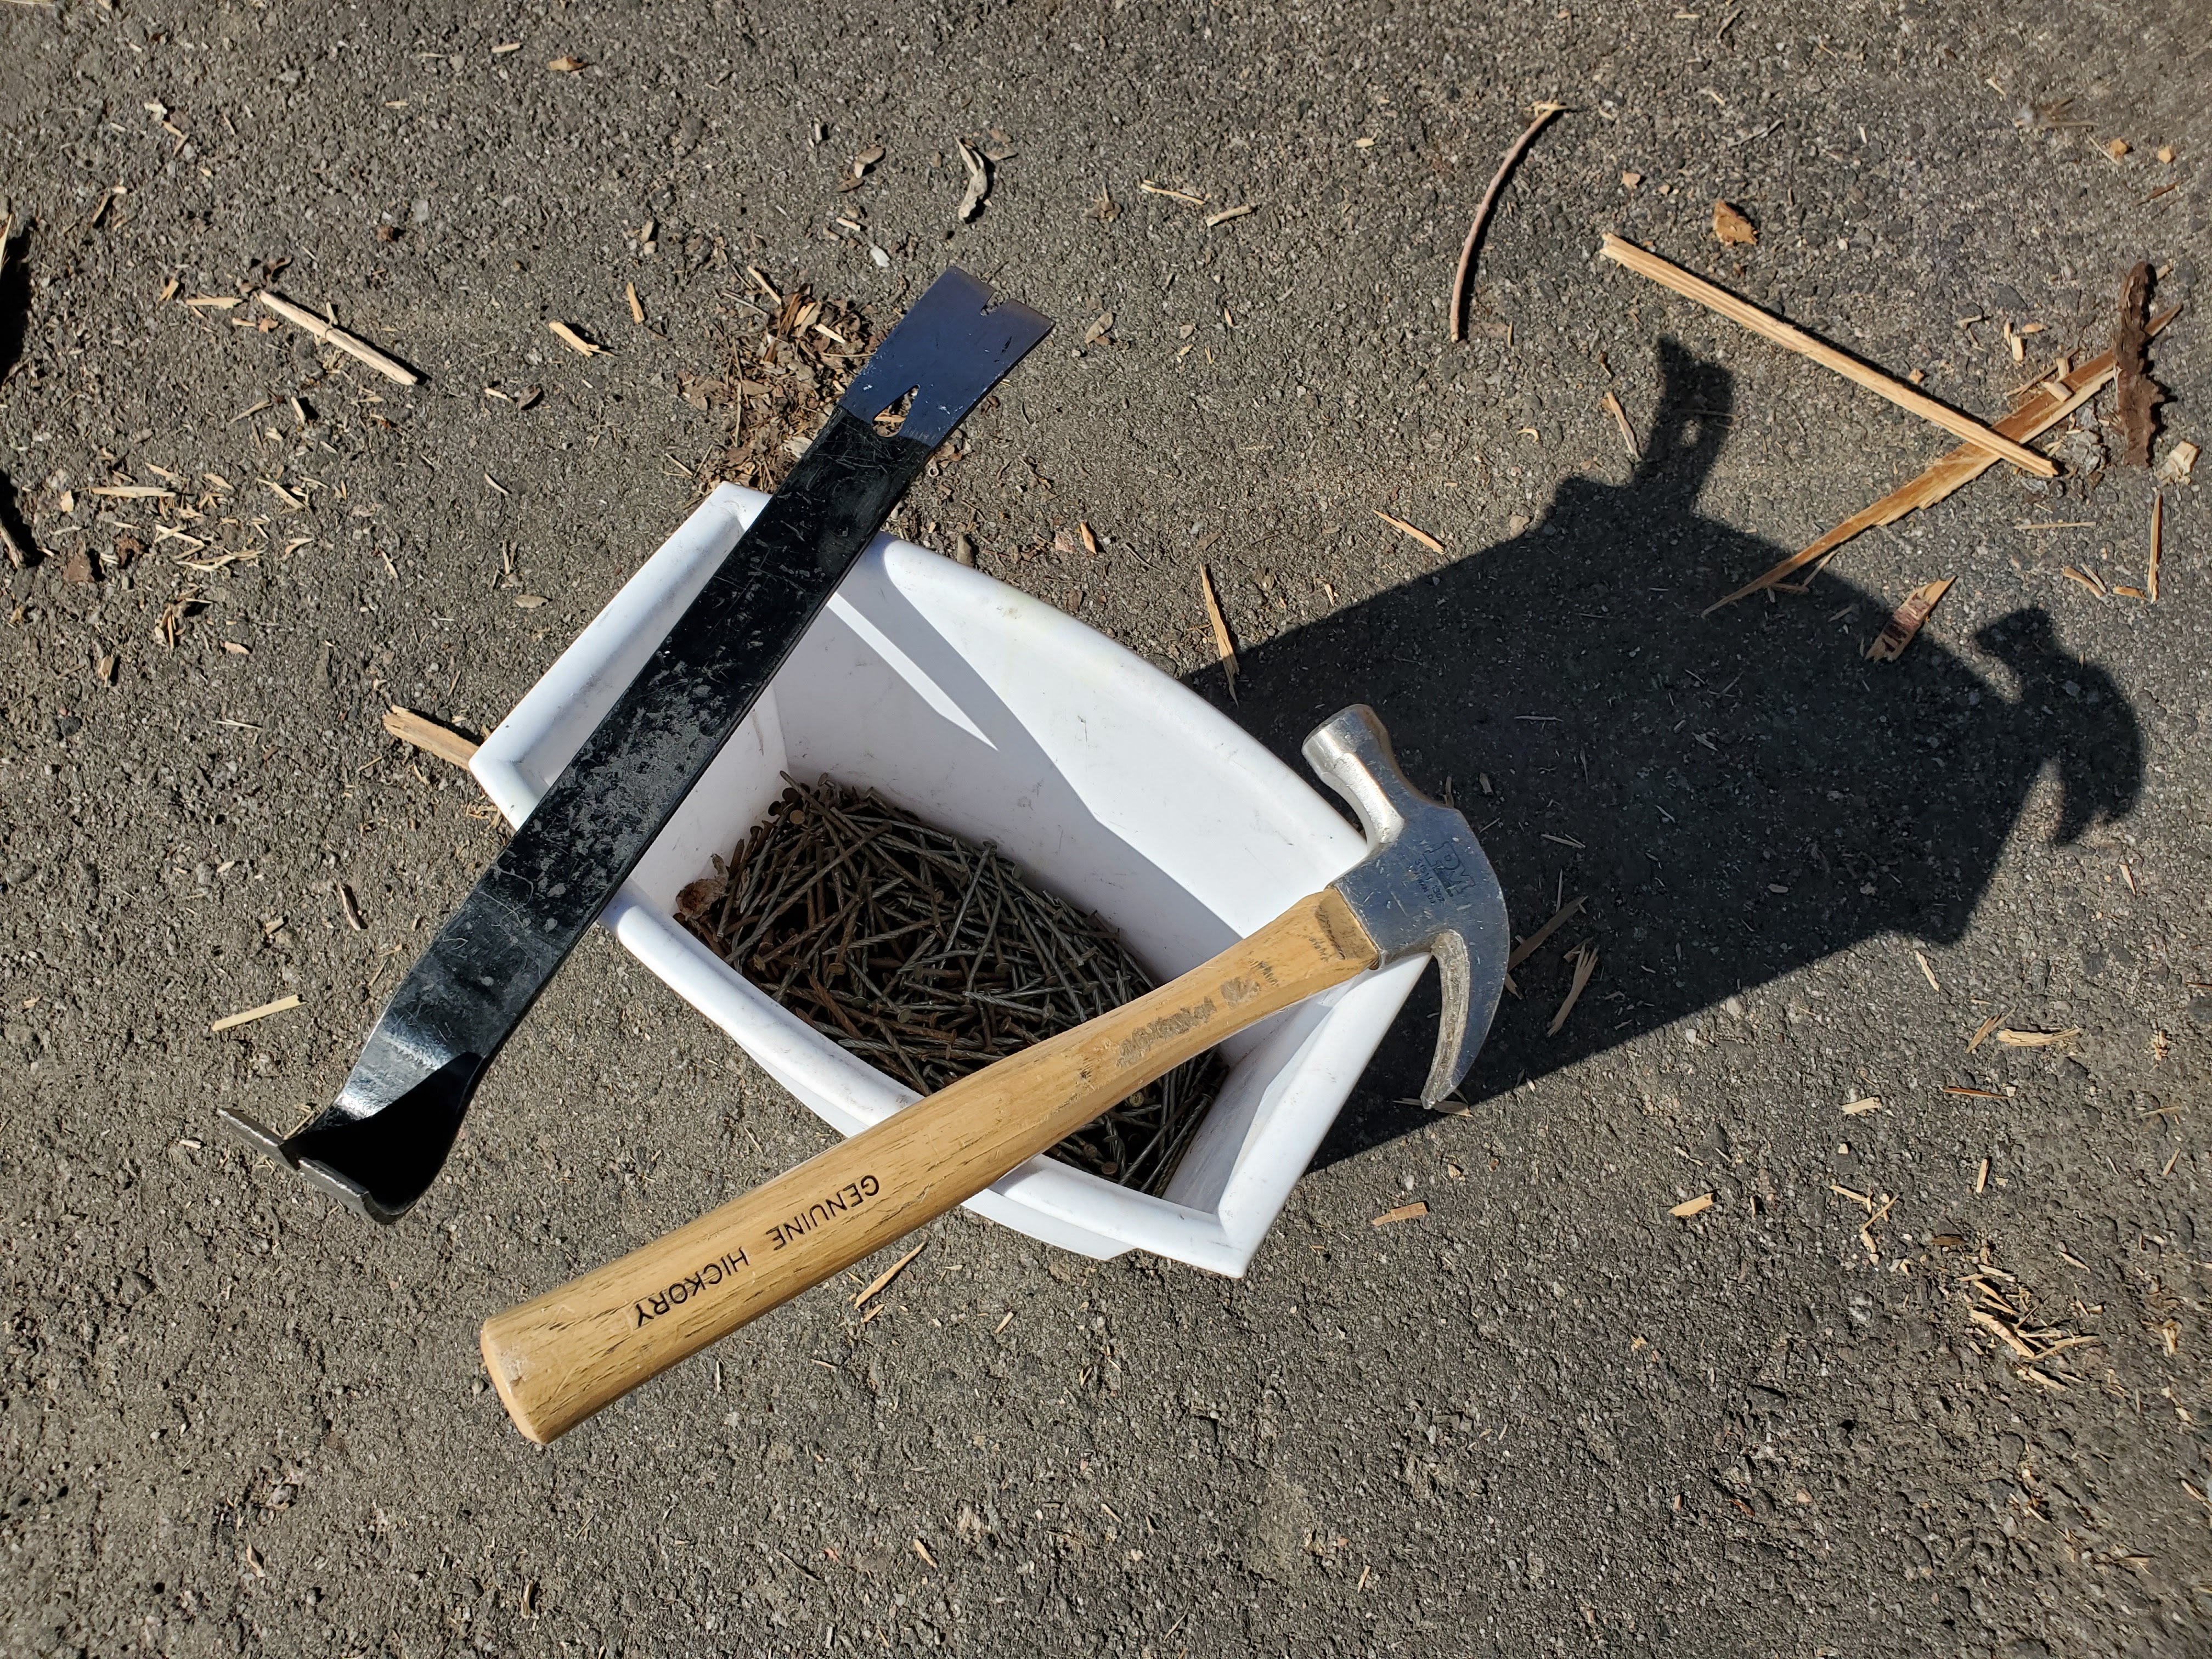
The only tools needed for many hours:
~20 pallets found for free. Not your everyday pallets, these were my best free score of 2019:
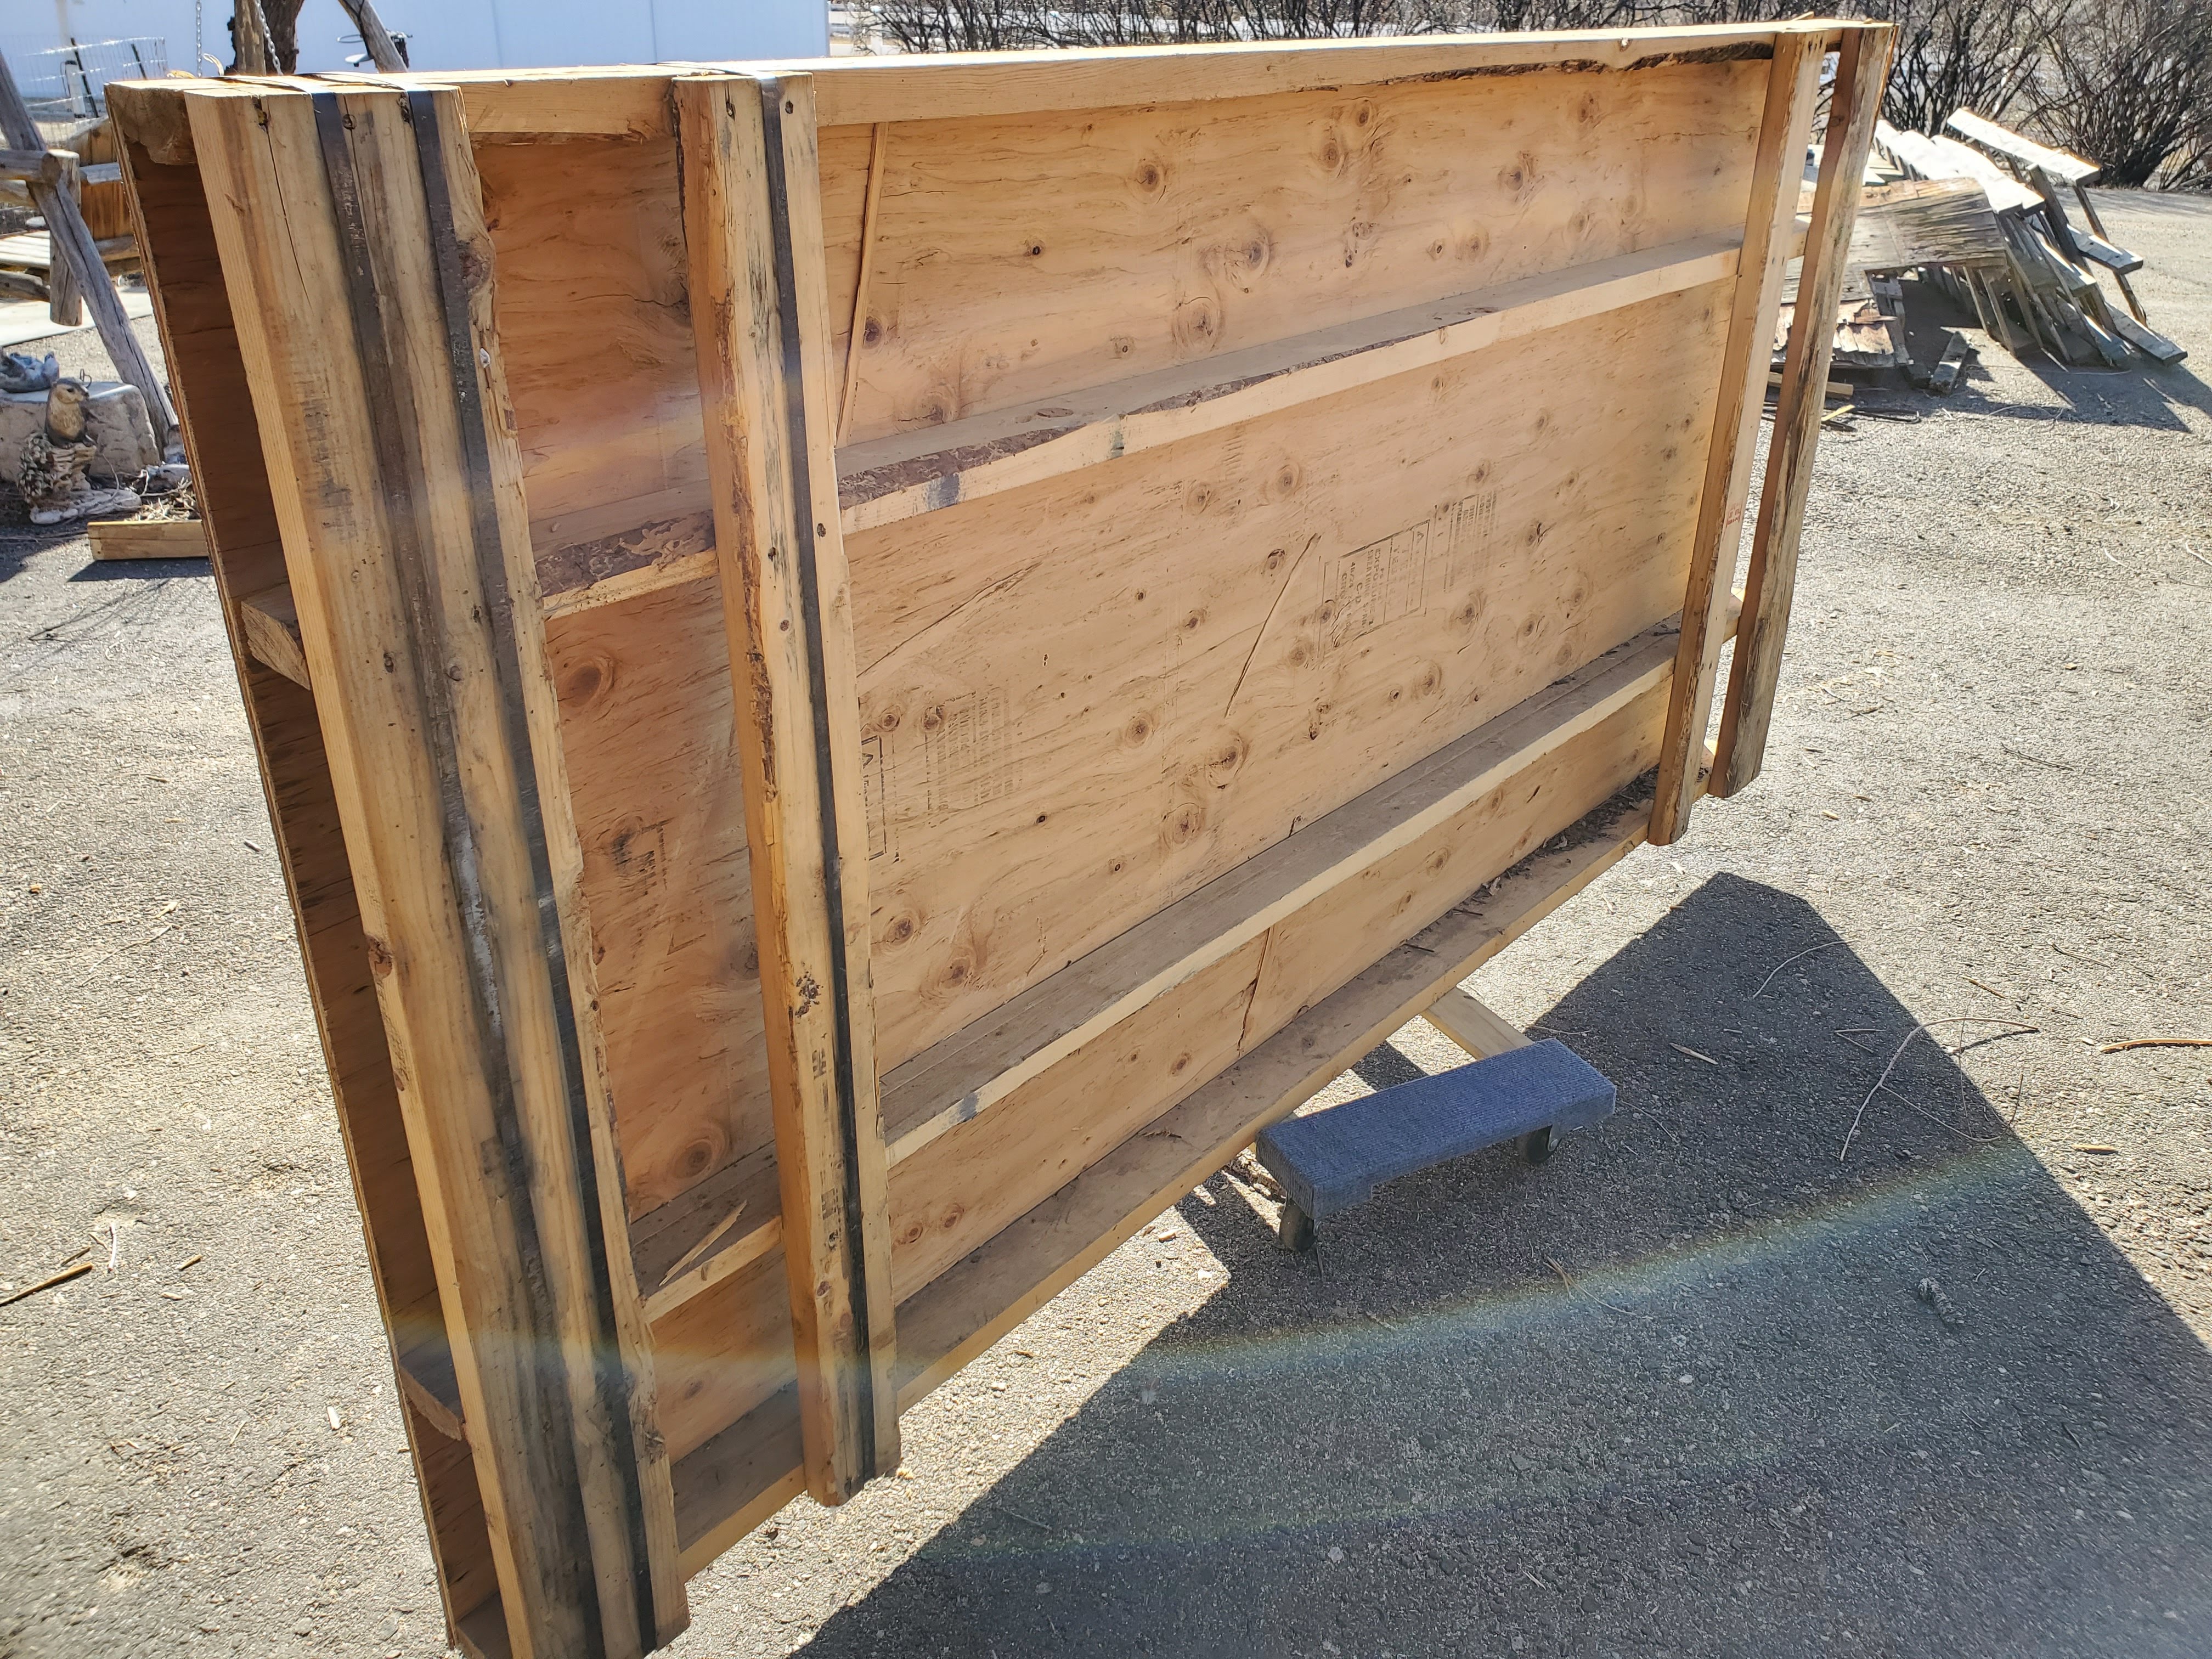
It takes me about 1 hour to break apart 1 pallet. I've spent >8 hours breaking apart pallets. It's a lot of work and takes occasional precision to ensure the wood is reusable. I've learned that un-weathered wood works best, it needs to be a bit warm (frozen wood is brittle), and most of all requires patience. I can generally reuse the entire pallet (saving the nails to possibly melt later).
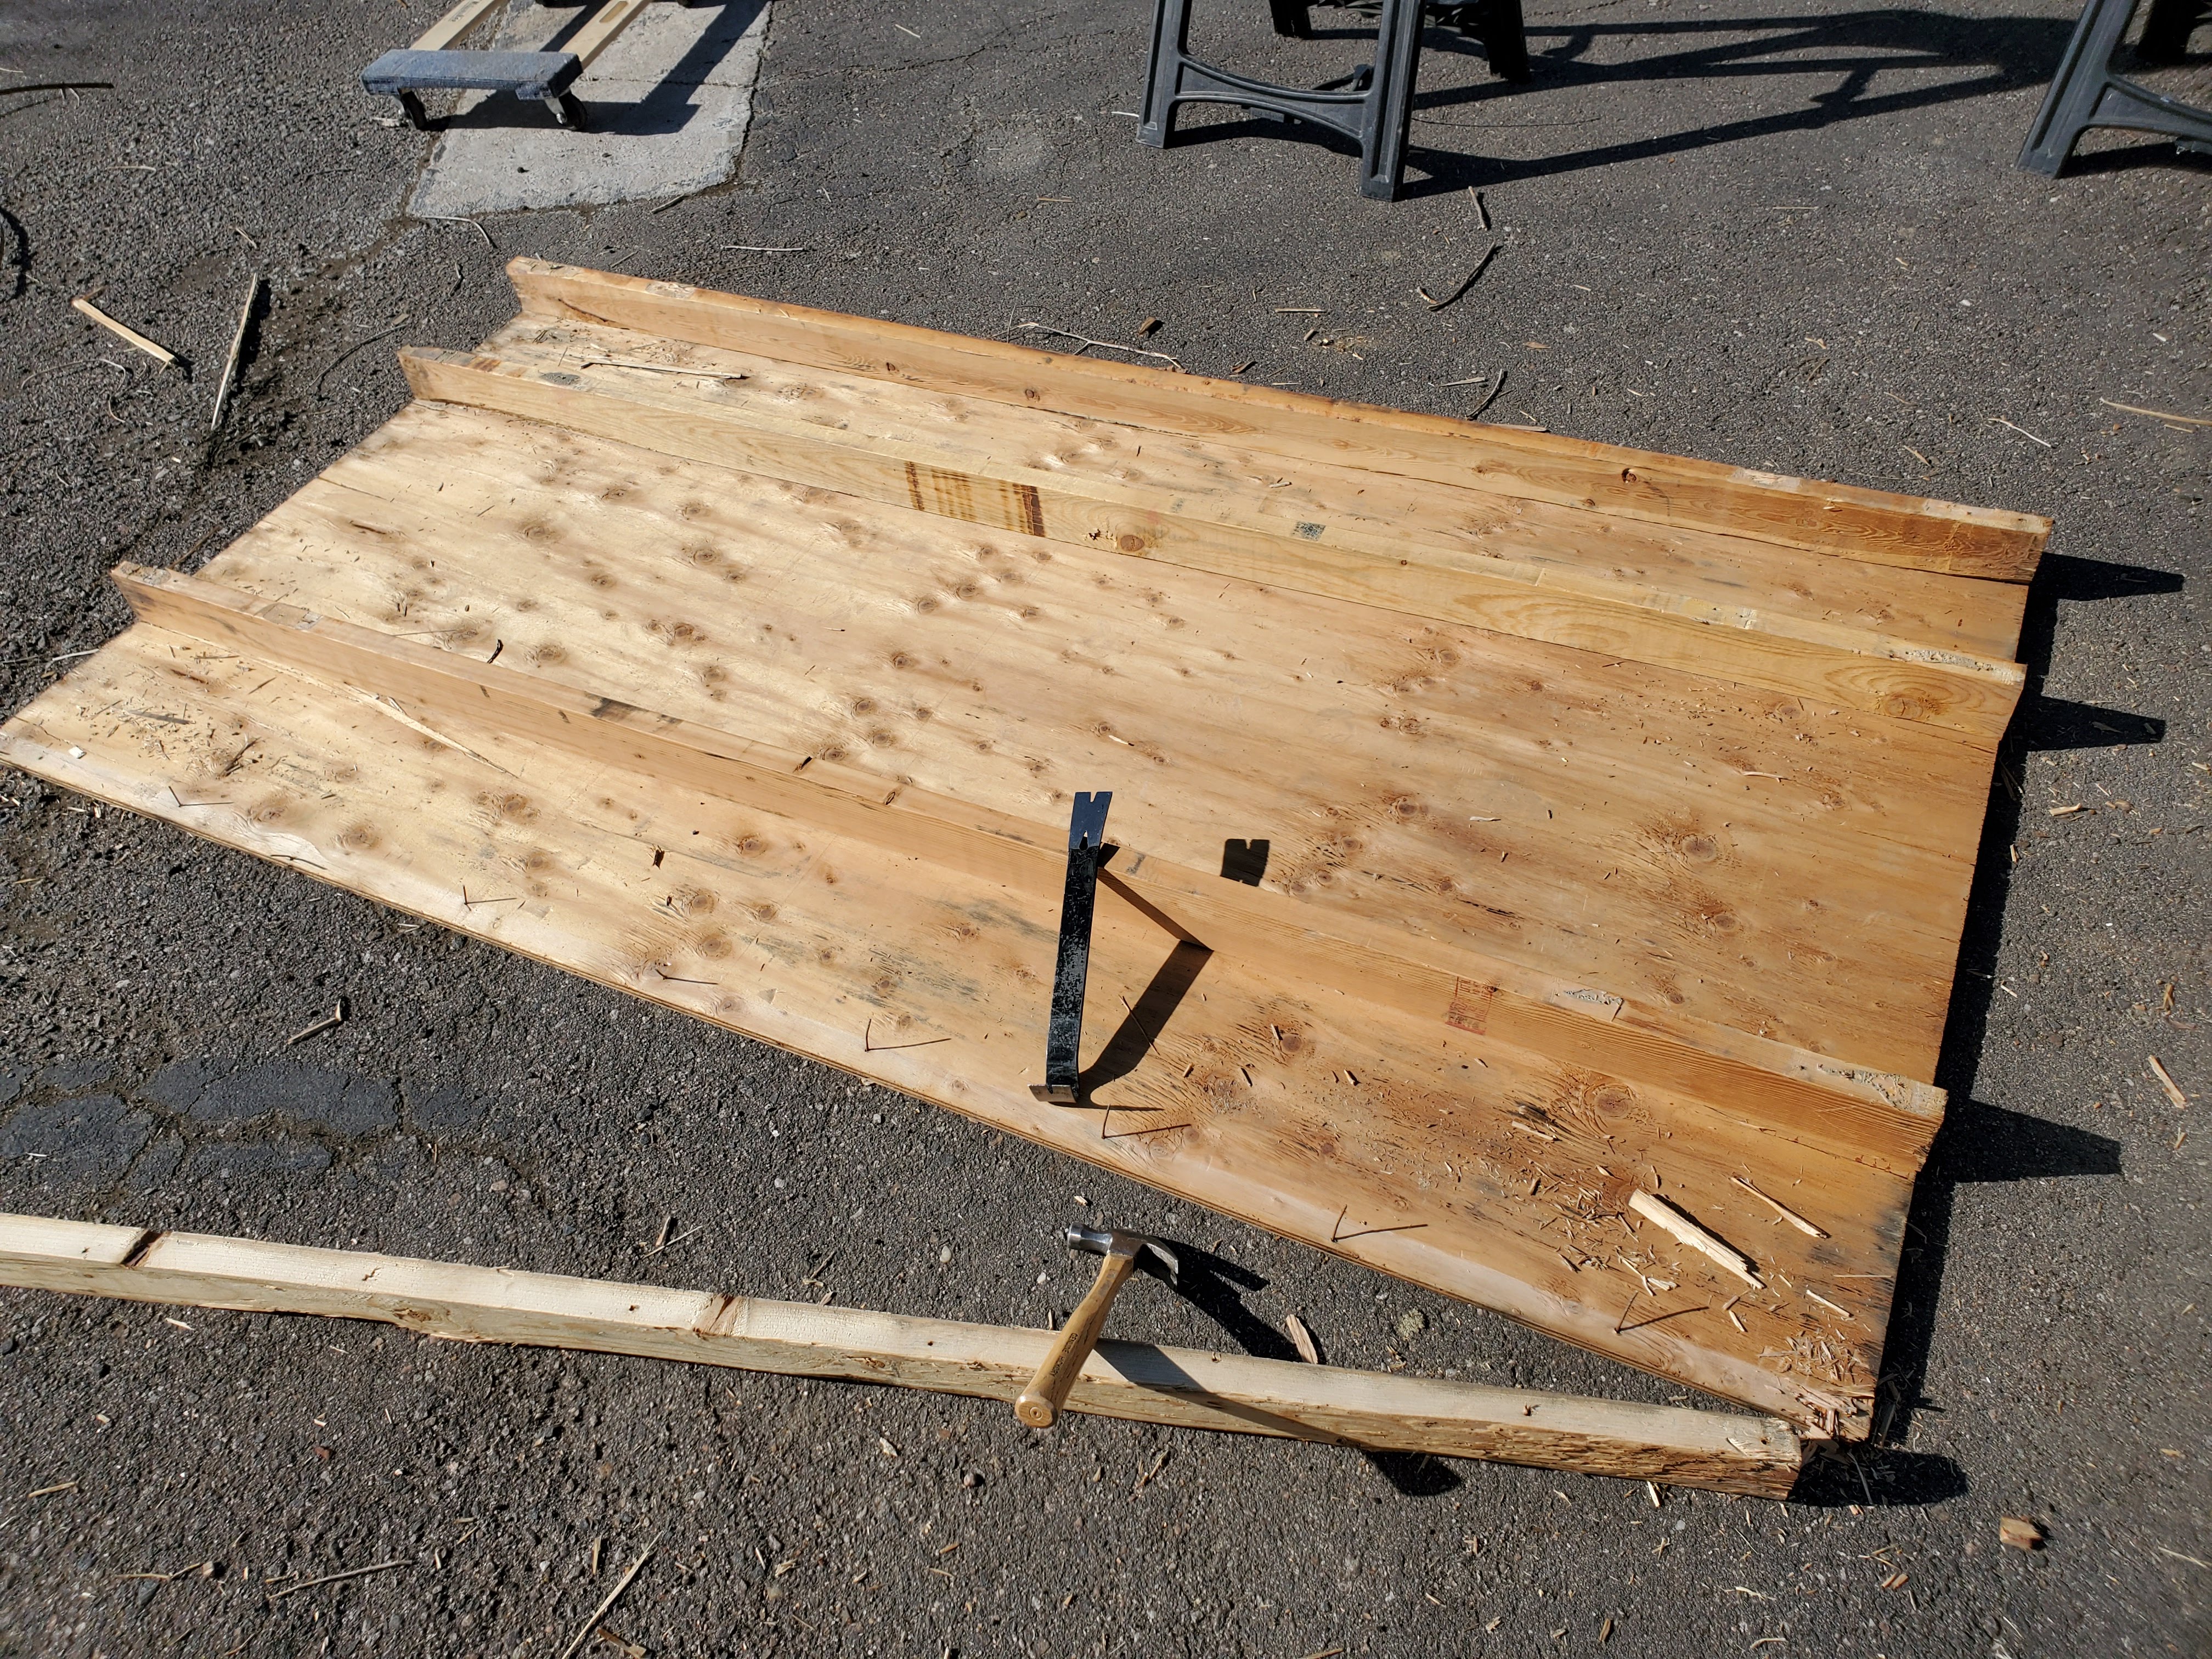
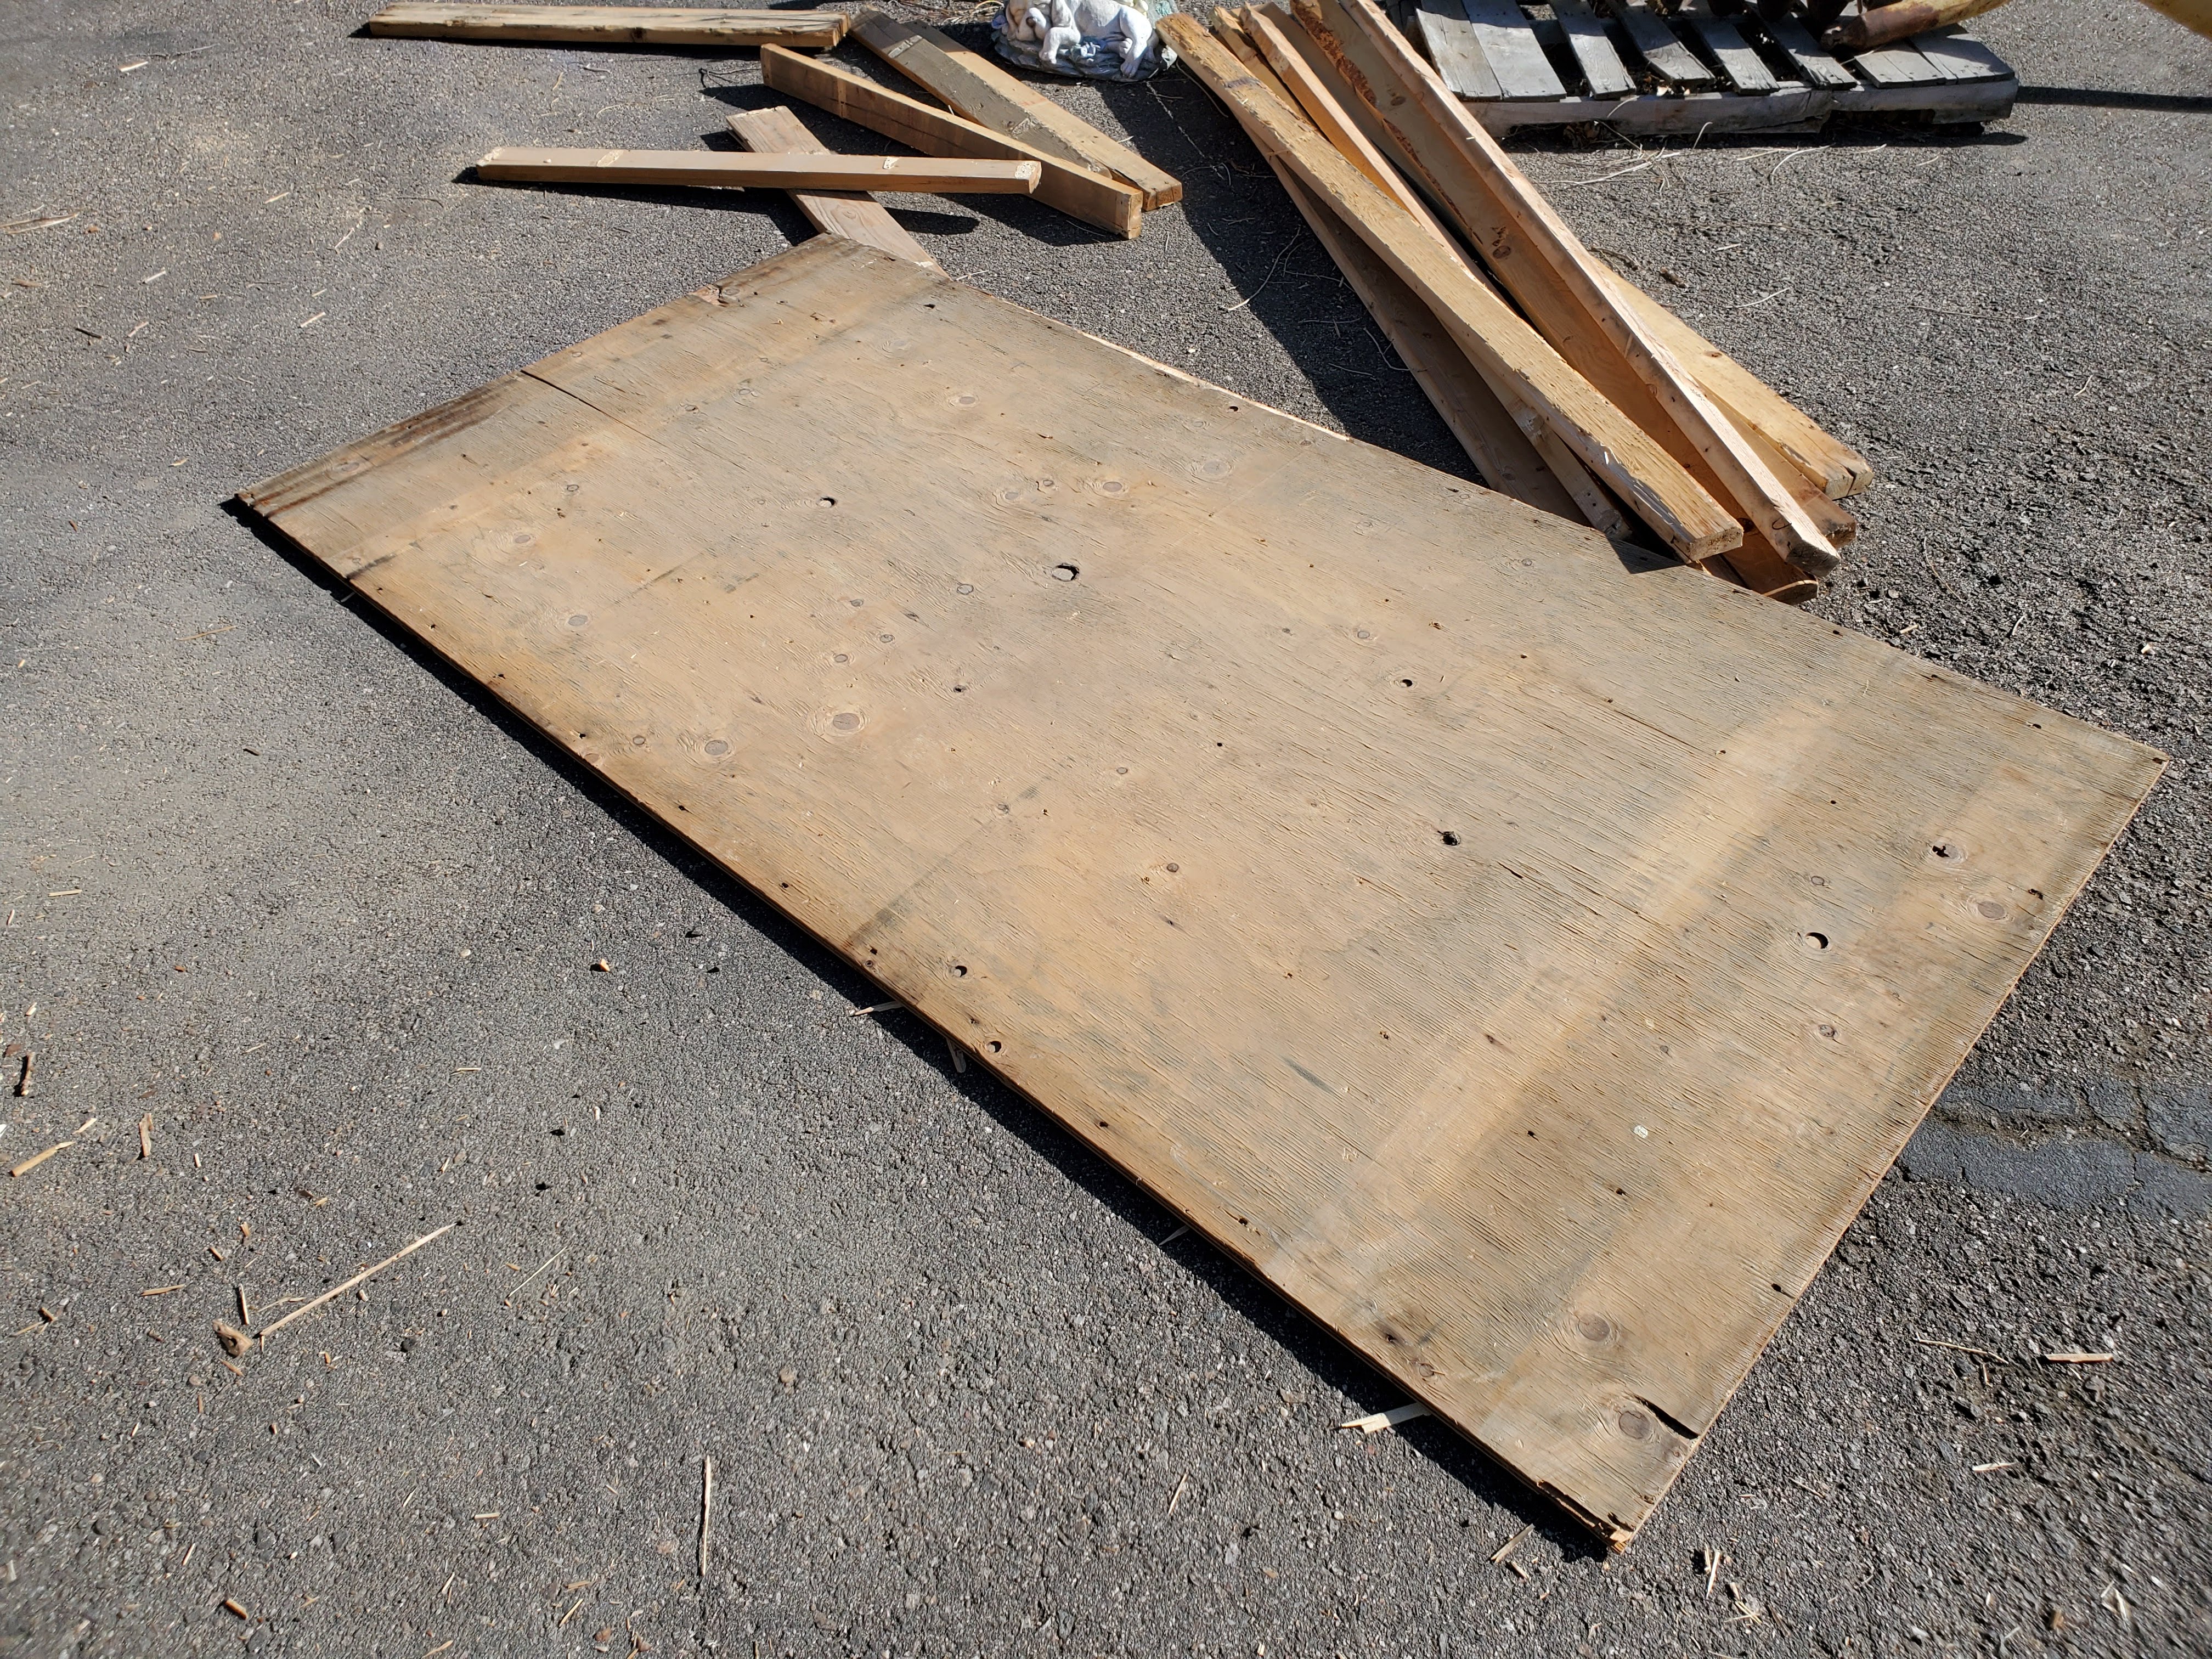
Each of these pallets provides:
1, 4x8, 3/4" thick sheet plywood
4, 2x4, 8ft long
4, 2x4, 4ft long
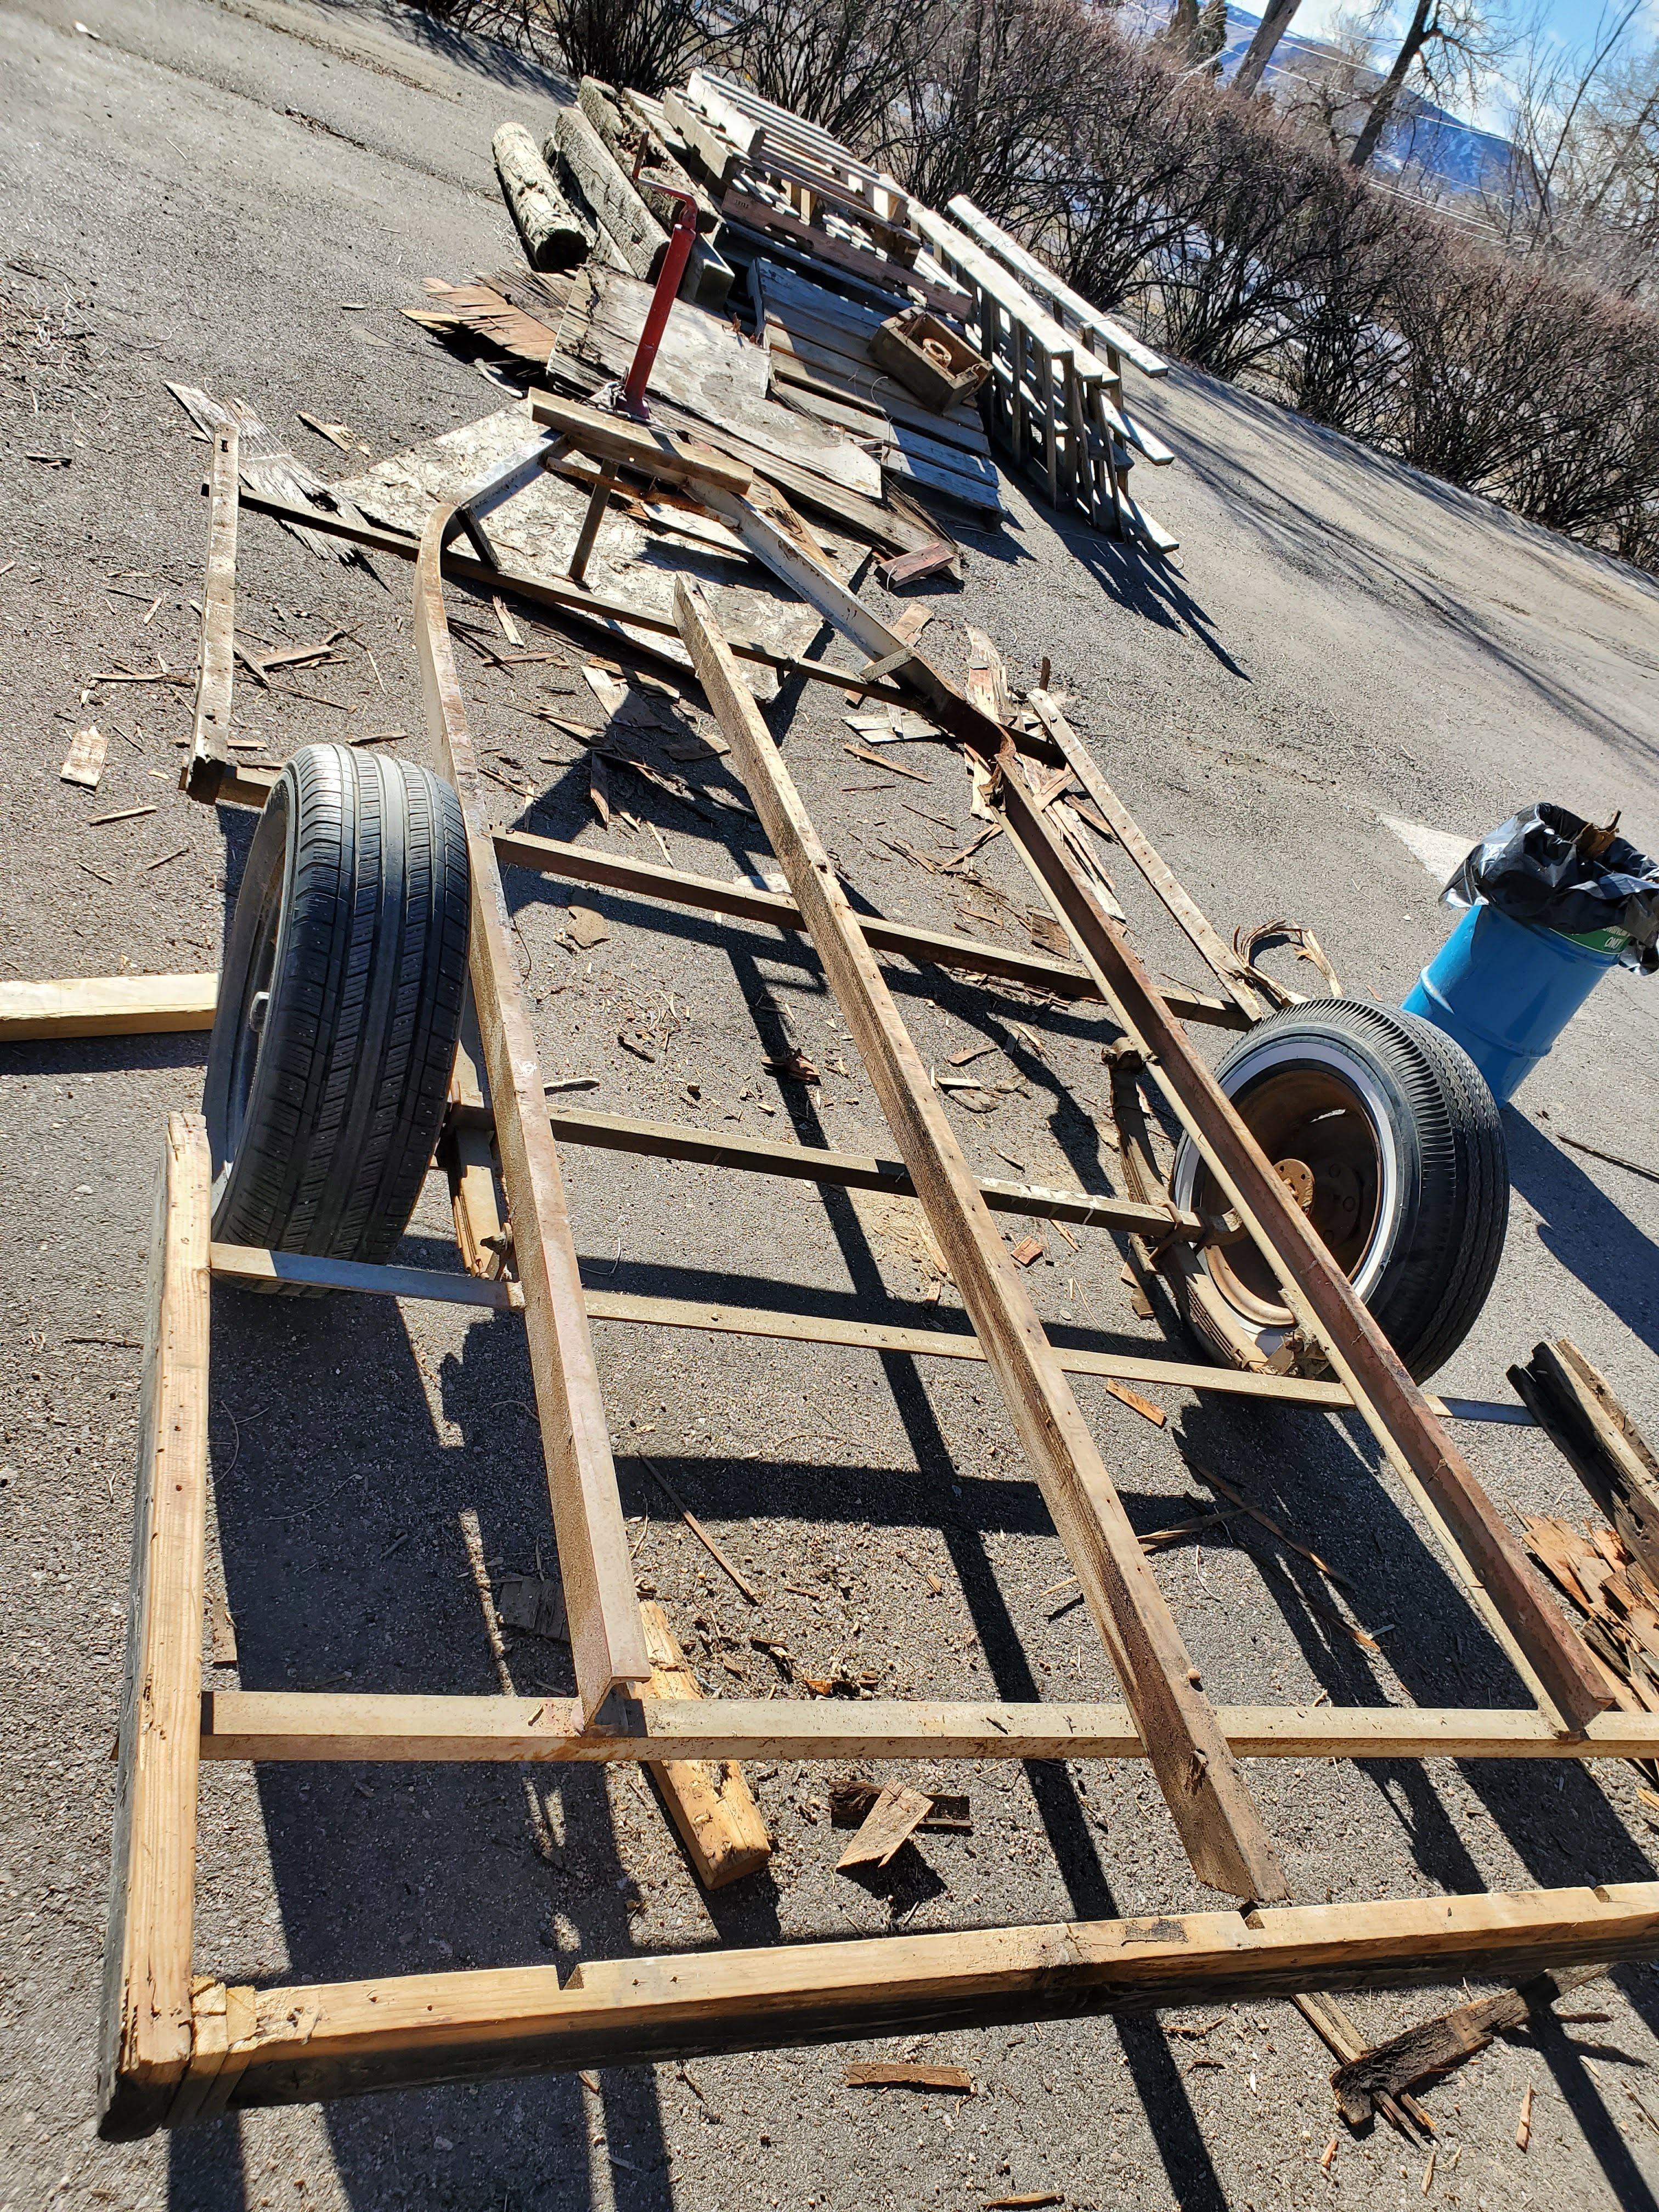
Most people see a piece of junk not worth a penny. I'm a dreamer with a vision, and I see potential. It took me many months of patience, looking for the right trailer, and it finally popped up. A former camper trailer for $100:
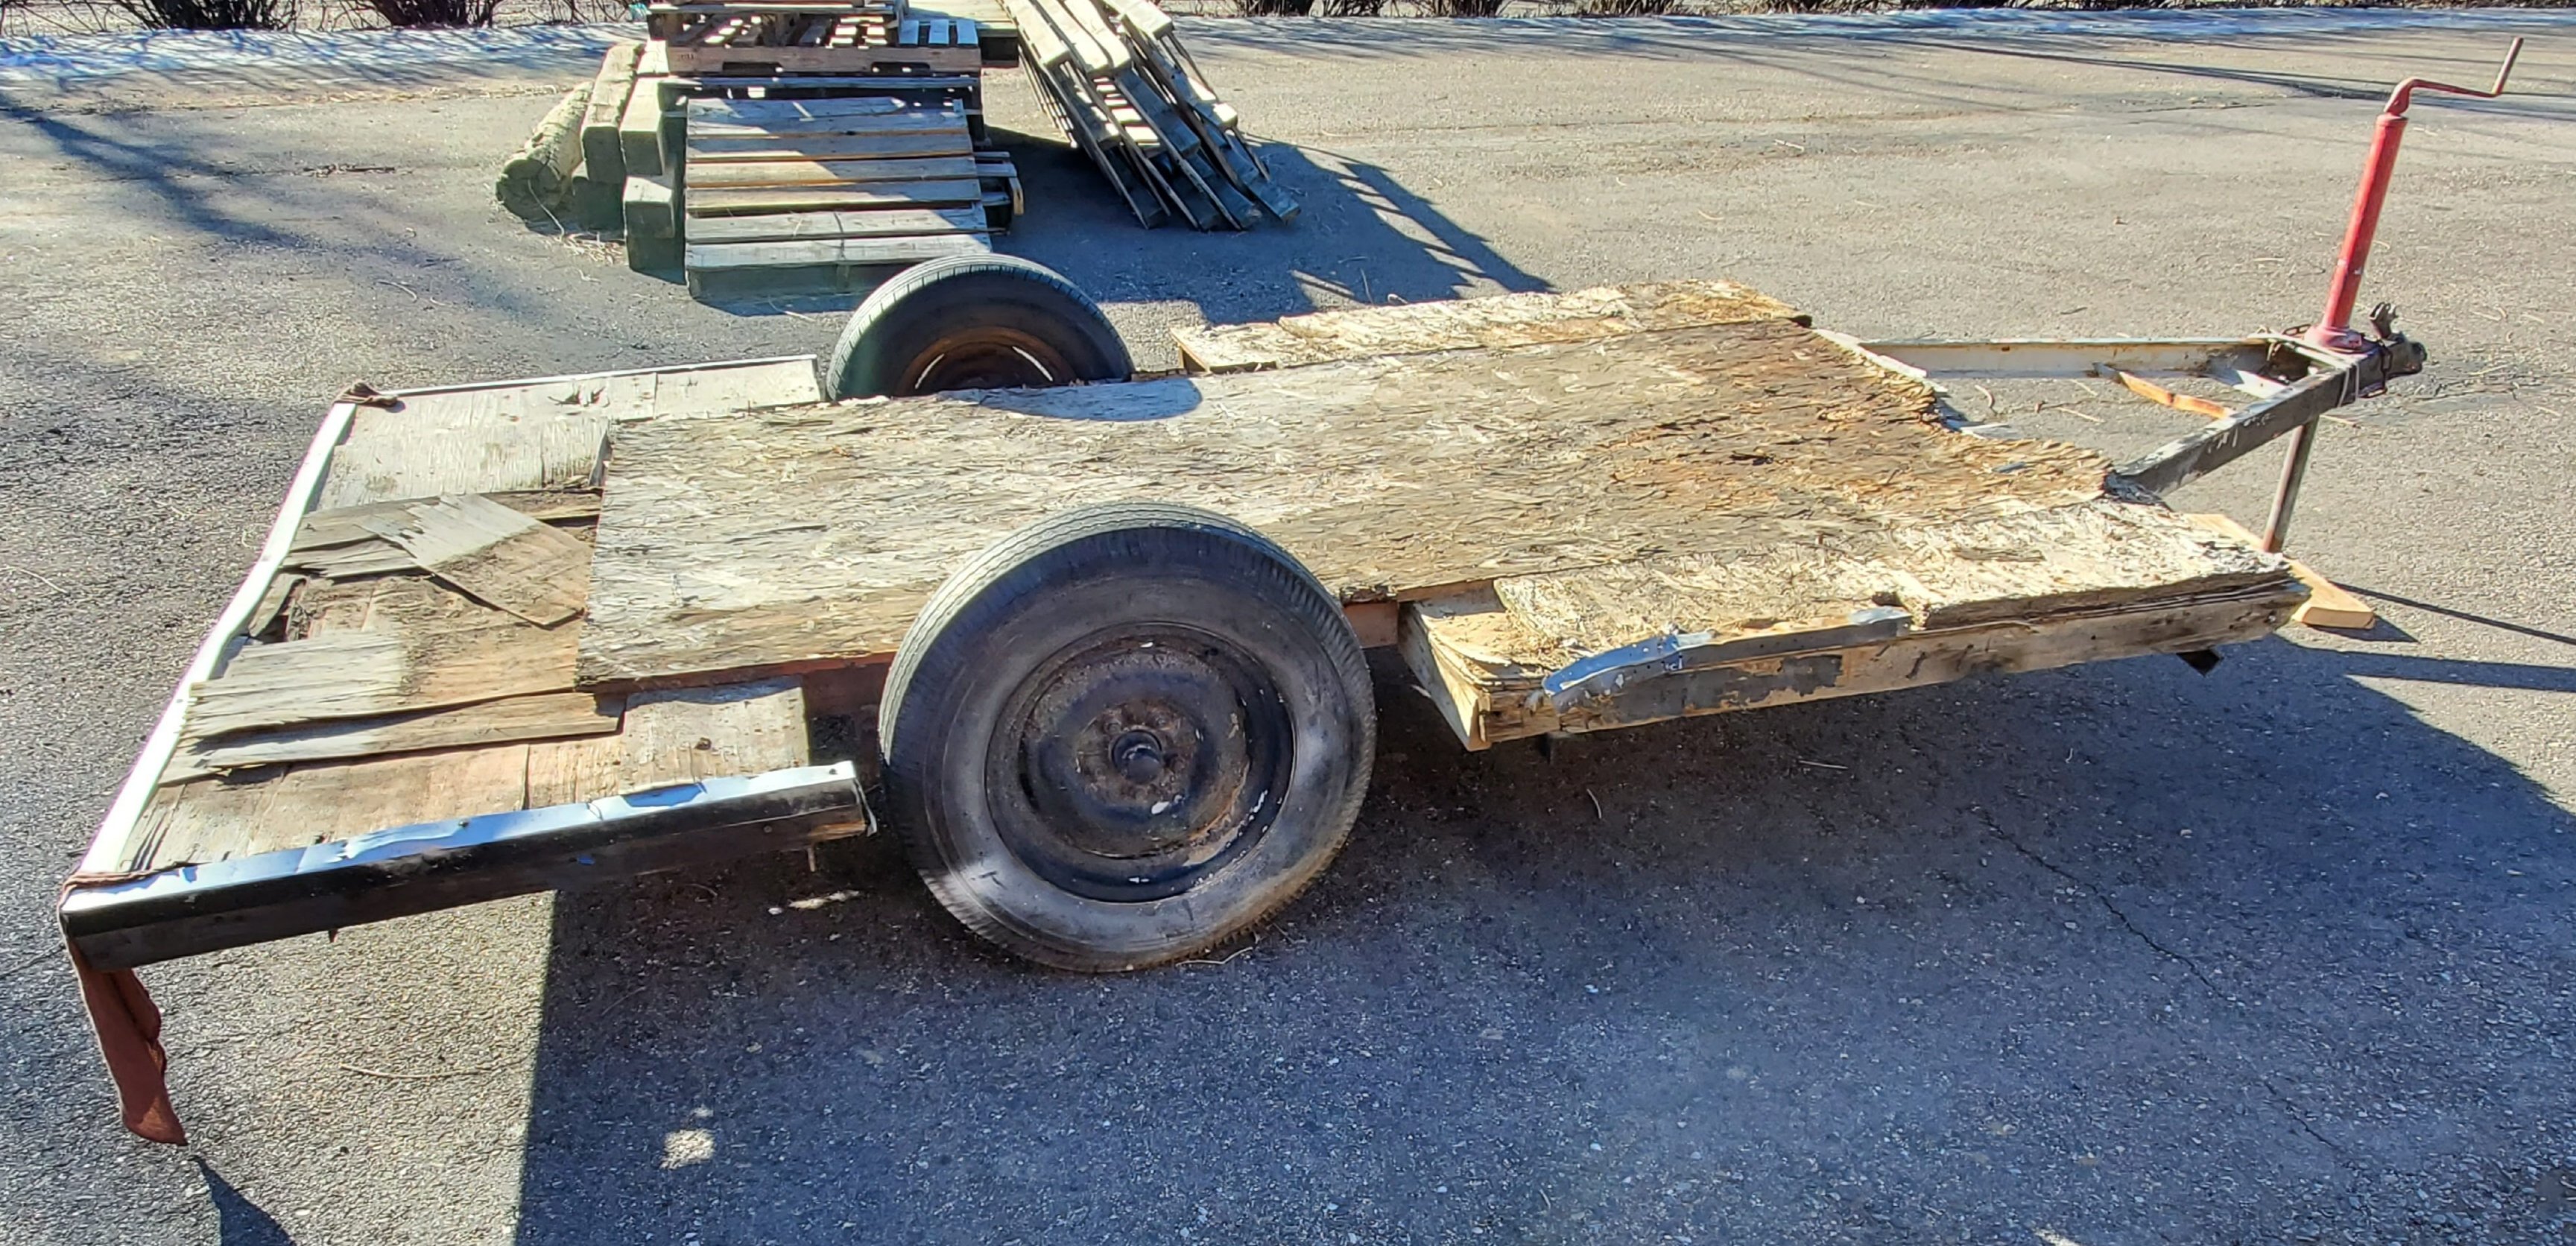
Careful demolition is never fast, easy, or clean. I think they left the commode in!
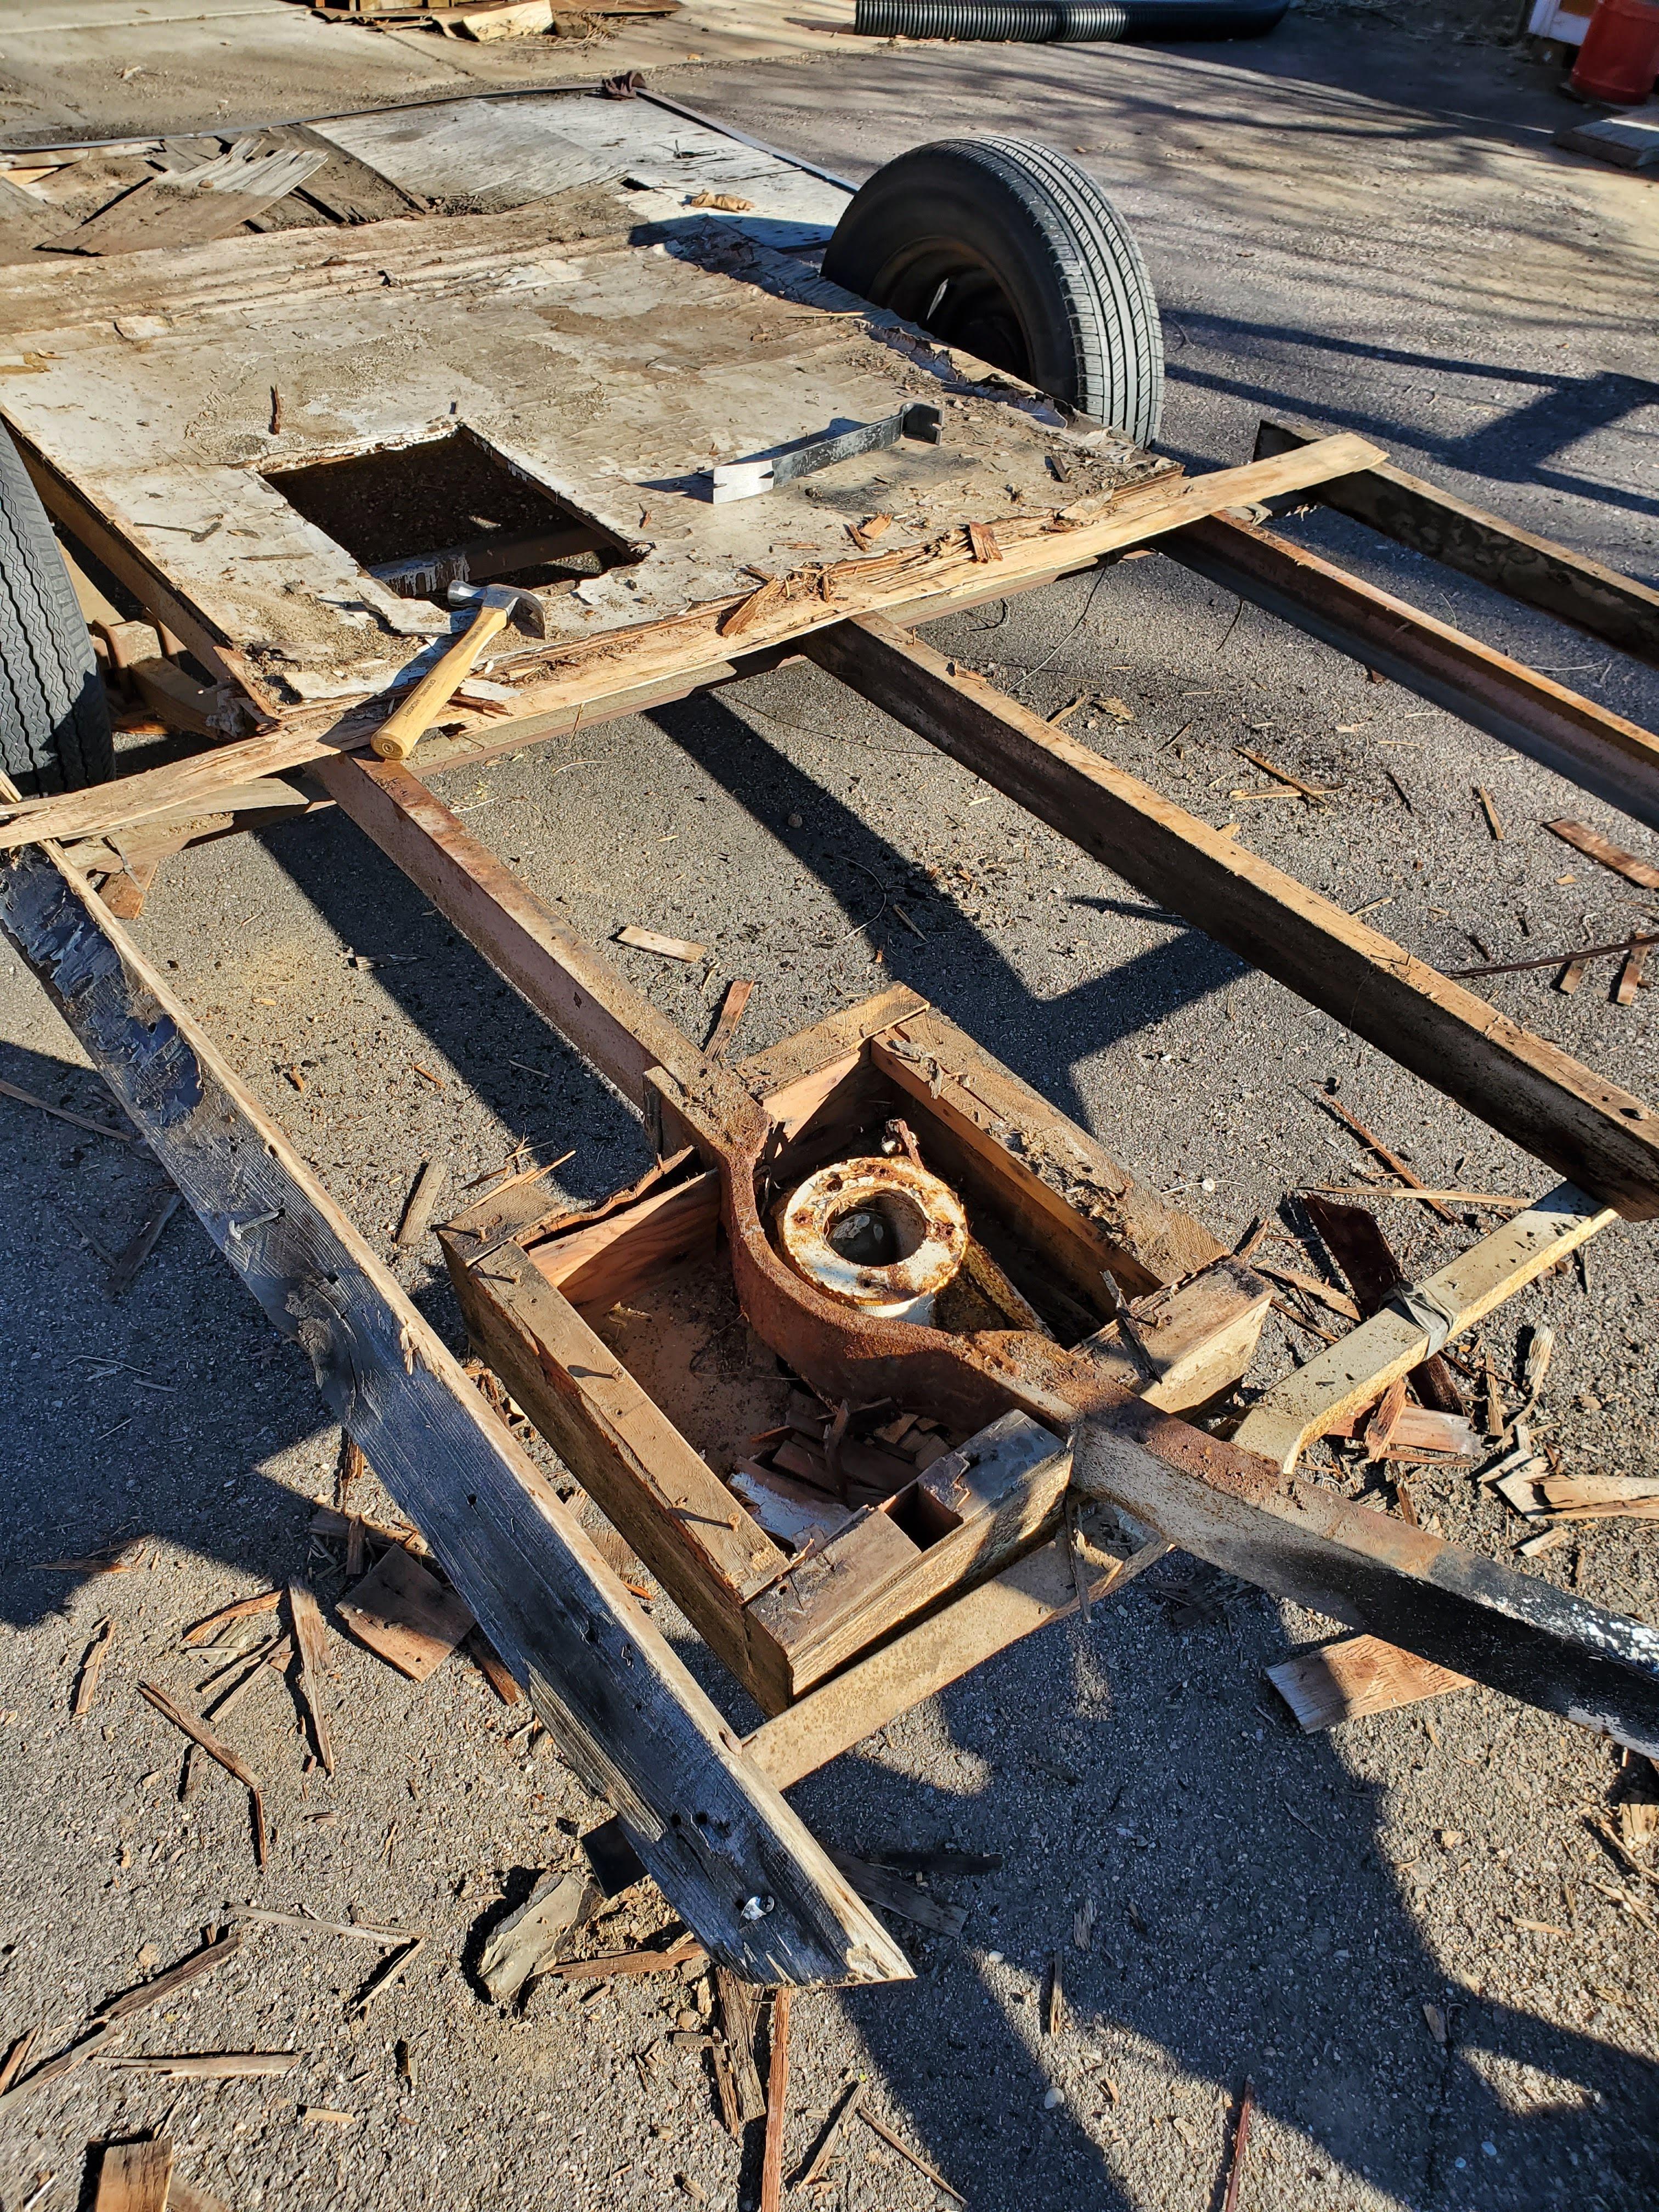
Almost stripped:
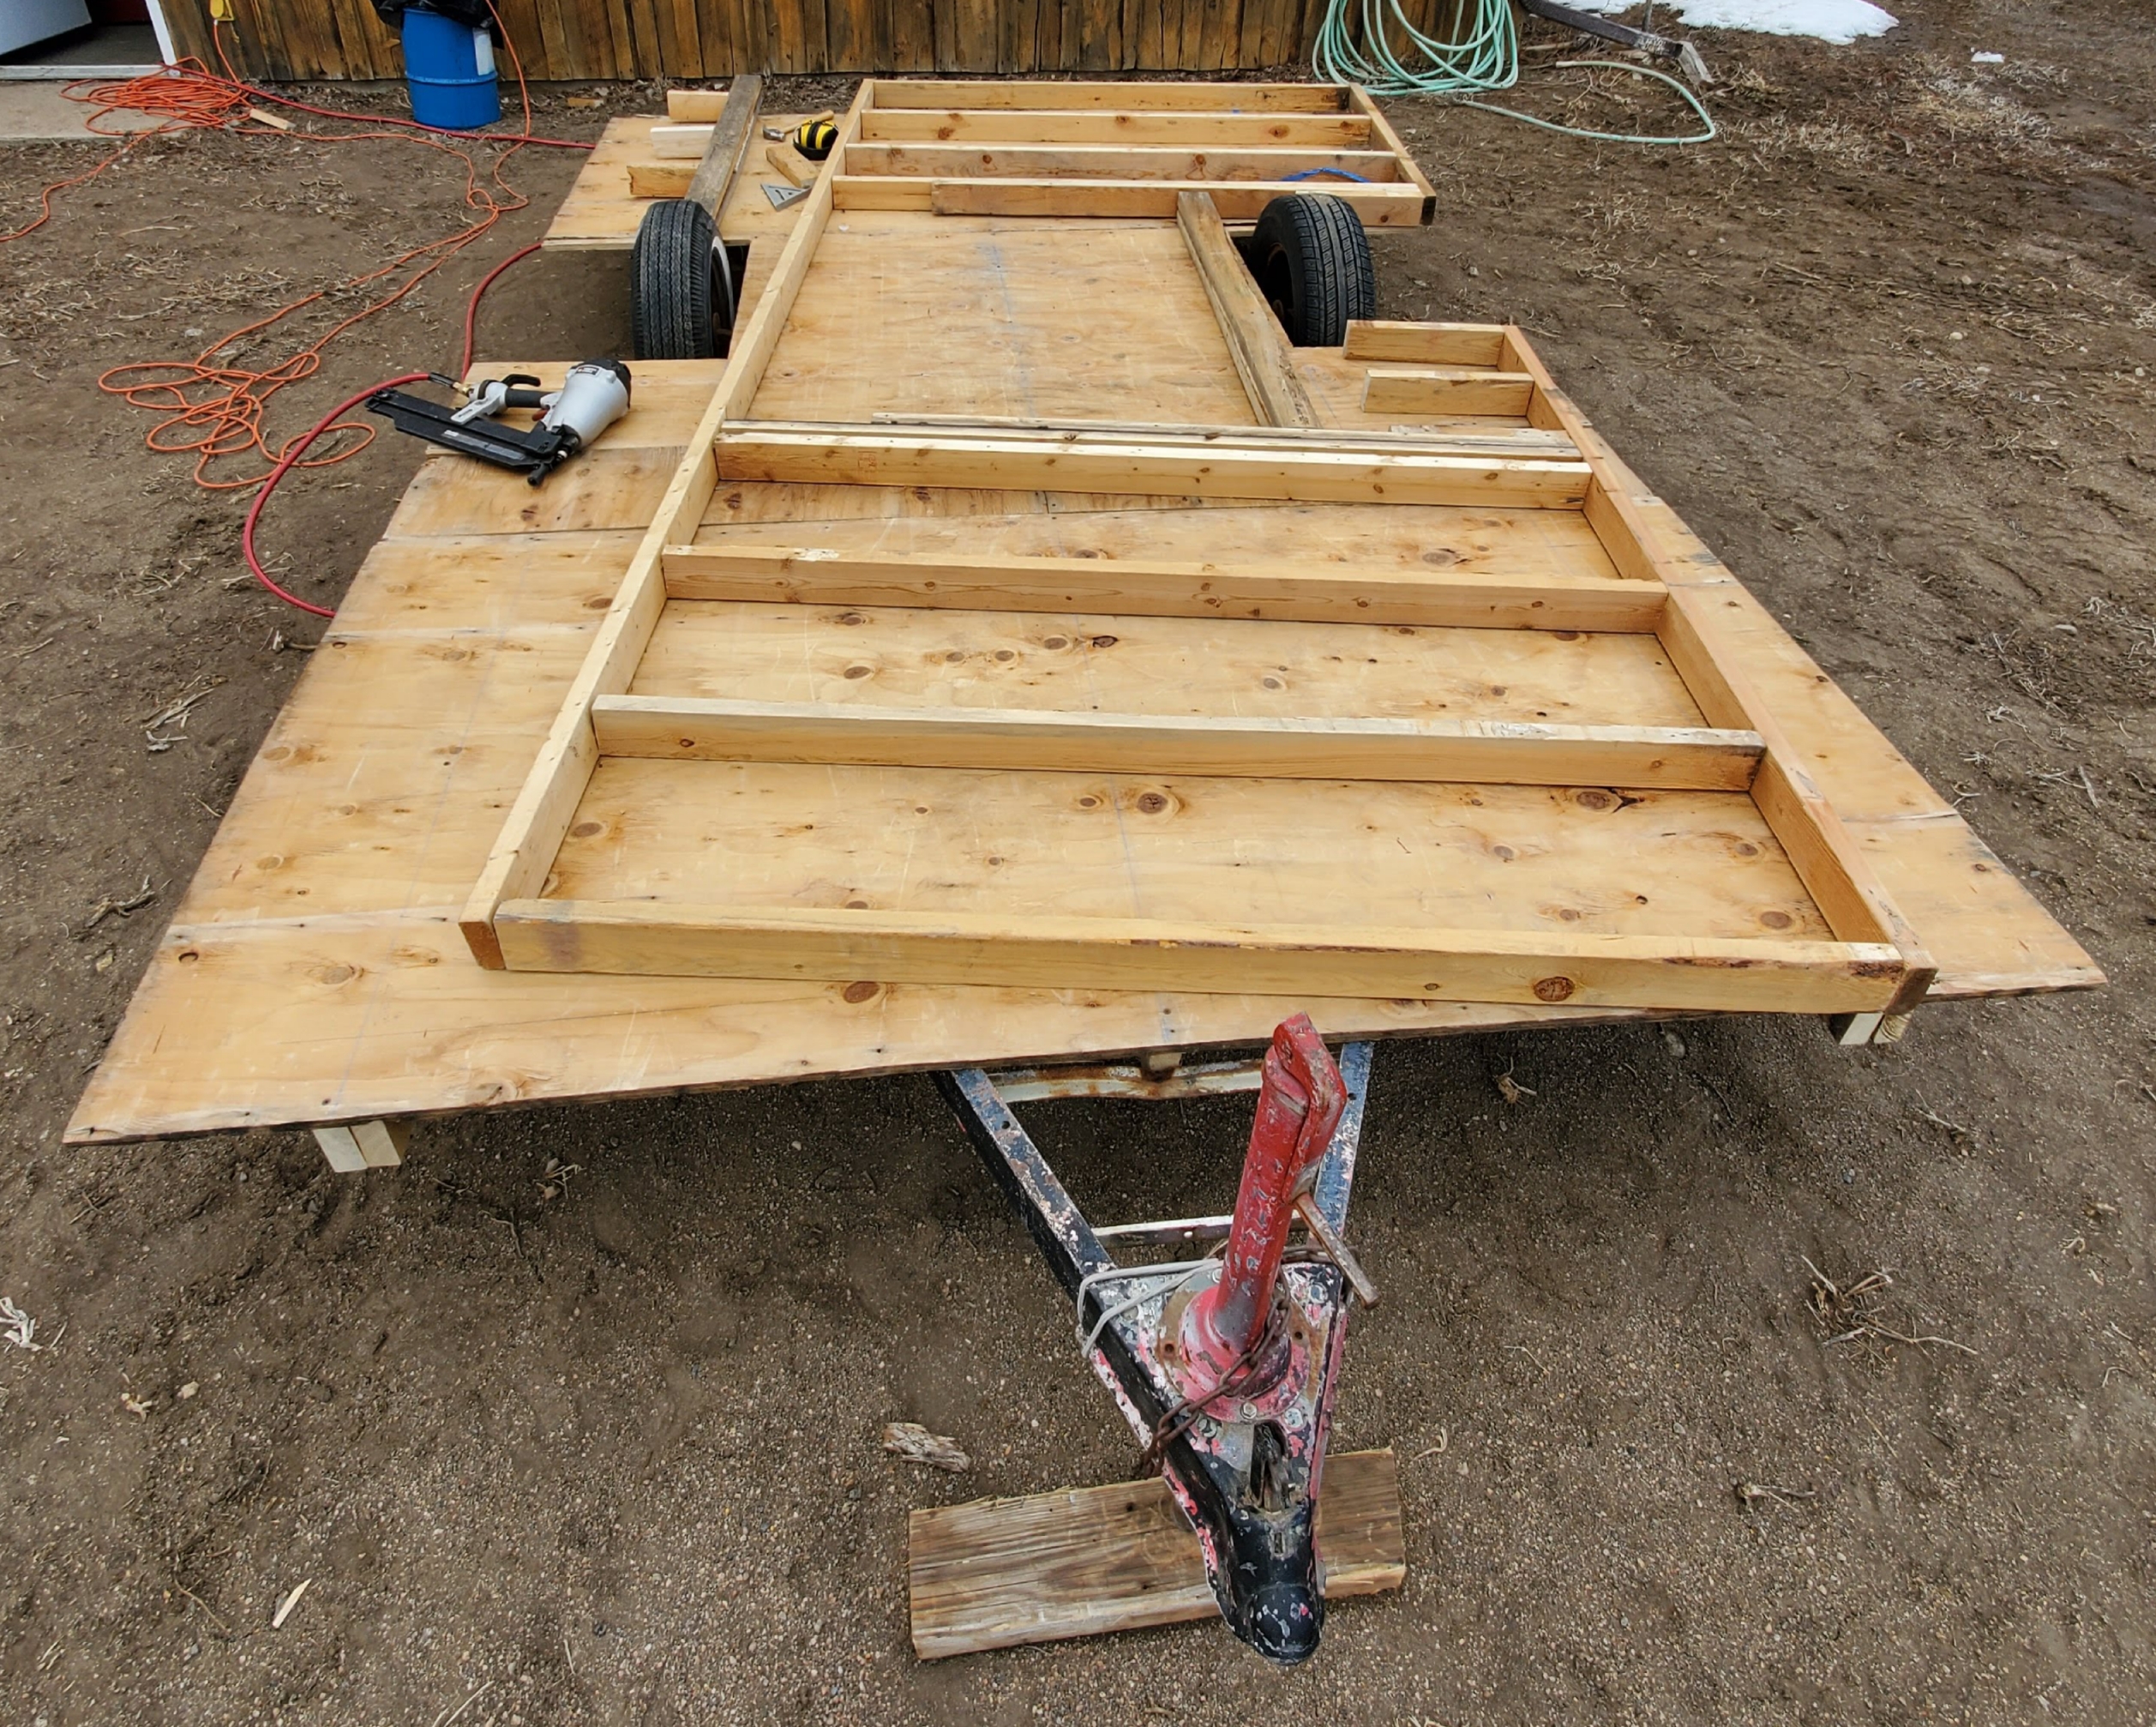
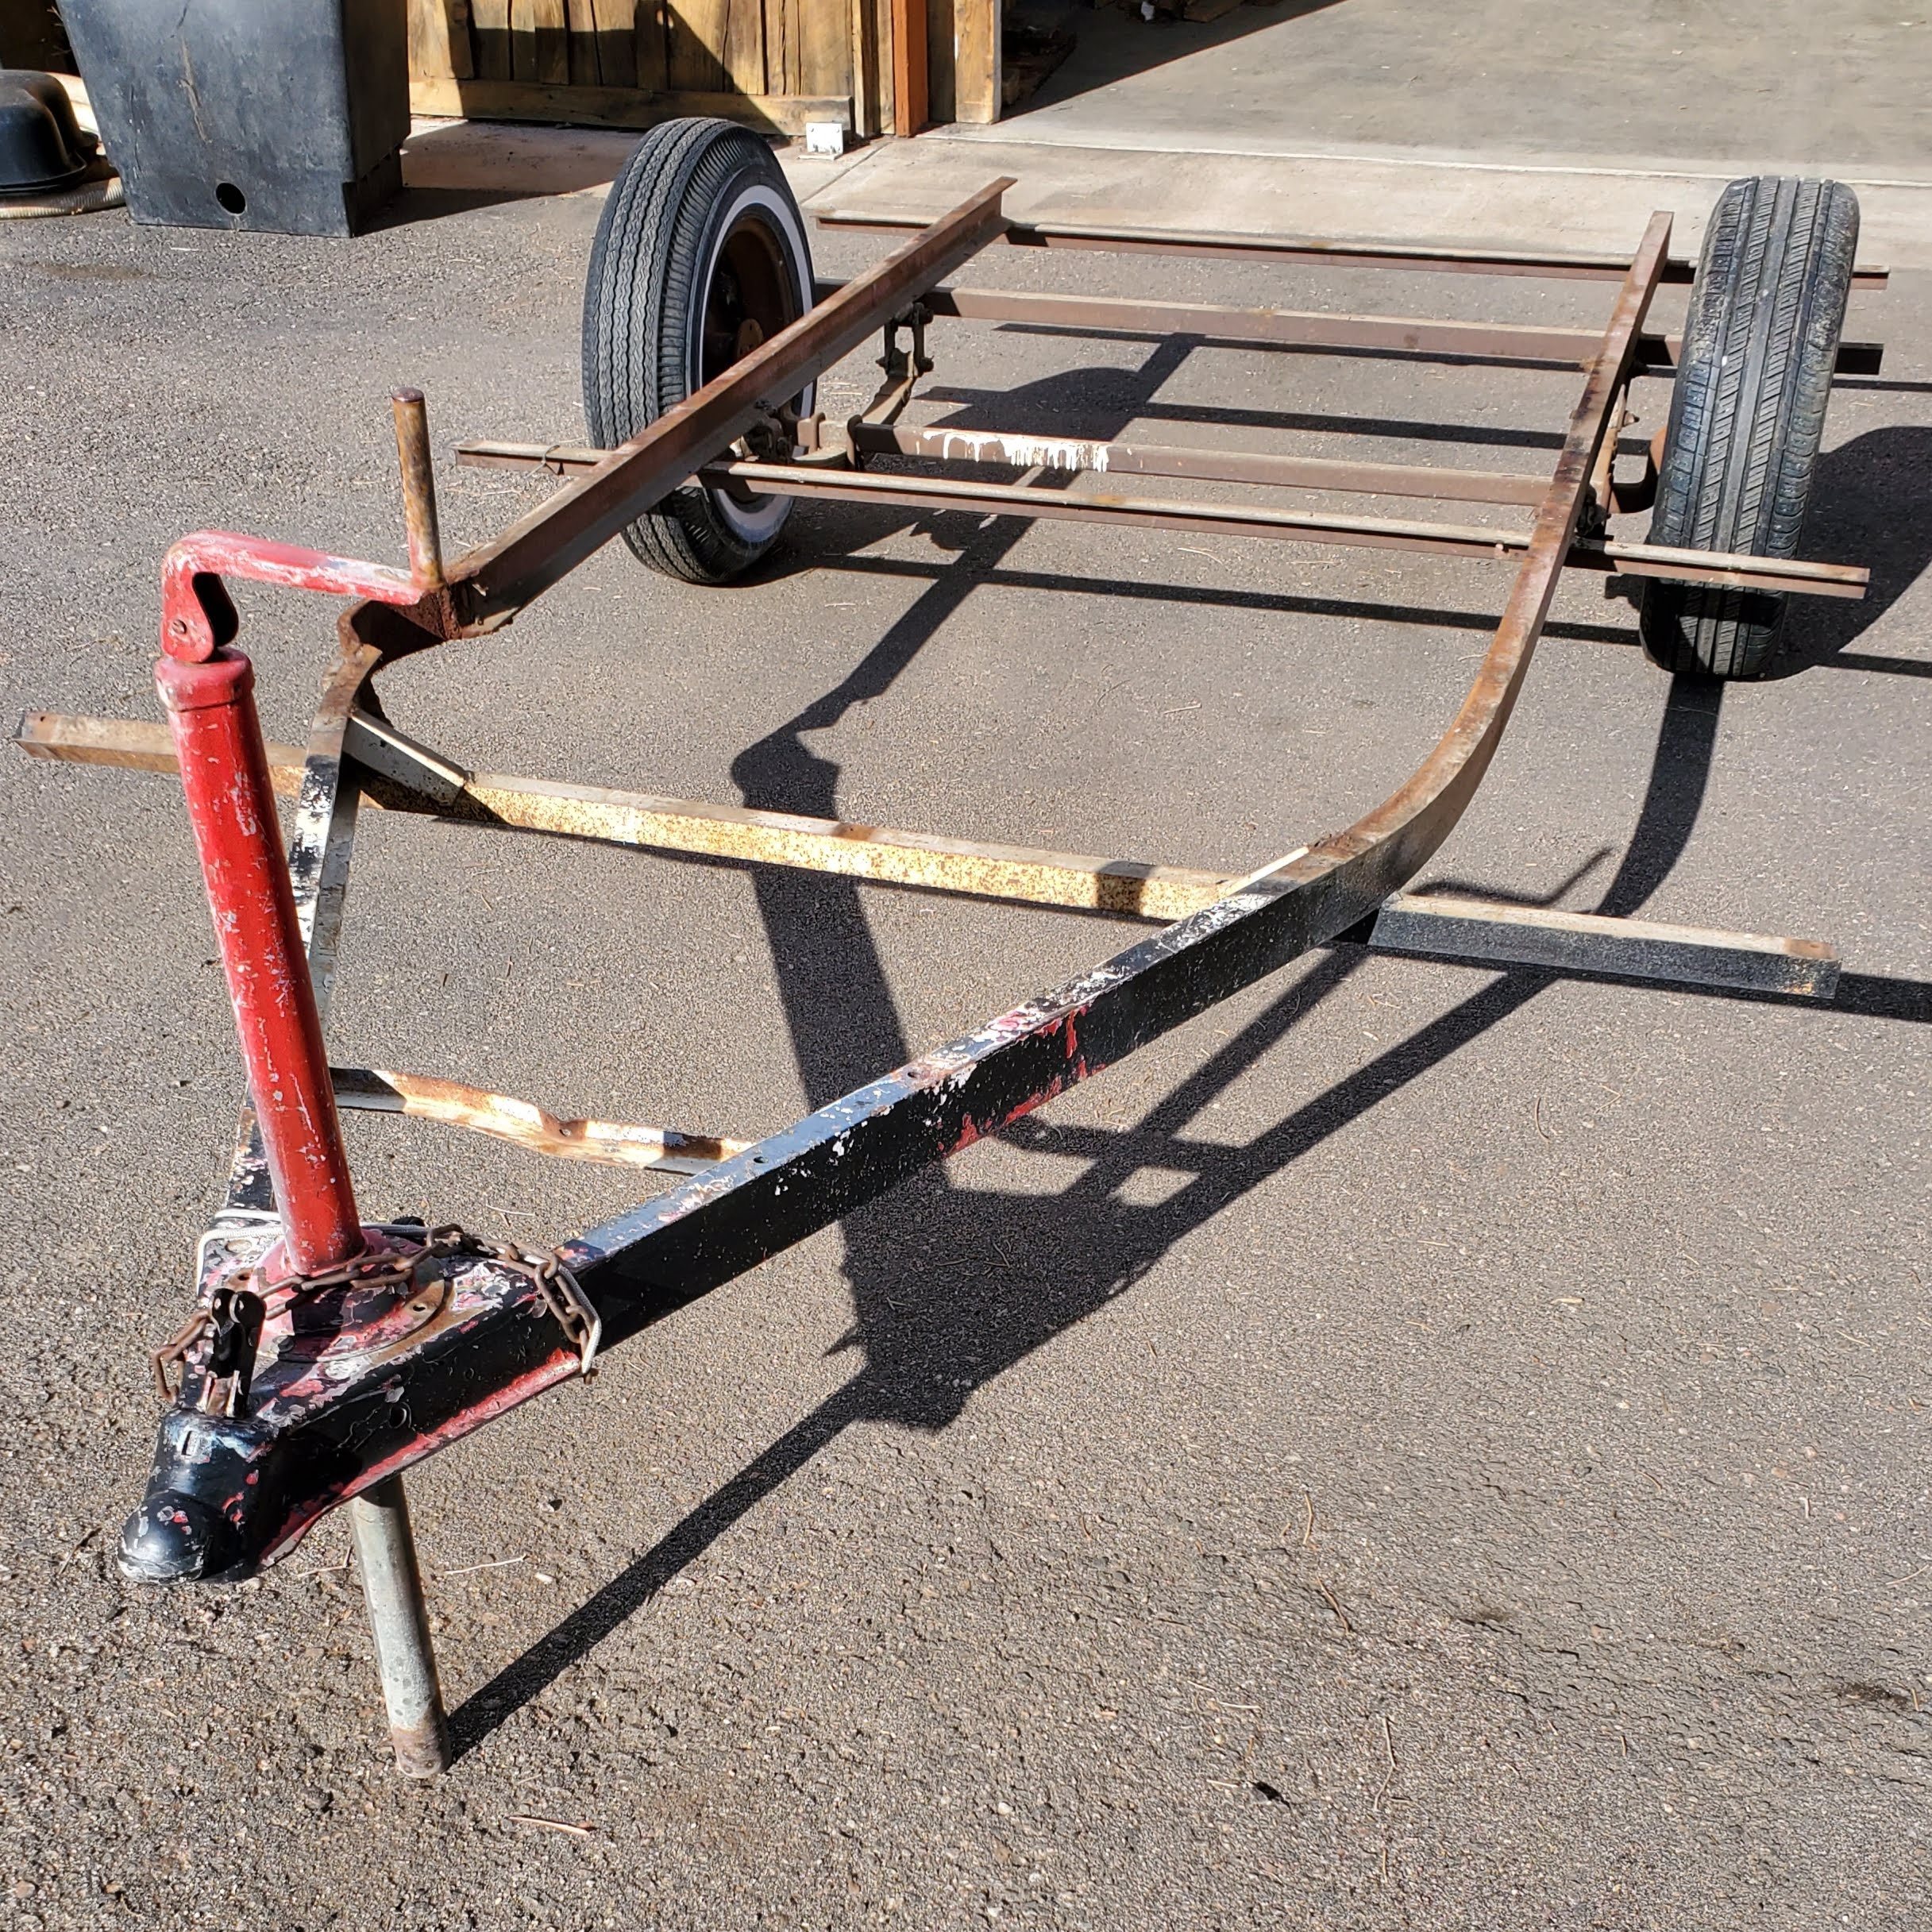
Took me most of the day but in the end I had a solid foundation to begin with:
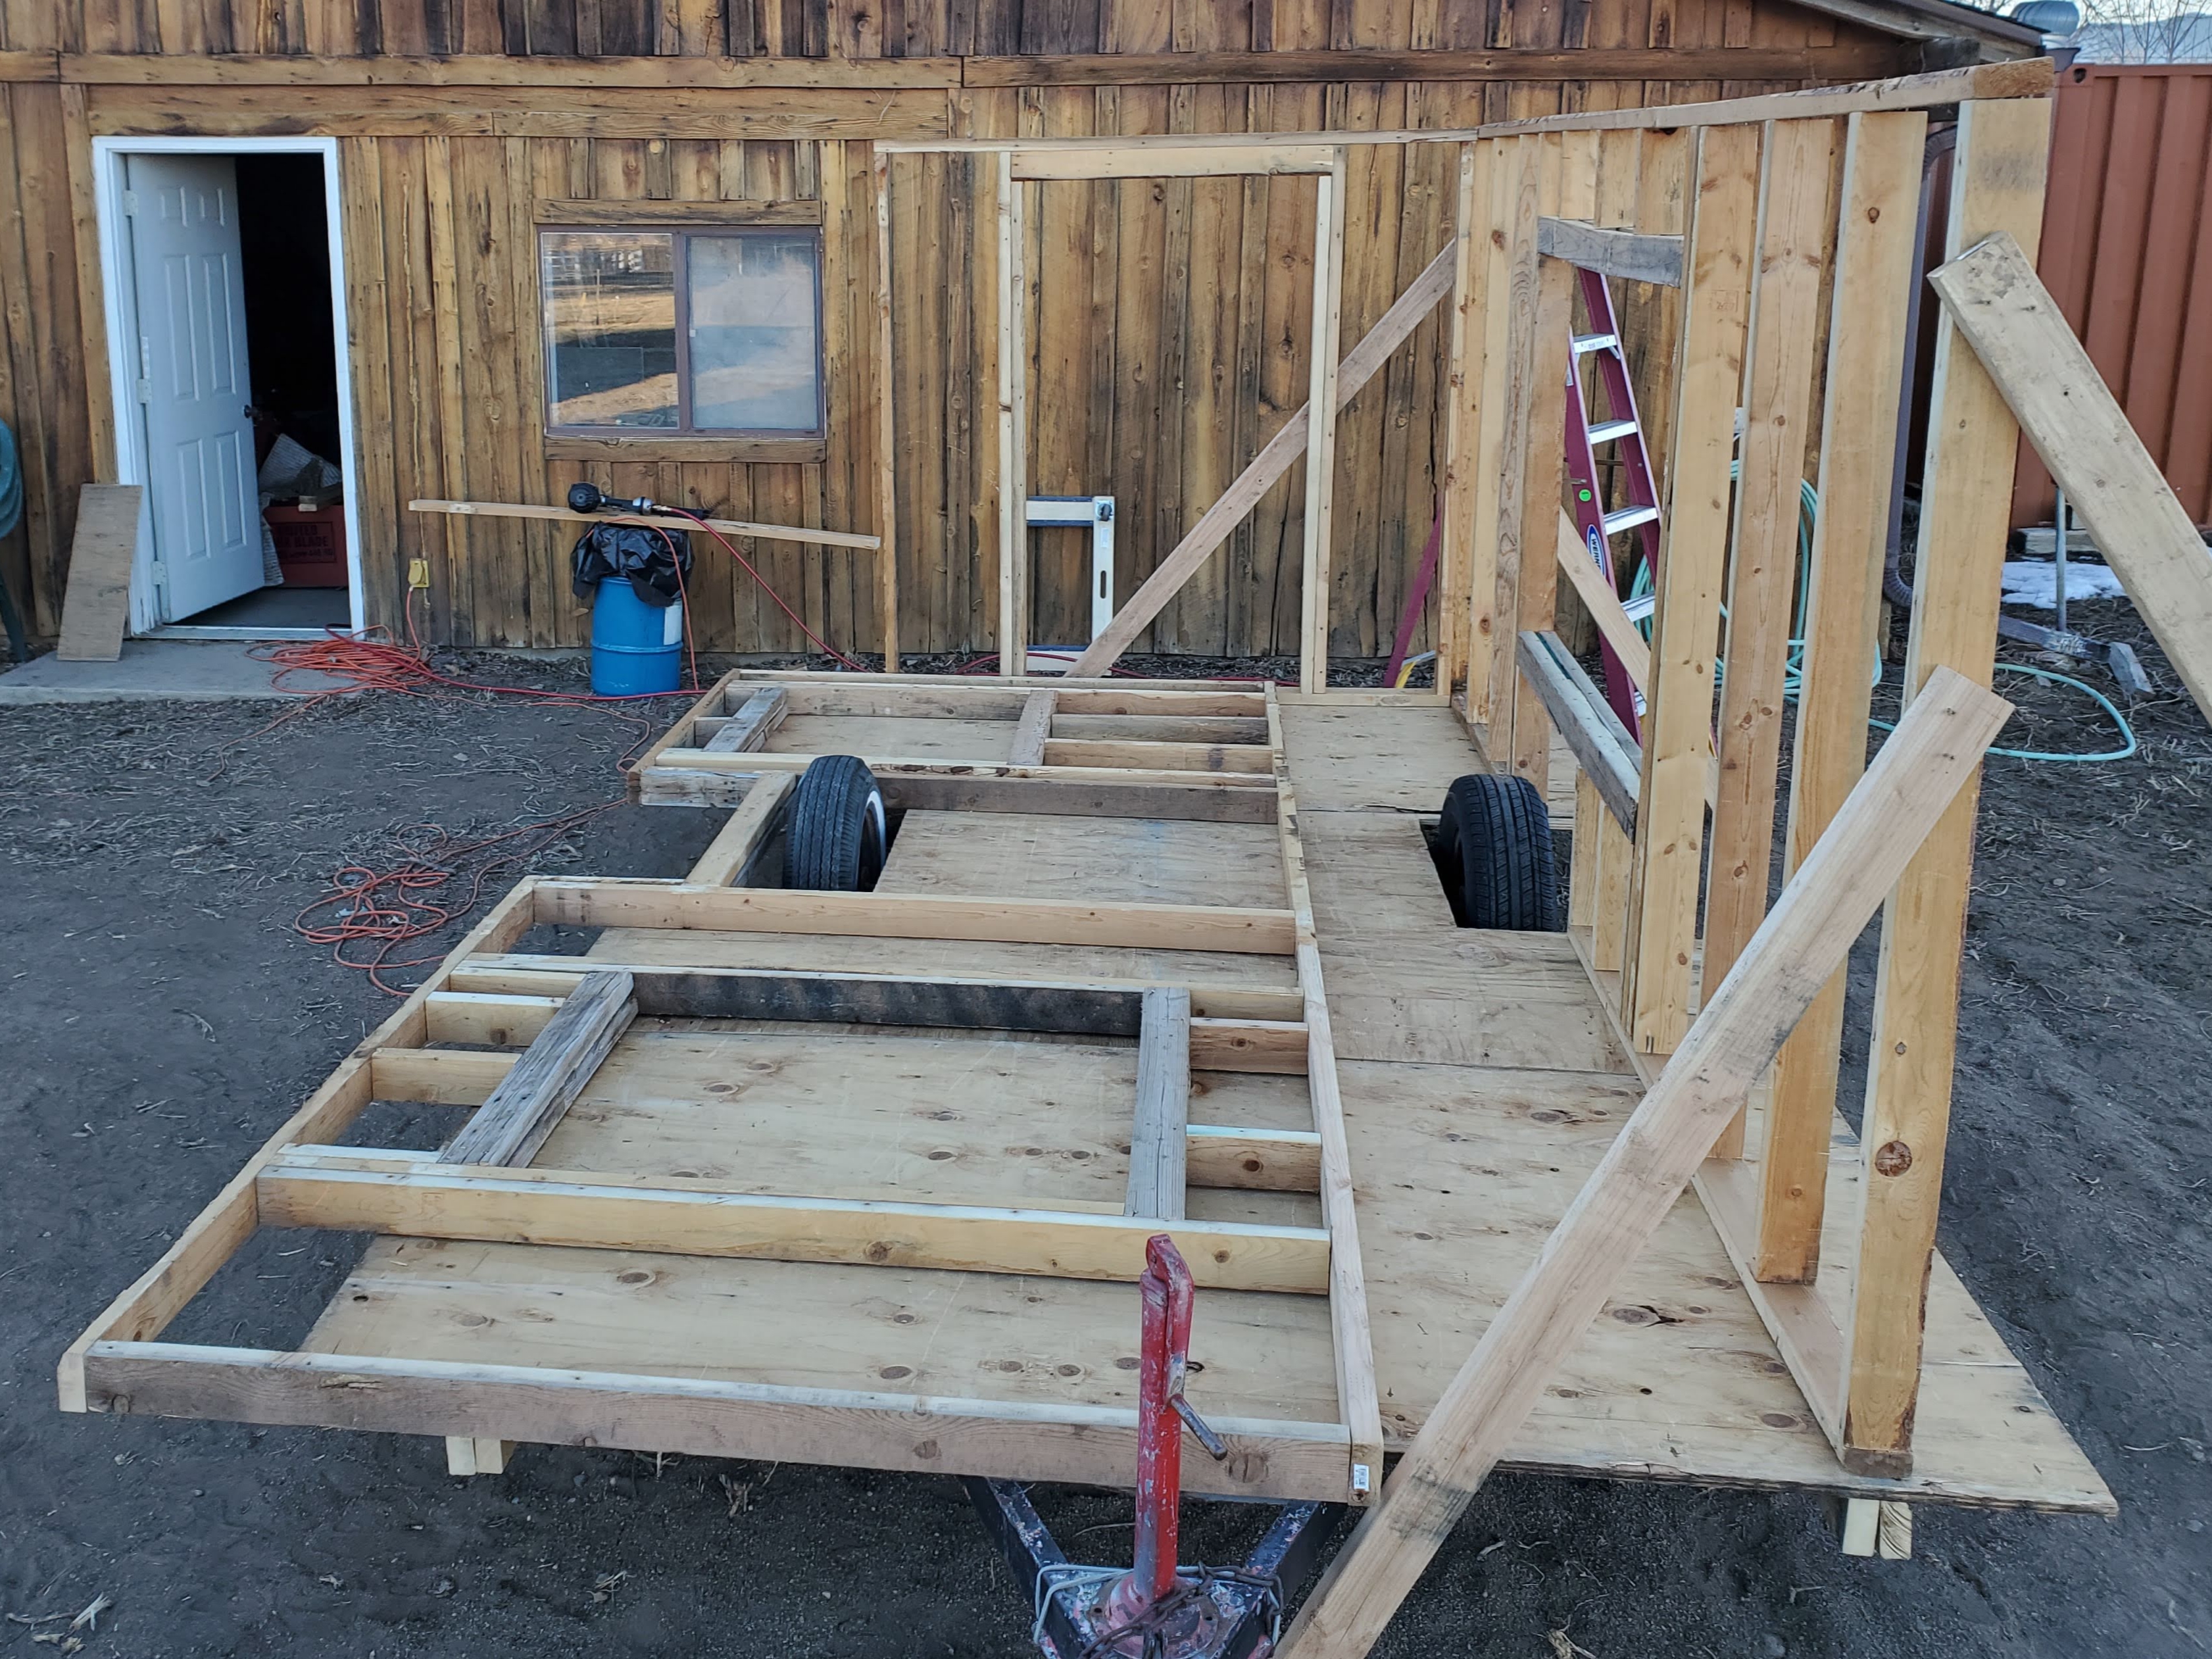
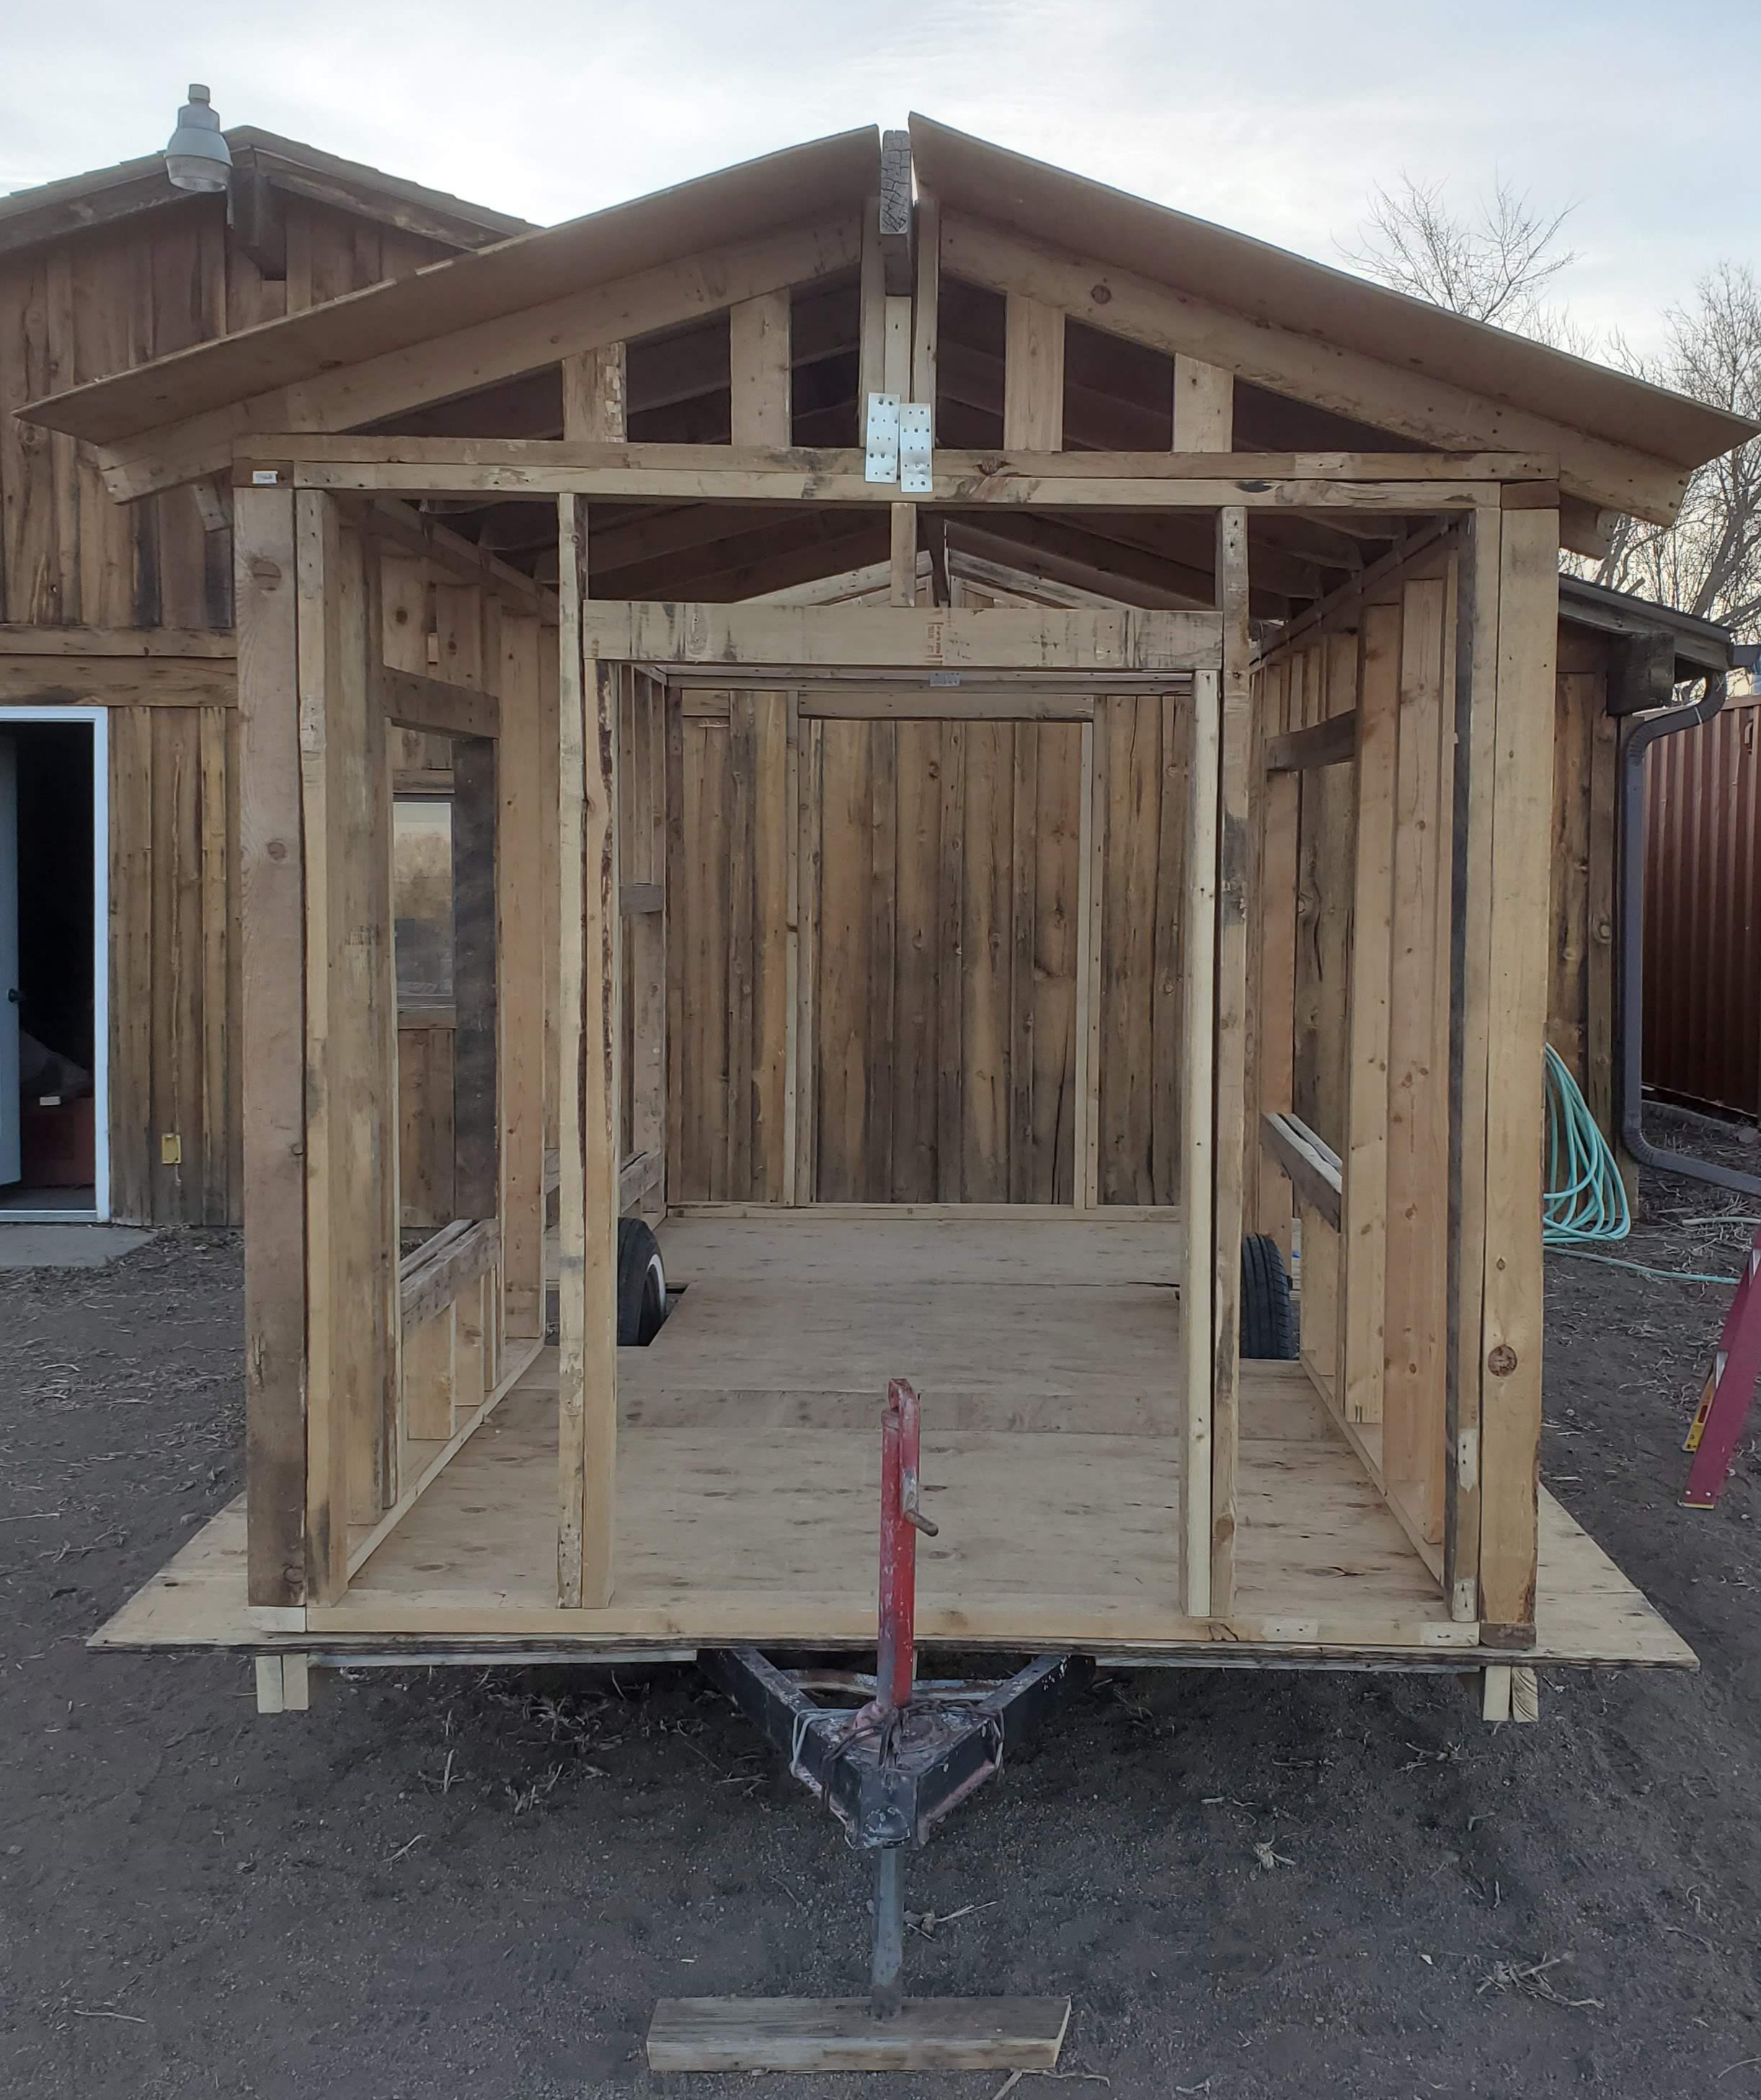
I spent another day re-framing the trailer (no pic because it looks like the "Almost Stripped" pic above). Then it took me another day to get the floor completed. I'll lay down linoleum or vinyl floor later:
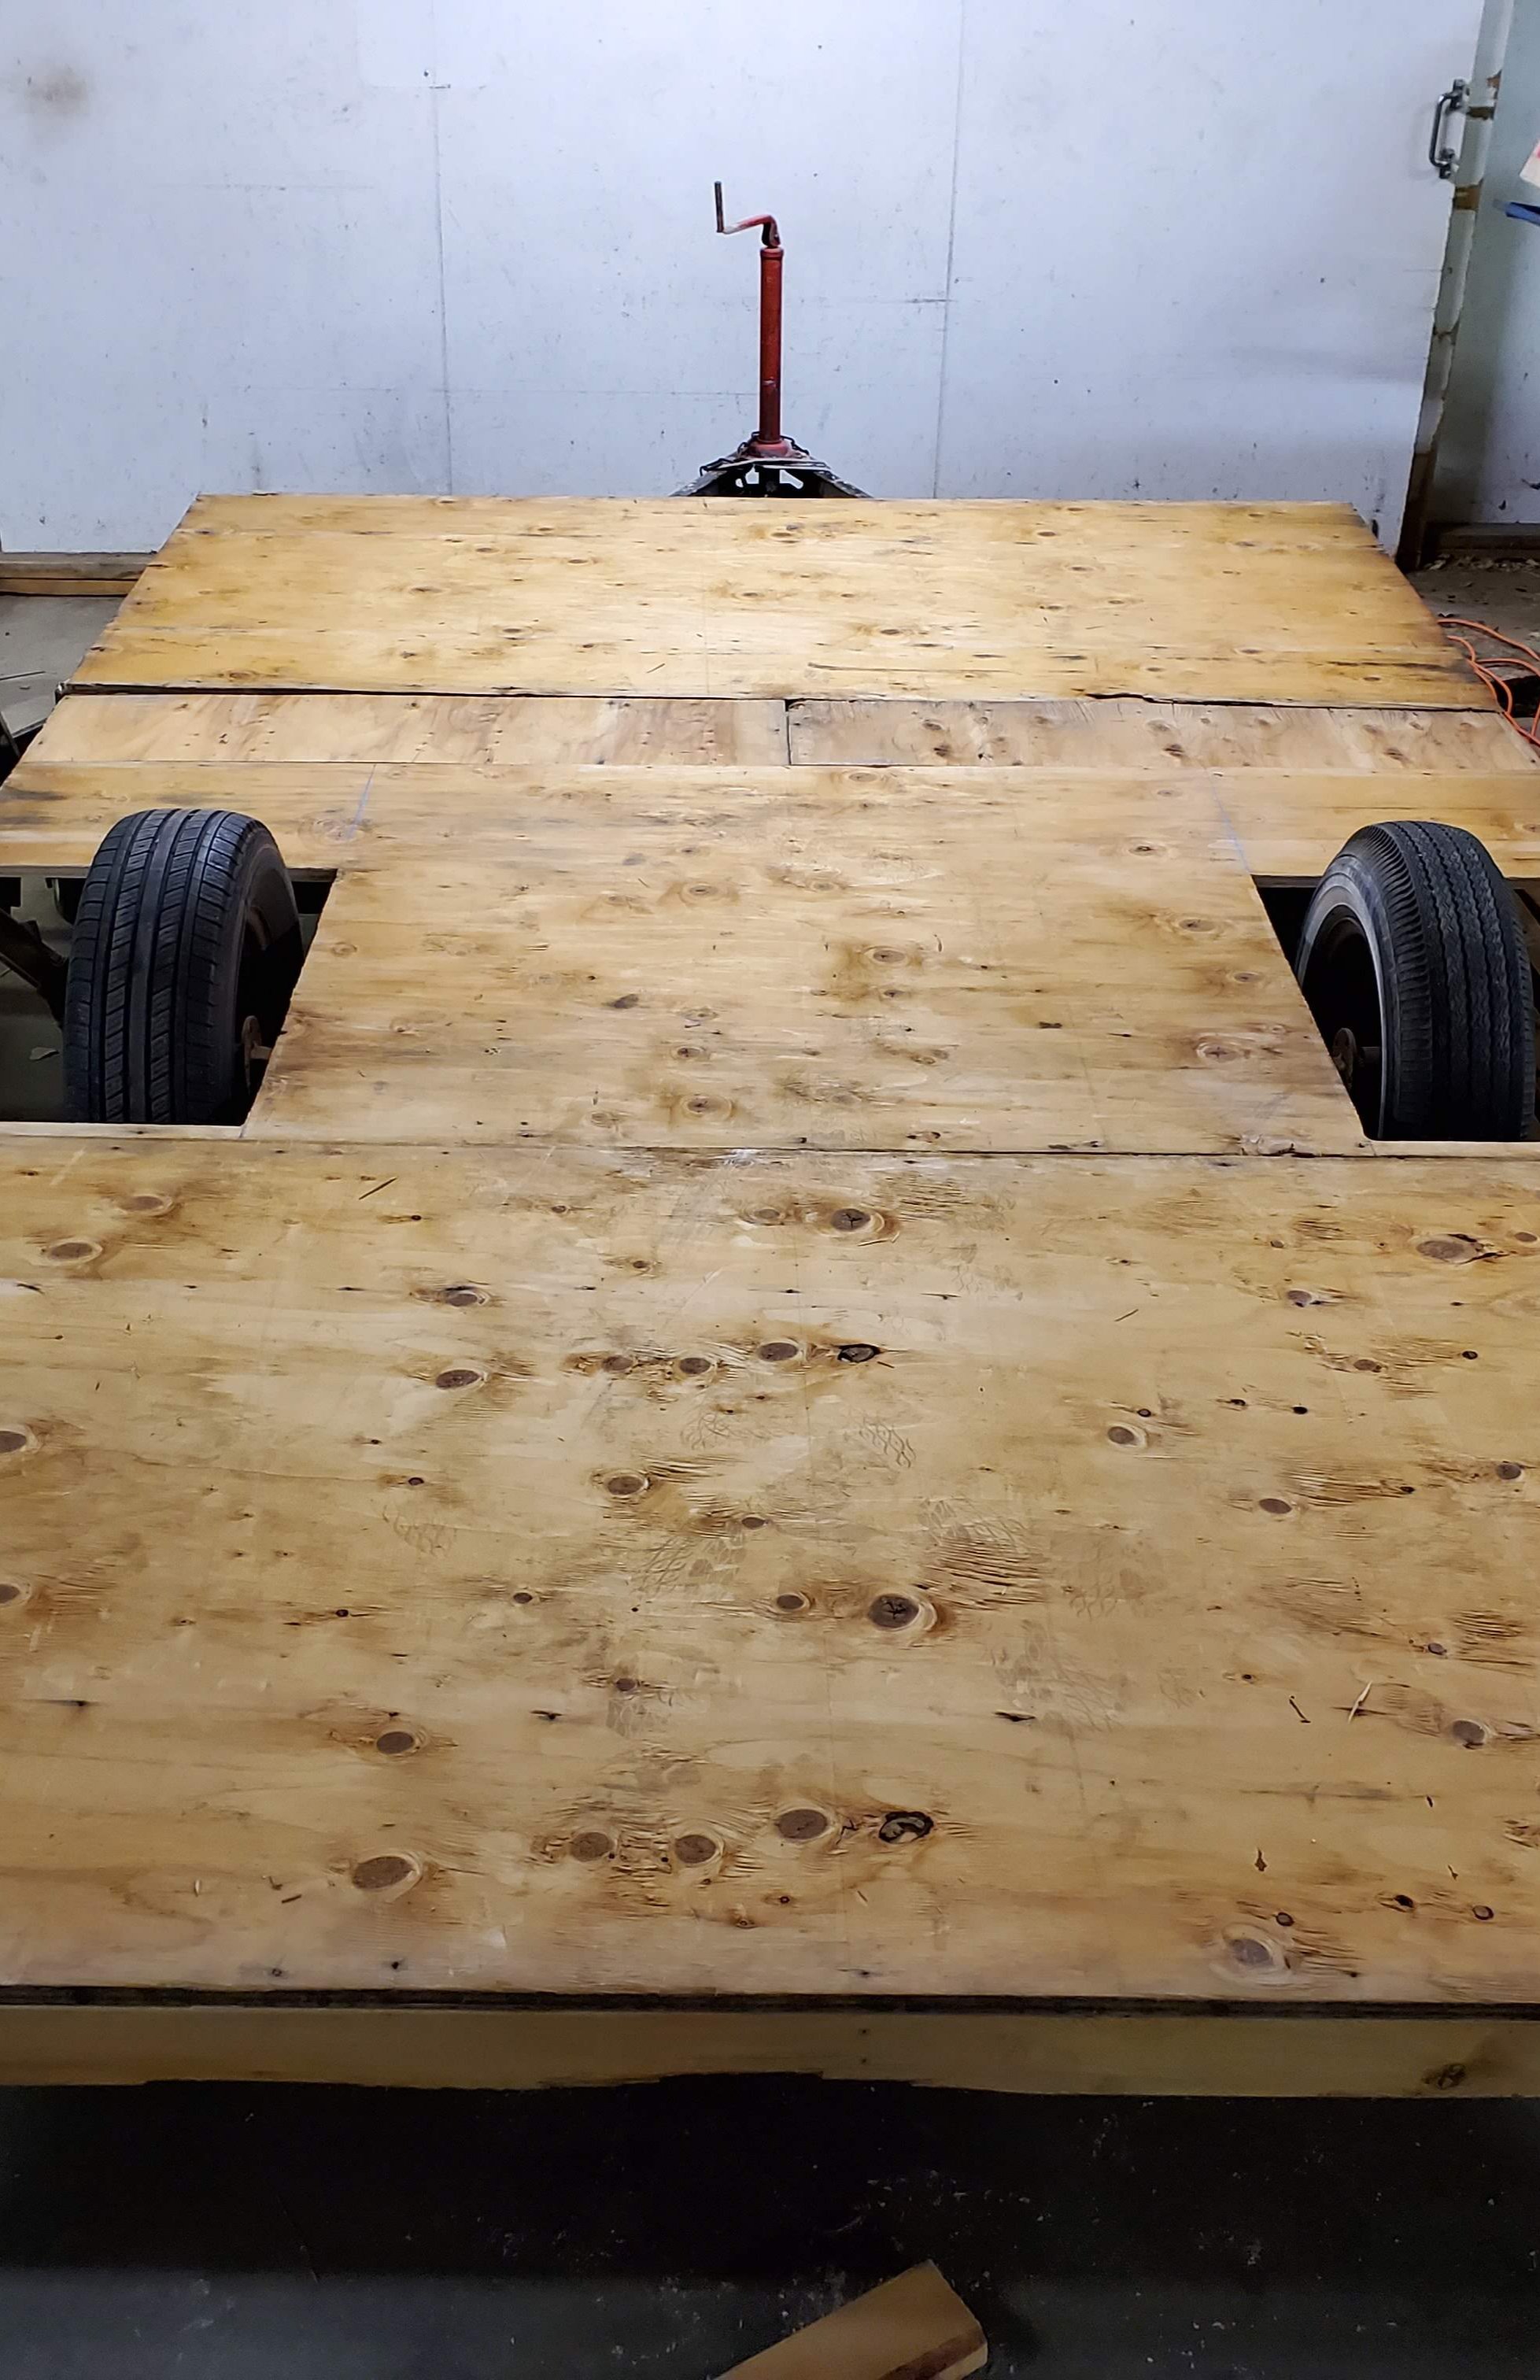
Total floor dimensions are 13'x8', there will be a 10" lip on each side and the rear which is where food and water will go (on the outside)
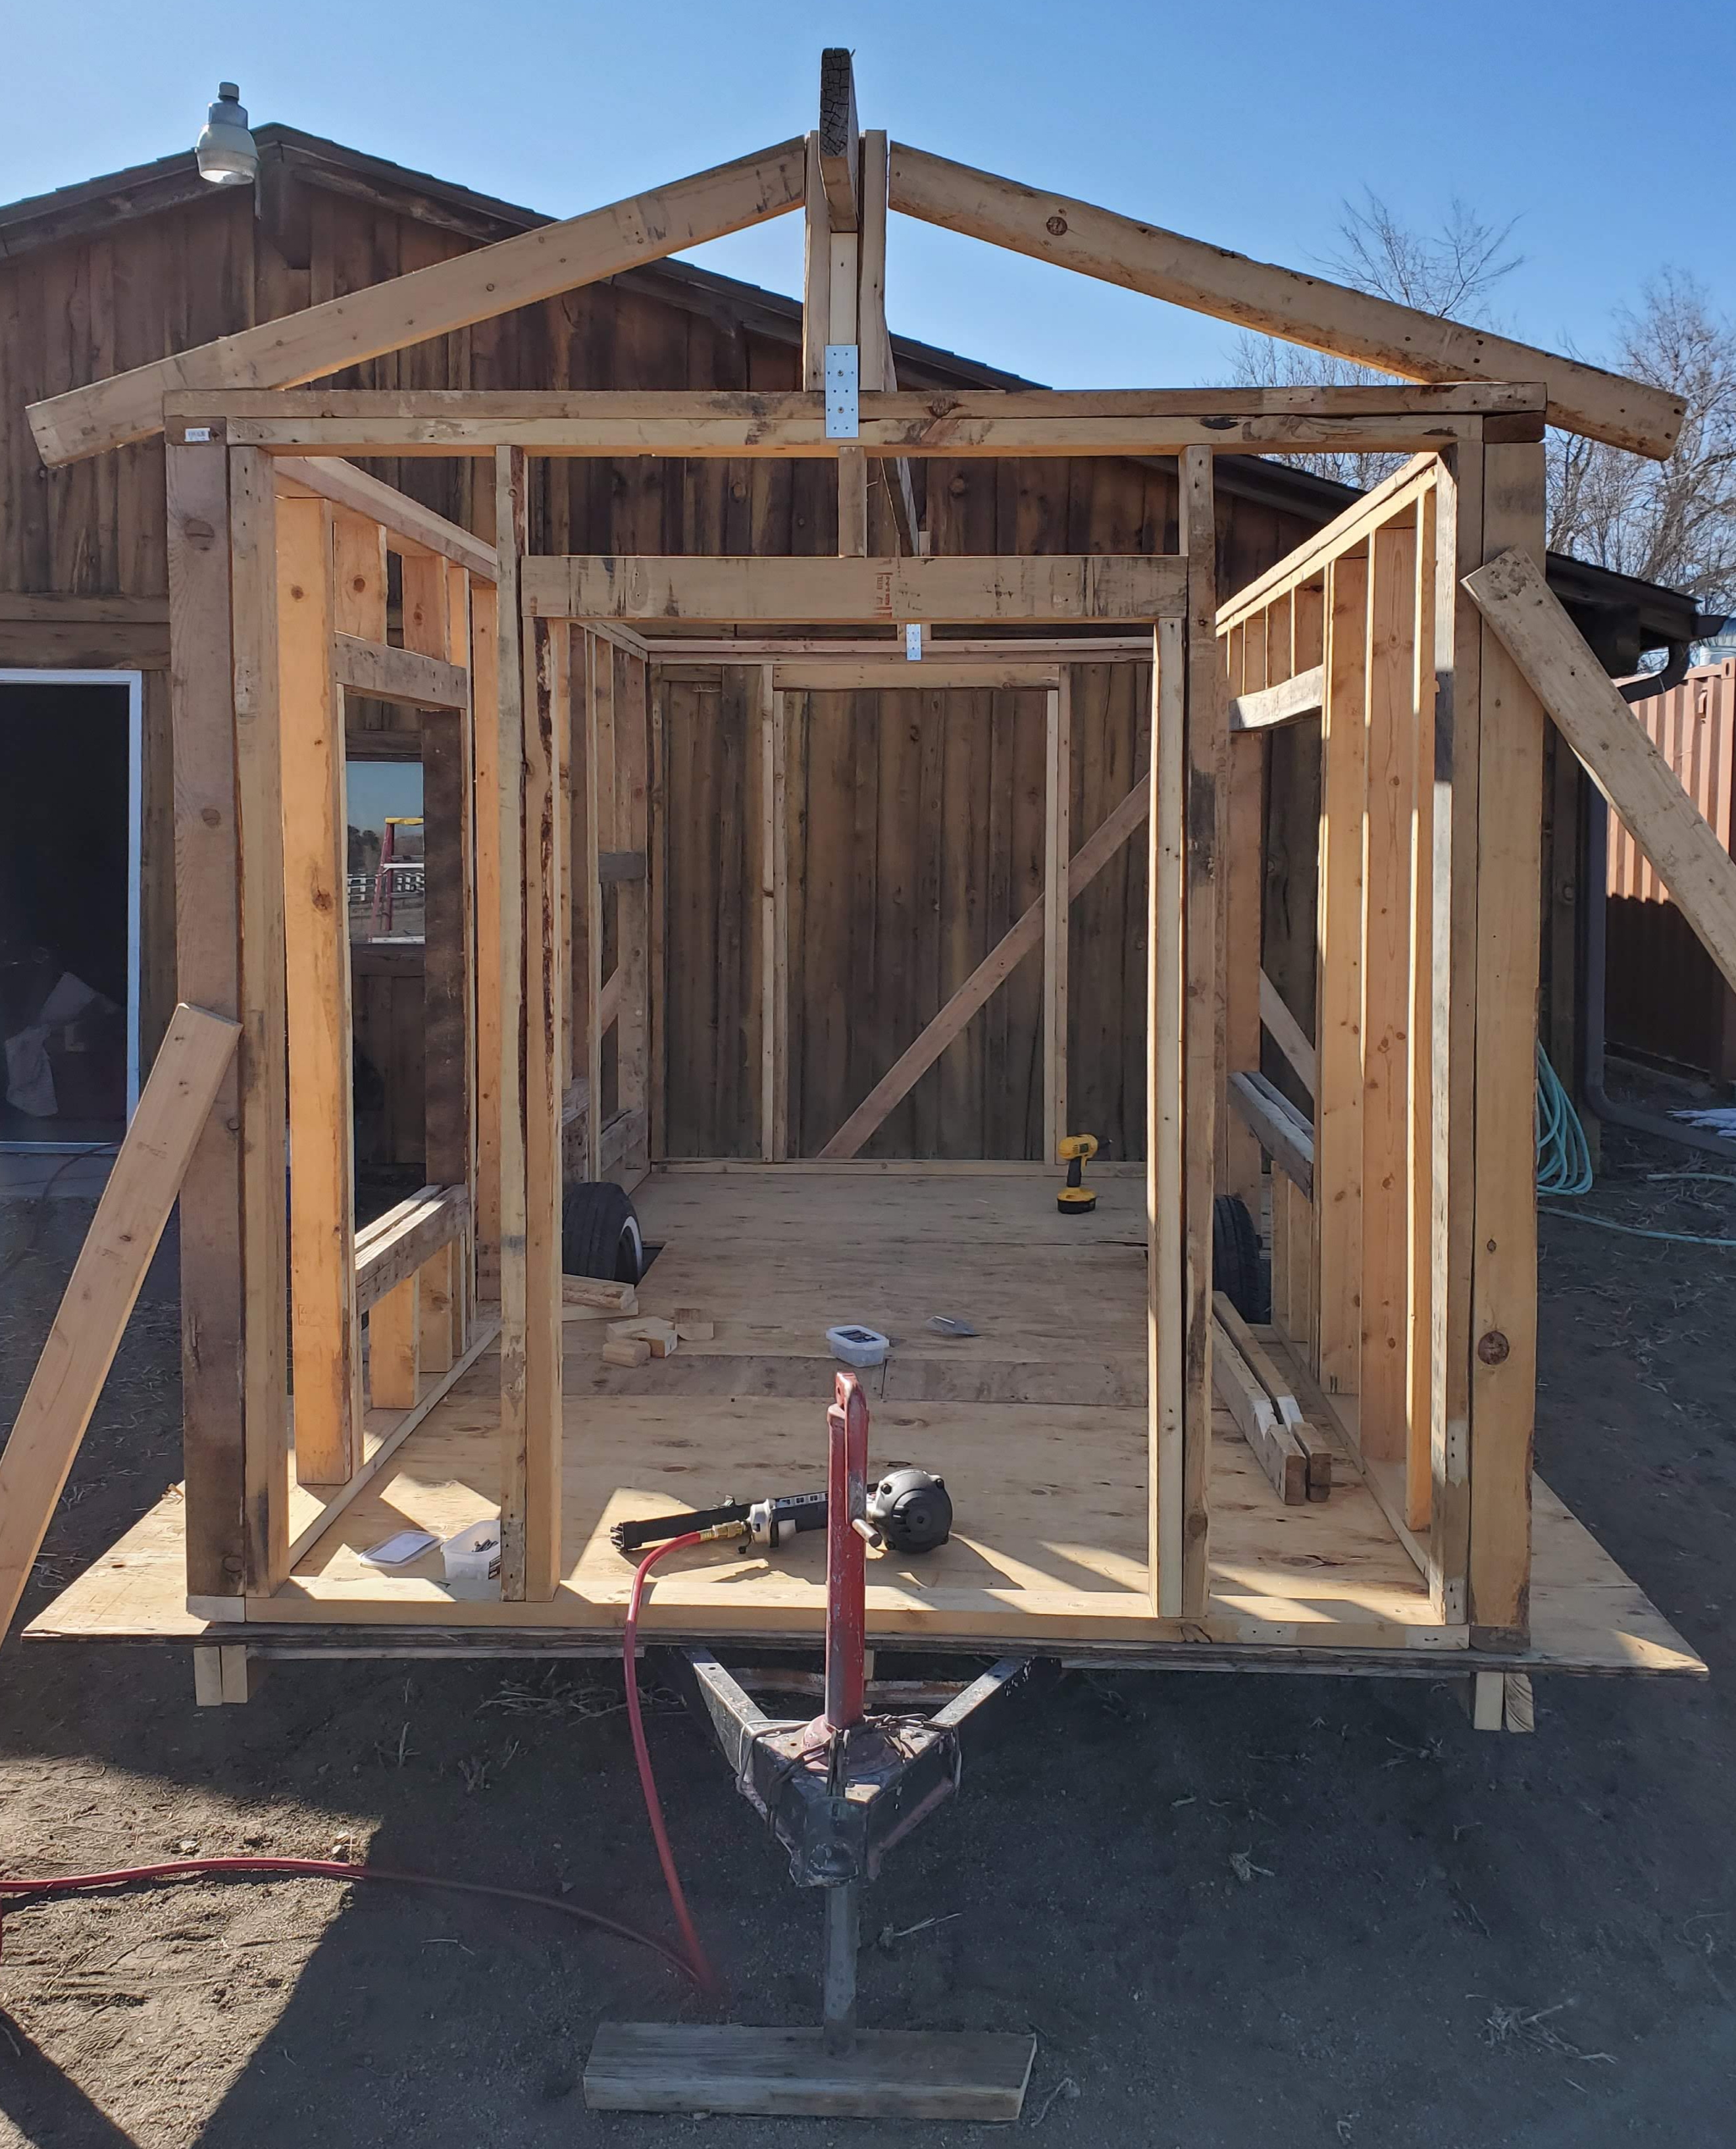
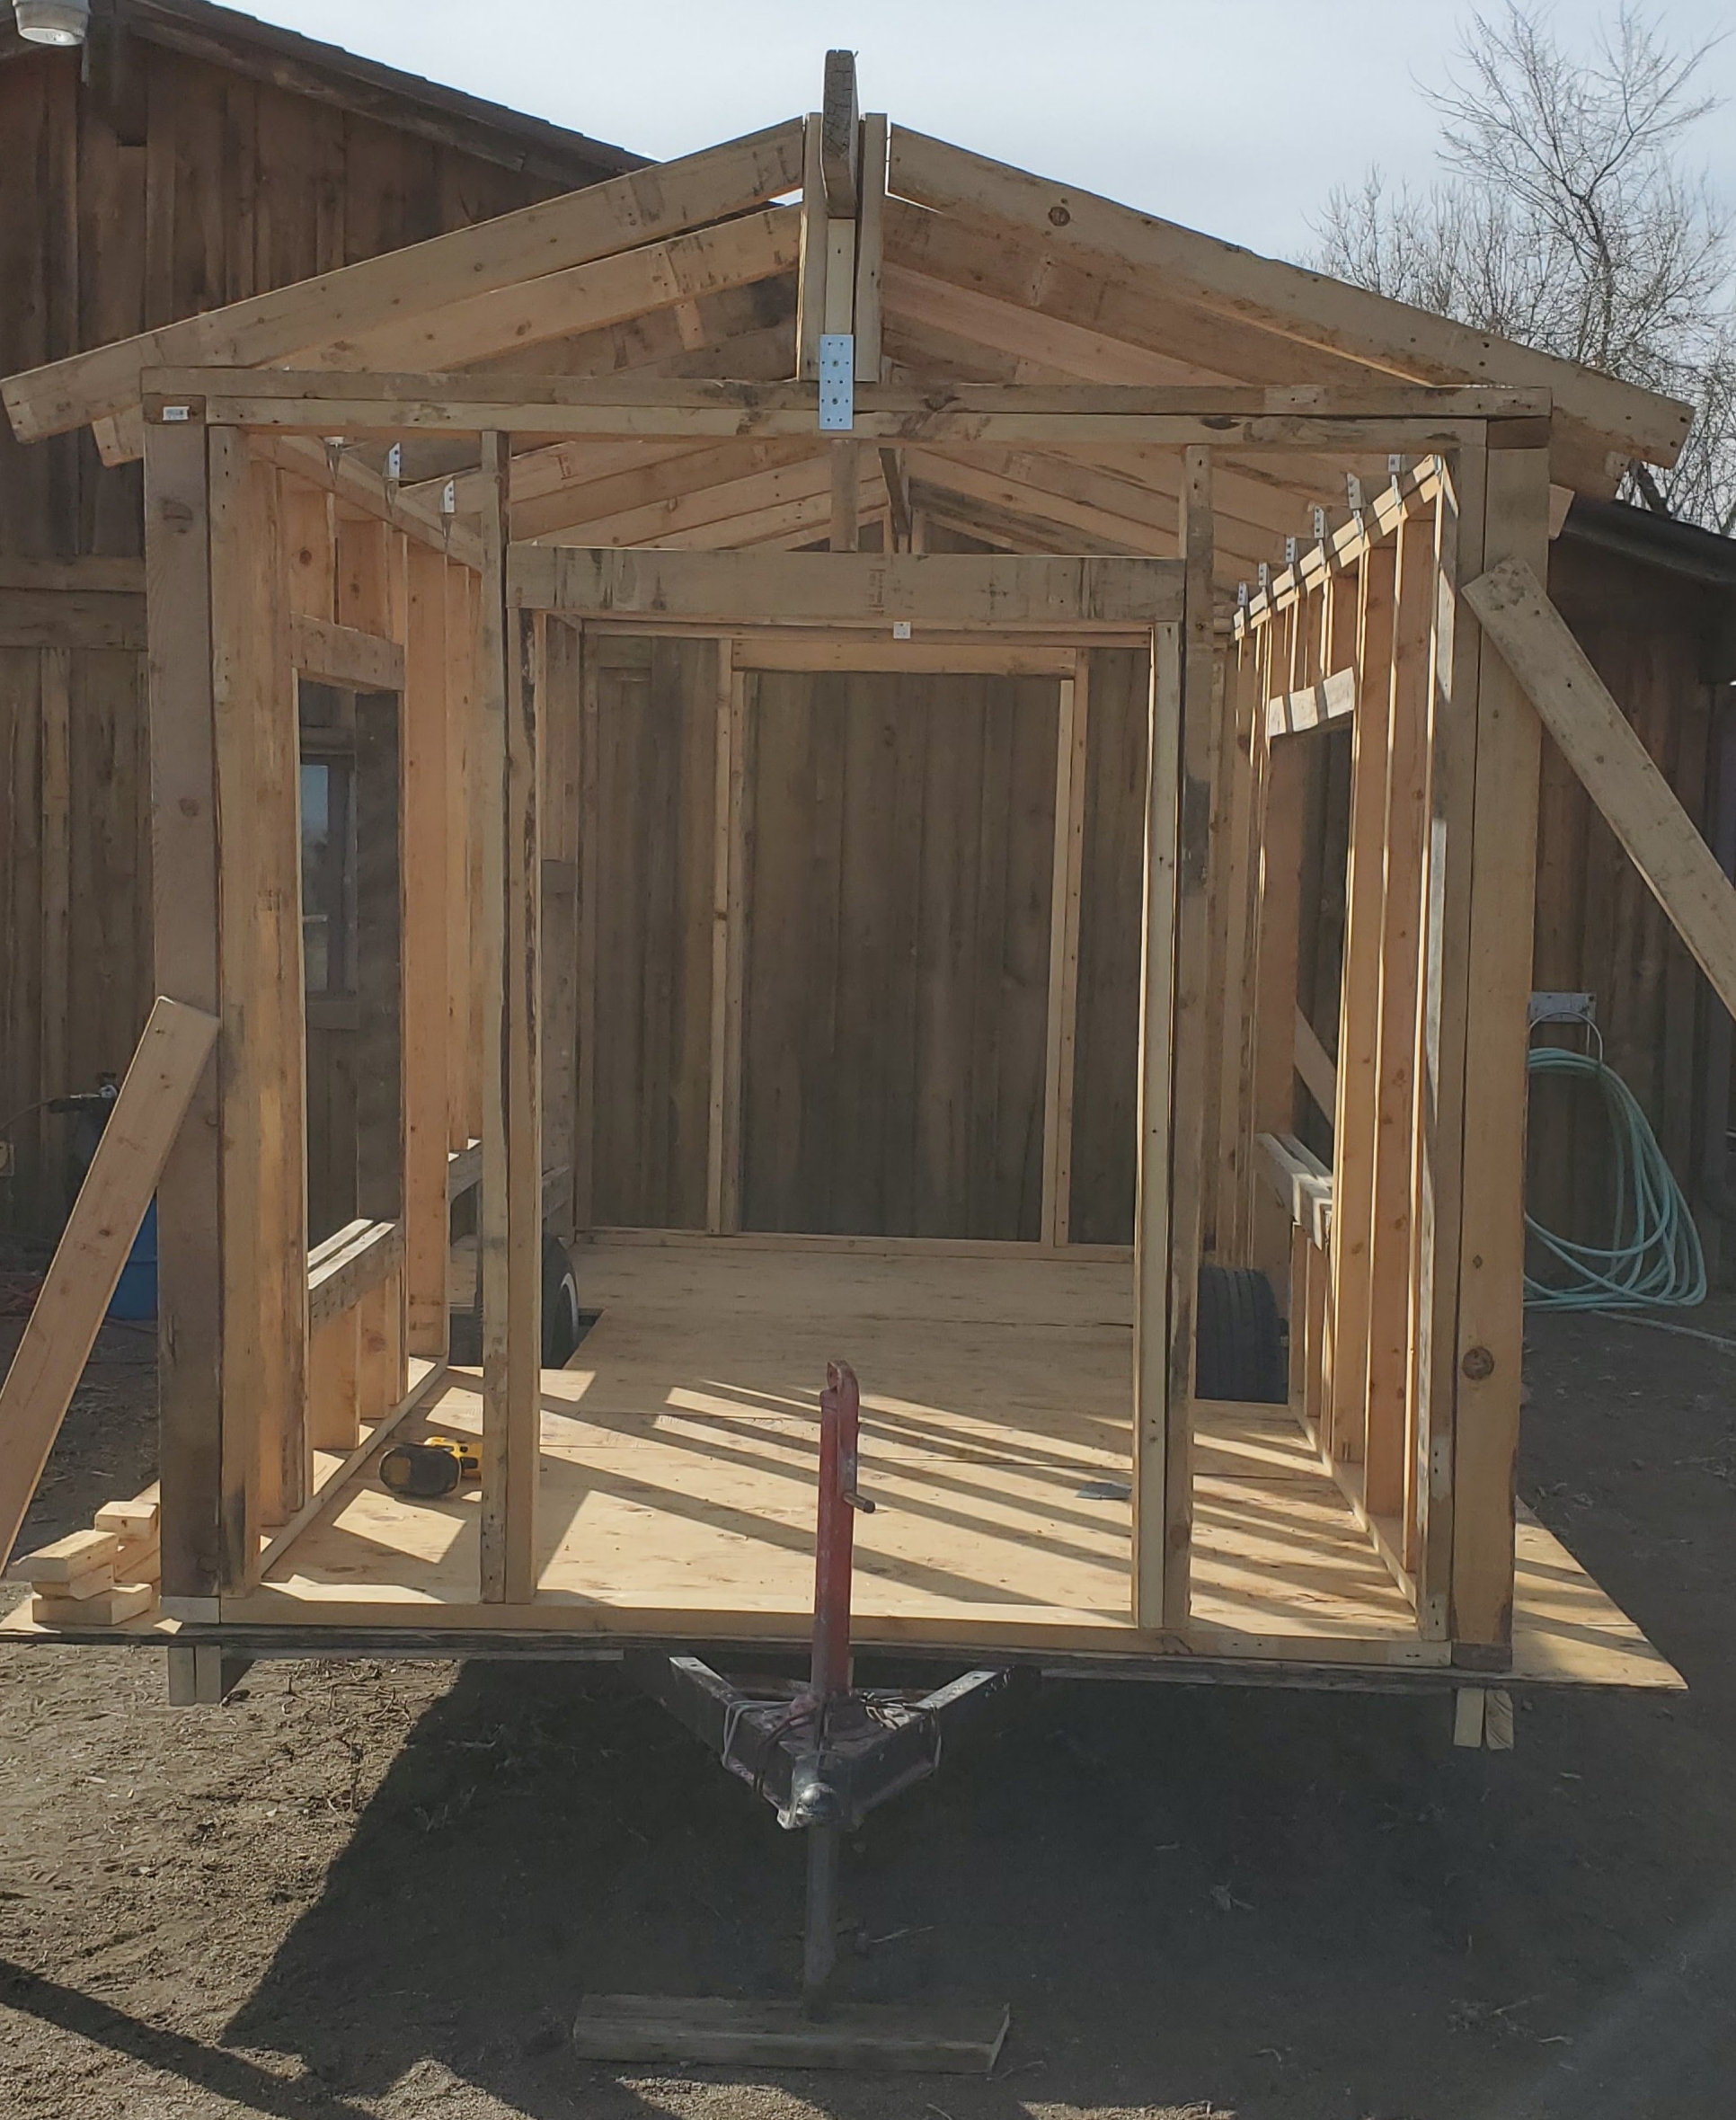
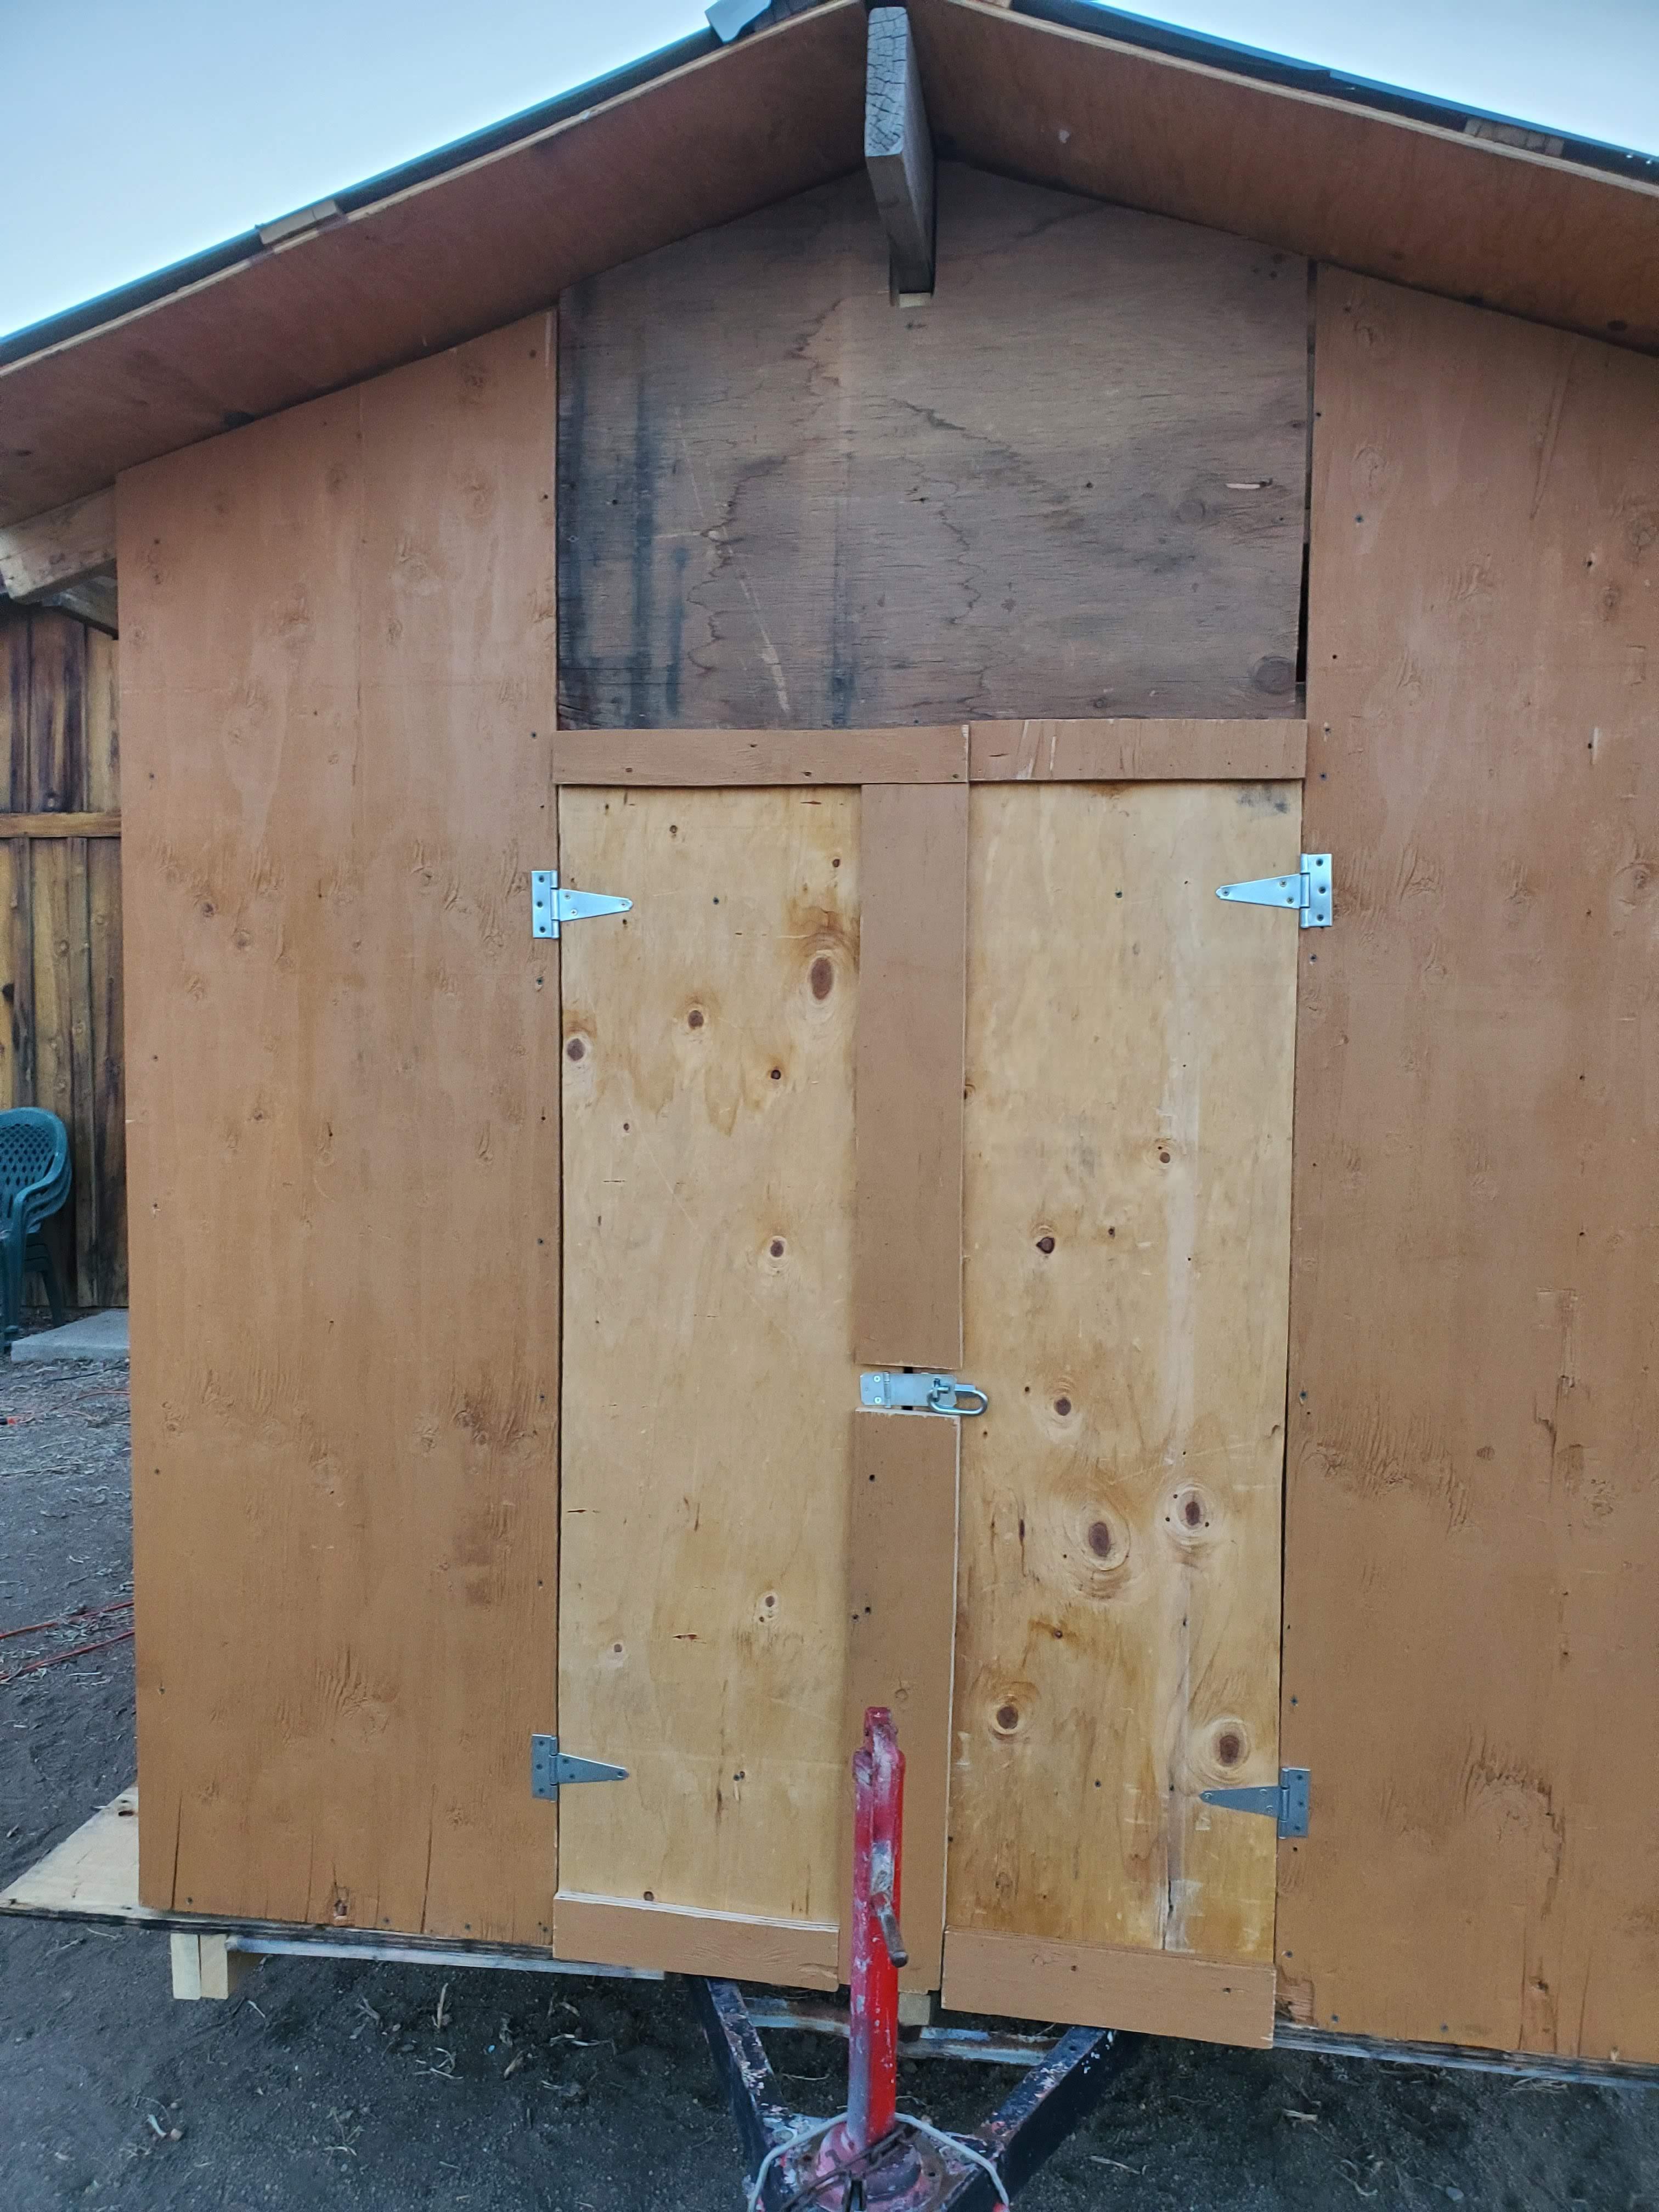
To be continued....next up, building the walls.
If anyone has questions, or suggestions as I go, please post them!!
It started with a dream and a vision, I'm building an orchestra to conduct. This is the percussion section, carrying the rhythm and heartbeat of the farm
The only tools needed for many hours:
~20 pallets found for free. Not your everyday pallets, these were my best free score of 2019:
It takes me about 1 hour to break apart 1 pallet. I've spent >8 hours breaking apart pallets. It's a lot of work and takes occasional precision to ensure the wood is reusable. I've learned that un-weathered wood works best, it needs to be a bit warm (frozen wood is brittle), and most of all requires patience. I can generally reuse the entire pallet (saving the nails to possibly melt later).
Each of these pallets provides:
1, 4x8, 3/4" thick sheet plywood
4, 2x4, 8ft long
4, 2x4, 4ft long
Most people see a piece of junk not worth a penny. I'm a dreamer with a vision, and I see potential. It took me many months of patience, looking for the right trailer, and it finally popped up. A former camper trailer for $100:
Careful demolition is never fast, easy, or clean. I think they left the commode in!
Almost stripped:
Took me most of the day but in the end I had a solid foundation to begin with:
I spent another day re-framing the trailer (no pic because it looks like the "Almost Stripped" pic above). Then it took me another day to get the floor completed. I'll lay down linoleum or vinyl floor later:
Total floor dimensions are 13'x8', there will be a 10" lip on each side and the rear which is where food and water will go (on the outside)
To be continued....next up, building the walls.
Last edited: