Hello and Welcome to TNDadx4's Lessons Learned Chicken Page!
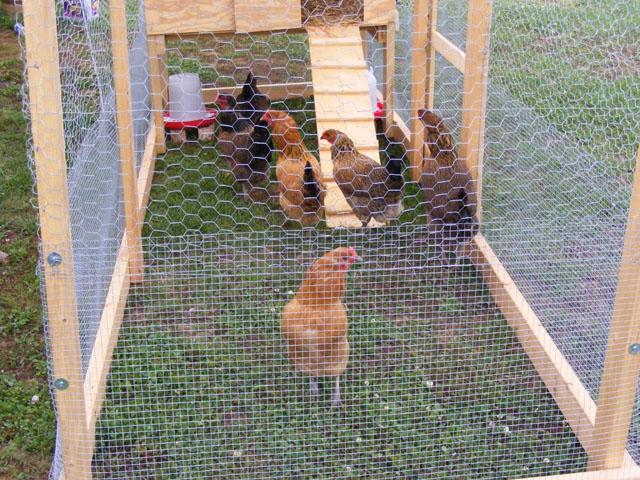
| We are new to raising chickens as we were just given 6 Araucana (Easter Egg) chickens. It is a personal goal of mine to try to live as self-sufficient and as simply as possible. I hope by sharing some information that others will be helped by what I've learned. 
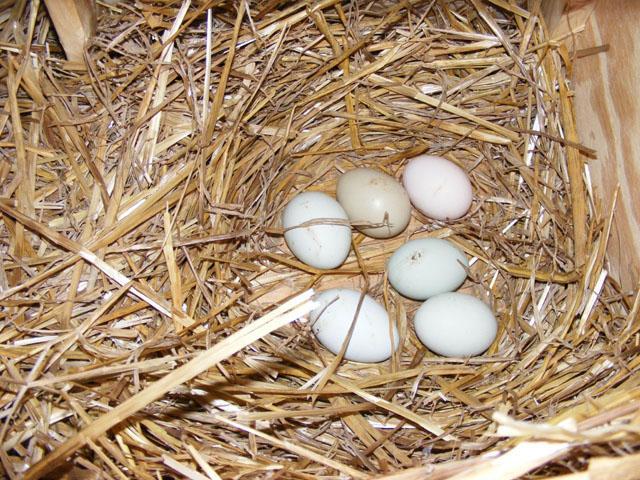
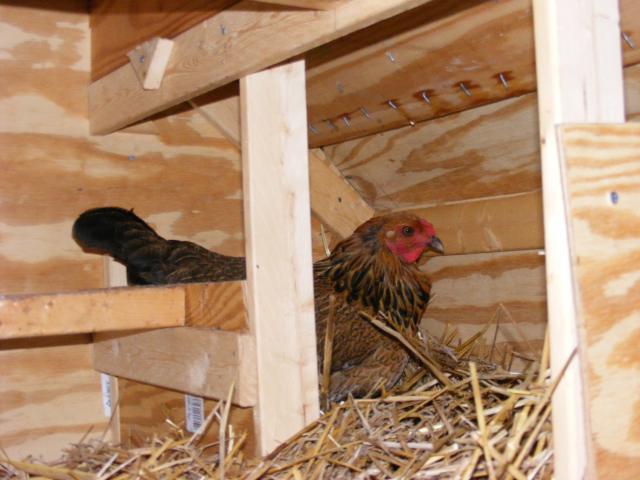
I am also going to beposting pictures of the chicken tractor that the kids and I built over the course of a few weekends. The picture to the left is the very first eggs that we got from our new hens. We brought them home late (about 10PM) one night and didn't expect any eggs for a few days while they got adjusted, but they surprised us the next day with an egg from each of them. n.Speaking of eggs, that was a lesso |
Lesson One - Egg Schedule: I thought that chickens laid their eggs at night when they went back into the hen house to roost, etc. I've since learned that most eggs are laid before 10:00 AM, although I've found them all throughout the day. I've since learned that it's best to check for eggs at 10:00AM, 1:00PM and then at 5:00PM, just to be on the safe side. Lesson Two - Sick Chicken?: It was really warn the other day and we put a tarp over the top of the chicken run to provide then with some shade. We also made sure that their waterer was kept full of fresh water . While we were watching them, the strangest thing happened, one of them laid down with her mouth open and laid on her side for a bit. A little while later, another did the same. We started to get worried thinking that the chickens were sick, had heat exhaustion or something and then learned through talking with a friend that has chickens that everything that we saw was normal. It turns out, when it's warm outside, our hens will look for a place and scratch down until they reach nice, fine dirt. They then flop onto their backs, close their eyes and just roll around. This is how they keep clean! What a very cool and interesting thing to learn! | 
|
More to come, so check back soon!

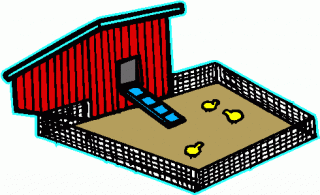
Our Chicken Tractor
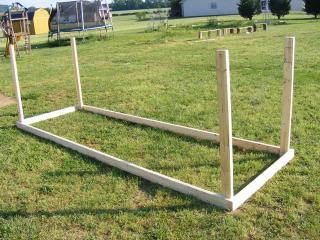
In building our chicken tractor, I looked at a lot of designs, but we didn't use any plans. I took features that I liked some several and came up with a design in my mind as to how I wanted it to be. Below, you'll see some of the construction as well as finished photos.
| The Chicken Tractor (Construction Phase) | |
|
|

|
The chicken wire on the top 2' is attached with both washers and screws as well as poultry staples because it's not as sturdy. |
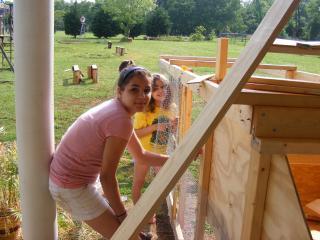
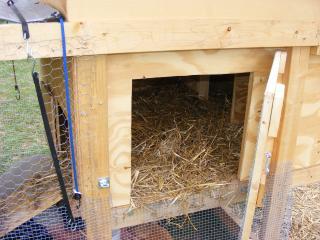
[/td] [tr][td] [/td][/tr][tr][td][/td][/tr][tr][td][/td][/tr] [td] In this picture, the girls are working on the top half of the sides of the run, which are covered in chicken wire. The bottom half is surrounded with 1/2" hardware cloth to make a good predator barrier.[/td] [tr][td] [/td][/tr][tr][td][/td][/tr] [td] Here, the boys are working on cutting the wood for the back of the nest boxes and finishing the side entry door for the run.[/td] [tr][td] [/td][td] [/td][/tr][tr][td] The Chicken Tractor (Completed)[/td][td] [/td][/tr][tr][td]
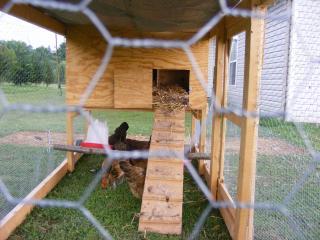
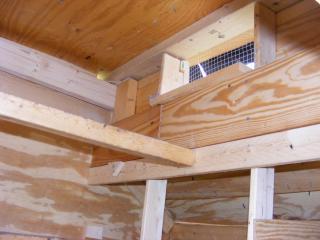
Here is a view looking down the run back towards the hen house. The hen house is raised for several reasons.
[/td][/tr] [tr][td]
[/td][/tr][tr][td]
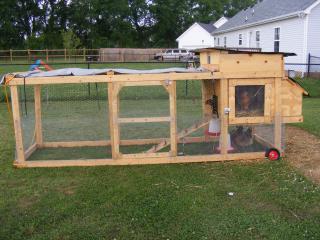
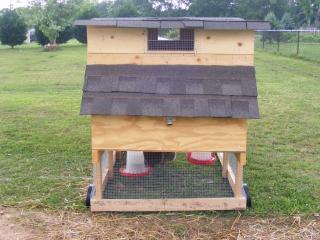
Here is a view of the side of the tractor with it's new wheels. They make it a whole lot easier to move rather than dragging a heavy frame on the ground.
You can also see the 15" x 15" door in the side of the hen house. this is for ventilation and to make cleanout easier. What you can't see is that there is stick-on tile on the main part of the floor inside the coop to again help with cleanout and to keep odors from getting into the wood.
[/td][/tr][tr][td]
[/td][/tr][tr][td]
[/td][/tr]
In building our next coop, we would take certain lessons learned in the construction of this one. These include:
- Using shorter nails to nail the 2x4's together. At the time, we used 3" nails for most of the frame work and had some splitting of wood as well as some nail tips that came through the other side that we now have to clip off.
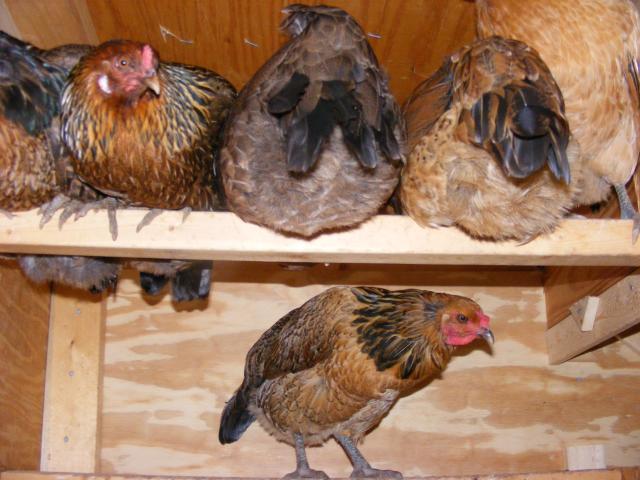
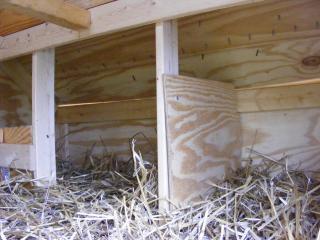
- I would put the nest boxes on one of the sides rather than on the back of the coop. It was done for ease when building, but I didn't take into account the positions of the roosts inside, so we had to add a high roost and a short roost. Instead, I wanted to give them enough room for all 6 to roost together on the same perch. Right now, only 5 can fit on each. Sometimes they split up and other times, 5 take the top and 1 gets the bottom.
- This is a chicken tractor, but a HEAVY chicken tractor. It takes two grown men to move it. We plan on putting at least two wheels on it to see if that helps with the portability.
- The original design did not account for the roost space issue that I discussed above, so we had to raise the roof to add headroom and vents for the girls. This was very hard after the fact and added to the weight because more framing was used with what we had left.
- The roof was built without rafters (to keep the weight down), but it is not as strong as a regular roof.