When I first decided to build a coop for my future chickens I knew that I needed to do it as cheap as possible. Our original plan was to house about a dozen hens, and then about a dozen meat chickens. I knew that I did not want them to be in the same coop, so we began knowing that we would need 2 coops, but how that turned into 3 I have no idea... Oh yes I do! Chicken Math!! I will post separate pics of the meat coop made from an old wooden swing set in another post!
Going cheap I knew I would have to be creative, and when looking for ideas on-line I found this site. Seeing all of the coops made with pallets was a very doable idea for me, so I sent out wanted lists on craigslist, facebook, and family and friends for not only pallets but any unneeded wood. The first to respond was my Dad, the man who can find anything for anyone, lol, as it turns out my Aunt was removing her 100 year old oak wood flooring and if I wanted to dig it out of the dumpster I could have it. Lets just say I put on my boots and gloves and ran right over! I ended up filling our S-10 bed twice, as well as a 5x10 trailer... wow I was assembling quite a pile!
I also heard from an old friend from high school, love facebook, who said he had built his from large shipping crates, and he just happened to have a couple more laying around that he did not plan on using anytime soon so I could just have them so he wouldn't have to mow around them anymore. What an amazing guy!! When he said shipping crates I had no idea what we were in for, so when we wet to the back yard and saw these massive 5x7 sheets of plywood, framed for stability, I was amazed!! Oh the ideas I began to develop!! I even teased my fiance that by the time I was done I would have enough supplies collected, for free, that he could make the tool shed he had been hoping for!
Craigslist yielded a very nice gentleman who was also building a coop that had some reclaimed items he was not going to use, and so I collected 2 windows, various pallets, and a big bucket of nails! I was feeling very much like it was Christmas now! Another friend gave me a lead on some tin roofing, and still another had some extra odd pieces of 4x4 and 2x4 wood.
And then, the mother load! A huge 8x12 shipping crate was looming in a parking lot... just waiting for someone to make it useful... and here I am!! With the help of a few friends and of course my amazing fiance we disassembled that massive thing and brought it home. Won't it make a perfect tool shed? After all, we were only getting a dozen or so chickens right??
Next, I ordered my chicks, because that is the logical next step right? After "chicken math" took over I now have 20 meat chickens, 21 hens, 2 surprise chicks, and 1 rooster on the way the coop we had designed didn't look like it was going to be big enough:
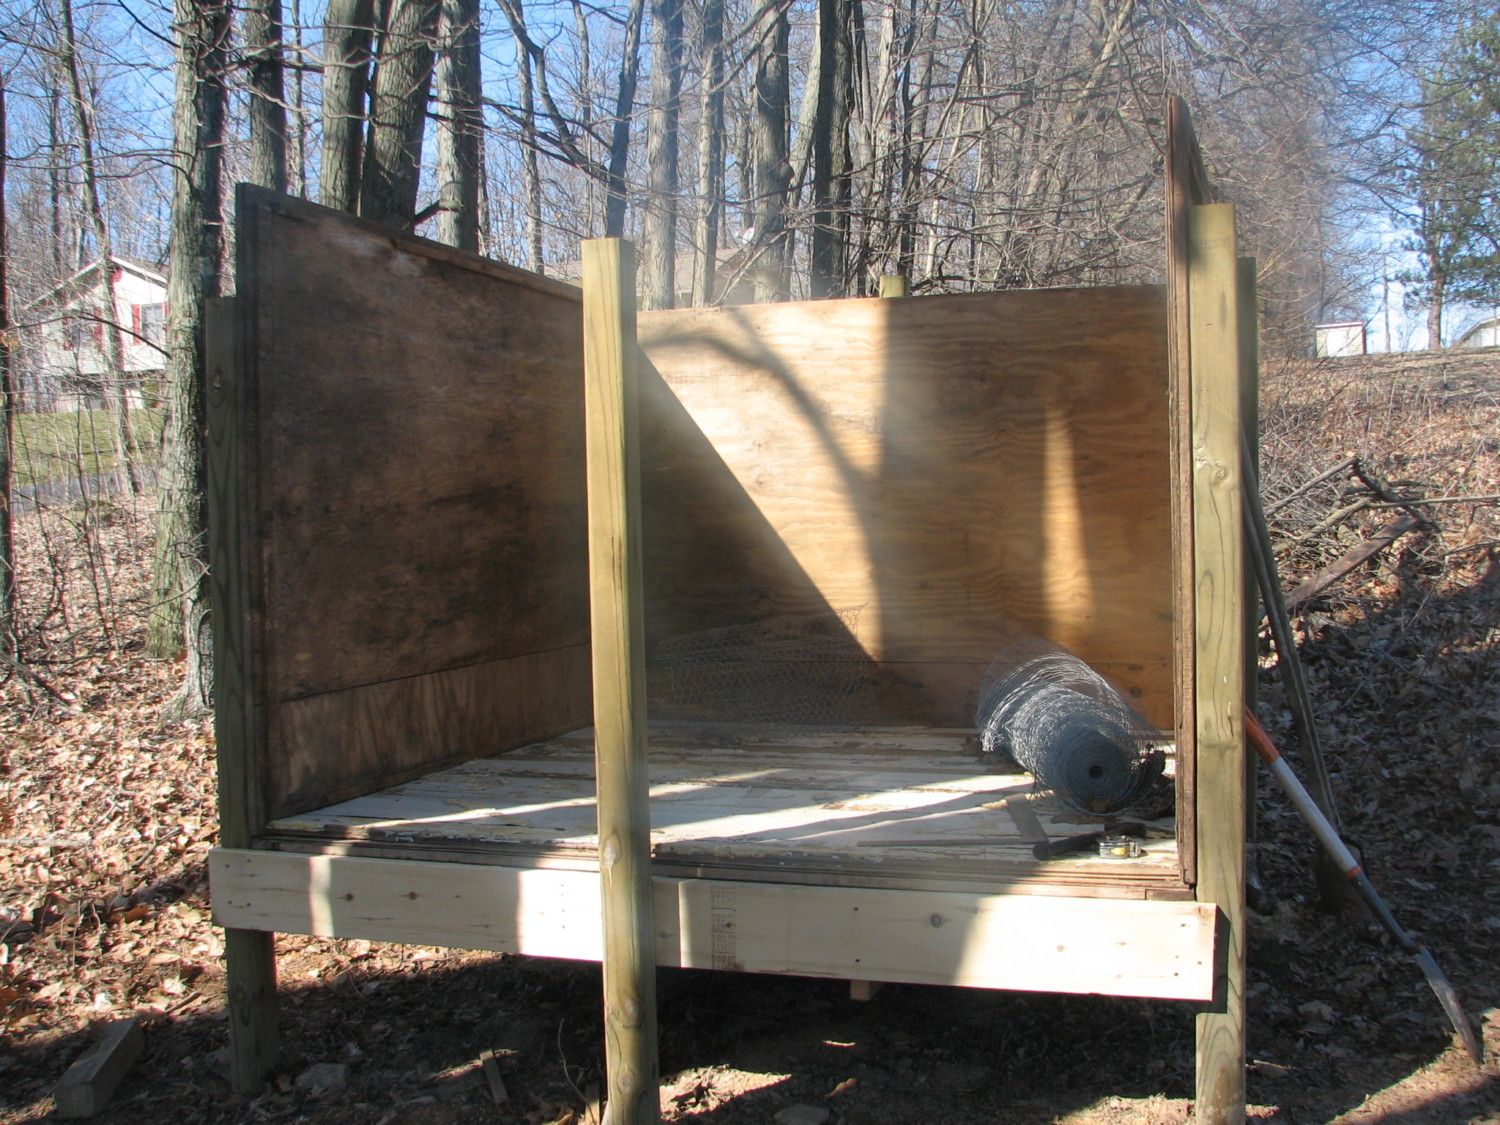
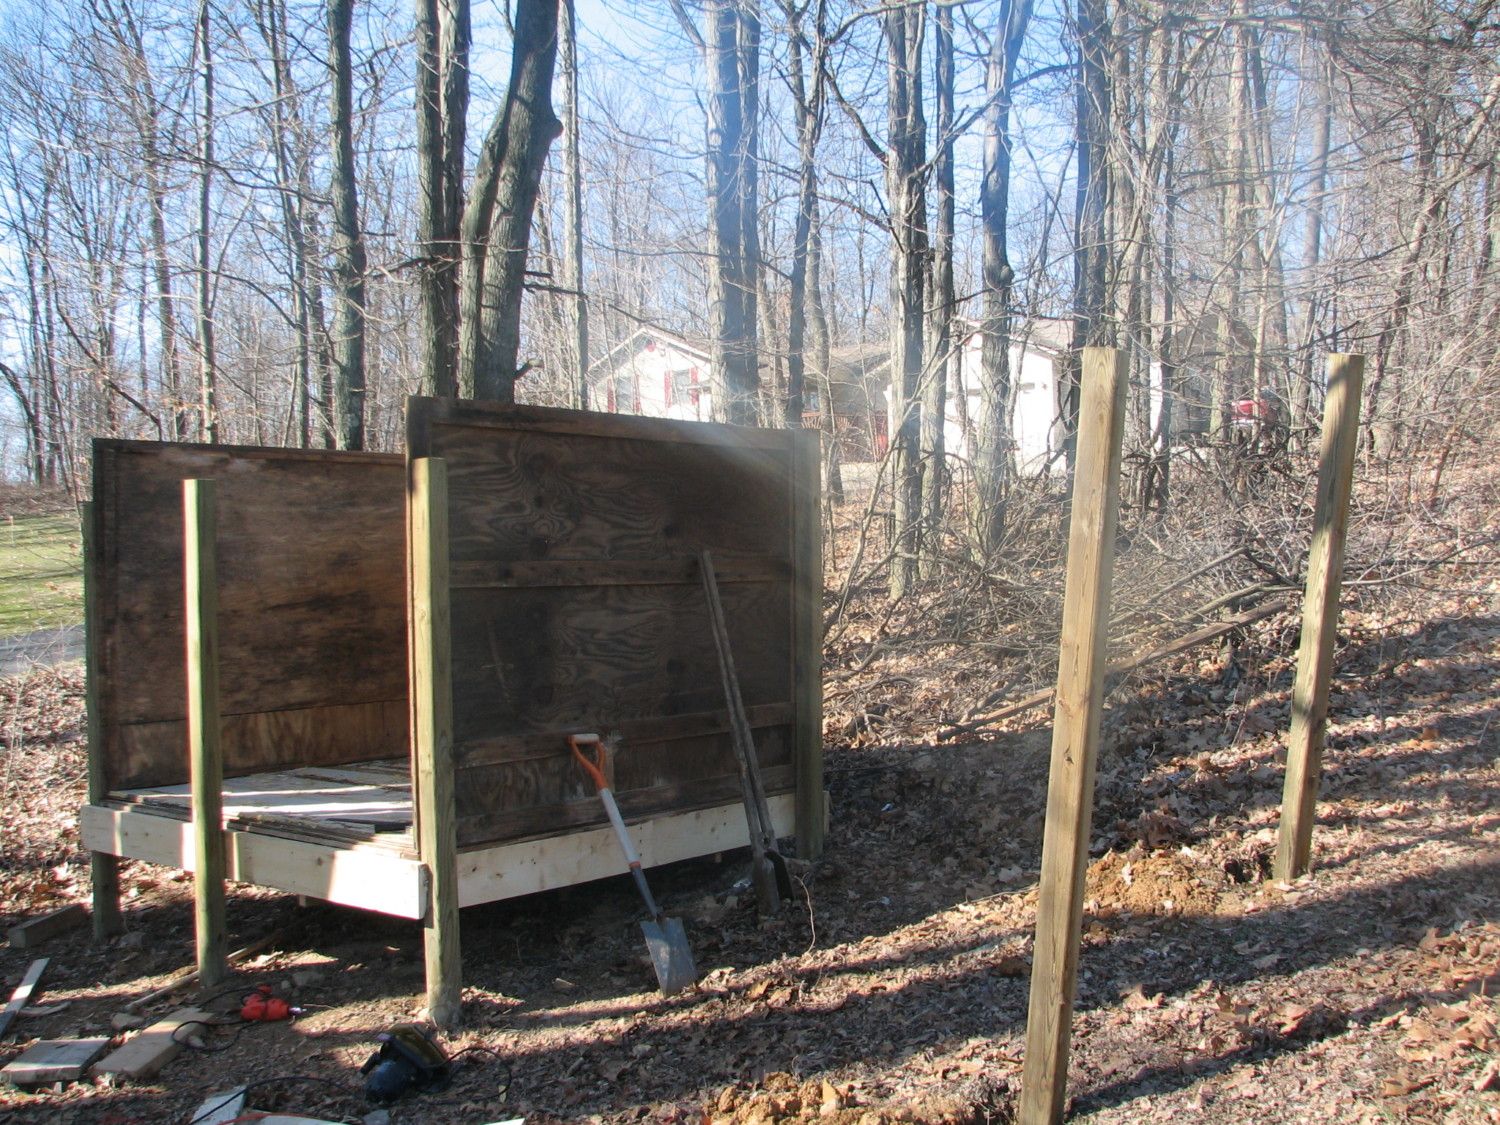
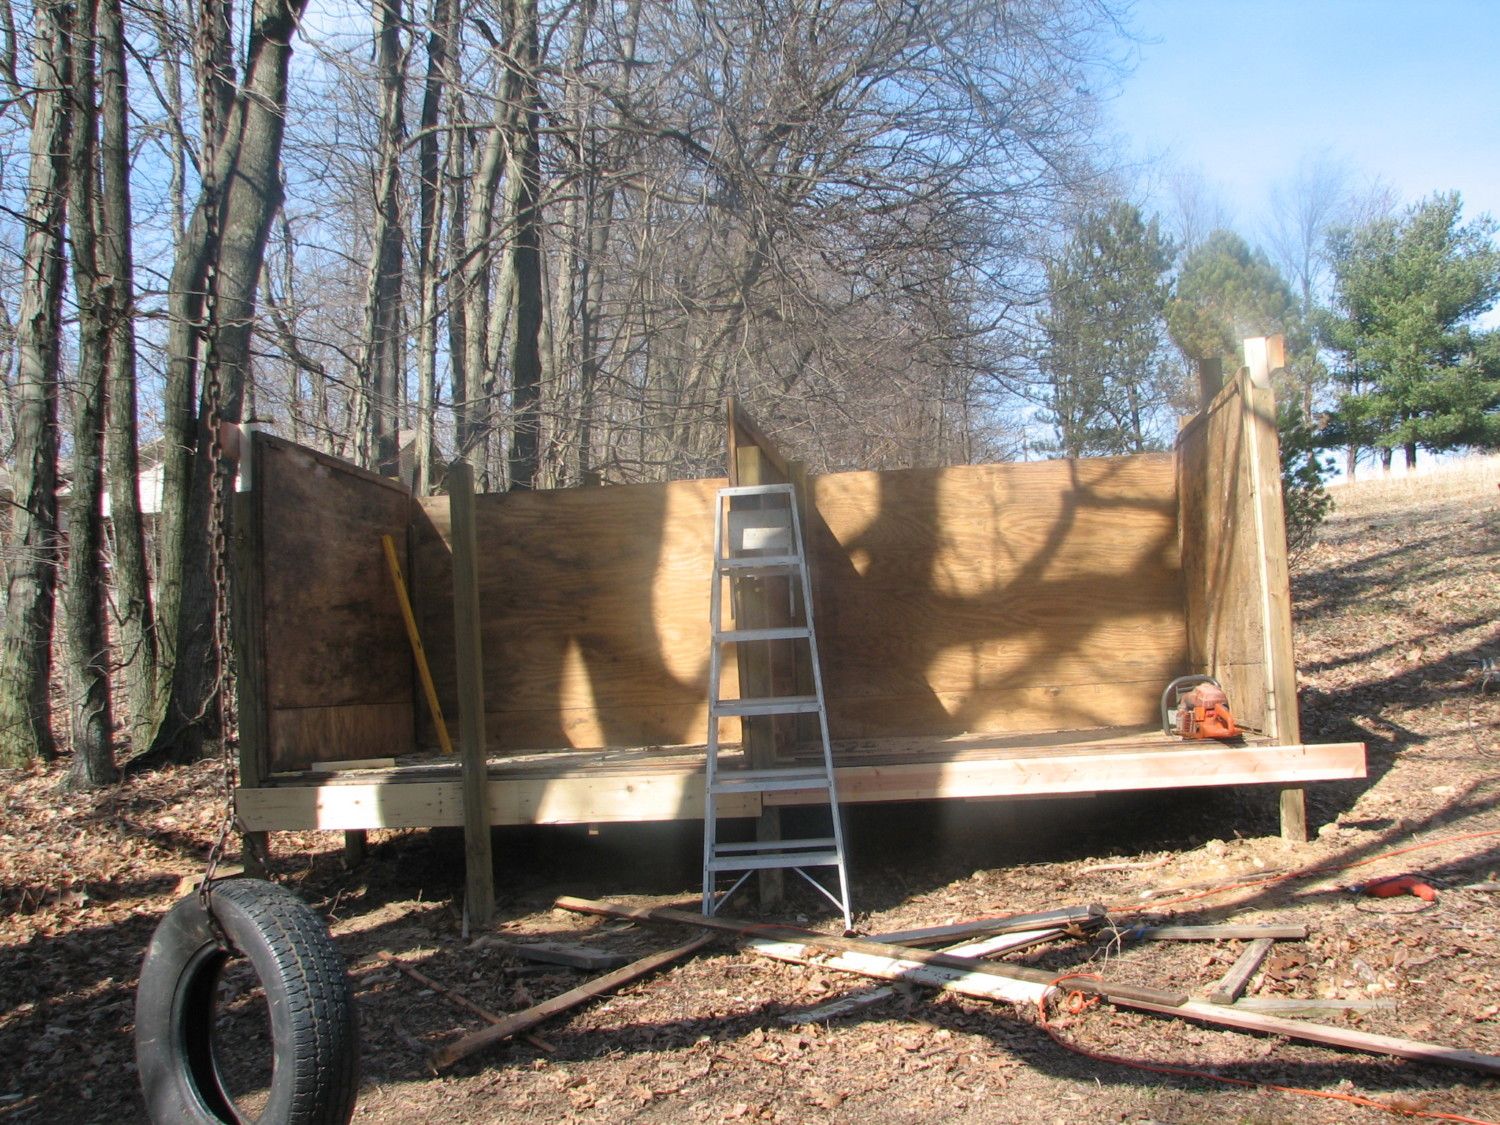
And so since we still had several sides left of the 5x7 crate we decided it would be best just to expand the current set up rather than do a completely different building (yes, he still gets his tool shed!). We would also save on materials, although at this point we had not spent much, about $75 for the 4x4x8 posts to make it off the ground and the 2x8 to attach the coop to the posts. We used some of the donated lumber to make the floor joists and used some of the old oak flooring to make the plywood floor more stable and sturdy.
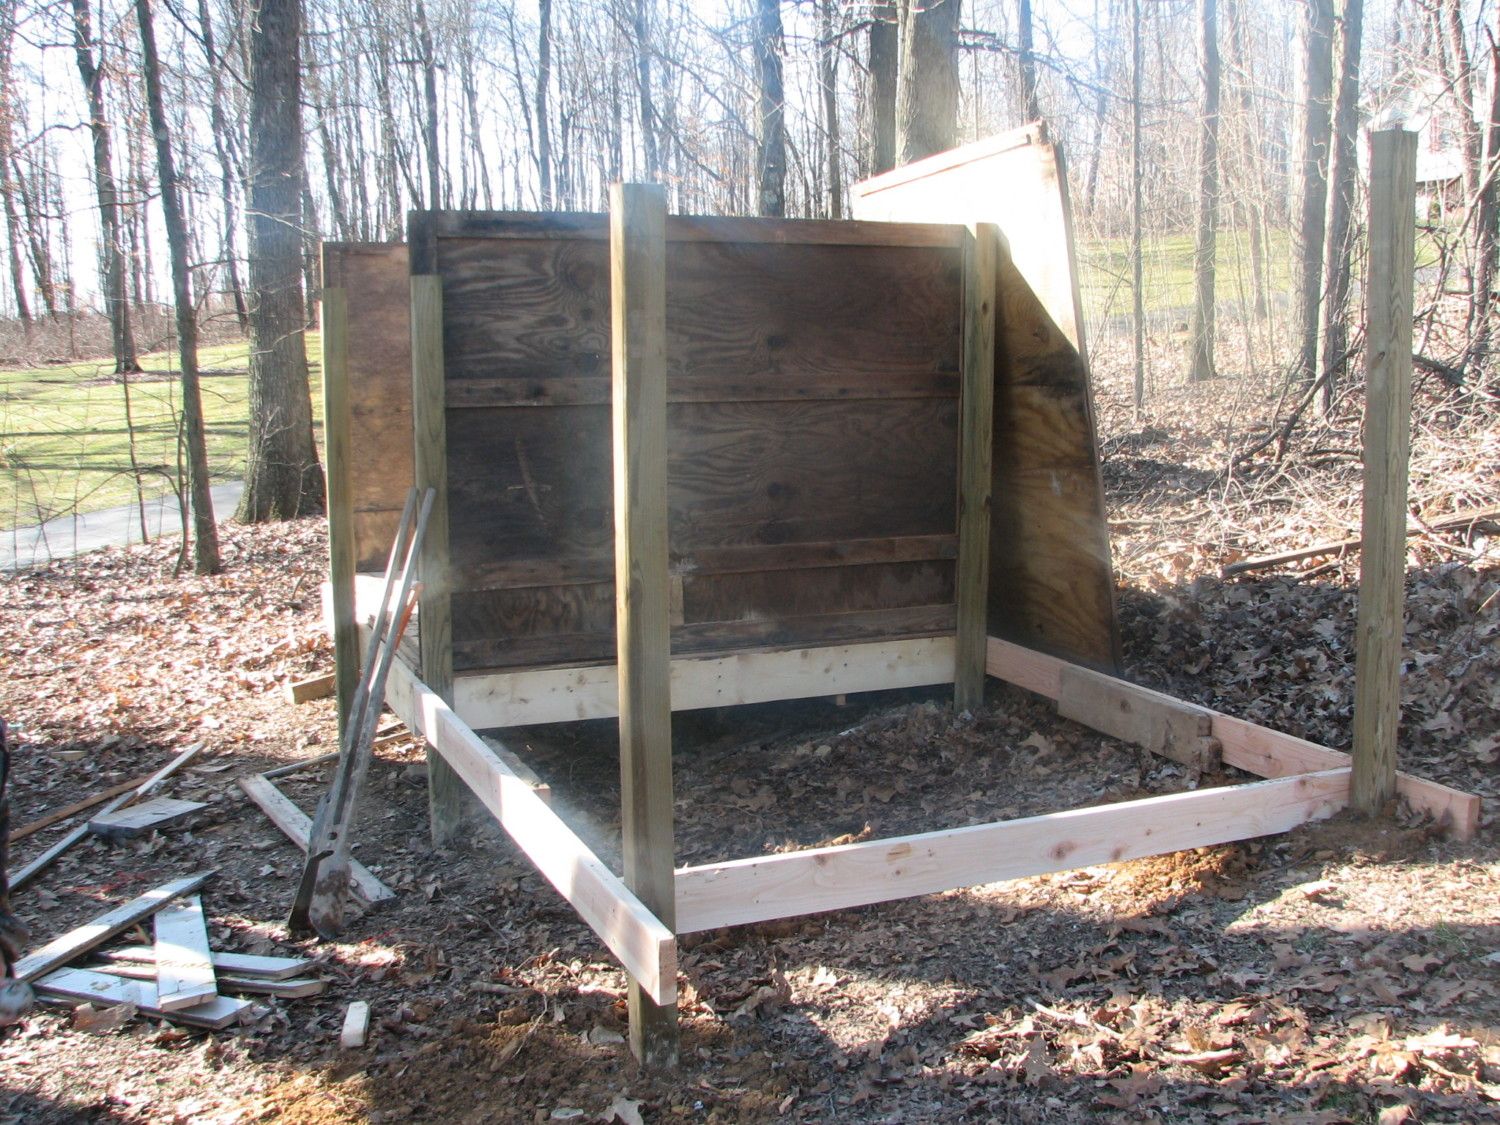
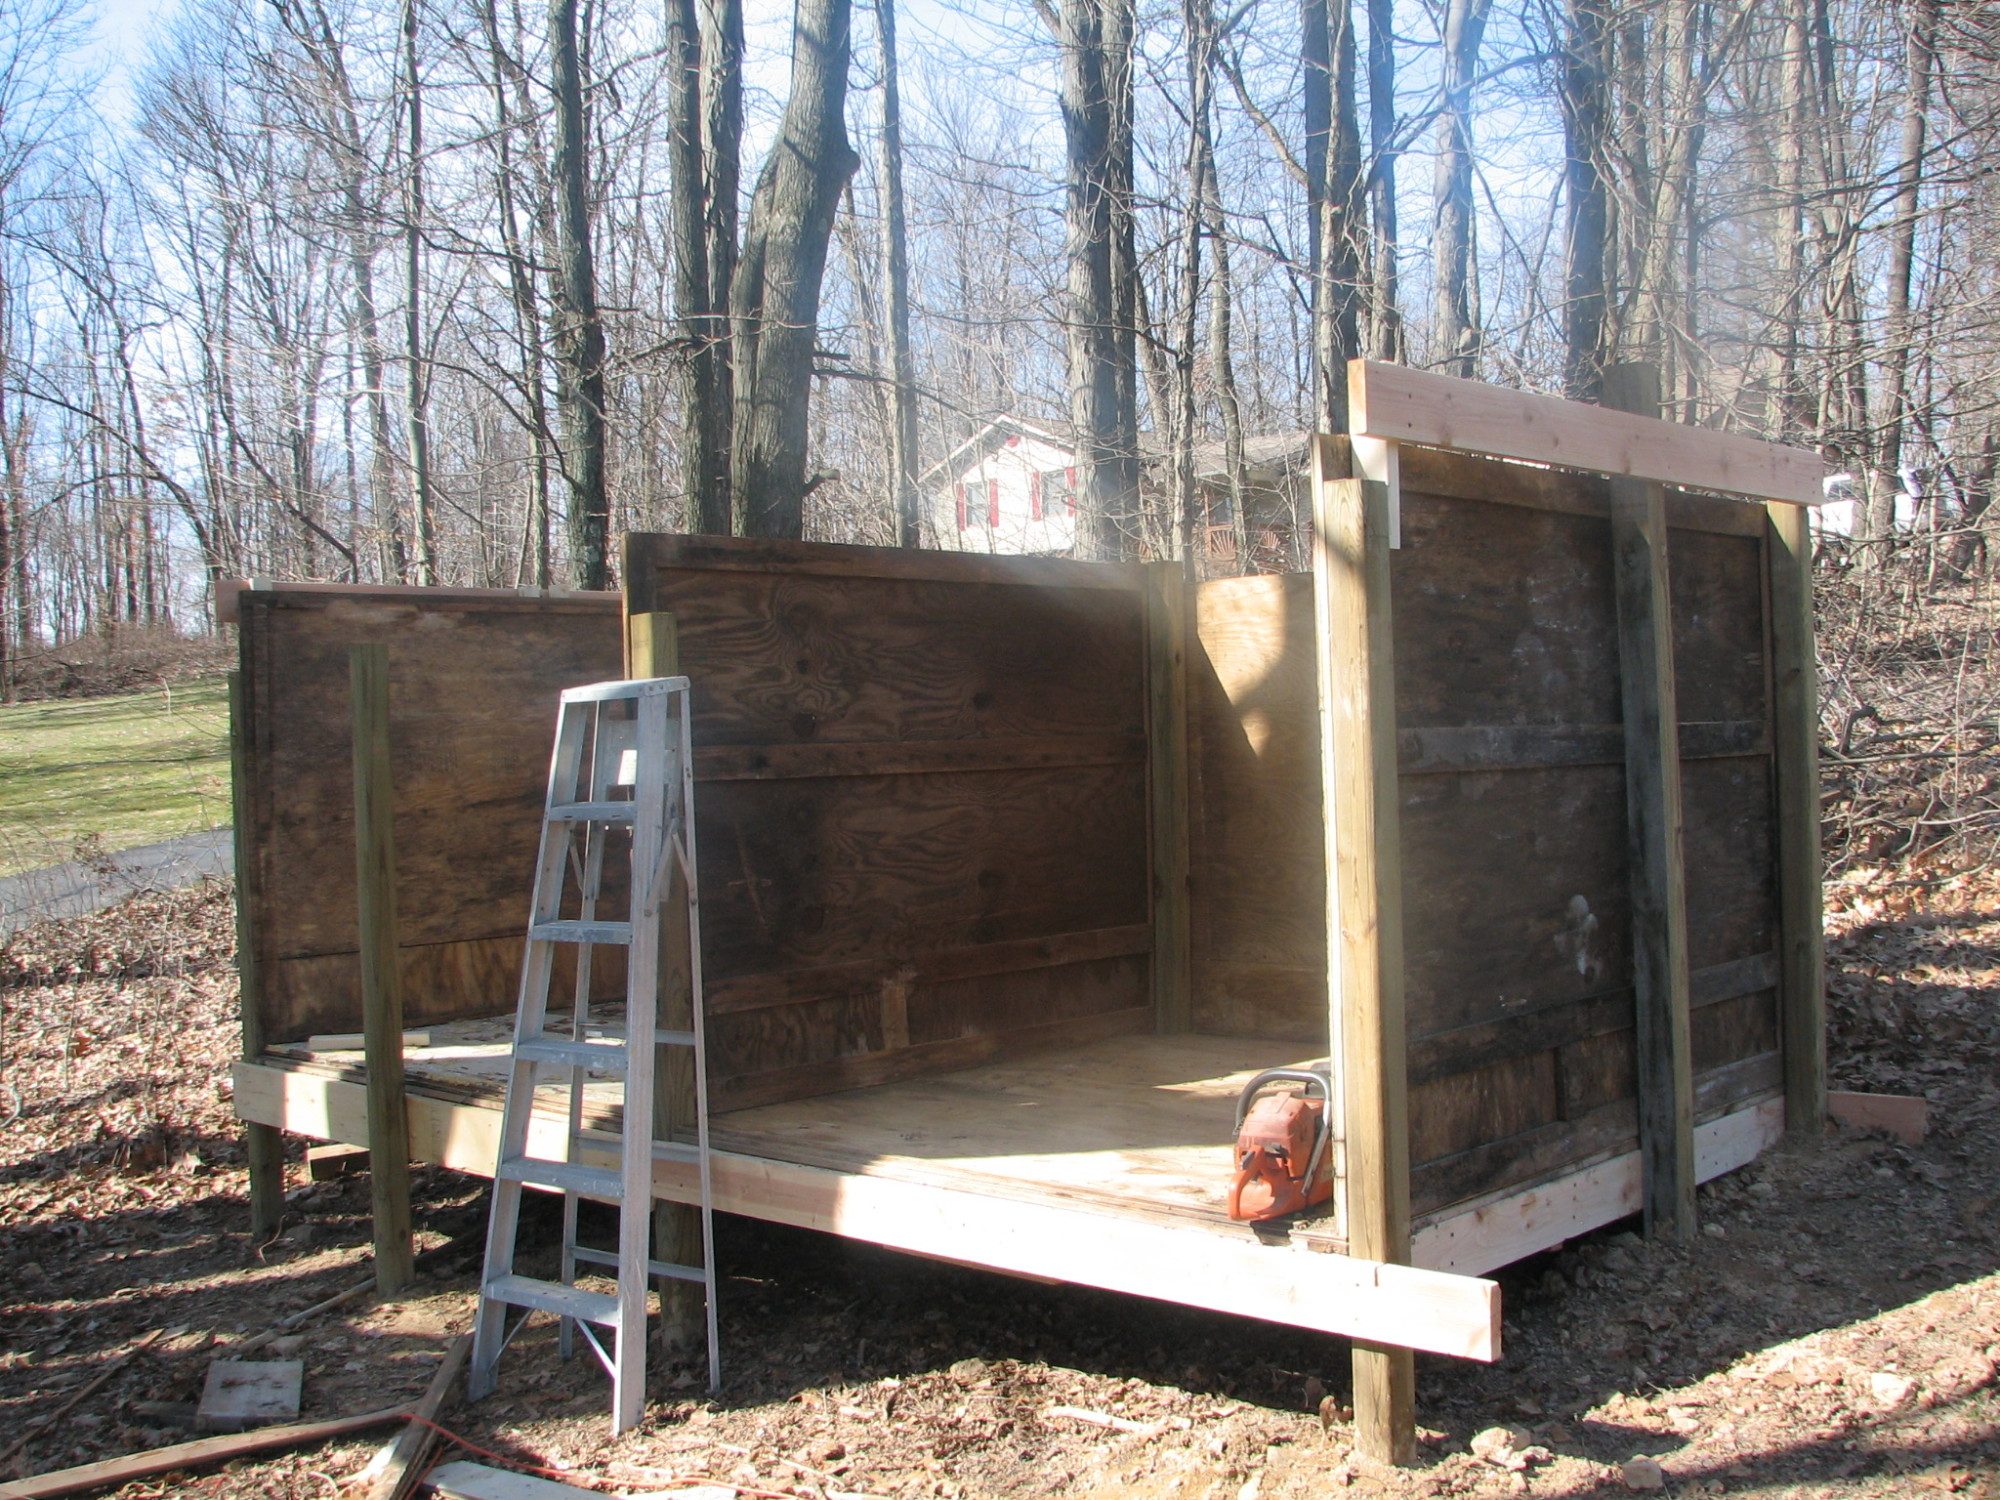
As you can see we used the already squared side to build off of and its a good thing we built is to high off the ground to begin with. The right side front corner is actually almost on the ground! This set up will also be nice to have so I can remove part of the center board and replace with chicken wire since I will have chicks of different ages. This will hopefully help with a smooth transition when it comes to putting them together. Next, we added the new sides and it looked like this:
No, its not tilted to the left, I just don't seem to be able to hold the camera straight! This end will have two double doors for each opening that will make for easy clean out when the time comes. I plan to use the DLM and with the coop being so close to my garden I hope to be able to use the compost there.
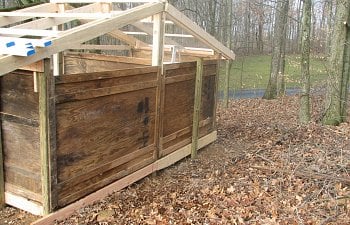
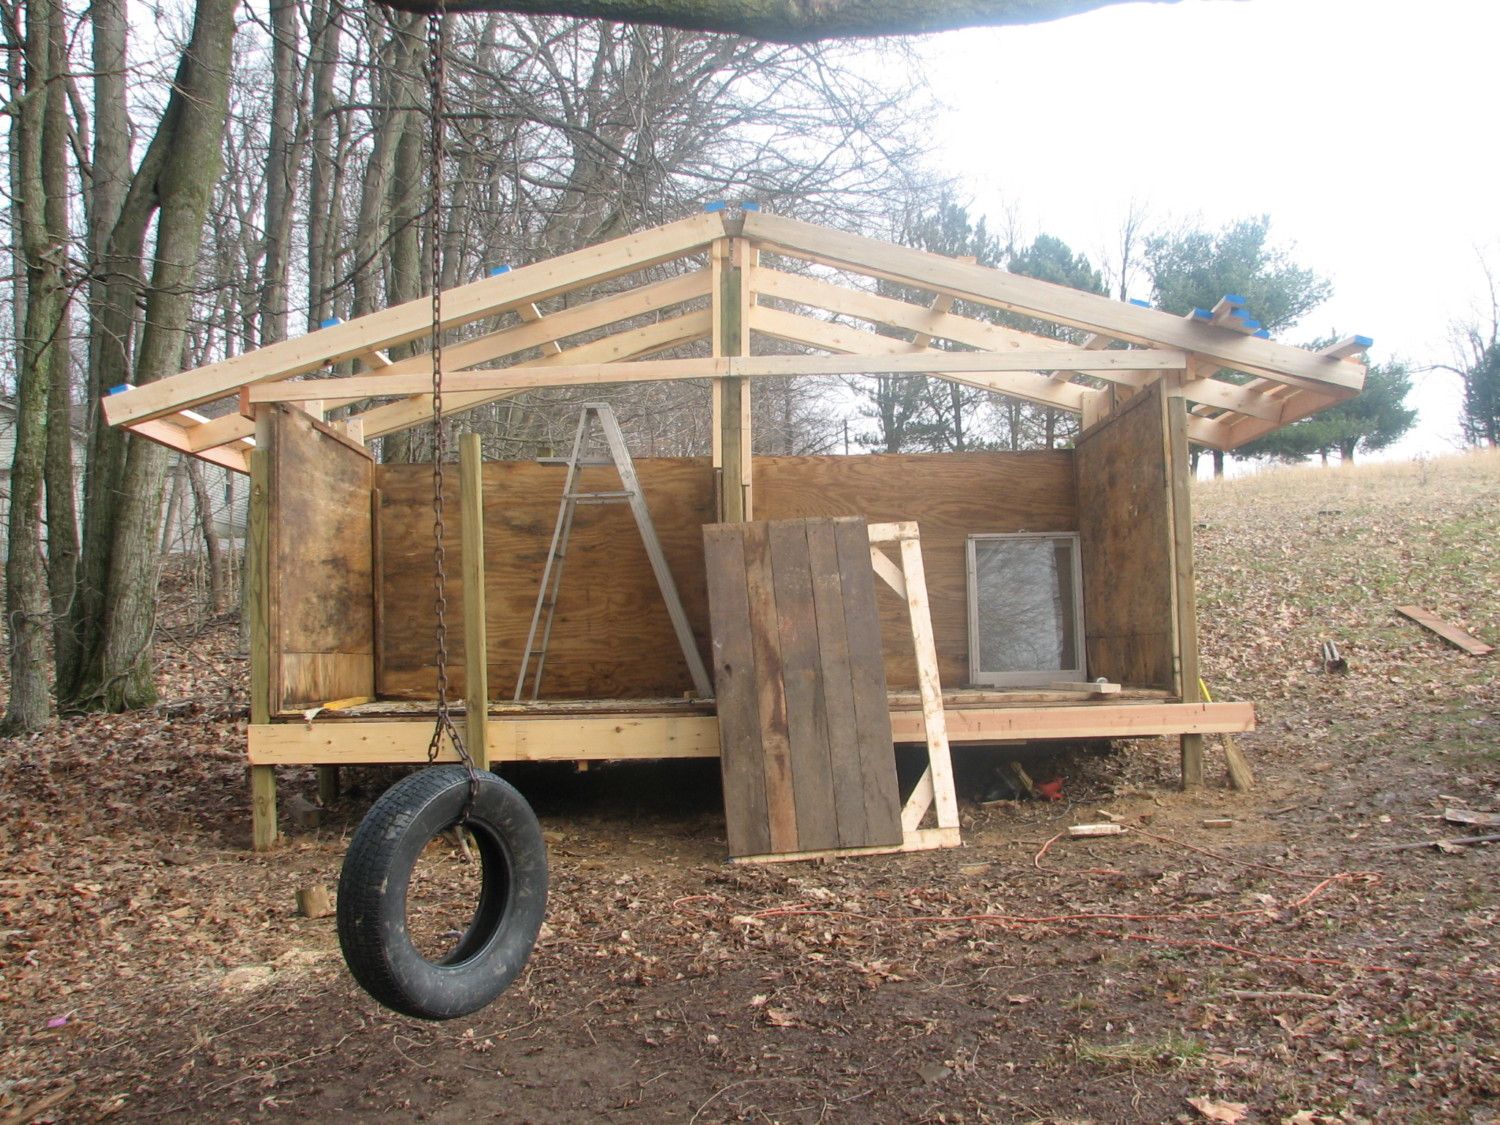
Our next dilemma was the roof. We had planned on only having a slanted roof, but now with the expanded size we were worried that the slope would either have to be much higher on the new side, or I would have much less headroom on the old side so we decided to go with a conventional peaked roof.
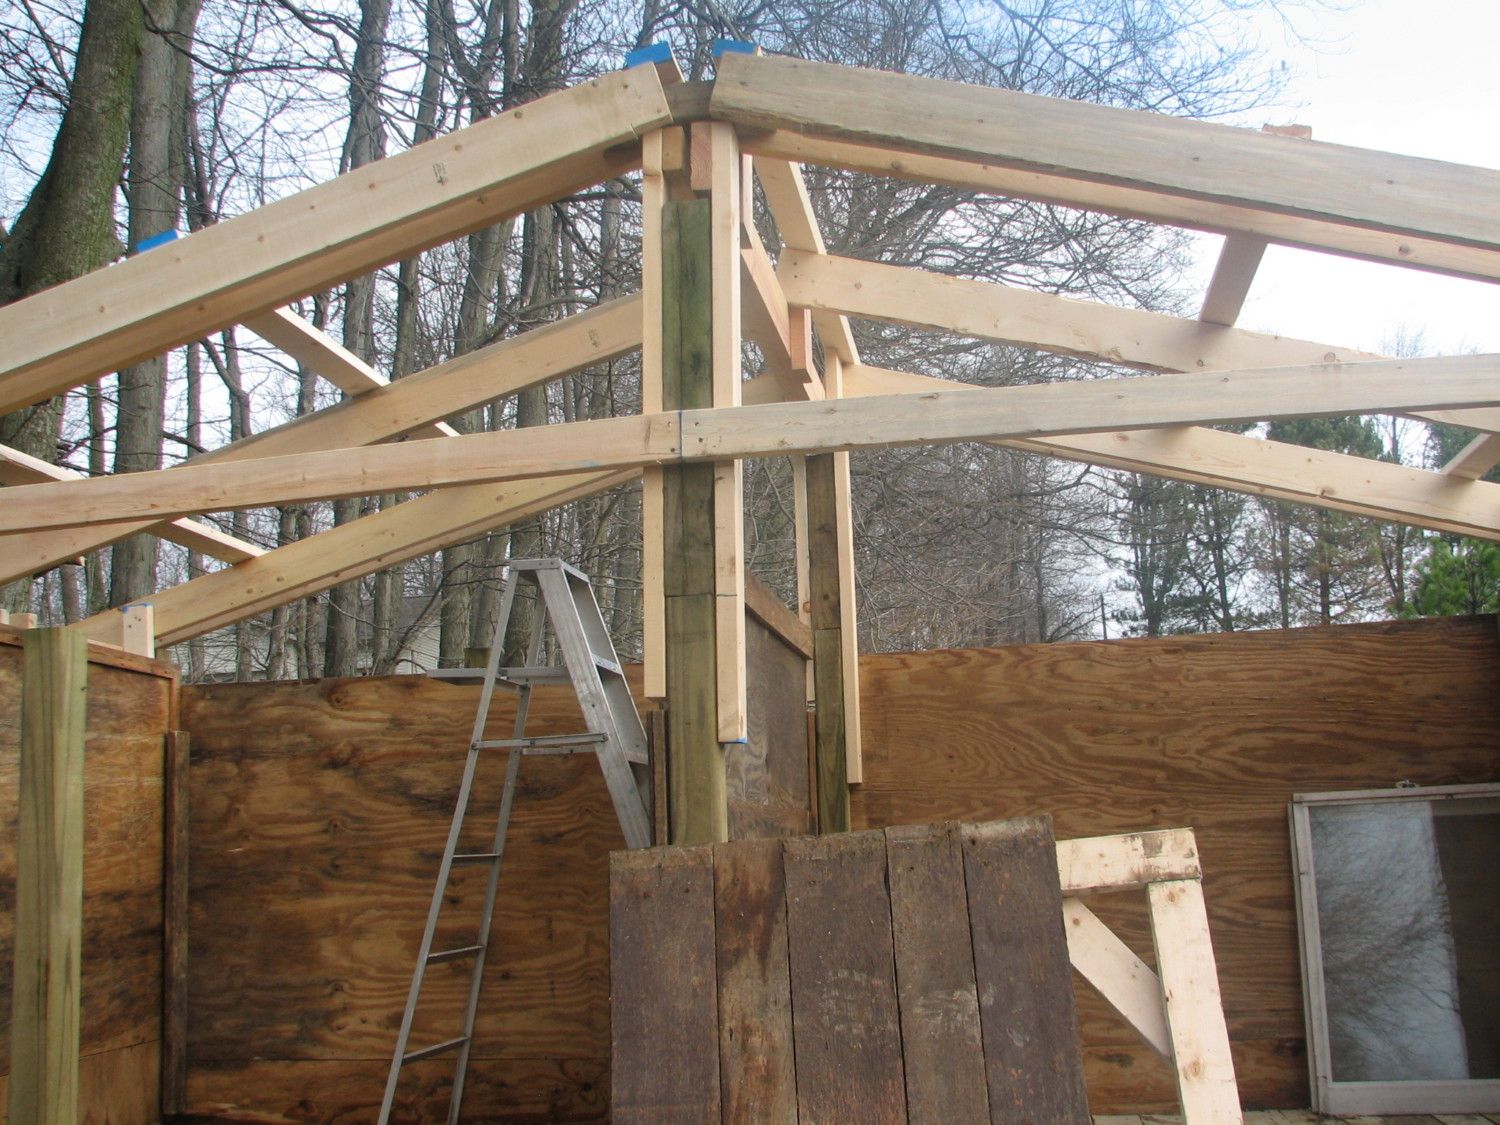
As you can see we did have to "scab" up the center joists, but we are very confident that it will hold up well both under the weight of snow as well as wind. Here are a few more pics of the process so far:
This is the "front" of the coop. I plan to put the chicken doors on this side and the run will begin here. I will also fence in the underside, as well as put in a rock border (we dug up enough of them!) to keep predators out and the chicks in.
This side will hold the outside nest boxes. The roof should come down far enough to keep the elements out, but I will be diligent in making sure it does. Of course the nest boxes will have their own lids as well.
I still have a lot of work to do on the future chicken yard, but it will be worth it! Can anyone say bonfire!
Now on to the doors! I plan to make 4 this way, I just have to see if I have enough oak flooring. I will update this page as soon as we get more done, and that should be soon! This week is going to be beautiful here in Ohio!
Going cheap I knew I would have to be creative, and when looking for ideas on-line I found this site. Seeing all of the coops made with pallets was a very doable idea for me, so I sent out wanted lists on craigslist, facebook, and family and friends for not only pallets but any unneeded wood. The first to respond was my Dad, the man who can find anything for anyone, lol, as it turns out my Aunt was removing her 100 year old oak wood flooring and if I wanted to dig it out of the dumpster I could have it. Lets just say I put on my boots and gloves and ran right over! I ended up filling our S-10 bed twice, as well as a 5x10 trailer... wow I was assembling quite a pile!
I also heard from an old friend from high school, love facebook, who said he had built his from large shipping crates, and he just happened to have a couple more laying around that he did not plan on using anytime soon so I could just have them so he wouldn't have to mow around them anymore. What an amazing guy!! When he said shipping crates I had no idea what we were in for, so when we wet to the back yard and saw these massive 5x7 sheets of plywood, framed for stability, I was amazed!! Oh the ideas I began to develop!! I even teased my fiance that by the time I was done I would have enough supplies collected, for free, that he could make the tool shed he had been hoping for!
Craigslist yielded a very nice gentleman who was also building a coop that had some reclaimed items he was not going to use, and so I collected 2 windows, various pallets, and a big bucket of nails! I was feeling very much like it was Christmas now! Another friend gave me a lead on some tin roofing, and still another had some extra odd pieces of 4x4 and 2x4 wood.
And then, the mother load! A huge 8x12 shipping crate was looming in a parking lot... just waiting for someone to make it useful... and here I am!! With the help of a few friends and of course my amazing fiance we disassembled that massive thing and brought it home. Won't it make a perfect tool shed? After all, we were only getting a dozen or so chickens right??
Next, I ordered my chicks, because that is the logical next step right? After "chicken math" took over I now have 20 meat chickens, 21 hens, 2 surprise chicks, and 1 rooster on the way the coop we had designed didn't look like it was going to be big enough:
And so since we still had several sides left of the 5x7 crate we decided it would be best just to expand the current set up rather than do a completely different building (yes, he still gets his tool shed!). We would also save on materials, although at this point we had not spent much, about $75 for the 4x4x8 posts to make it off the ground and the 2x8 to attach the coop to the posts. We used some of the donated lumber to make the floor joists and used some of the old oak flooring to make the plywood floor more stable and sturdy.
As you can see we used the already squared side to build off of and its a good thing we built is to high off the ground to begin with. The right side front corner is actually almost on the ground! This set up will also be nice to have so I can remove part of the center board and replace with chicken wire since I will have chicks of different ages. This will hopefully help with a smooth transition when it comes to putting them together. Next, we added the new sides and it looked like this:
No, its not tilted to the left, I just don't seem to be able to hold the camera straight! This end will have two double doors for each opening that will make for easy clean out when the time comes. I plan to use the DLM and with the coop being so close to my garden I hope to be able to use the compost there.
Our next dilemma was the roof. We had planned on only having a slanted roof, but now with the expanded size we were worried that the slope would either have to be much higher on the new side, or I would have much less headroom on the old side so we decided to go with a conventional peaked roof.
As you can see we did have to "scab" up the center joists, but we are very confident that it will hold up well both under the weight of snow as well as wind. Here are a few more pics of the process so far:

This is the "front" of the coop. I plan to put the chicken doors on this side and the run will begin here. I will also fence in the underside, as well as put in a rock border (we dug up enough of them!) to keep predators out and the chicks in.
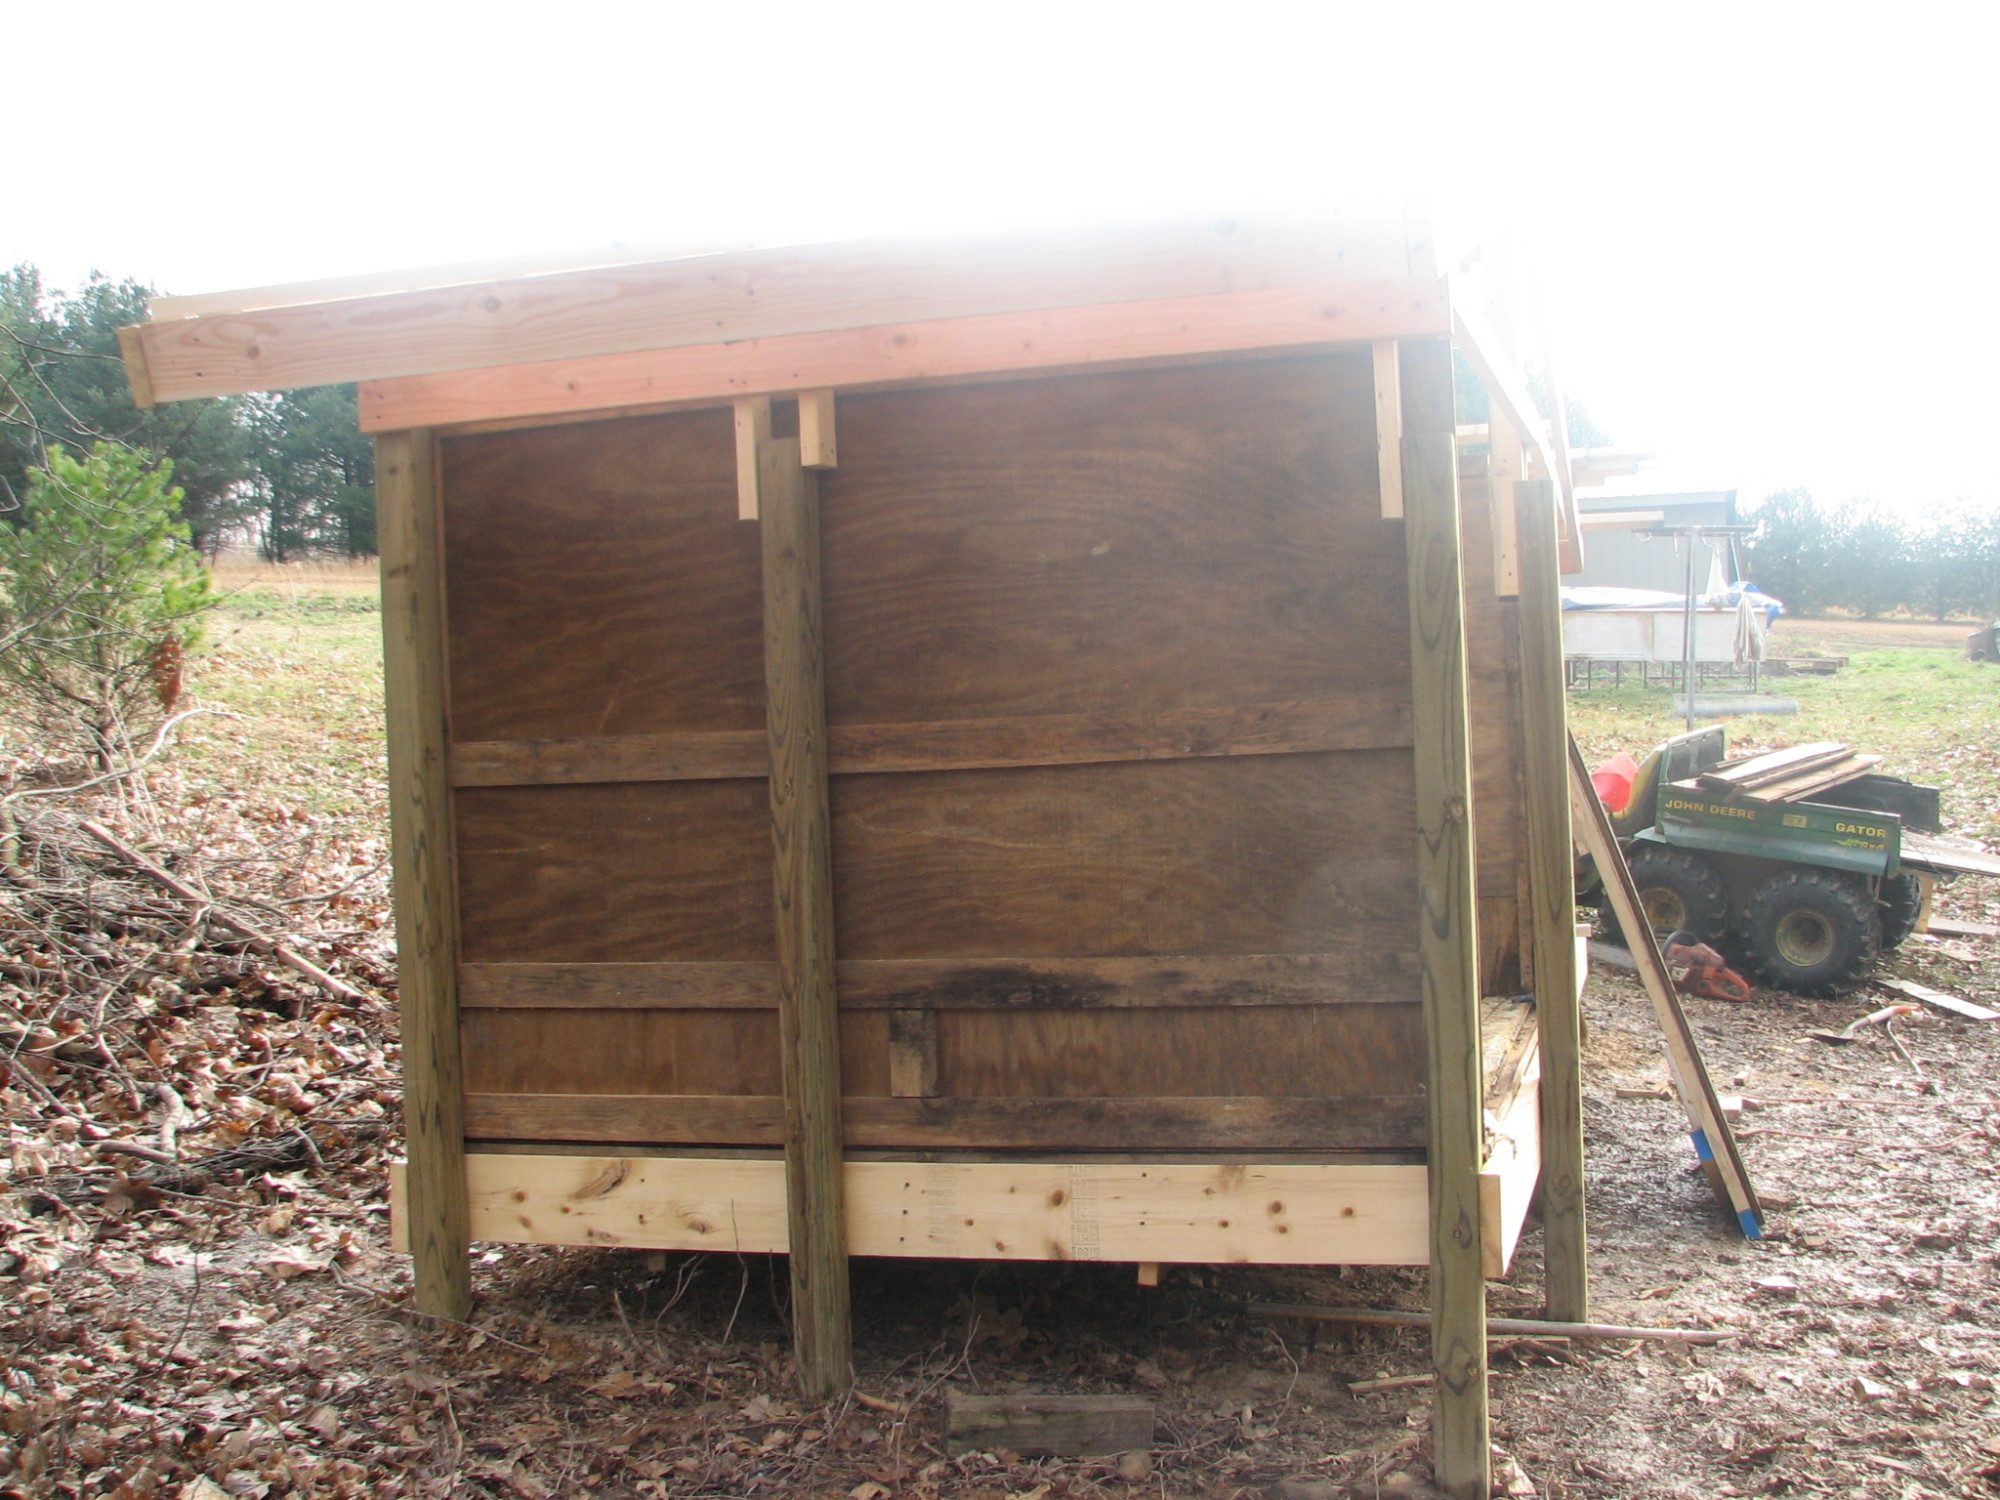
This side will hold the outside nest boxes. The roof should come down far enough to keep the elements out, but I will be diligent in making sure it does. Of course the nest boxes will have their own lids as well.
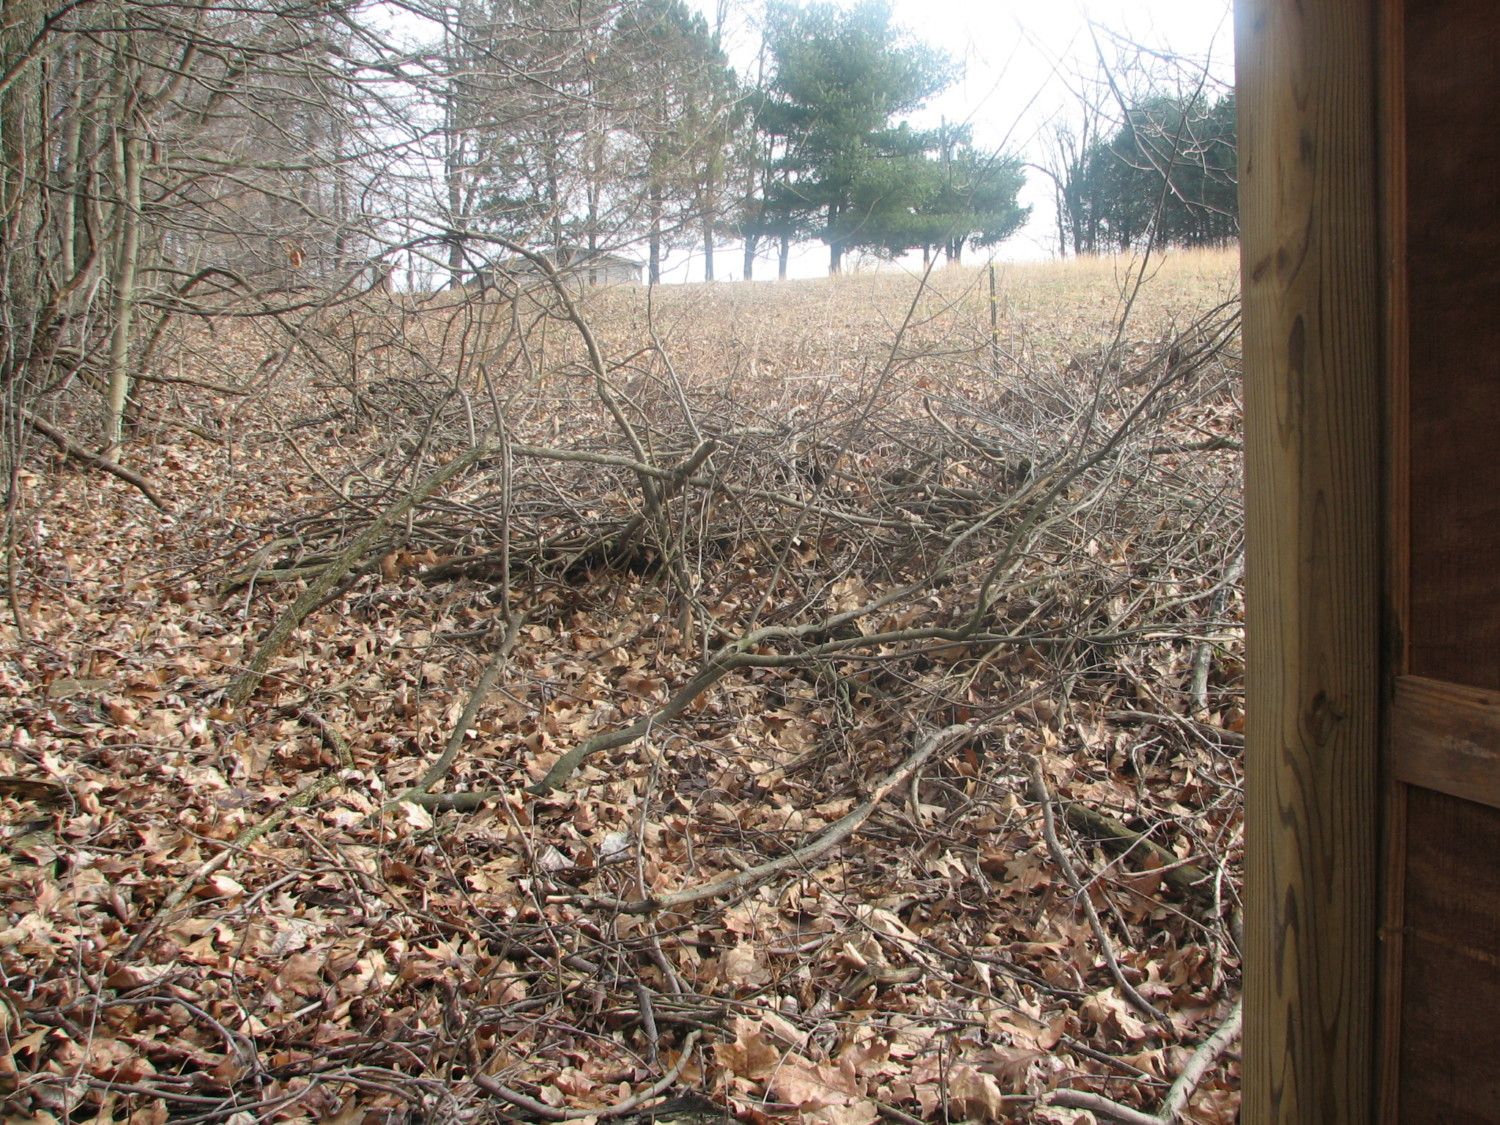
I still have a lot of work to do on the future chicken yard, but it will be worth it! Can anyone say bonfire!
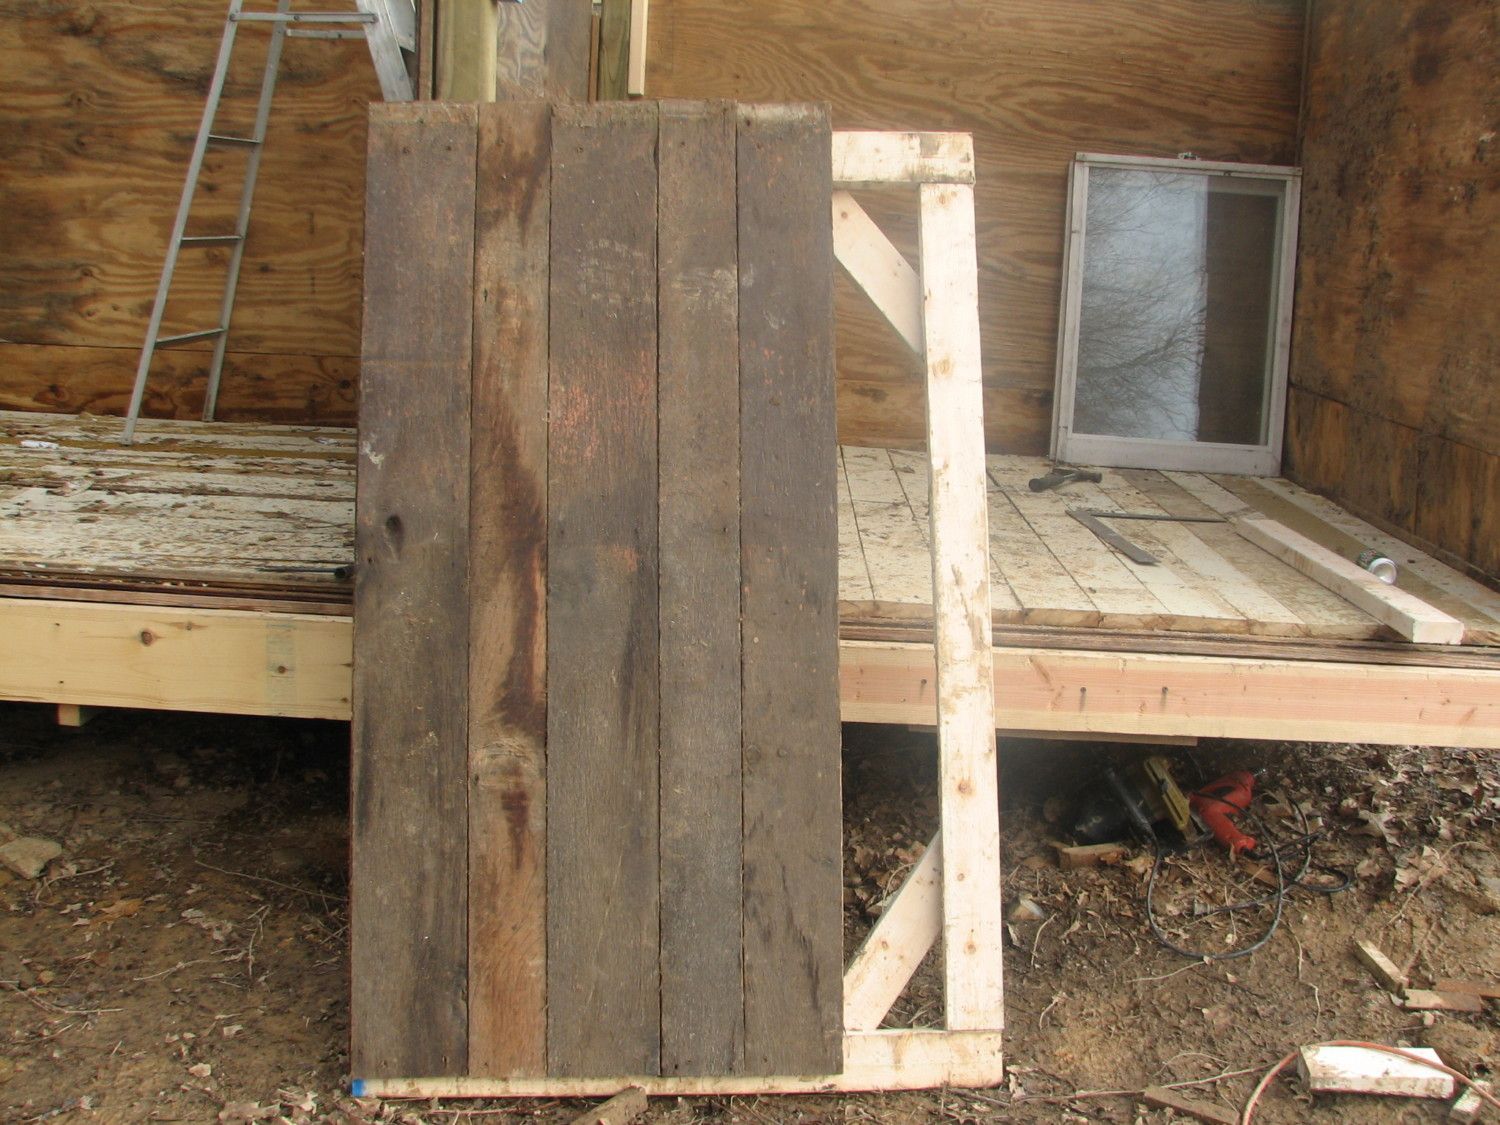
Now on to the doors! I plan to make 4 this way, I just have to see if I have enough oak flooring. I will update this page as soon as we get more done, and that should be soon! This week is going to be beautiful here in Ohio!