So here it is, finally.
Sorry, to those who may have been waiting, for the delay.
Y'all might be interested in seeing my comments about using this divider starting here:
https://www.backyardchickens.com/threads/incuview-incubator.852619/page-141#post-19864129
and a few of the following pages.
I will add more verbiage later as time allows.
But for now here is the half pattern for the dividers I made.
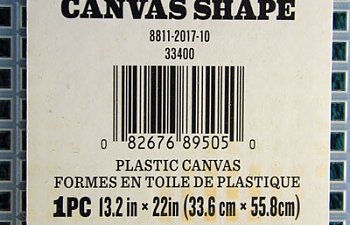
Added 2-17-19 label of material used, think I got it at Joanne Fabrics but any crafty type store should have it.
Note it is the larger sheet 13x22".

I strongly encourage you to draw out this pattern on some stiff cardboard,
(I used single wall corrugated)
and fit it to the incubator before cutting it out of plastic mesh.
The pattern here is slightly over-sized so you'll need to fit and trim, fit and trim, fit and trim.

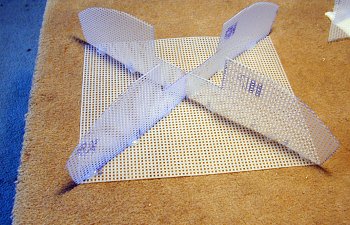
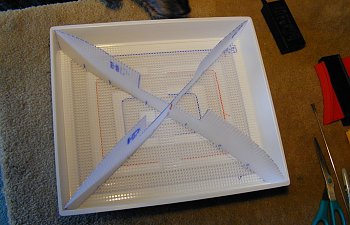
You can see here where I hot glued the dividers to the base piece in several places to keep the chicks from moving the divider walls.

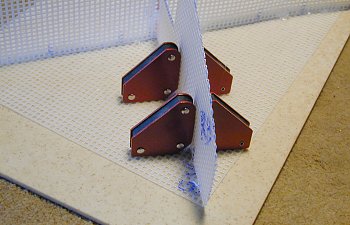
I used welding magnets(cause they are heavy and 90° angles) to hold dividers while hot gluing.
the piece of Corian underneath did not stick(much) to the glue:


More Tips and Tricks:
Lid is difficult to handle, because there are no handles(haha!).
So I used some packing tape to make a couple, it really helped!

And when I need to take lid completely off I use this large DIY 'plate stand':

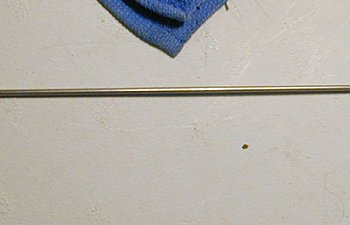
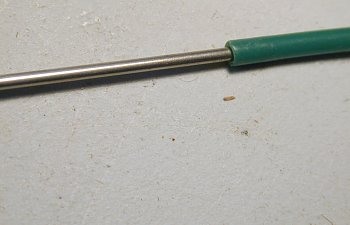
I bought this needle and syringe for adding water.
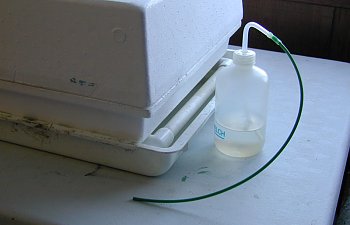
I cut off the luer lock and shoved metal tubing into plastic tubing on the siphon bottle.


Before needle addition.

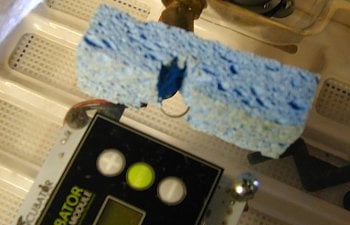
Humidification sponge at vent hole, shown dry.

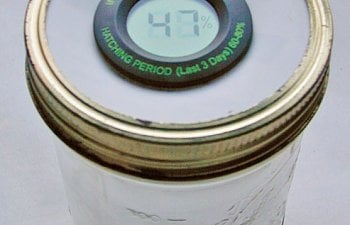
Hygrometer can be popped(carefully) out to test for accuracy:
Here's how I test.

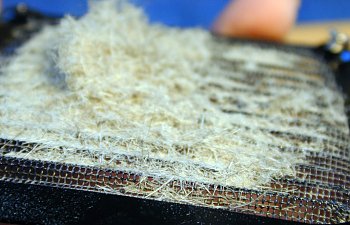
Clean the screen between each incubation, this batch was incredibly dusty YMMV:

Sorry, to those who may have been waiting, for the delay.
Y'all might be interested in seeing my comments about using this divider starting here:
https://www.backyardchickens.com/threads/incuview-incubator.852619/page-141#post-19864129
and a few of the following pages.
I will add more verbiage later as time allows.
But for now here is the half pattern for the dividers I made.
Added 2-17-19 label of material used, think I got it at Joanne Fabrics but any crafty type store should have it.
Note it is the larger sheet 13x22".
I strongly encourage you to draw out this pattern on some stiff cardboard,
(I used single wall corrugated)
and fit it to the incubator before cutting it out of plastic mesh.
The pattern here is slightly over-sized so you'll need to fit and trim, fit and trim, fit and trim.
You can see here where I hot glued the dividers to the base piece in several places to keep the chicks from moving the divider walls.
I used welding magnets(cause they are heavy and 90° angles) to hold dividers while hot gluing.
the piece of Corian underneath did not stick(much) to the glue:
More Tips and Tricks:
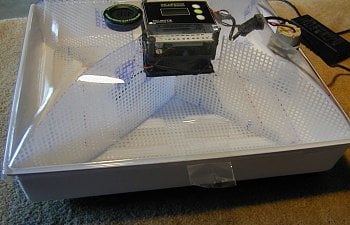
Lid is difficult to handle, because there are no handles(haha!).
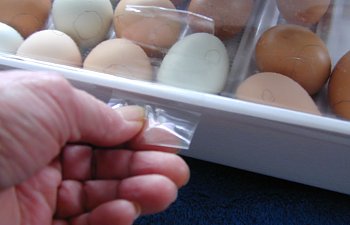
So I used some packing tape to make a couple, it really helped!
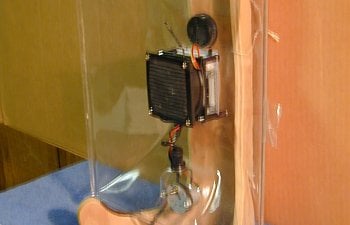
And when I need to take lid completely off I use this large DIY 'plate stand':
I bought this needle and syringe for adding water.
I cut off the luer lock and shoved metal tubing into plastic tubing on the siphon bottle.
Before needle addition.
Humidification sponge at vent hole, shown dry.
Hygrometer can be popped(carefully) out to test for accuracy:
Here's how I test.
Clean the screen between each incubation, this batch was incredibly dusty YMMV:
