Well, here is my Coop page. I will do my best to explain the directions and materials list. We pretty much just "winged" the whole project.

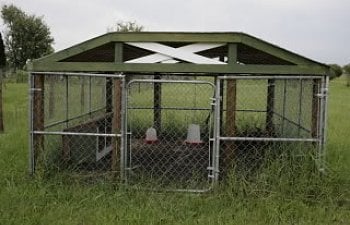
Front view of Coop
We started with 4 10' x 4' dog kennel panels. On one panel we cut out a center section to accompany a 3' walk gate. If you have a kennel that already has a gate in it then this step can be skipped. You may also use a kennel that is 5 or 6' in height. We just happened to have the 4' one given to us and since I am short, it worked.
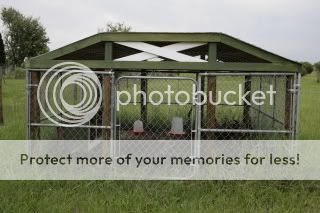
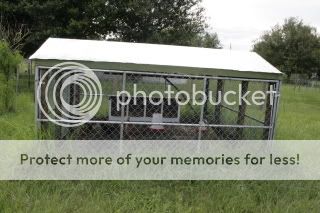
Measure the kennel and square it up. Once this is done, place one 4 x 4 x 5' at each corner, sinking into ground so they are even with the top of the kennel plus 4 inches.
mark the ares where the gate is centered and place a
4 x 4 on each side of opening sinking 1' into ground and leaving 18" above the height of the kennel. Place 2 more of the same height on opposite side of kennel. Using 12" anchors, sink them at the inside of the corner 4 x 4's and attach with plumbers tape and screws.
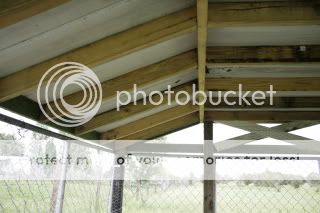
]attach a 2 x 4 x 10' along top edge of 2 sides attaching with screws to
4 x 4's and periodically with aluminum wire along top edges of the kennel. Cut 2 more 10' 2 x 4's to fit other two sides. Attach a 10' 2 x 4 to each of the center pairs of 4 x 4's. Miter and cut to length, enough 2 x 4s to place on each side placed 16" on center then cut 2 x 4's to place between center 10' braces. These create the trusses for attaching the tin roof. Attach the roofing material with screws.

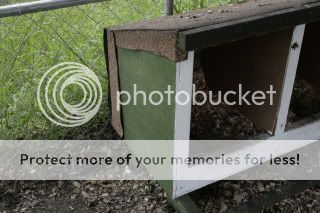
Once the coop is secured, staple chicken wire to the entire inside surface of the coop. Next, attach chicken wire to the outside of the coop, 3' out and 1' up. The nesting box is made with 2 x 4's, 4 x 4's, plywood and roll roofing. The box measures 16', is divided into 4 boxes that are 12 x 12 with a slanted roof.

We placed a small roost on the front of the nesting box. There is also a roost hanging from the roof on the opposite side of the coop. The box is made so that another could be stacked under it in the future if needed. All of our materials were either given to us for free or were leftover from other projects.

4 x 4's and periodically with aluminum wire along top edges of the kennel. Cut 2 more 10' 2 x 4's to fit other two sides. Attach a 10' 2 x 4 to each of the center pairs of 4 x 4's. Miter and cut to length, enough 2 x 4s to place on each side placed 16" on center then cut 2 x 4's to place between center 10' braces. These create the trusses for attaching the tin roof. Attach the roofing material with screws.
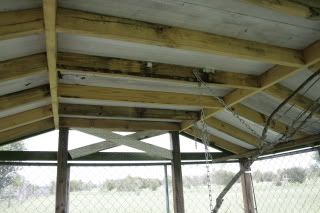
Once the coop is secured, staple chicken wire to the entire inside surface of the coop. Next, attach chicken wire to the outside of the coop, 3' out and 1' up. The nesting box is made with 2 x 4's, 4 x 4's, plywood and roll roofing. The box measures 16', is divided into 4 boxes that are 12 x 12 with a slanted roof.

We placed a small roost on the front of the nesting box. There is also a roost hanging from the roof on the opposite side of the coop. The box is made so that another could be stacked under it in the future if needed. All of our materials were either given to us for free or were leftover from other projects.
