https://www.backyardchickens.com/web/viewblog.php?id=47552
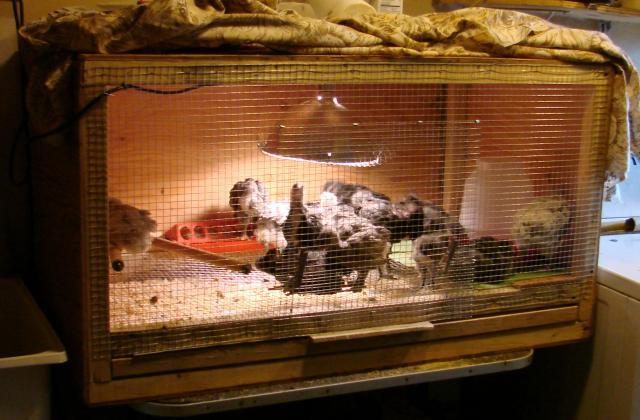
I'm not very good at making a page. But here is our first try at building a brooder.
I'm not very good at making a page. But here is our first try at building a brooder.