BROODER thread! Post pics of your brooders!

Here is my brooder. A friend gave us a dresser. My kids didn't need it so I reconstituted it for my chicks. I left the bottom drawer in tacked so I could use it for storage. It was a fun project and easy enough to do.

Love it, and its pretty enough you can have it as part of decor in your house. Great job on it too.
 
hi,
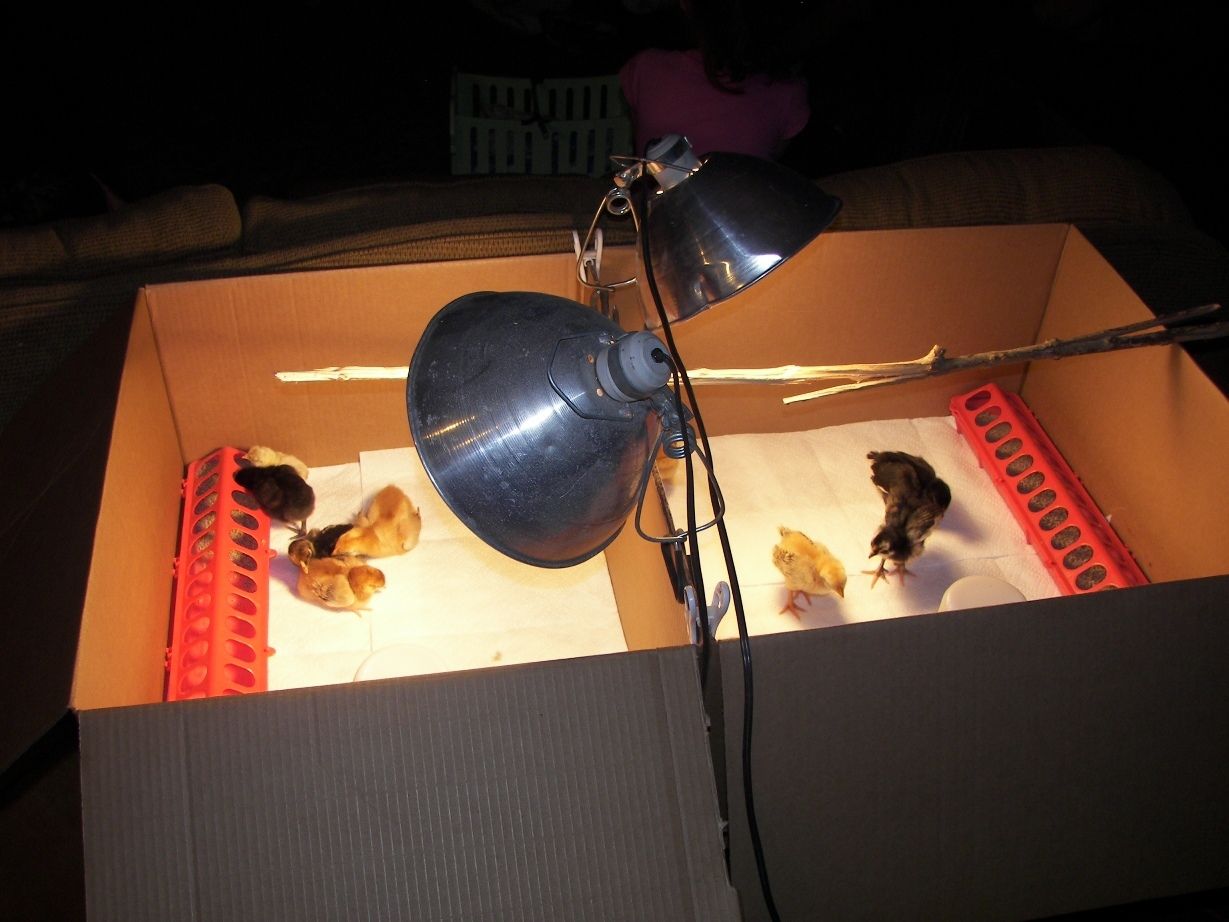
just made this a month or so ago. I started with one of the 4 shelf units from Menards, cost me about $70. Gave the chipboard shelves a good coat of paint.before assembly. When I go out to do chores this afternoon I will take a few pics for you. The cages are fairly easy to sew, the bottom and top are 42 x 45 1/2 inches squares and they are 22 squares tall. Takes me about 3 hours to stitch one up. I cut the door three squares from the bottom and one square from the top, so 17 squares x 15 squares. Then I made the door itself 19 squares x 18 squares. I used that thin paneling joint to line the hole, used wire to make door hinges, just wrapped 3 or four times in three places loosely, spring with hook for latch. Hubby made me some boxes, 1 1/2 inches tall sides for litter trays. I use two 100 watt or smaller bulbs for each shelf, or one per cage. The lights were fashioned out of some 4 ft. flourscents that had bit the dust.The cages take about a little more that 5 foot x 3 foot 1/2 hardware cloth. 5 foot gets you the cage and then you need another 10 or so inches for the door. I used almost all of a 50 foot roll. Thirty chicks fit comfortably for about two weeks, then you need to divide. Oh, and the doors are17 squares high so I can fit one of those mason jar waterers in without having to tip it. Sorry, this post is a follow up on the brooder on page 180.

Thanks for the post and the dimensions on your cages i will show this to poor dear hubby and get him to help me. I will have to try and remember to take some pictures of my brooder room. I get soo busy and forget to take pics or forget my phone in the house or just plain forget I have it. ha ha
That is really a great set up you have.
 
Here is our brooder. I've gotten many ideas from this thread that I intend to use in the future. For the time being, I'm afraid, if I come up with anything more permanent we (the kids and I) will not be able to keep them in our living room. As long as this continues to look "temporary" we have gotten minimal flack. It is a 24X24 box (right) and a 20X24 box. Six on the right and 5 on the left. The stick on top is placed across a baby bed for "perching" practice. We are enjoying our little peeps.

 
I think you are right, I thunk I have lost 7 chicks because of that... Cindy..
D.gif


This is ours. Simple setup from stuff we had laying around. What you see is a 4' by 2' dog crate with a 10 gallon aquarium turned on it's side. When the chicks are young they are kept in the aquarium (right side up) then moved to this setup at about 4 weeks. A lamp is hung from the top with a 100 watt bulb that slowly moves away (and down in wattage) as the chicks age. The aquarium and cardboard lining (not much of it can be seen in this image) is mostly for cat protection. My cat is usually afraid of them but I make sure the sides are blocked and they have the aquarium to hide out in. Works to protect from drafts too.

This setup is perfect for 2-6 chicks (duckling, gosslings, even raised a couple guineas in similar setups). Note that the heat lamp is close to (but not over) the food/water and the cat-proof shelter. I want them to be able to run from the cat while still having warmth and food.

The occupants are currently 2 black and 2 gold sex-link pullets (the gold are rhode island white/red cross, black ones are rhode reds crossed with barred rock's). Goldies are about 4 weeks, blackies about 3. They get along well and have plenty of space to grow up.

EDIT: forgot to mention two things. 1) there is usually a manzenita branch running through the pen (part under the lamp, part away) if they choose to roost on it. 2) there's a webcam over the top with a wide-angle lens that captures them through their entire youth. That's recording 30 fps 720p 24/7, sometimes it turns into interesting videos, time lapses, etc. I also stream it through one of my hosting servers so I can check on them when I'm not home.

Anyone that wants a little help setting up a webcam email me. I'll give you some tips and code to do it free. If you need hosting for it that'll be a small fee to cover costs.
 
Last edited:
Wow, the dressers are amazing! WalkingWolf, I cant see if you cut a door in yours, but this is how we expanded ours for our 5 chicks:

Brooder 1 (plastic bin) - very clean, but only lasted about 1.5 weeks.


Brooder 2: a 22 x 22 inch box. I figured a $2 box was cheaper and easier than anything I could build or find quickly. It lasted until they were about 3 weeks old, and could have lasted a bit longer. I'm glad I put the top to a rubbermaid bin in the bottom - saved me on the water mishaps.


Brooder 3: hoping this will be it. We added a 2nd box of the same size and cut a pass through between them. Hoppy was the first brave one through the door.


I like the box flaps - they give good light control and allow some chicks to hang out in the shade while others are in the "sun."
 
Here is the progression of our brooder. This is for 6 chicks, 4 amber links and 2 red sexlinks.

Version 1 - Biggest, tallest storage bin I could find at WalMart.
582430_3149416419961_1401608080_47920263_60943308_n.jpg


Version 2 - Wanted to give them more space, and needed something they couldn't escape from. (We have cats, a dog and a very mischievous toddler) 4'x3', switched to this at about a week old. Made from materials I already had on hand.
578005_3238812934818_1401608080_47955154_1943921865_n.jpg


Third and hopefully final version! - Toddler was climbing on Ver2, so had to make it taller. They are LOVING the extra room to practice flying! Chicks are 2.5-3 weeks old now. Heat lamp is usually on, but the bulb broke this afternoon.
292198_3251479811482_1401608080_47960104_1592208270_n.jpg
 

New posts New threads Active threads

Back
Top Bottom