I expanded my 3+ year old flock in 2023, added 12 Chanteclers and 8 mixed coloured egg layers. I moved 5 males to an external cage but multiple males amongst other pressures arising from increased flock size required a change/expansion to my nest box arrangement.
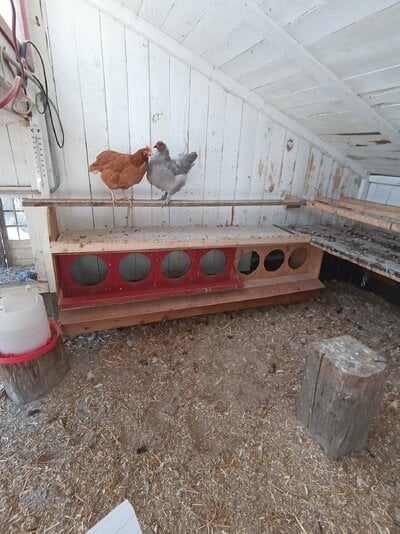
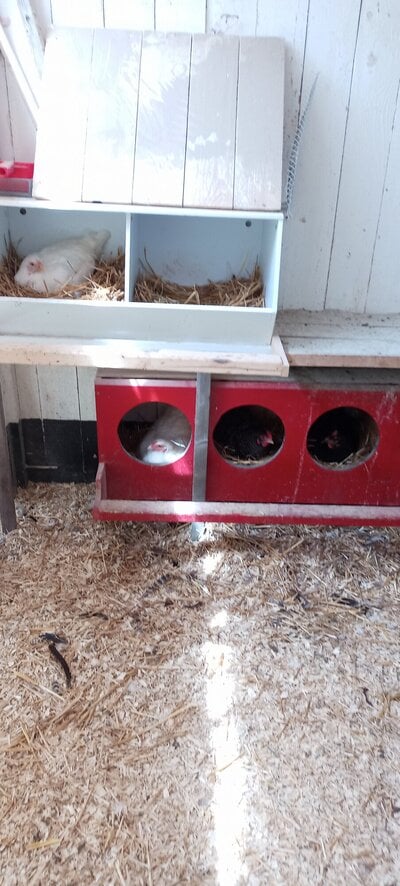
This is what I had (actually not quite there are four red nests):
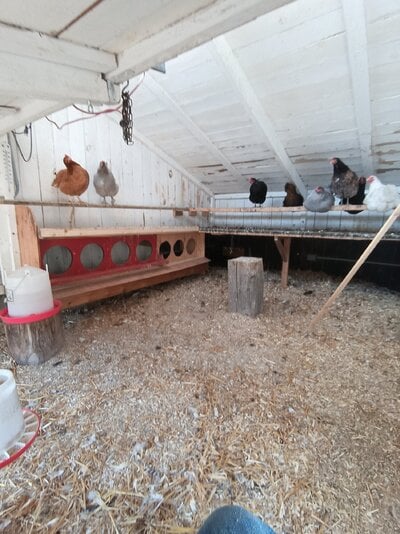
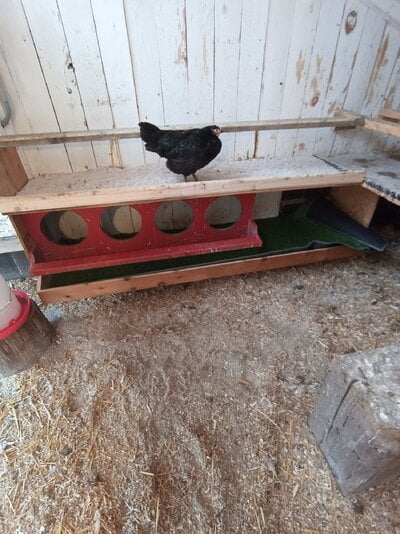
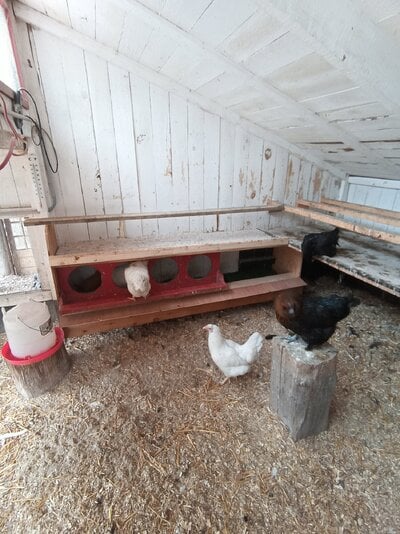
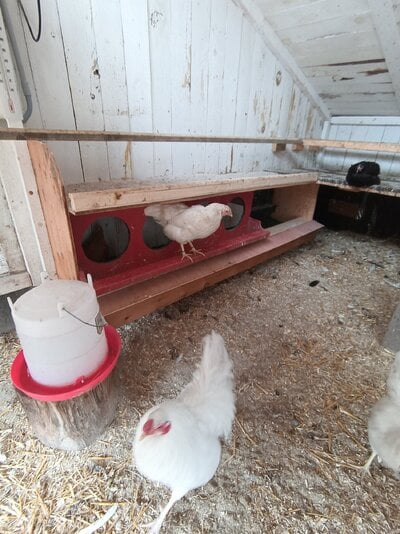
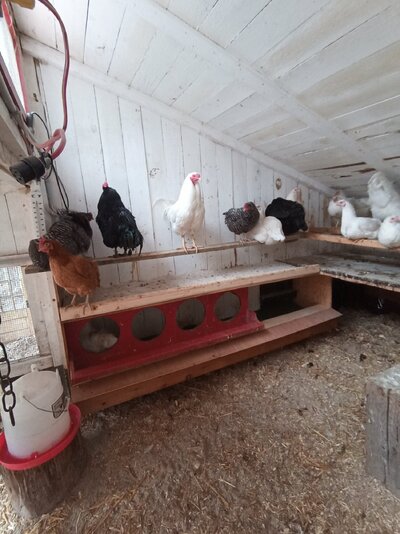
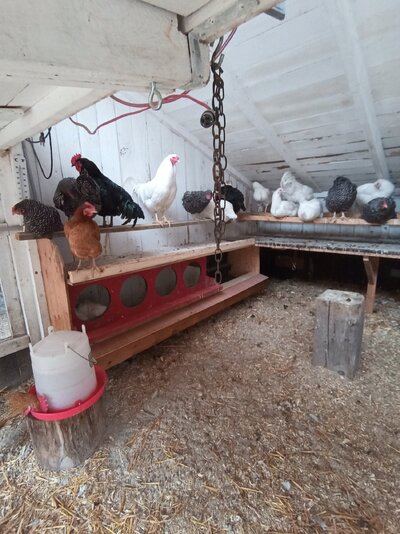
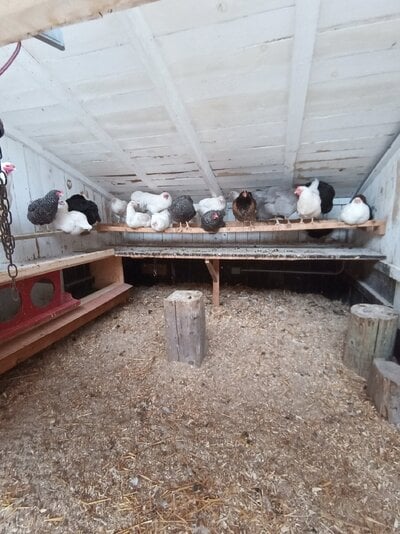
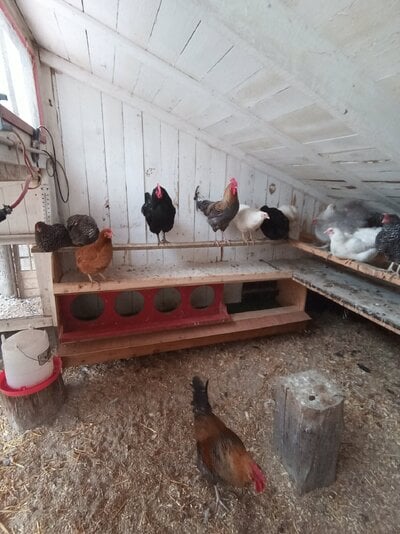
About mid-point of the new build here is where I am now:
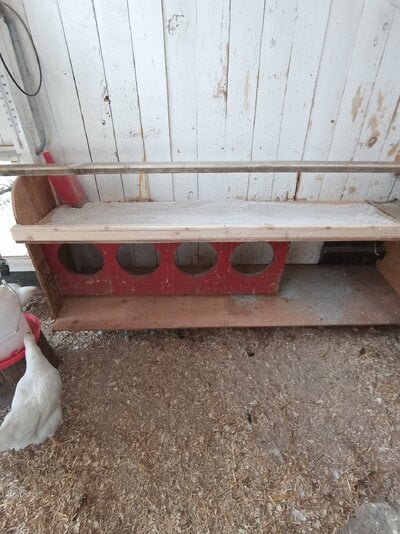
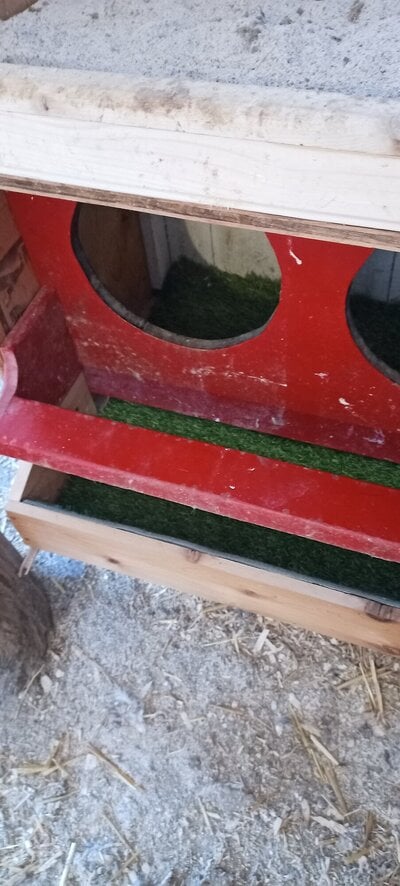
I have an egg eating problem so the new nests are/will be roll away to the front. Bottom plywood floor panel slants 3" over 20"; nests are 12" deep behind red fascia & 12" wide 16' high.
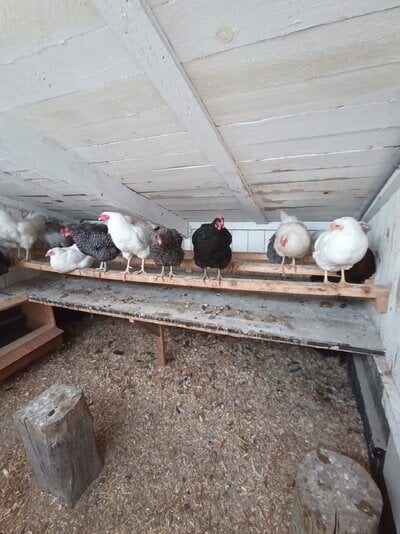
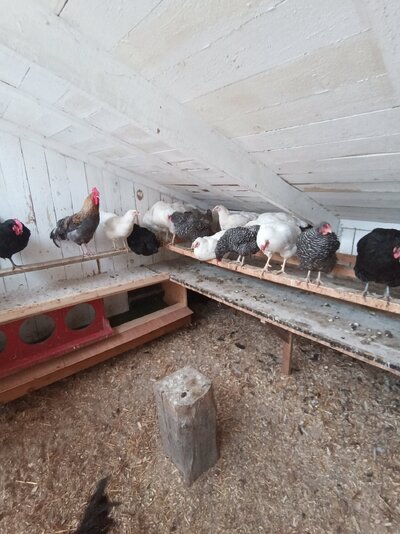
I had only 30' of roost space with close to 30 birds; some birds were sleeping in the upper two white nests; those nests are now gone. I will add 3 nests to the right of the 4 hole fascia. I have already replaced a 36" roost with a 90" roost and wider (21") drop board that doubles as the top of the nests.
I am re-using whatever I can, consequence is new nests are "kit-like" in that it is assembled and can come apart in several sub -sections. I have yet to build a second new fascia with 3 (I hope) holes; will then build the roll away upper box with lid to sit on the front floor extension.
This is what I had (actually not quite there are four red nests):

About mid-point of the new build here is where I am now:

I have an egg eating problem so the new nests are/will be roll away to the front. Bottom plywood floor panel slants 3" over 20"; nests are 12" deep behind red fascia & 12" wide 16' high.
I had only 30' of roost space with close to 30 birds; some birds were sleeping in the upper two white nests; those nests are now gone. I will add 3 nests to the right of the 4 hole fascia. I have already replaced a 36" roost with a 90" roost and wider (21") drop board that doubles as the top of the nests.
I am re-using whatever I can, consequence is new nests are "kit-like" in that it is assembled and can come apart in several sub -sections. I have yet to build a second new fascia with 3 (I hope) holes; will then build the roll away upper box with lid to sit on the front floor extension.
Last edited:


