Hello Randall, ...was talking with Fat Daddy on the phone earlier this evening...asking him a bunch of bator questions, getting ready to start a build tomorrow. He told me to come here and check out your pics for ideas...
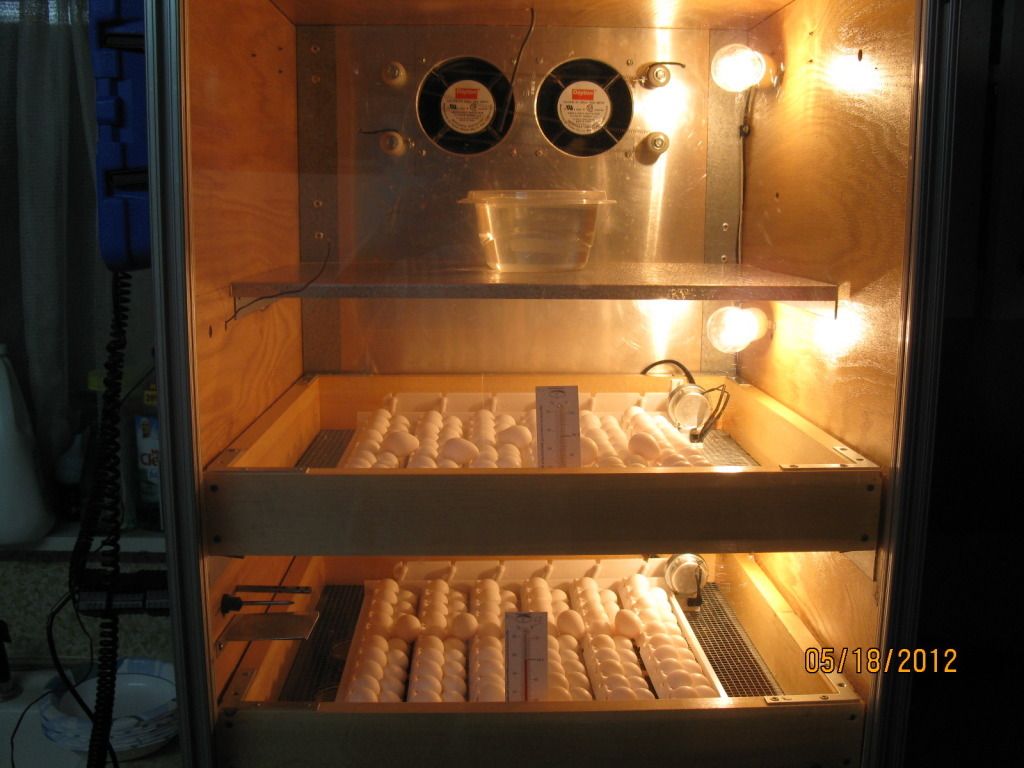
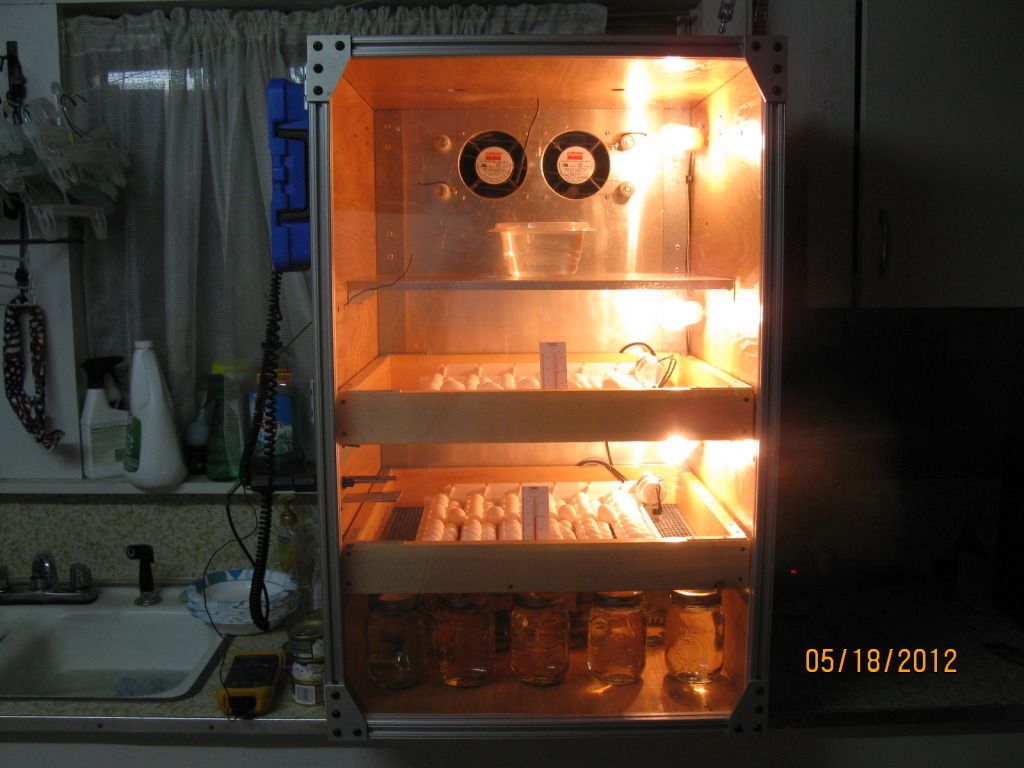
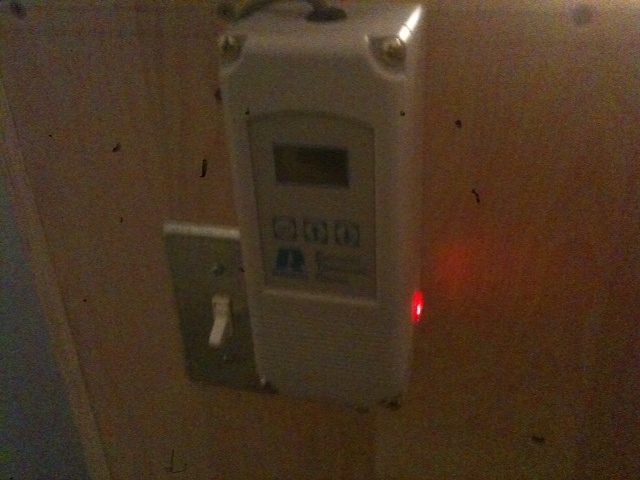
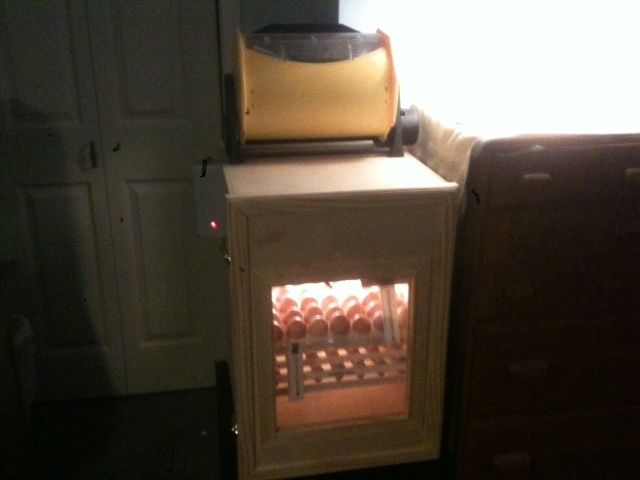
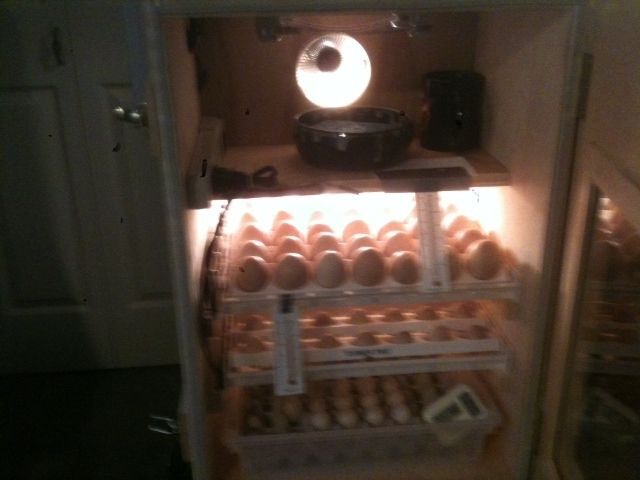
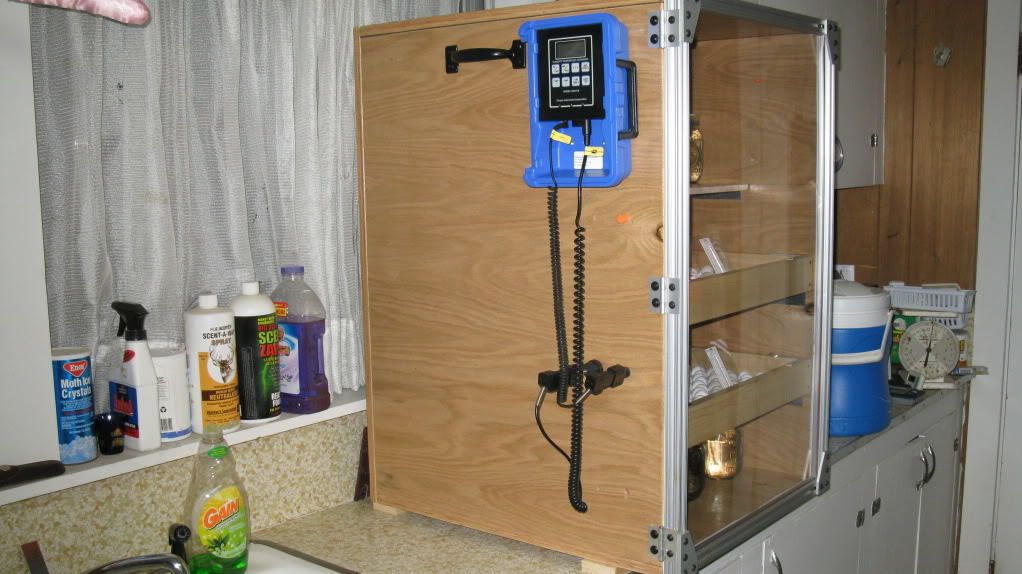
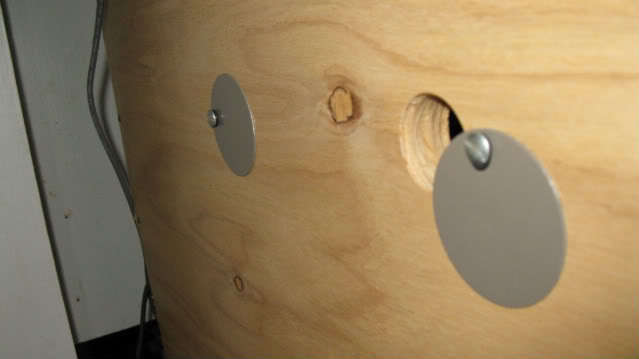
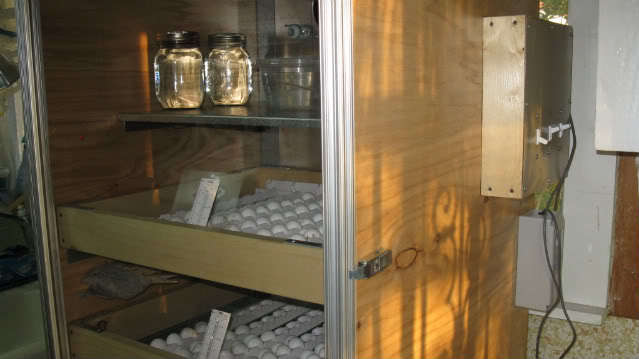
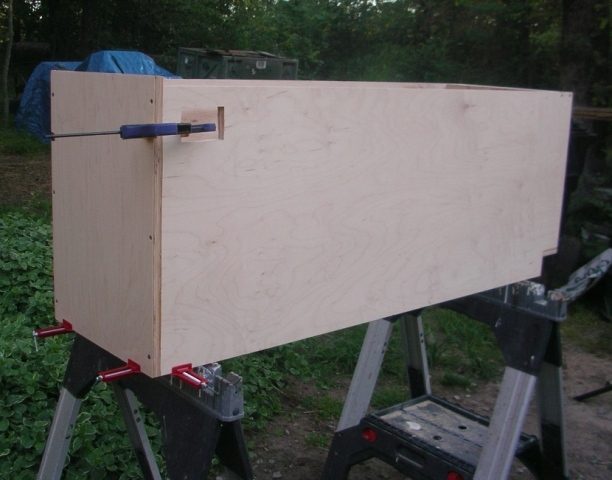
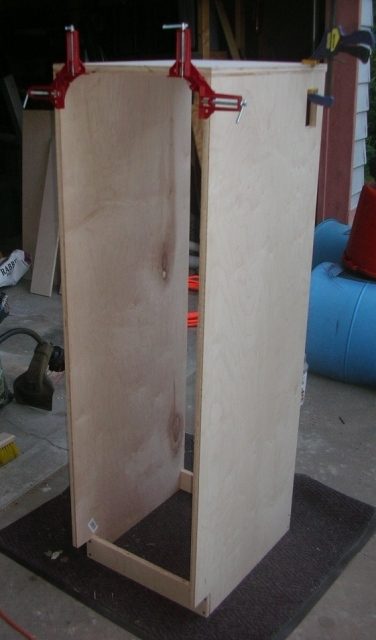
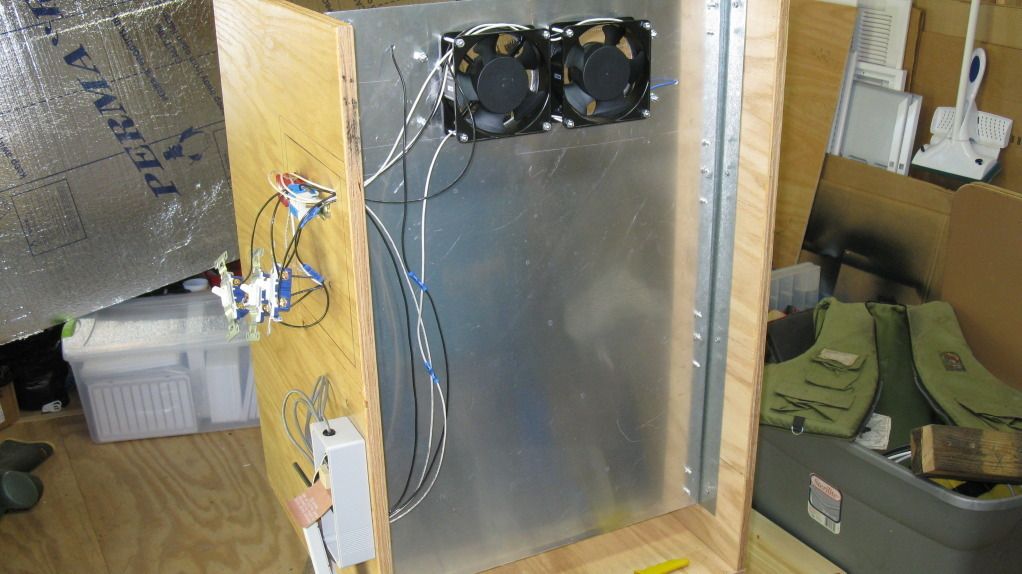
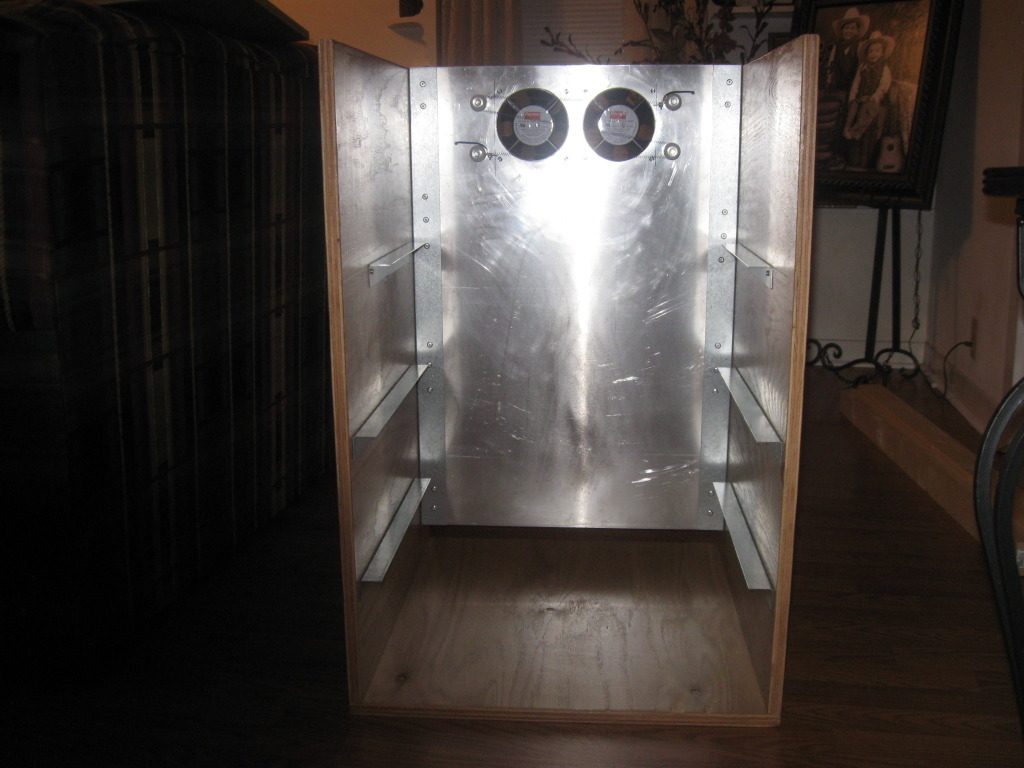
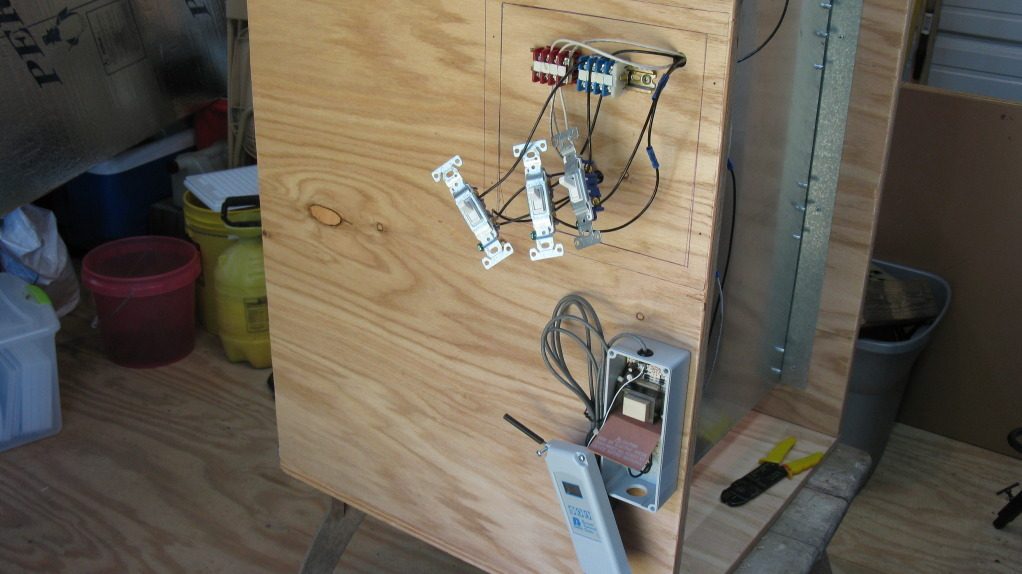
Your pics are great! I'm like Bill, going to use JJ's fundamental design, but integrate a lot of your workings too. Really like the idea of a false back for air ducting and fans. Thanks for sharing about how you cut one off during lock down...good info! +1
Look forward to getting to know you...several folks have said really good things about you...see you around here and other lands as well!
Bill
Thank You, Bill. Helping folks soothes me more that eatin' this steamed cabbage, peas, cream style corn, and cornbread I'm finishin' up for supper...Ha Ha.
First off, JJMR's bators will definitely get the job done. That fella knows poultry, and I put stock in pretty much whatever he says. Now, Me??? I've got a bad habit of goin' beyond when I do something, especially when it's buildin' deer stands and quail pens, bators, and brooders. I've got bunches of pictures that were taken throughout the the bator build, and will share all of what I've tried and failed, as well as tried and will not change.........just ask. Just to be clear, I'm the first to tell you I'm no authority in raising fowl, but have read, read, studied, studied, and read some more ...... and have learned a ton on this site. BUT, on the other hand, I've pushed the envelope on a few "don't do's", and gotten by with it. I only raise Bobs, so if I can defy a "don't do" with those jokers, I feel a sense of accomplishment. So yeah, I'll try to answer any question you have if I've dealt with the issue before.......on the forum, or PM either one.