- May 2, 2012
- 2
- 0
- 7
Just built one of these from the Purina plans. I did some things differently, but wish I'd changed a few more things in retrospect.
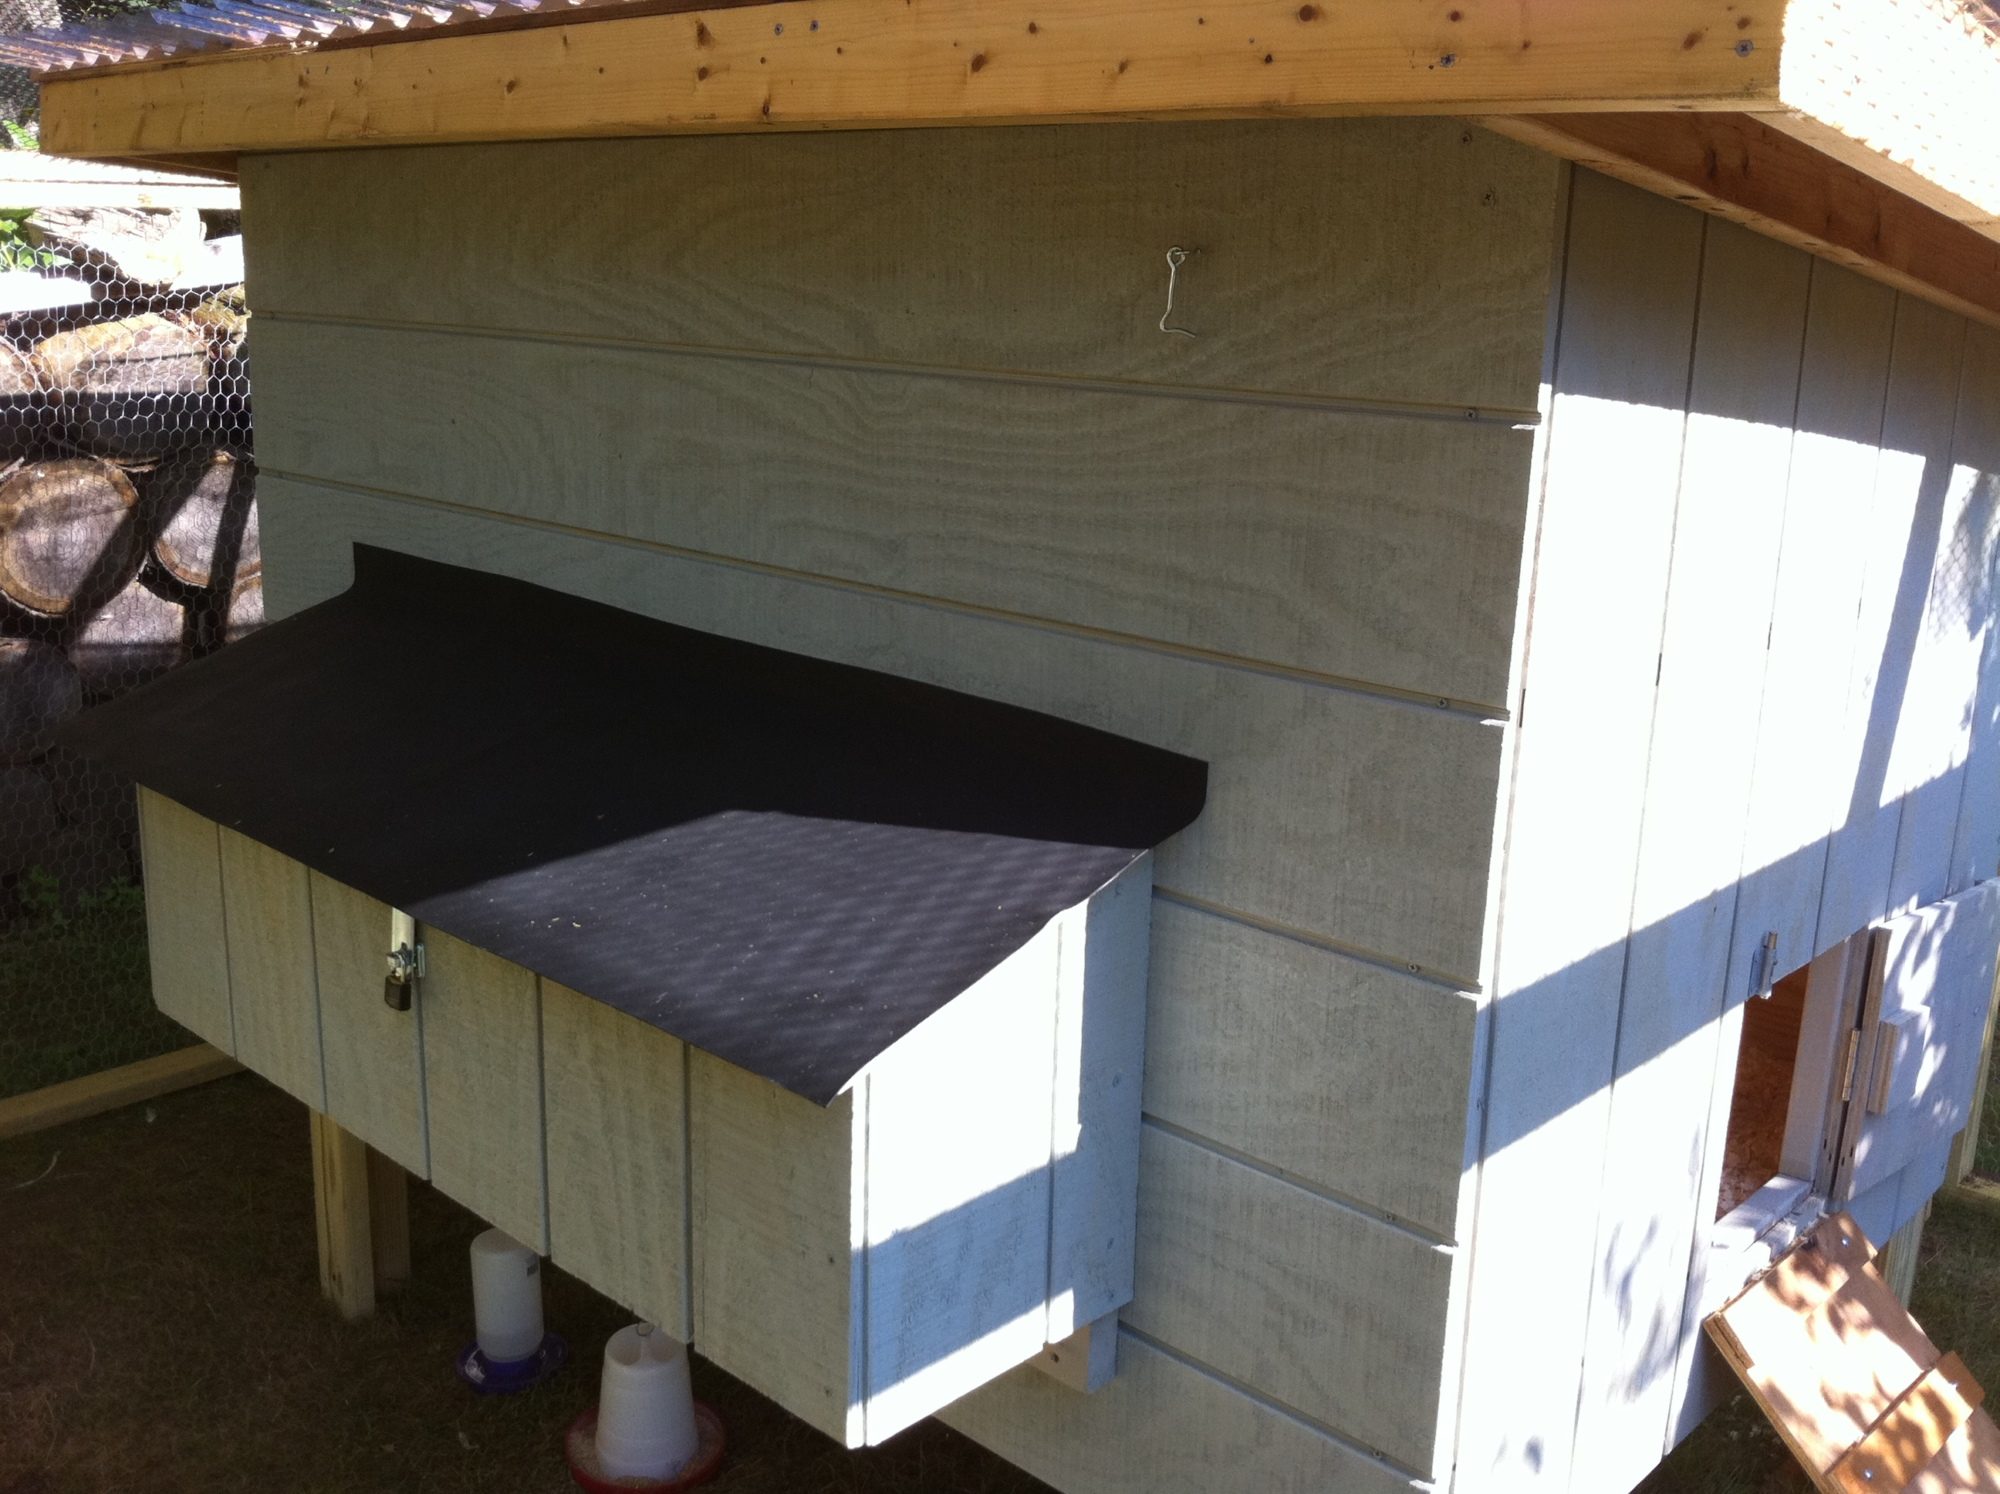
I used OSB for the walls because I had enough leftover siding from my house that I was able to vinyl side the coop to look just like the house. I'm planning on painting the interior to make cleanup easier and to, hopefully reduce the number of places that mites might hide. Also, I did not make the clean-out door the full width of the back. I think mine's about 30x30.
I don't like having the chicken door on the same side as the nest boxes, as this makes attaching a chicken run a little bit more difficult. I made my boxes a little bit wider than requested. Also, did not make the access door the full width of the nesting boxes.
For my roosting bars, I used 2x4 with the 1 1/4" dowels, but hinged them at the top so that when cleaning it out, I can just pivot the whole assembly up and hold it in place with an eye hook.
I used regular shingles instead of the plastic roofing and I did not leave the opening in the roof. I do like the 1.5" ventilation in front and back that's part of the design.
I have a few places I need to grind off some drywall screws, need to paint inside, and will be moving my chickens out there this weekend.
") I made the mistake of have the 4' section being the front and the long side I cut down to 5'. Also we are placing the siding up and down rather than across as show in this plan. We did not like the fact that water could sit in the slots, by going up and down we are thinking if will be better for the wood. Worst part of this in changing direction of wood is that coop is really 51" across which meant we had to add a 3" piece. It also meant we had to add some framing on the sides at 48" to attach the sides. It is an adventure... I am thinking since we are 5' on the sides and will have 7 chickens to have 4 nest boxes 12" square. If we frame them 6 inches from the floor and as the siding sheets are conviently 4' across it might be simpler.
I made the mistake of have the 4' section being the front and the long side I cut down to 5'. Also we are placing the siding up and down rather than across as show in this plan. We did not like the fact that water could sit in the slots, by going up and down we are thinking if will be better for the wood. Worst part of this in changing direction of wood is that coop is really 51" across which meant we had to add a 3" piece. It also meant we had to add some framing on the sides at 48" to attach the sides. It is an adventure... I am thinking since we are 5' on the sides and will have 7 chickens to have 4 nest boxes 12" square. If we frame them 6 inches from the floor and as the siding sheets are conviently 4' across it might be simpler.