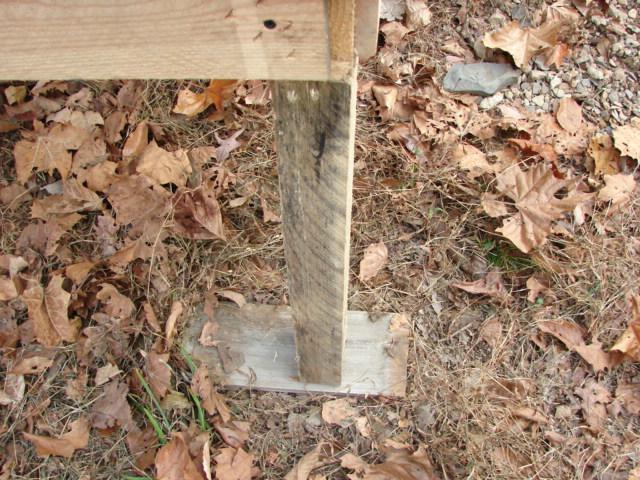
So here is some more info on the build. Today we added some pressure treated wood UNDER the legs. We used some scrap that we cut off the fence we are going to use.
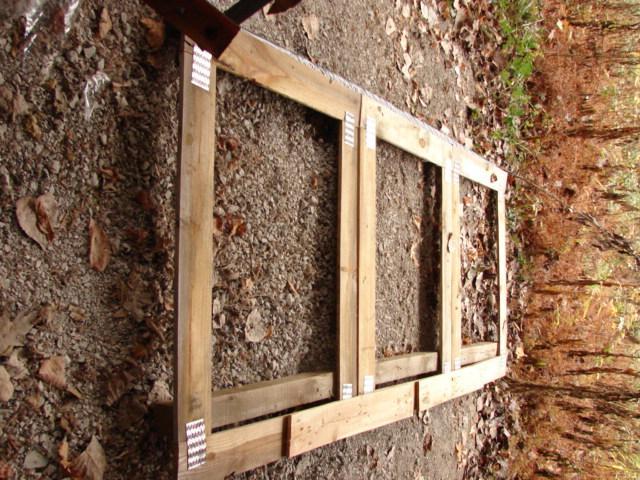
Several days ago we built the divider walls. They are made of some larger pallet tops. (did I tell you we get these from a large printing company and they are odd sizes but GREAT wood). They are about 53inches tall so no crawling only hunching....
We did not have enough of the same things and the same size so we had to cut and space and improvise with some other salvaged wood from the printers. We used some 10ft long thick maybe 2 1/2 x 3 wood from some long pallets from another place
as the base and screwed these pallet tops to the wood after we wrapped it in plastic to protect it since it is going to be on the ground and is not pressure treated. If that is clear as mud let me know and I will try to clarify for you.
We built them on the ground. Screwed them to the board put a smaller board across the top to connect them to each other and then added the plastic poultry netting (2 rolls $40)
In this one at the bottom you can see the board wrapped in plastic.
So a few weeks ago I found an ad for a yardsale in our neighborhood and they had some free fencing... that is all it said so I drove over to take a look. Bought some stuff at the yard sale and then remembered they had the fence..... Hubby said I DON'T want it it is old and would not work. I said WE ARE TAKING IT ANYWAY!
He is singing a different tune now. We had to cut the rotten bottom off (4 inch or so) and then cut it to the right height 53inches. So this free fencing is now going to be my outside wall and we will use it to make the gate to get into each run. The scraps will probably be used to... we will have to see. I have to cover the underside of the back of the coops and may use the scraps for that if they will fit.
Hubby is over the moon that we got a wall up... me too!!!!
He said I hope we don't have a wind storm... Not going to rain till wednesday and nothing sever so
we have it more secure by then.
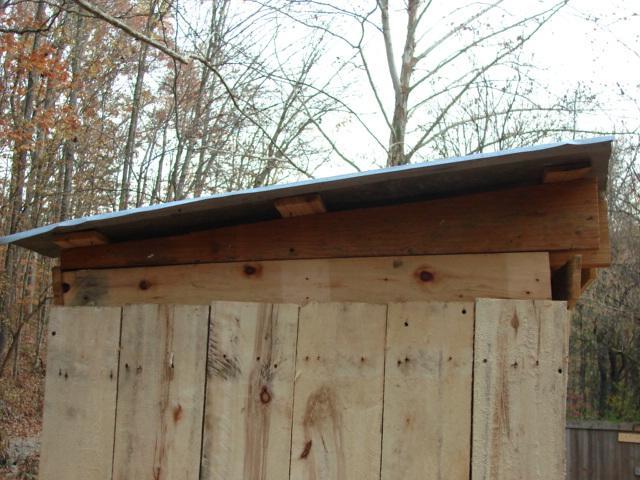
OHHHHHH the roof I forgot. Not pretty but it was cheap. Hubby said we will paint it.
If I forgot something or left something out just ask... I hate to read something and then miss the most important thing I needed to know about. I am more than happy to take more pics of something if you don't understand something. You are probably not the only one that needs to know.
See ya tomorrow! More to do...