I make totes and I also line the floor of my coops for easier clean up. I put them on the floor and shavings on top of that. All I have to do is pull out the bags and dump them. Sometimes I can clean them off, hang them dry and use them again. They make good storage bags and garbage bags as well. I also use them to cover things I don't want getting wet outside.
Post your ''Other'' Uses for feed bags
- Thread starter rebel-rousing-at-night
- Start date


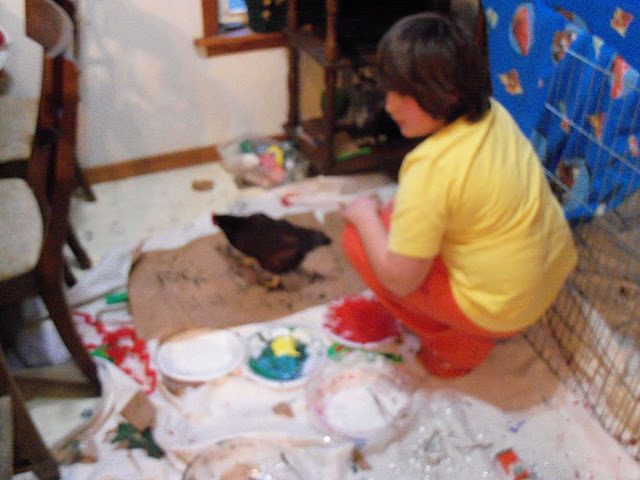
") And I am seriously going to try those pots and holders. Great idea. Where's my glue gun?
And I am seriously going to try those pots and holders. Great idea. Where's my glue gun?

Similar threads


New posts New threads Active threads
-
Latest posts
-

-

-
 Open Contest Some Poultry Are Red, Some Are Blue, But Let's Not Forget, They Can Be Barred Too!
- Latest: urlocalcrazychickenlady
-
-

-
-
Latest threads
-

-
I know this isnt back yard herds but I was wondering if anyone here Has a baby goat in need for a mom goat
- Started by Rabbit chicken
- Replies: 0
-
 Minor comb injury looks like from pecking
- Started by Echelontheory101
- Replies: 2
-
-
-
-
Threads with more replies in the last 15 days
-
 BYC's 52-week Photography Challenge. Week 4: (Jan 26 - Feb 1, 2026). Theme: Books!
- Started by thecatumbrella
- Replies: 91
-
 Wind chill doesn’t count, right?
- Started by Lulu-vt
- Replies: 82
-

-

-
BYC's 52-week Photography Challenge. Week 5: (Feb 2 - Feb 8, 2026) Theme: Nature
- Started by CCsGarden
- Replies: 65
-