Dig the profile name too.
Navigation
Install the app
How to install the app on iOS
Follow along with the video below to see how to install our site as a web app on your home screen.
Note: This feature may not be available in some browsers.
More options
You are using an out of date browser. It may not display this or other websites correctly.
You should upgrade or use an alternative browser.
You should upgrade or use an alternative browser.
Small Chicken Coop (how inexpensive can you go)
- Thread starter Dirty Farmer
- Start date
- Thread starter
- #12
- Jun 2, 2011
- 126
- 3
- 91
Here's where I stopped for the night. I'll sink my teeth back into it in the morning.


I even had one of the barn cats stop by and see what all the commotion was about.
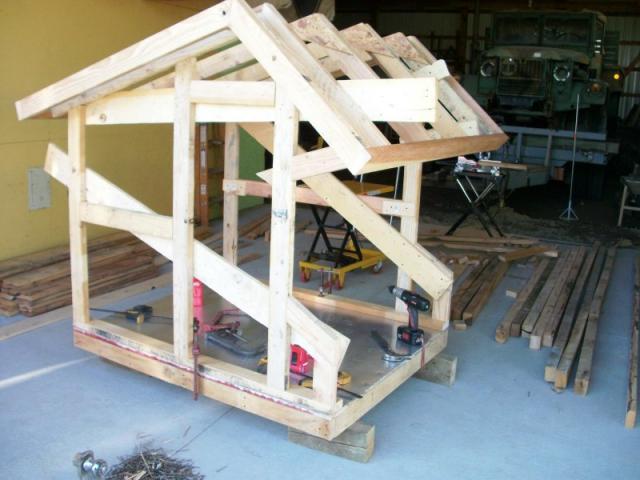
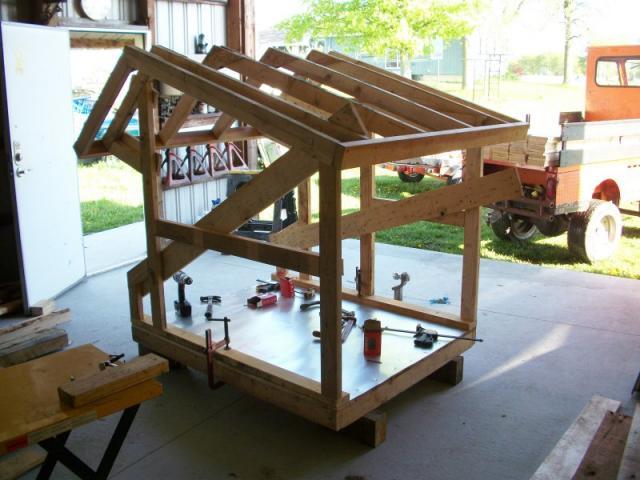
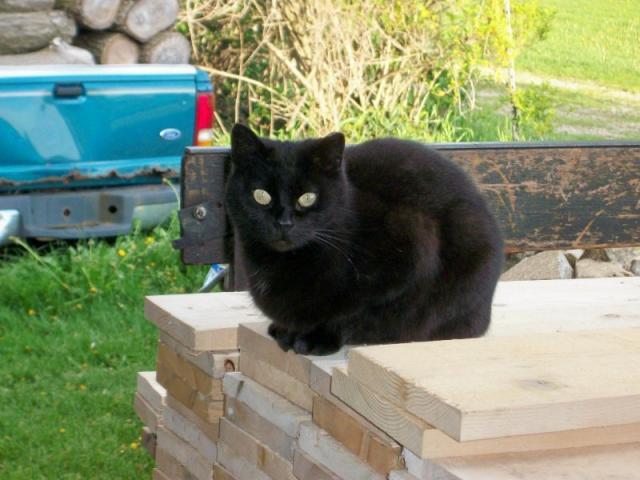
I even had one of the barn cats stop by and see what all the commotion was about.
Kikiriki
Songster
I need a truck...I've been imagining how to get that wood into my little rice burner! Looks like you are off to a great start, but that metal worries me. Seems like the chickens would slide and get injured. I would plan to put a couple of inches of nice clean sand down on it to help with the mess, and provide traction.
But I'm a newbie so others would have better input.
Good luck!

But I'm a newbie so others would have better input.
Good luck!

- Thread starter
- #14
- Jun 2, 2011
- 126
- 3
- 91
The floor will be covered with a couple inches ofstraw or wood shavings. Which ever the wife decides on.
- Mar 27, 2011
- 504
- 0
- 119
Quote:
Bring my cat back home.........please
Bring my cat back home.........please
- Thread starter
- #16
- Jun 2, 2011
- 126
- 3
- 91
It's starting to look like a chicken coop.

I made it so it has four nest boxes, that you can retreive the eggs from the outside.

For easy clean up, I added a dropping board underneath the roosts. You can get to the dropping board from the back side of the coop through an access door.
I used 2x4's (flat side up) for the roosting perches.


I picked up an old wood exterior door. I cut the door up so I could use the window for the coop.


The 3/4" wood plank siding is on.

I have to make a door yet. That's on my to do list for tomorrow.
So far all the 2x4's, 4x4's and 1/2" planks came from free skids, and the 3/4" planks and the OSB sheets came from free crates.
My total so far is:
$15.00 -Roll of Hardware cloth (window, vent, under roosts)
$3.50 -3/4" Poultry staples (for the hardware cloth)
$20.00 -Hinges
$3.00 -Screws (for hinges)
$8.00 -Nails and screws
$3.00 -Metal window corner braces
So far other than time, I have $52.50 into it.
I hope the chicken will like it.
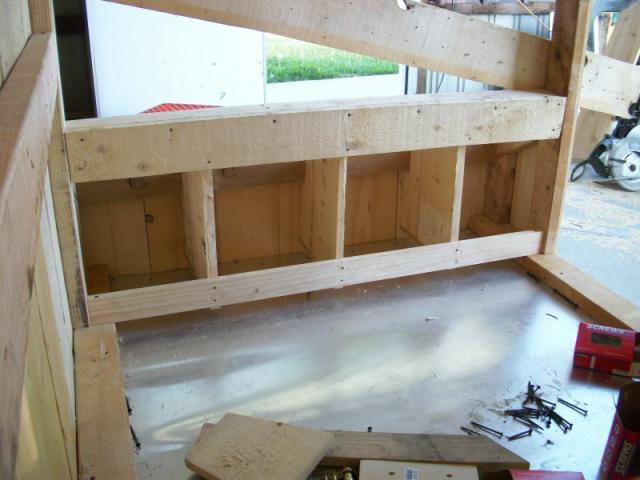
I made it so it has four nest boxes, that you can retreive the eggs from the outside.
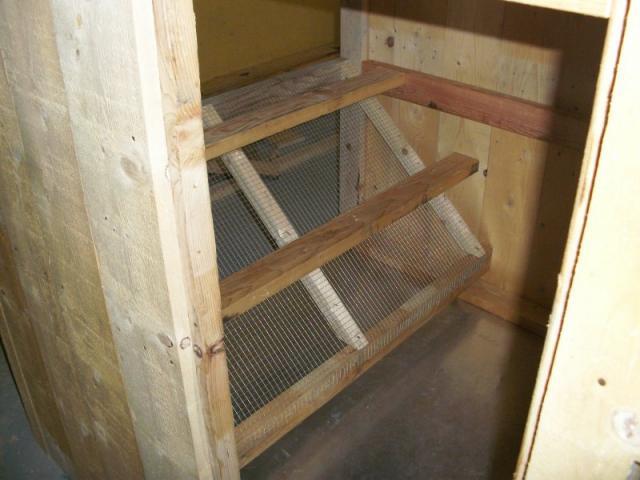
For easy clean up, I added a dropping board underneath the roosts. You can get to the dropping board from the back side of the coop through an access door.
I used 2x4's (flat side up) for the roosting perches.
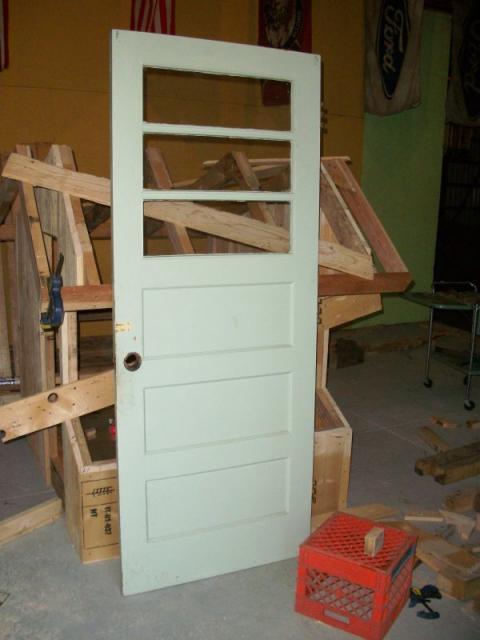
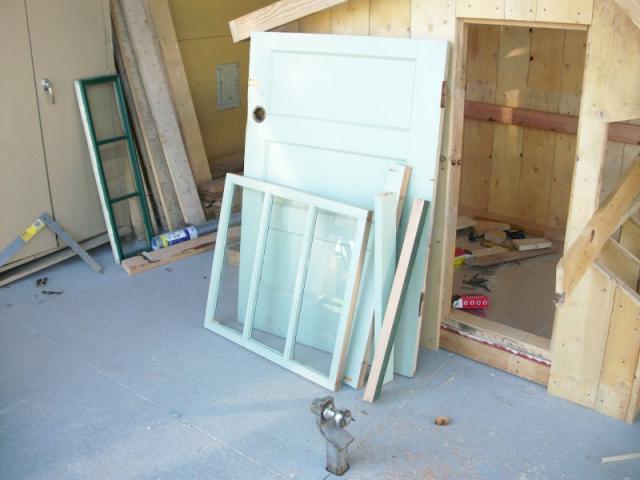
I picked up an old wood exterior door. I cut the door up so I could use the window for the coop.
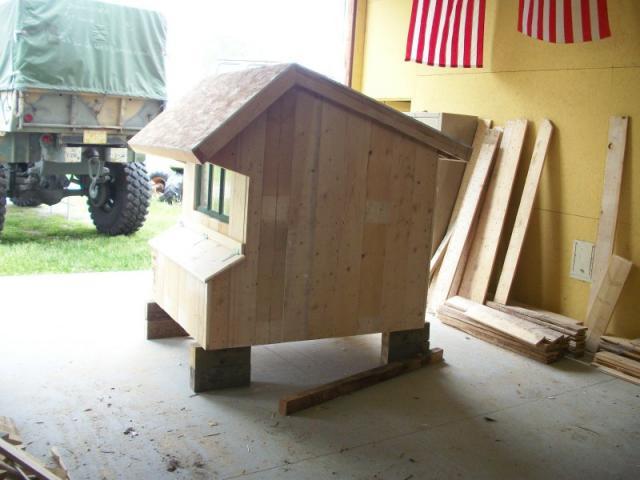
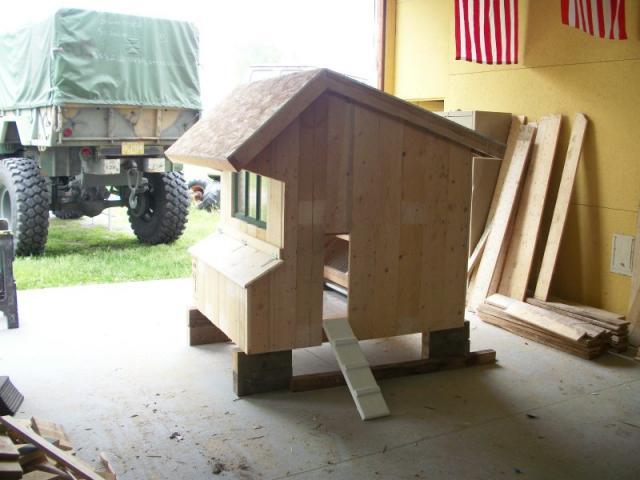
The 3/4" wood plank siding is on.
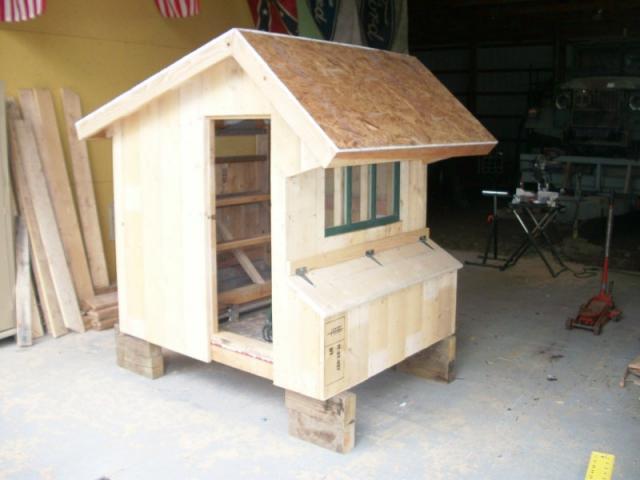
I have to make a door yet. That's on my to do list for tomorrow.
So far all the 2x4's, 4x4's and 1/2" planks came from free skids, and the 3/4" planks and the OSB sheets came from free crates.
My total so far is:
$15.00 -Roll of Hardware cloth (window, vent, under roosts)
$3.50 -3/4" Poultry staples (for the hardware cloth)
$20.00 -Hinges
$3.00 -Screws (for hinges)
$8.00 -Nails and screws
$3.00 -Metal window corner braces
So far other than time, I have $52.50 into it.
I hope the chicken will like it.
Very nice job for a steel worker, can the door to the poop tray be proped open for ventilation? How about the windows on the front?
- Thread starter
- #18
- Jun 2, 2011
- 126
- 3
- 91
Quote:
Thank you for the compliment. I hardly ever grab a hammer and nails. Metal work comes more natural for me.
For ventilation, the front 26"x 28" window is hinged at the top, and can swing open. And above the roost pearches, there's a 45"x 7" window (more of a wood panel) that is hinged, and can be opened. With that open and the window open, it should get good cross ventilation.
Wow!


nice!
New posts New threads Active threads
-
Latest threads
-
-
BYC's 52-week Photography Challenge. Week 5: (Feb 2 - Feb 8, 2026) Theme: Nature
- Started by CCsGarden
- Replies: 0
-
-
-
-
-
Threads with more replies in the last 15 days
-
Wind chill doesn’t count, right?
- Started by Lulu-vt
- Replies: 81
-
BYC's 52-week Photography Challenge. Week 4: (Jan 26 - Feb 1, 2026). Theme: Books!
- Started by thecatumbrella
- Replies: 73
-
-
-
BYC's 52-week Photography Challenge. Week 3: (Jan 19-25, 2026). Theme: Hot, Hot, Hot!
- Started by Blue Raptor
- Replies: 48
-
×

