Submit Coop Design Pictures For The BYC.com Site!!

Status
Not open for further replies.
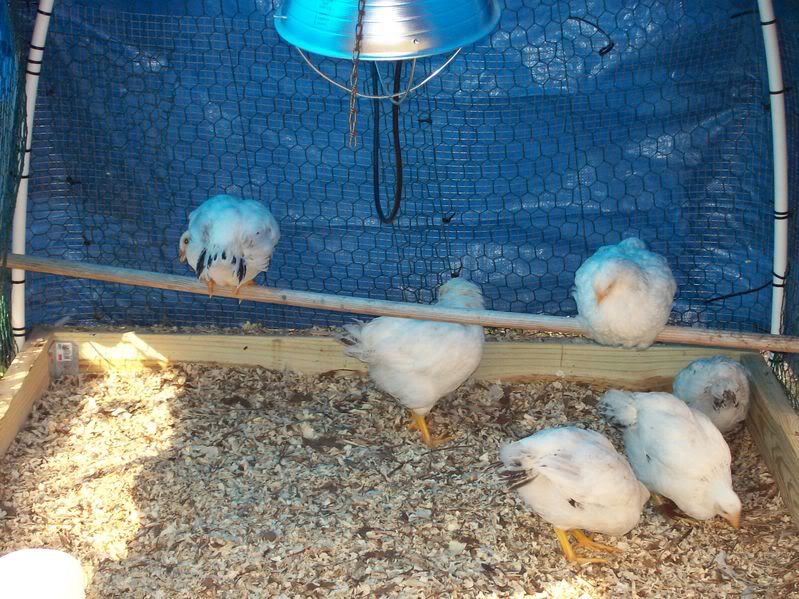
I wanted to post my pictures of the coop my DH has been building. I got my first chicks from McMurray on April 23.

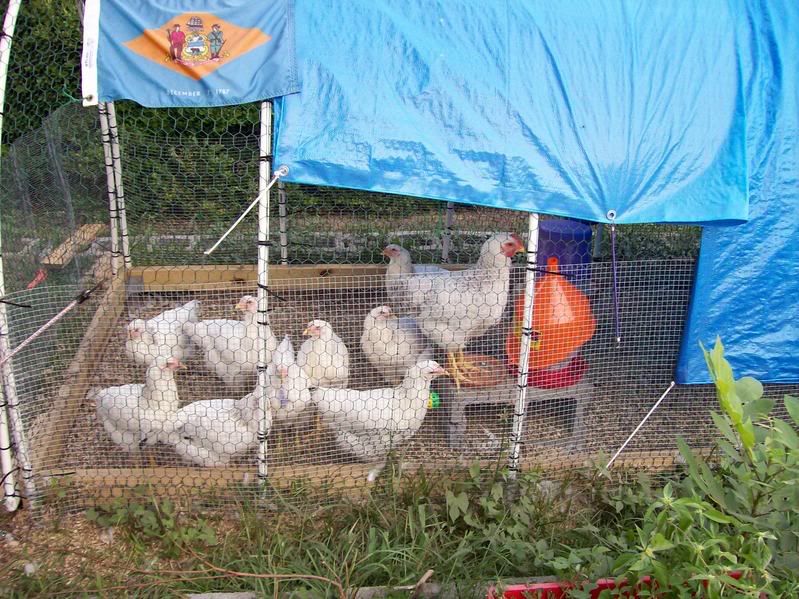
I am not sure what breed of chickens they sent me but it was called the rare breed special.

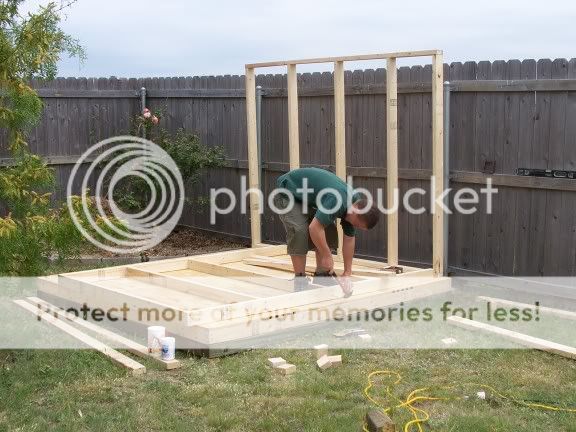
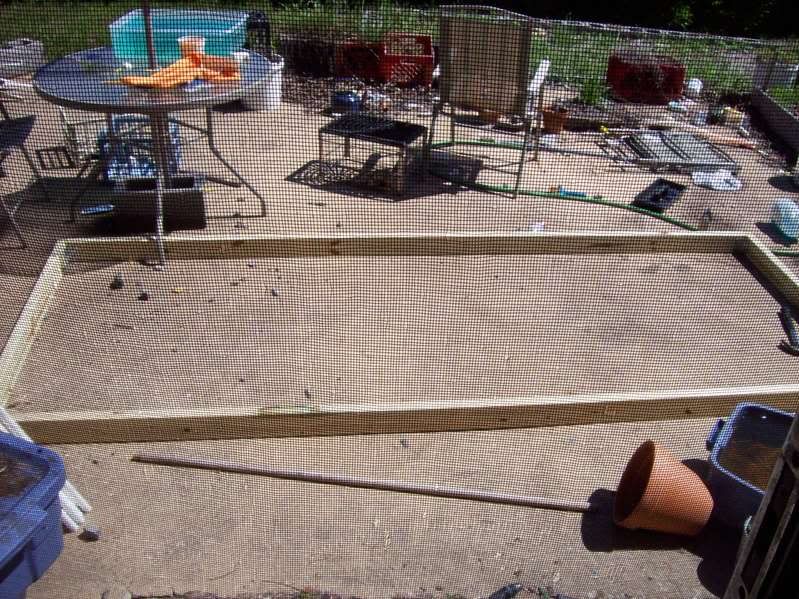
They grew very very fast so DH had to start building quickly cause the 6 ft. X 2 ft. box wasn't going to hold them for long.

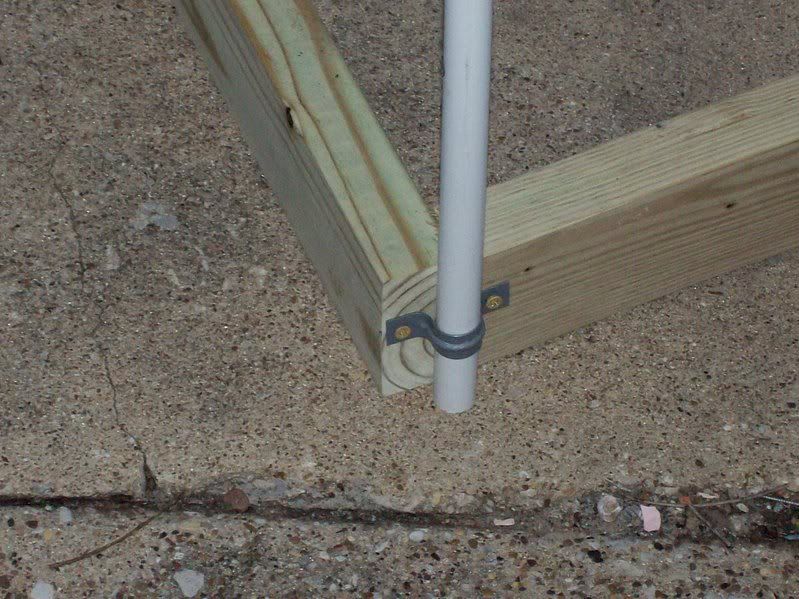
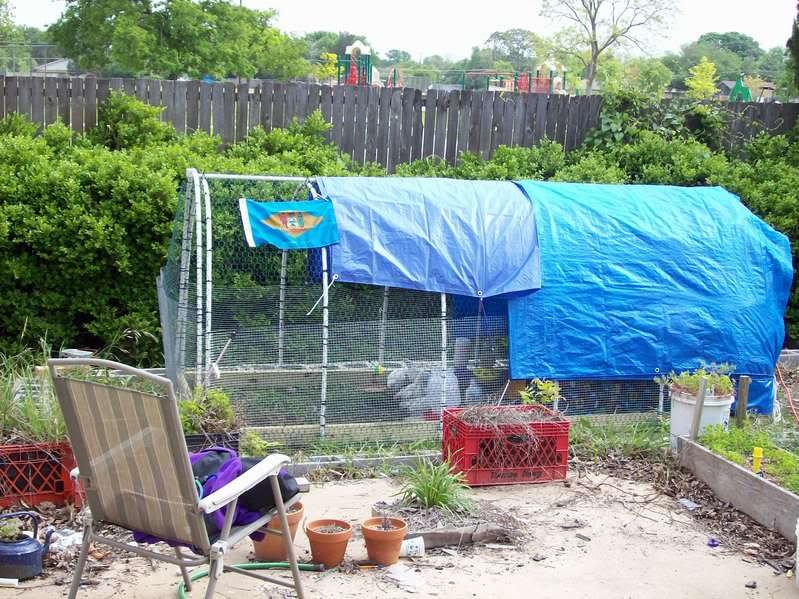
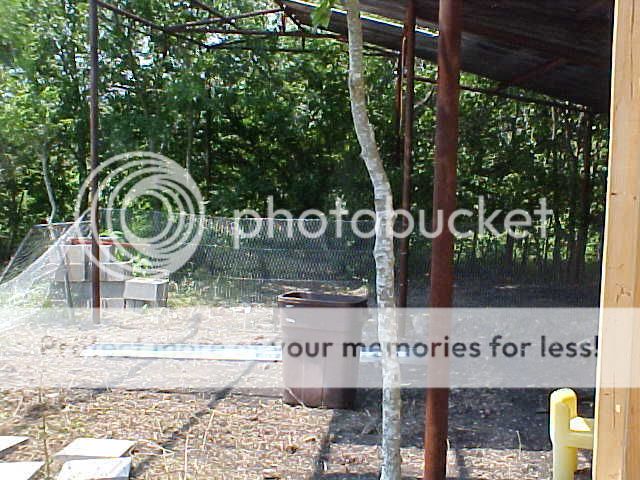
We decided that because we have a covered pole barn that was not being used we could build the run under there and the house in the fence line of the run.

The pole barn had a couple of missing tin pieces in the roof so the sun shines moves around during the day. The early morning sun comes in on the open side and the hot afternoon sun is blocked by tin and lots of shade trees so the chickens won't get to hot in the summer months.

Run2.jpg

Run1.jpg

MVC-002S.jpg


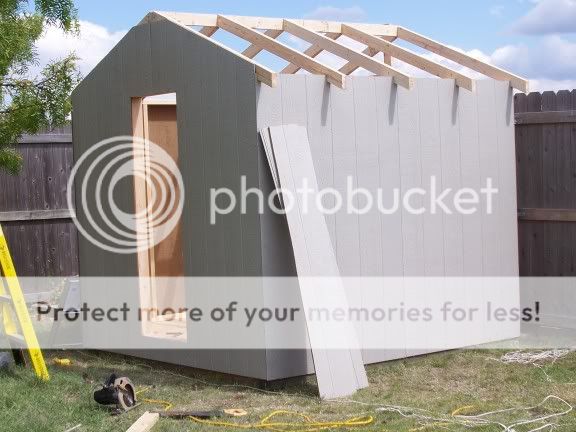
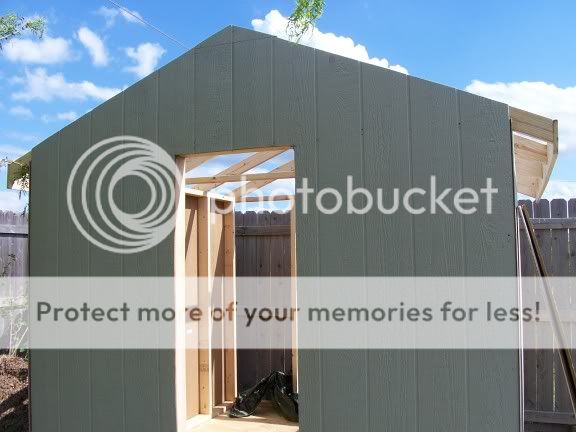
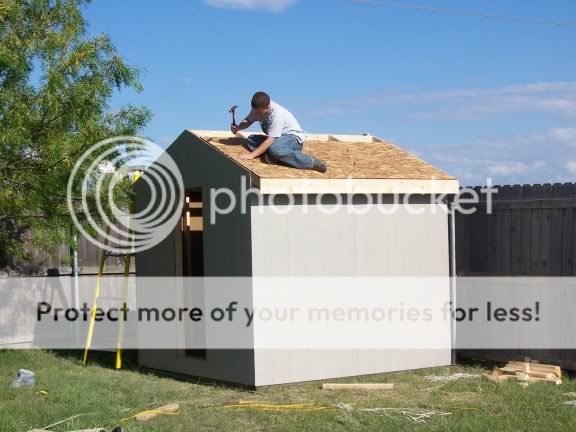
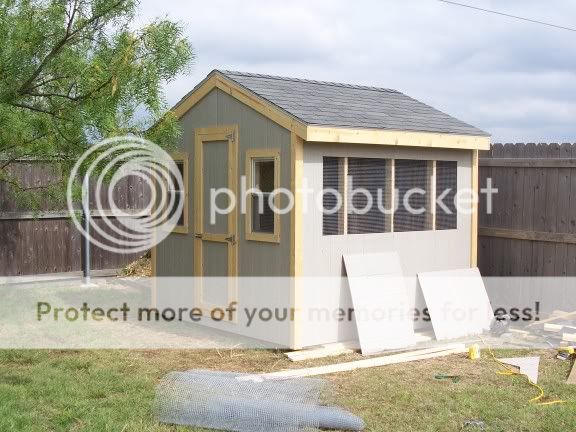
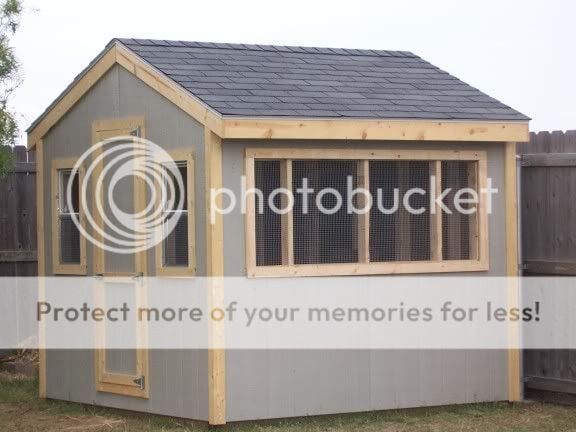
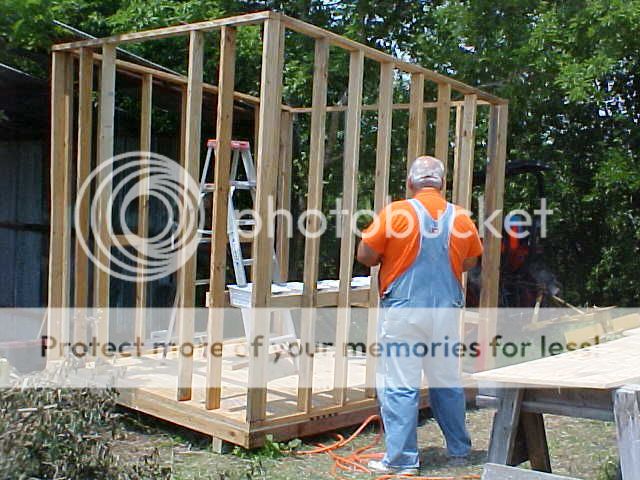
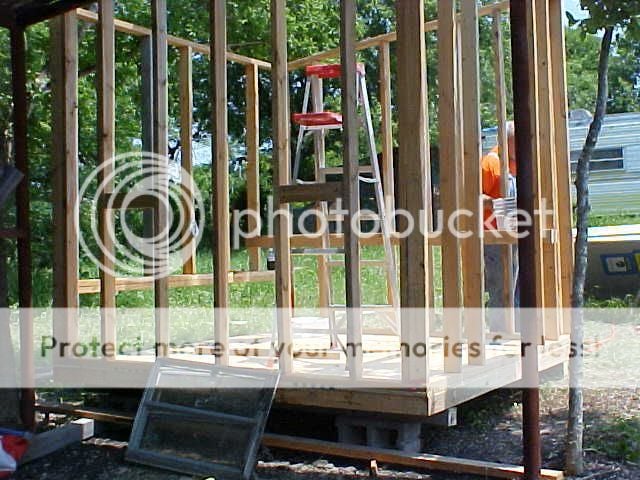
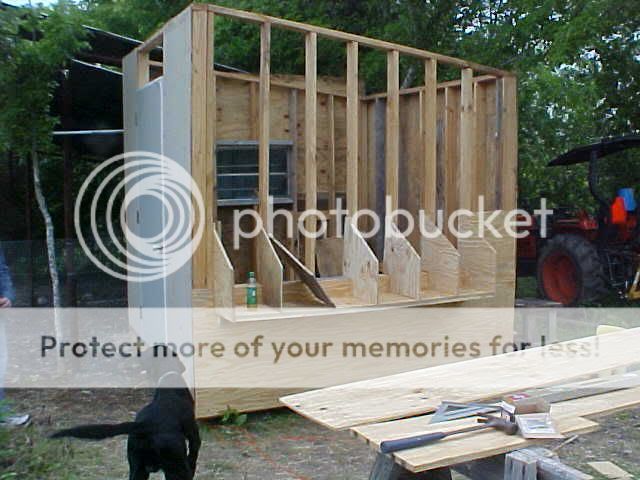
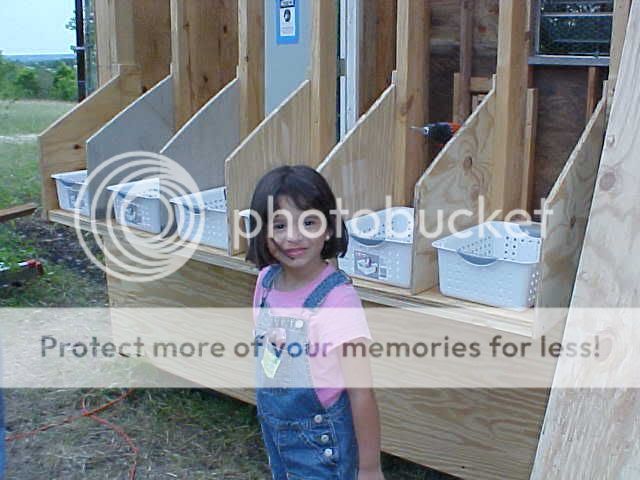
The house is 8 ft X 8 ft. and has 6 nest boxes .

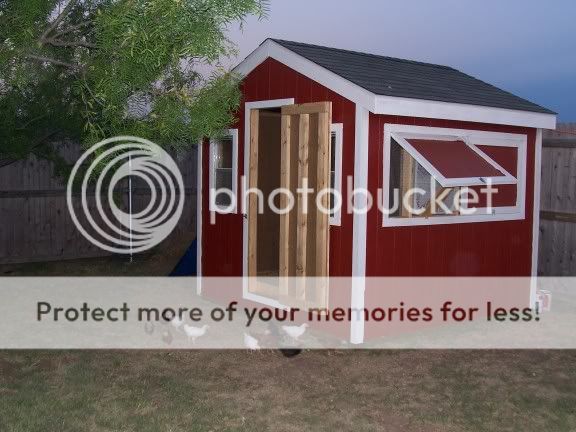
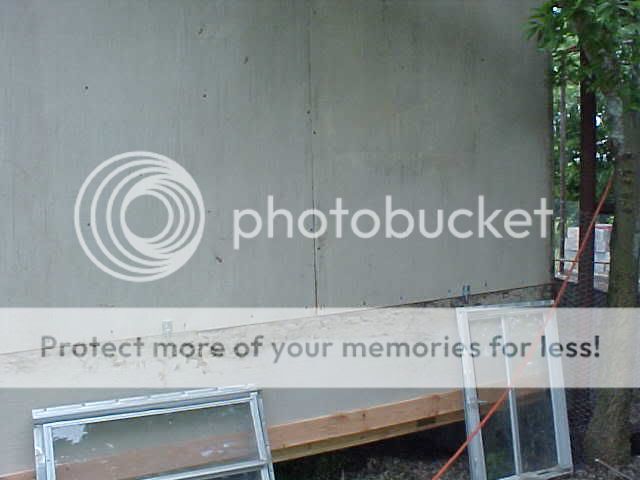
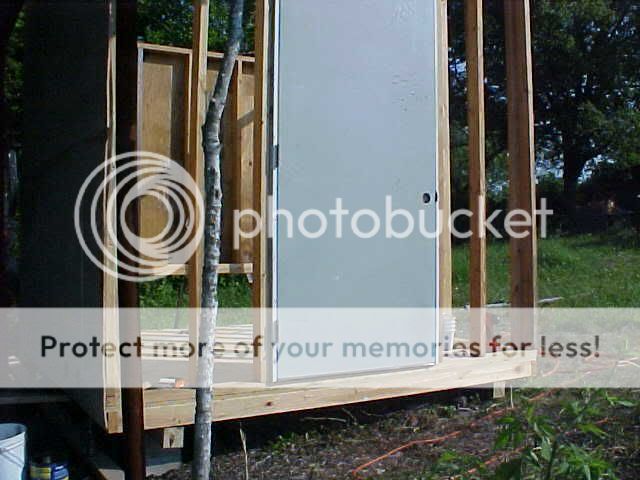
This is the clean out door from the outside.
MVC-006S.jpg


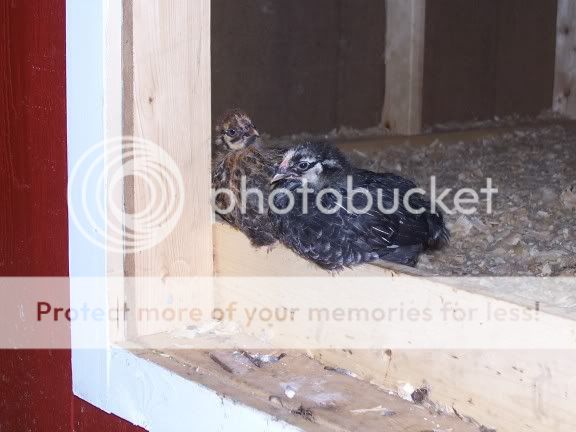
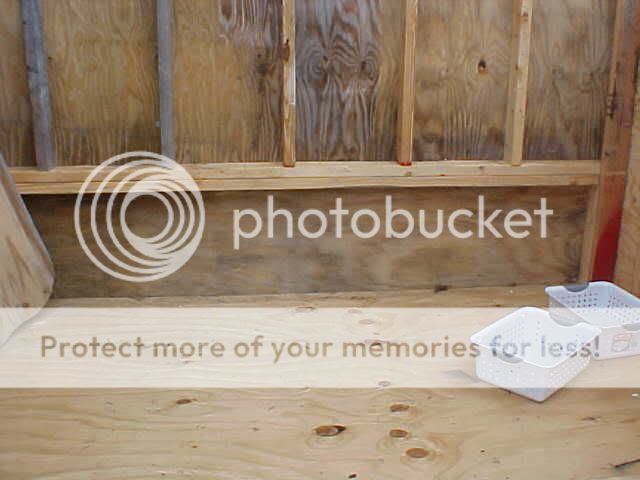
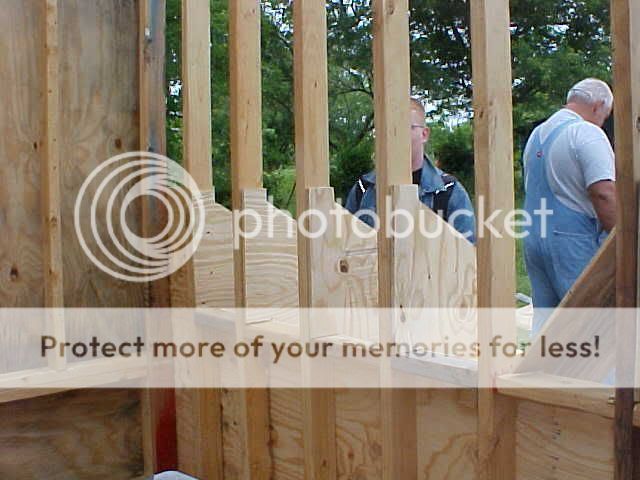
This is the clean out from the inside.
MVC-005S.jpg


The baskets are to insert in the nest boxes for easy cleaning. Sure hope the work out. One window will be open to the run side the other window to above the egg collection lids.

HenHouse1.jpg

HenHouse2.jpg


MVC-001S-1.jpg


MVC-004S.jpg


MVC-003S.jpg

MVC-007S.jpg


Hope this gives an idea of what we are planning to accomplish. Any suggestions or questions would help a lot.
Will post completed pics after the ramp for me and the chicken doors for the babies are complete.
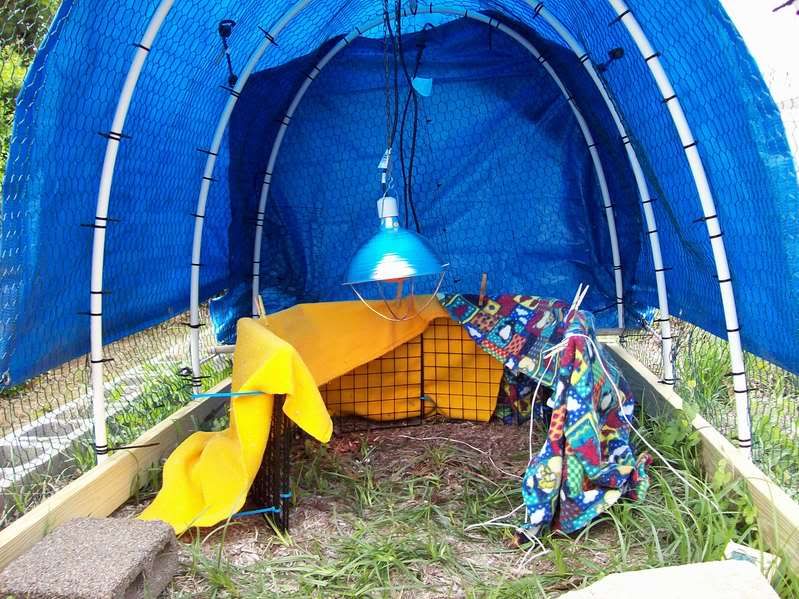
Right now the chicks are in a small doghouse with their heat lamp at night. I haven't had any problems with critters bothering the babies.
 
Here are my two chicken tractors. The PVC hoop tractor was assembled in less than 4 hours at a cost of less than $10 (had the UV protected zip-ties, tarp, boards, and the wire on hand; just needed the PVC and some plastic spray paint).

I am using the hoop tractor as a "daycare" area for Bo and the Production Reds; I put them into a doggie carrier at night and bring them back into the house. Since the tractor doesn't have chicken wire around the bottom, it would be very easy for something to reach in and grab them (they gather in the corner by the door when it's bed time, which makes it very convenient to go out with my "miner's light" and get them! I take them back out in the morning right before I let the dogs out (in case one escapes when I'm doing the transfer).

I purchased the other tractor at the start of "The Adventures of Chickenwoman", as my friends are calling me. It is only covered with a tarp; the couple of very cold nights we've had since I got the tractor and the "trial hens", I had to put them into the "coop" area (also contains the nest, which I took out just before taking the photos). In the cold weather, I had placed about 4" of dry shredded leaves in the bottom of the coop area; they did not use the roost in the coop area, for some reason. In nice weather, they roost on the roost closest to the door.

I had to hang the feeder and the waterer because they kept filling them with dirt and grass from all their scratching.

The tractor rolls very easily on it's 4 wheels; there is about 1" of clearance between the bottom 2x4 and the ground, which is taken up with grass most of the time. The sides are really tough plastic poultry netting, which has withstood my spaniel's pawing at it, but he didn't do a full-fledged attack. I doubt it would hold up to the neighbor's pit bull if he decided to visit.

IMG_4260.jpg


IMG_4271.jpg


IMG_4268.jpg


IMG_4270.jpg
 
i like them both! that first one may have to be stolen by me though as we have everything but the pvc..hehehe (i hope you don't mind) that would be perfect for my girls when i want them to clean out spaces of our garden!
smile.png
thanks for the pics, and the ideas! LOL
 
I posted these pictures on the old board last spring when my 15 yr old son and I built this. I thought I'd post them here too. It is basically an 8x8 utility shed. I spent around $800 on it, but it can always be used as a garden shed for future property owners and is built better than any garden shed that you'd buy at Lowe's or Home Depot at about a third of the cost.

We used this plan as a starting basis, but it was only a rough guide. We framed the walls as you'd build a house.

http://www.ext.vt.edu/pubs/poultry/factsheets/cutaway.html

We layed down an 8 x 8 square of pressure treated 4x4s, built a deck on top of that and framed up the rest.

I'll have to take some more current pictures of the pen and run that was added on over the past year...

100_1298.jpg

100_1332.jpg

100_1334.jpg

100_1336.jpg

100_1343.jpg

100_1347.jpg

100_1655.jpg

100_1658.jpg
 
Here is my hoop coop. We have mild winters, so this would not work up North.

Materials:
3 2"X4"X10' Pressure treated boards
4 L shaped galvanized metal plates for making a square butt joint
deck screws
8 10' schedule 40 1/2" diameter PVC pipe
1 4' Schedule 10 1/2" diameter PVC pipe
3 1/2" 90 degree elbow joints
12 1/2" conduit clamps
3 2' X 25' green PVC coated chix wire
300 8" outdoor rated zip ties
2 very large blue camping tarps( scavanged from my camping set up)
bungee cords to hold on tarp
1/2" 90degree elbow joint for door latch

make rectangular frame with 2X4's, Deck screws and L shaped plates
mark 2' intervals on outside of frame for PVC ribbing.
screw on conduit clamps at marked intervals.
insert PVC into conduit clamps, bend to make hoop shape , tighten conduit after pipe is inserted.
After all 6 ribs are formed zip tie top spine down the lenght of the ribs at top.
Attach chix wire to frame. I attached it at each rib point rather than going the lenght of the frame. Make Sense? I used zip ties. A lot of zipties.
make door. Attach elbow joints to 4' section of pipe. Bent 10' section into Elbow joints. Cover with chix wire. I attached this horizontally so there was a very small gap at the top for the latch. attach door to frame on one size using zip ties. Place an elbow joint on the end of the top spine, close door and turn joint up to form a latch. secure door at bottom with a bungee.
Wrap rectangle of tarp around back of tractor, bungee on. Drape rectangle of tarp over top of tractor bungee on.
hang heat lamp inside with chain over top spine. tie excess cord up, feed outdoor rated extension cord thru chix wire at gap in the 2 tarps. Place tractor in desired spot.
This is light enough that Kevin & I could pick it up from the bottom and carry it over to the garden and I could drag it back & forth by myself. We shall see how it stands up to the wind. I have 4 screw in dog stale out posts and some chain if I need to anchor the bugger down in high wind.
100_0216.jpg

100_0222.jpg

100_0224.jpg

100_0242.jpg

100_0273.jpg

100_0306.jpg

100_0326.jpg
 
yep. the girls are 12 weeks and I had to get a big girl feeder for them and I got a 3 gal watererbecause I had to goaway for the weekend and the 10 of them were going thru a gallon in a day and a half.
 
Hey Guys,

After thinking about a design between a tractor and Hen house, I came up with this. It has a convertible roof that lifts up and over If I want it to w/ chicken wire on top. The house also has a door on the right where I can clean out the poop. Above it are their perches. The Hen boxes are on the left and the lid can be opened for easy retrieval of eggs. The floor is pond liner w/ sand over at the moment. It needs a cleaning and I'll be trying out wood chips instead of the sand. I plan on making a trap door and enclosing the bottom so they have access to the dirt at all times. It is pretty heavy and takes 4 guys to move it. It probably was overkill with the wire and visqueen on the inside, but I want them to be warm and I want th thing to last forever. I also want to be able to clean it out easily, hence the pond liner and visqueen so I can power wash it with the hose when I need to. Any questions or comments are welcome! This is my first Hen house and batch of chicks so I am new to the hobby. I believe the chicks are Bardrock and Wellsummer. Thanks and Enjoy!

IMG_2261.jpg


http://i17.photobucket.com/albums/b89/lucasryan/IMG_2260.jpg

http://i17.photobucket.com/albums/b89/lucasryan/IMG_2259.jpg

http://i17.photobucket.com/albums/b89/lucasryan/IMG_2262.jpg

http://i17.photobucket.com/albums/b89/lucasryan/IMG_2263.jpg

Coop is 4' wide x 6' long x 4' tall. It sits 2' off the ground and the gable extends another foot above the walls. It is a 3:12 pitch roof that has 3 hinges in the middle so that you can open it. Under the perches on the right side is a area enclosed w/ chicken wire and the hens poop goes right through. I have a door on the right side where I clean it out. The floor is rubber pond liner and the walls are plywood lined with visqueen and chicken wire. The hen boxes are just plywood with a lid that is hinged and opens for easy retrieval of the eggs.

Plans:
chickencoop.jpg
 
Last edited:
what are the hanging cds for in the run?

I don't know if this was answered elsewhere, but I believe hanging CDs over the coop scares off flying predators in the daylight, as the sun glints across the surface and freaks them out. In Oregon, the phone company and others will put CDs on the lines to keep birds from roosting (thus pooping on your car). Works great!
tongue.png


My coop is just a converted plastic doghouse and a 3'X9' run. It's cute, but after seeing some of these, I'm a little embarrassed to post it here.​
 
Hey, dangerous chicken, don't be embarrassed! Not all of us can have nice coops and runs so it doesn't make us feel so badly if we have simpler forms. I am embarrassed to show the run my DH fixed up. He decided to use steel posts and steel posts and chicken wire just don't work well together. I kept telling him it needed a wooden frame but I am afraid I nagged too much!!
barnie.gif
Now I am stuck with his method until he feels like changing it.
big_smile.png
 
Status
Not open for further replies.

New posts New threads Active threads

Back
Top Bottom