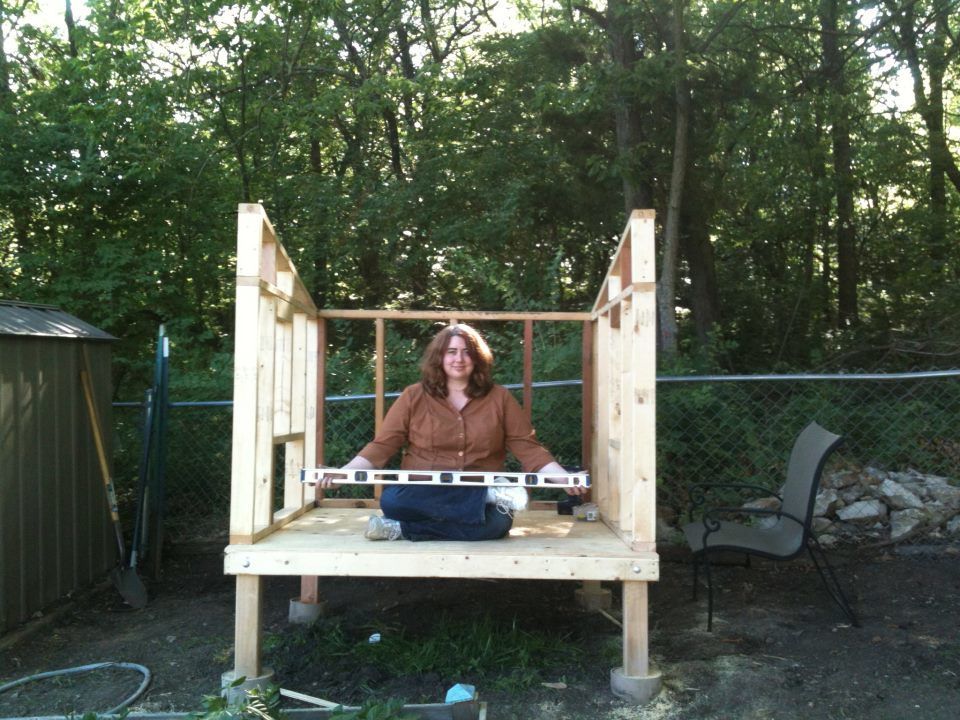
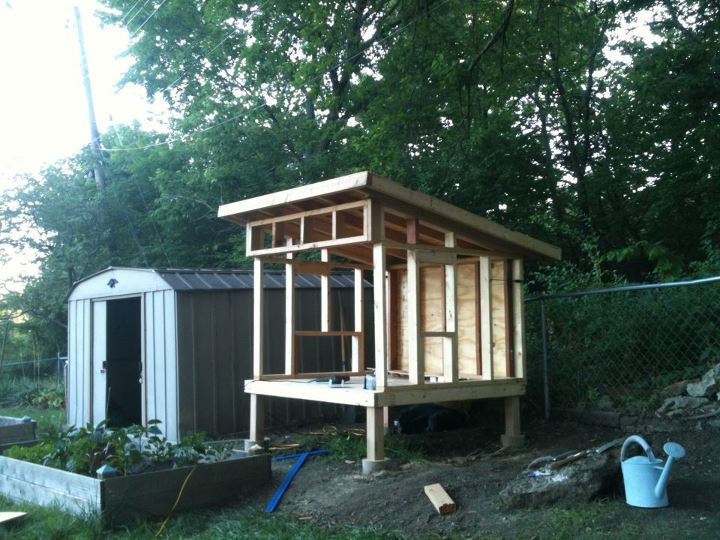
Coop v2.0 update - I was able to get a lot of work done on the coop this weekend. I got the roof installed, nesting box built and installed, chicken access door built and installed, people access doors built, and I have one of the people access door sides trimmed out. Now all I have left is get the other people door trimmed out and both people doors installed. Then, I will have to get the nesting box trimmed out and the lid installed. Next, I will have to get the shingles on the roof and the nesting box lid. Finally, I am going to give the entire outside a good coating of stain. I am getting so close! Here is the updated photo album:
https://www.backyardchickens.com/gallery/album/view/id/6215133/user_id/66378
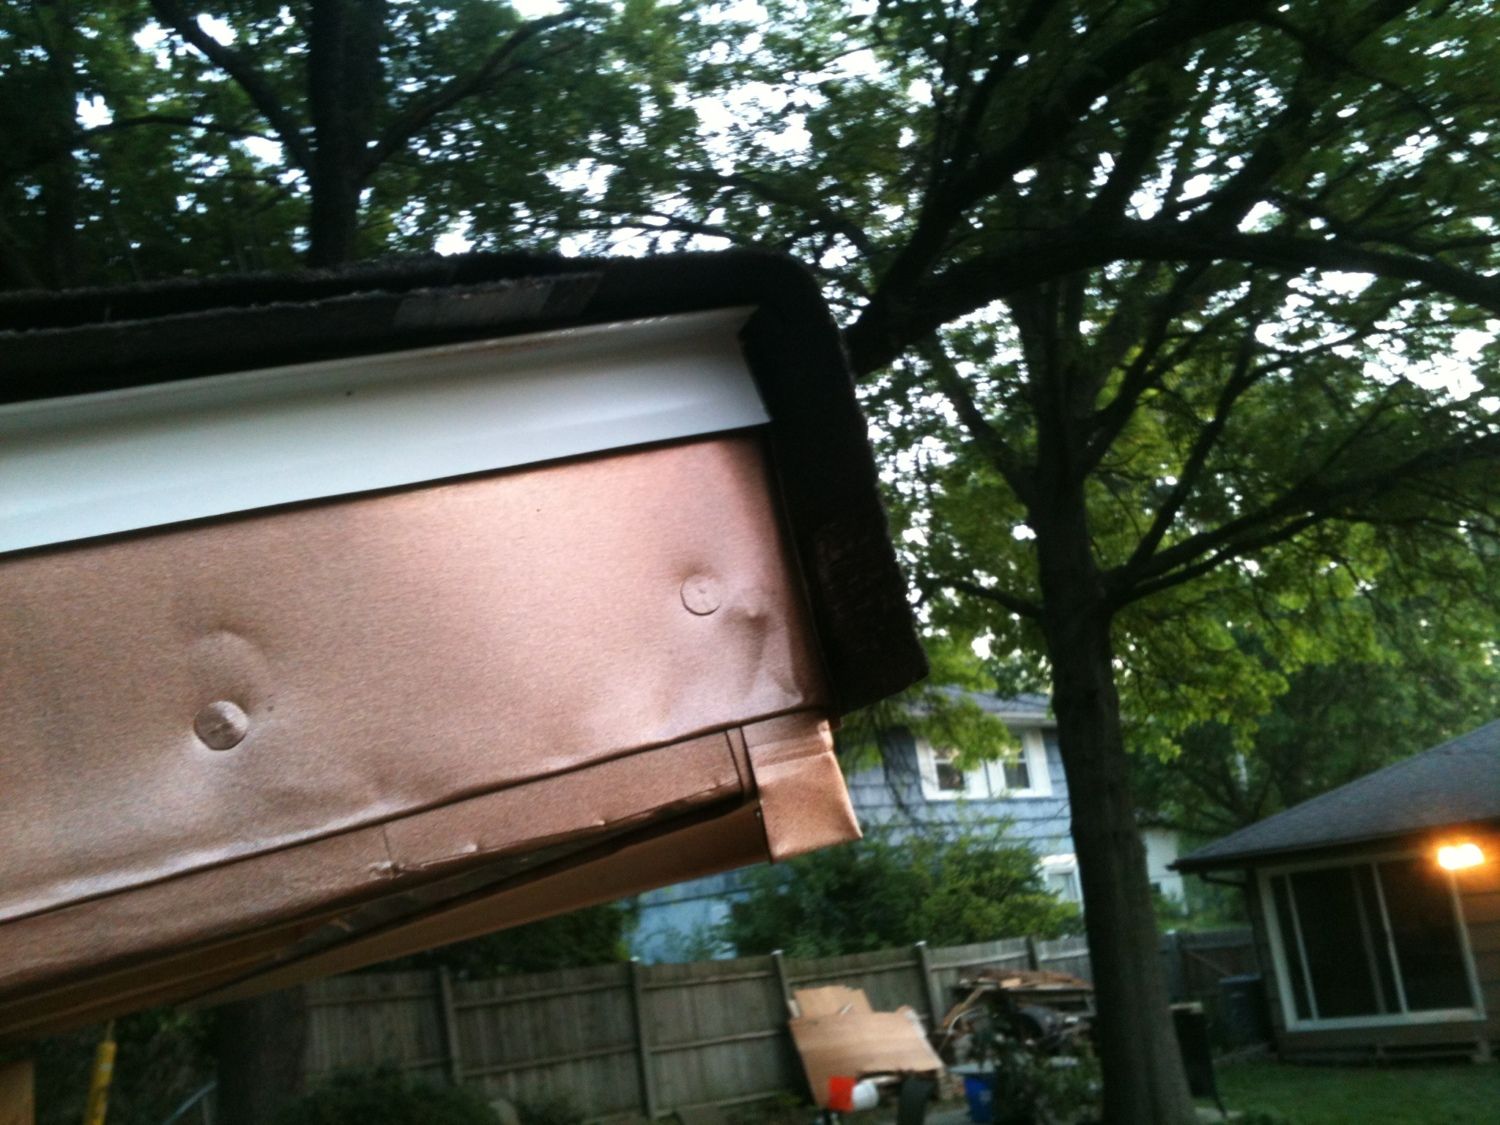
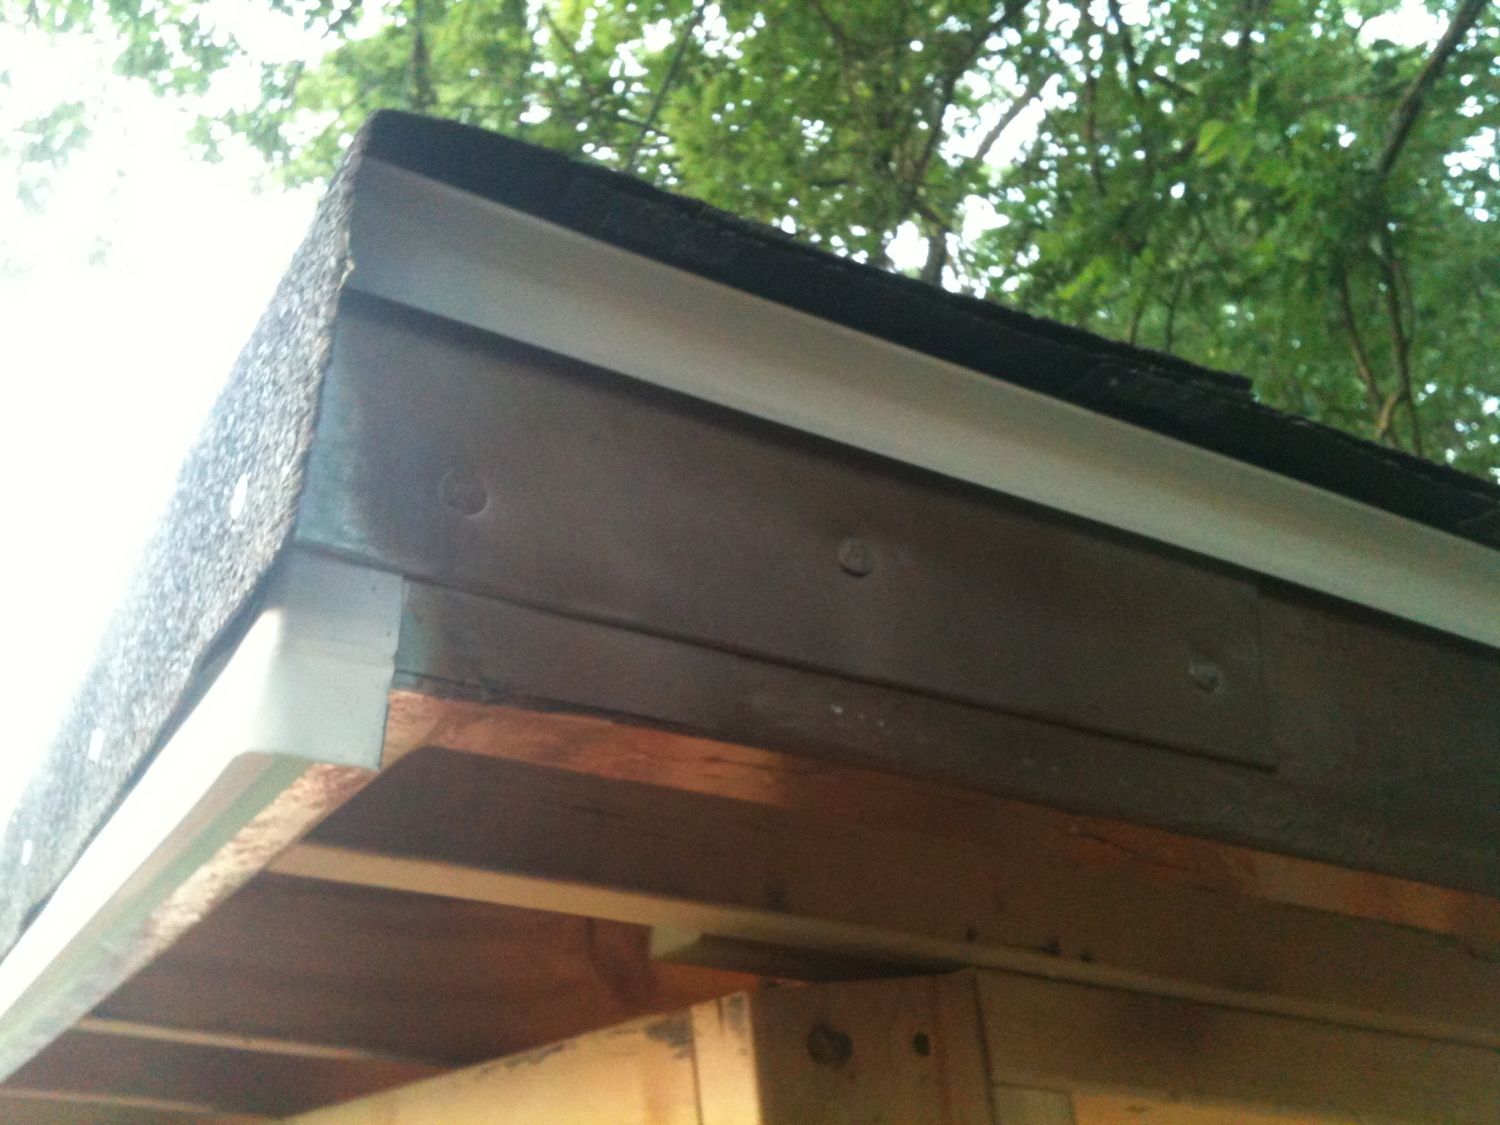
Gifa - Could you post some more pics of the roof on your coop? Specifically, the front edge of the roof. I am tying to figure out how the heck I am going to "cap" the edge so it doesn't leak. Also, where did you get your shingles? My buddy didn't have the amount he thought he did and so I am having to look else where for shingles.
I am whooped! Time to go take some ibuprofen and hit the sheets. See you all virtually tomorrow.