the long slog to coop completion - DONE! ...mostly :)

PDXcluck

Chirping
7 Years
Mar 21, 2012
138
11
93
Portland, OR
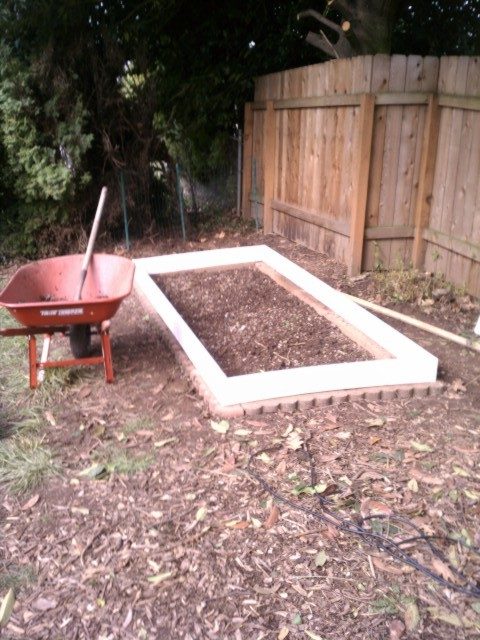
This was ground breaking day, leveled, put down some gravel, well dirt-gravel actually, some concrete garden borders we had laying around to support the frame and help keep it level. The frame itself is protected with a wood sealer, primed and painted untreated fir 2x6...we'll see how it holds up...


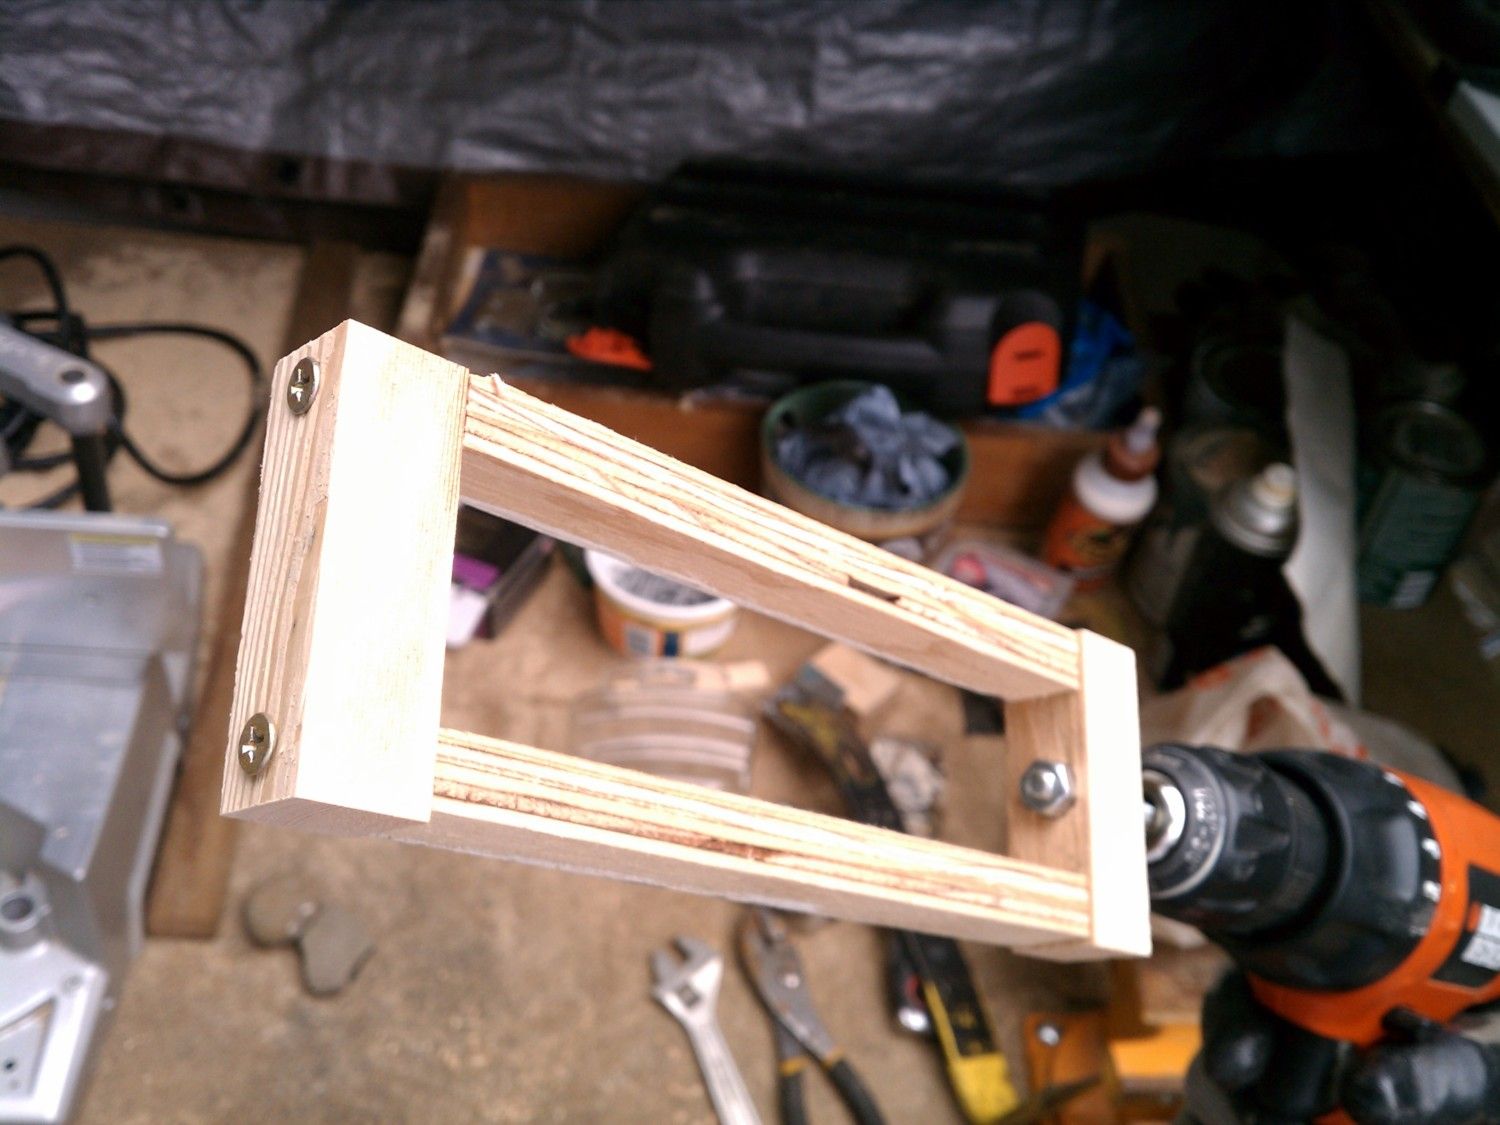
I got the big pane of glass free and the other two for a buck each, the molding was free from a construction site and the frame is ripped up 1x6 I had left over from last fall's roofing project...my "clamps" are boat straps and they worked great! :)


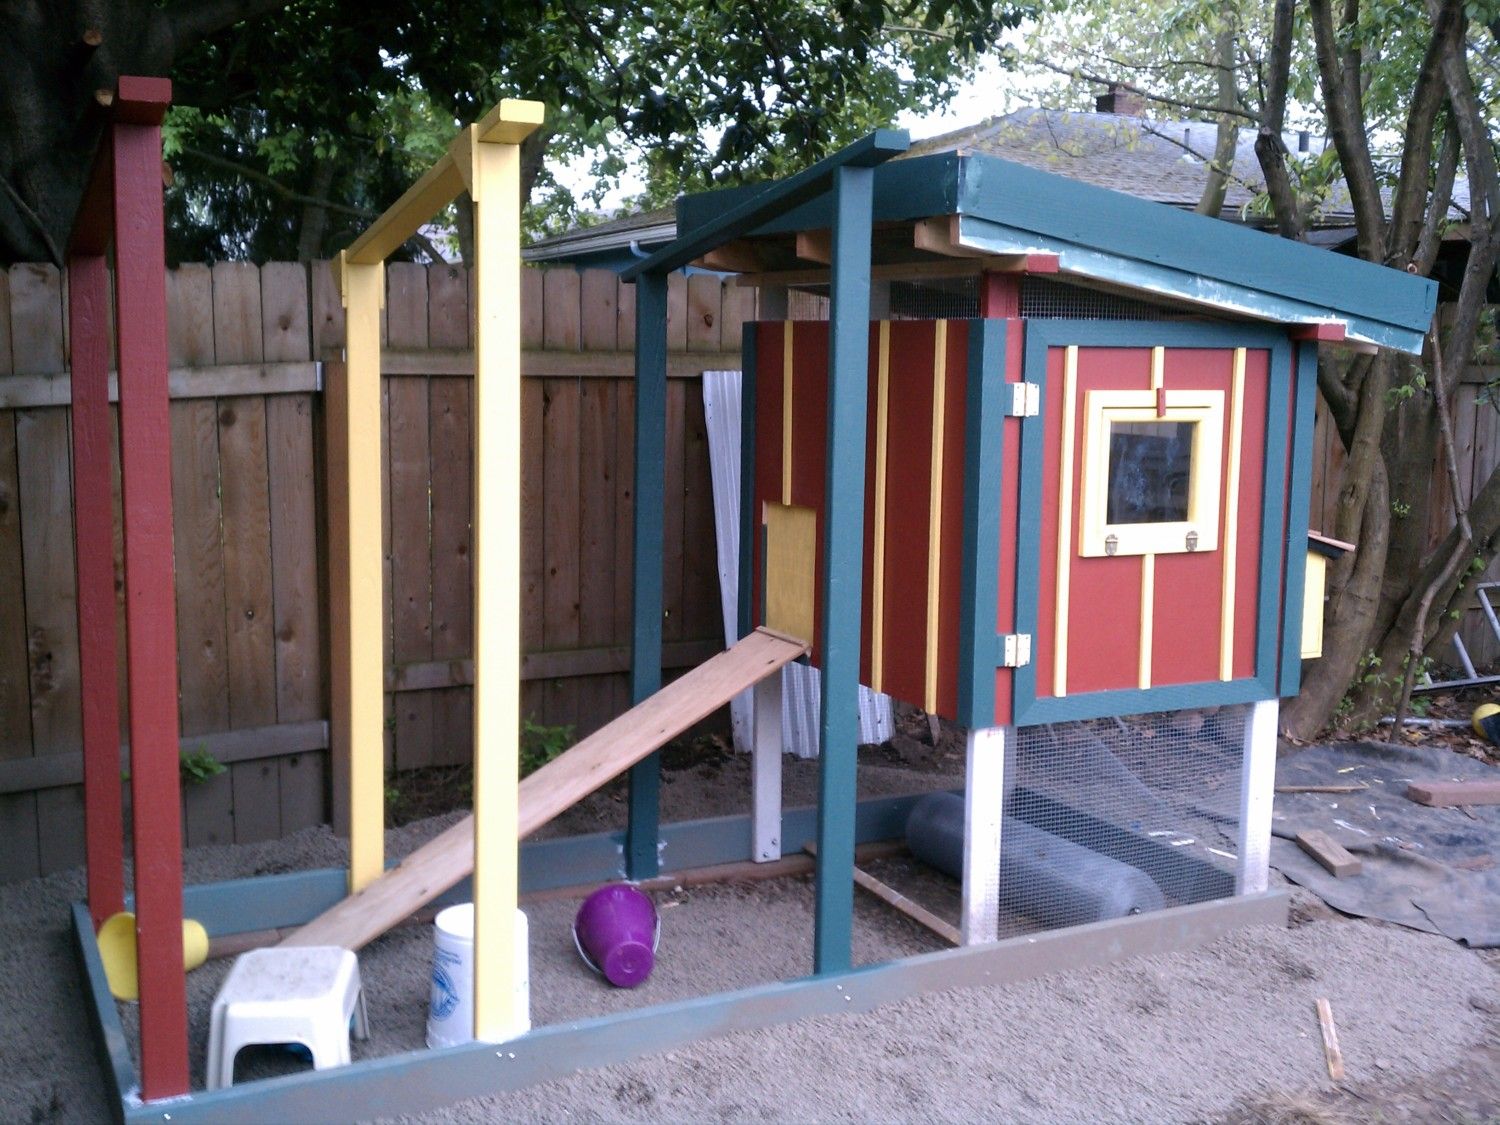
pretty much completely framed up and the pond liner is on the roof...we are putting a 'green roof' on the hen house, the metal panels against the fence will go over the run...


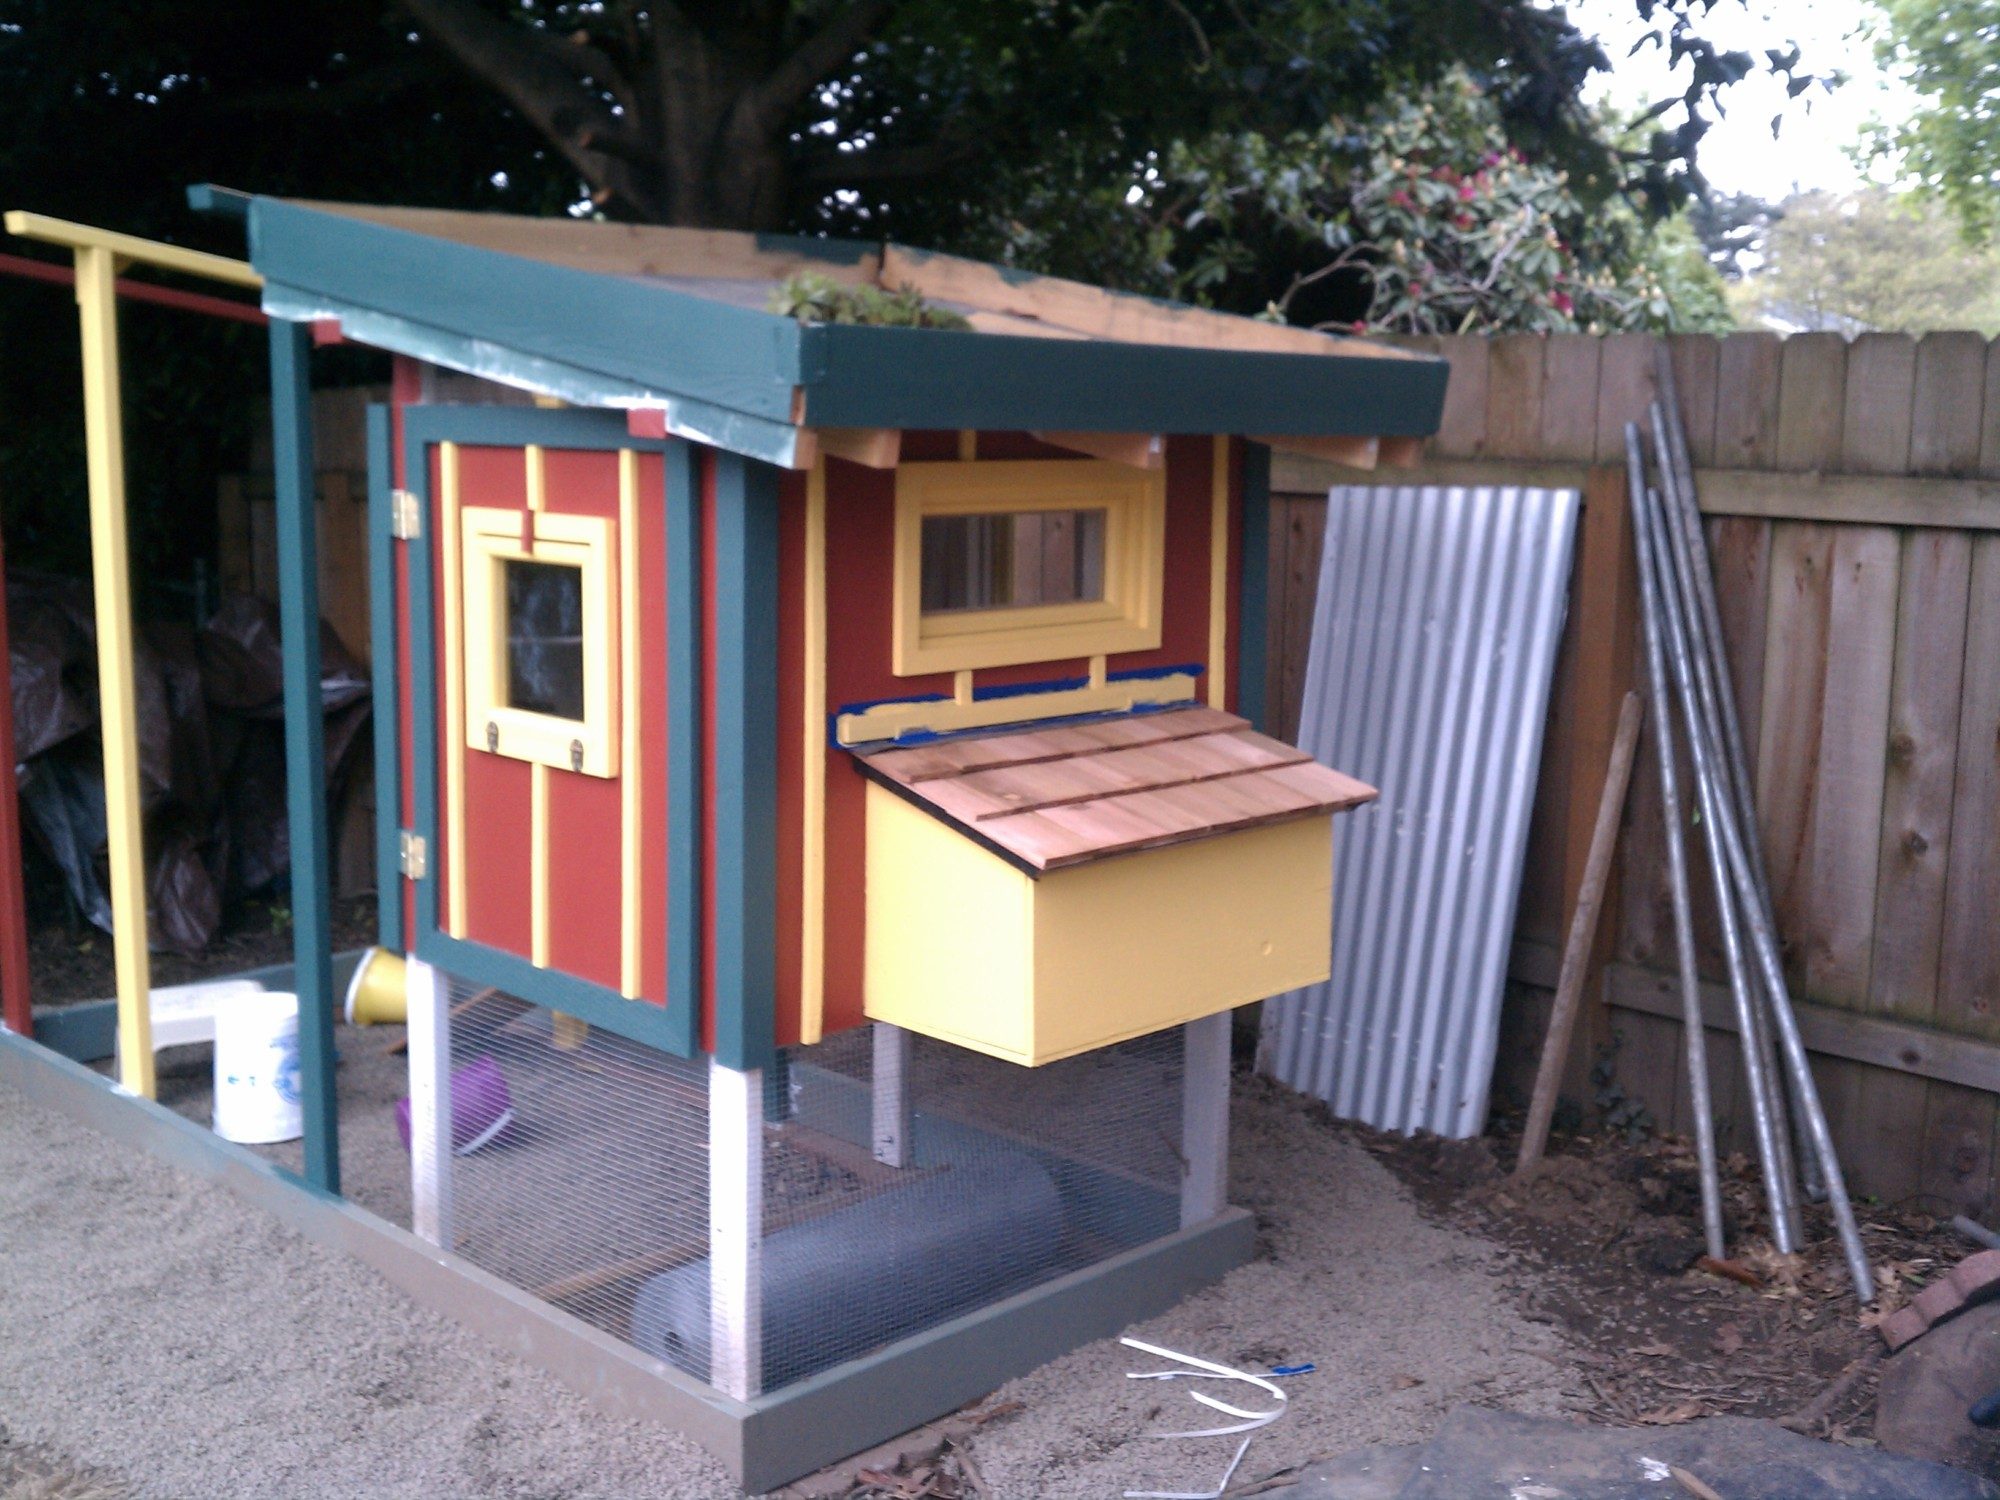
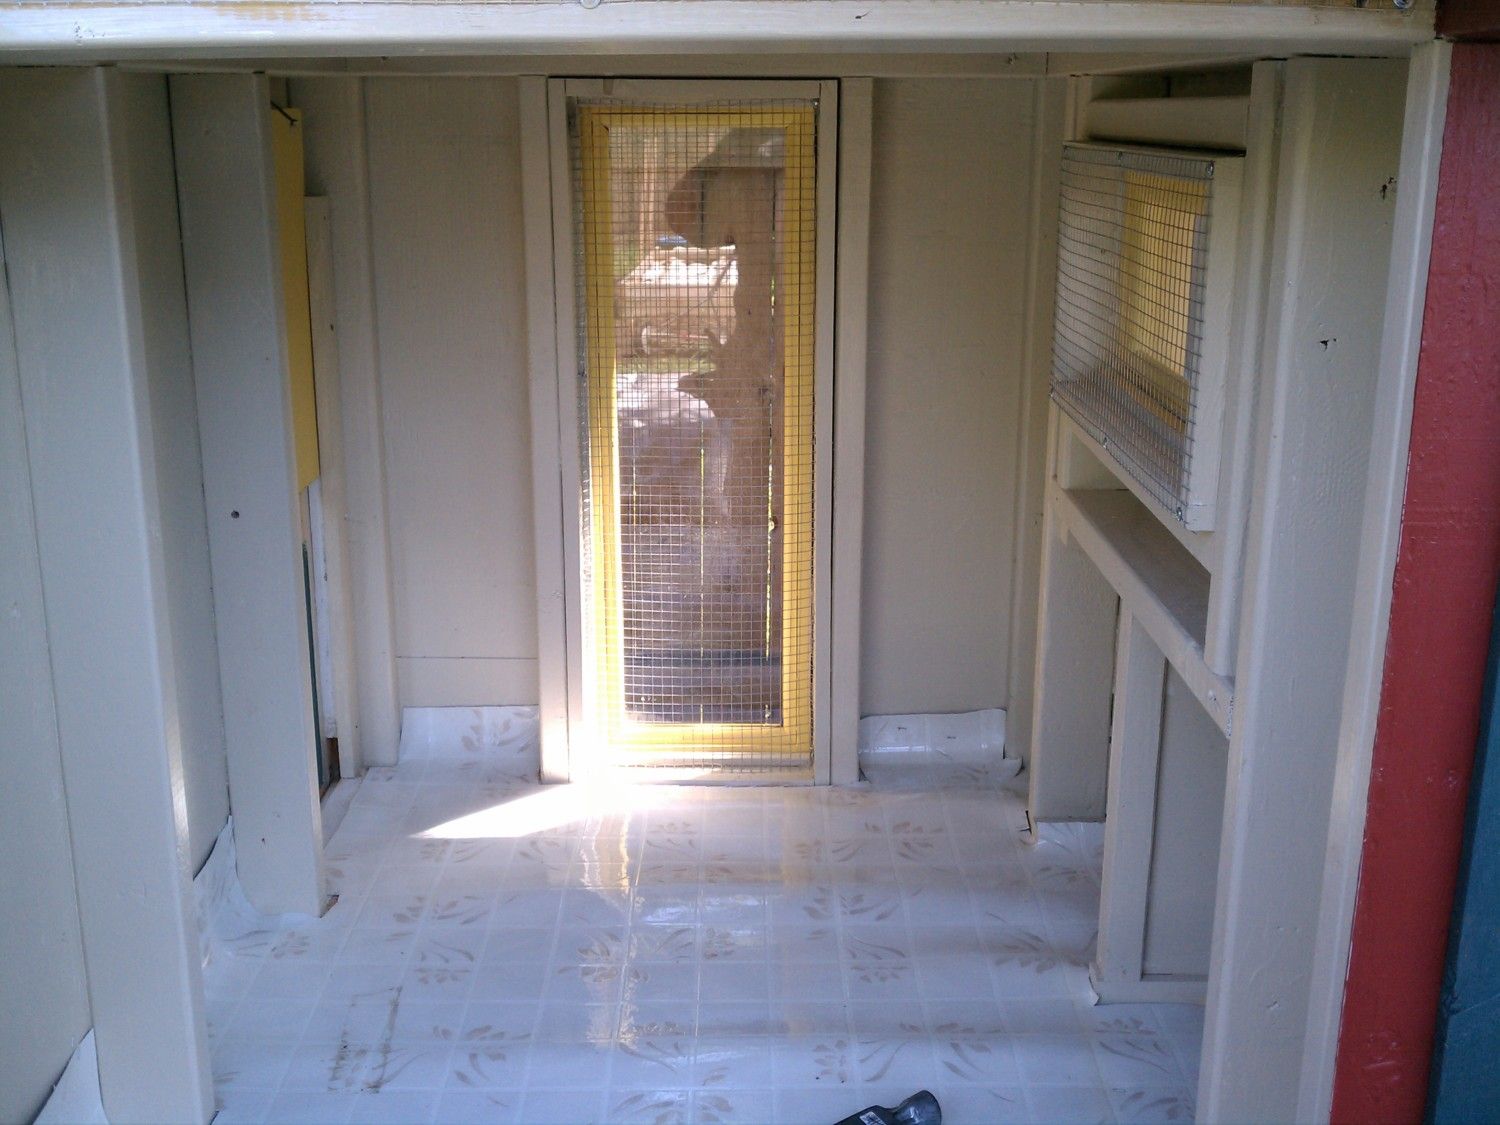
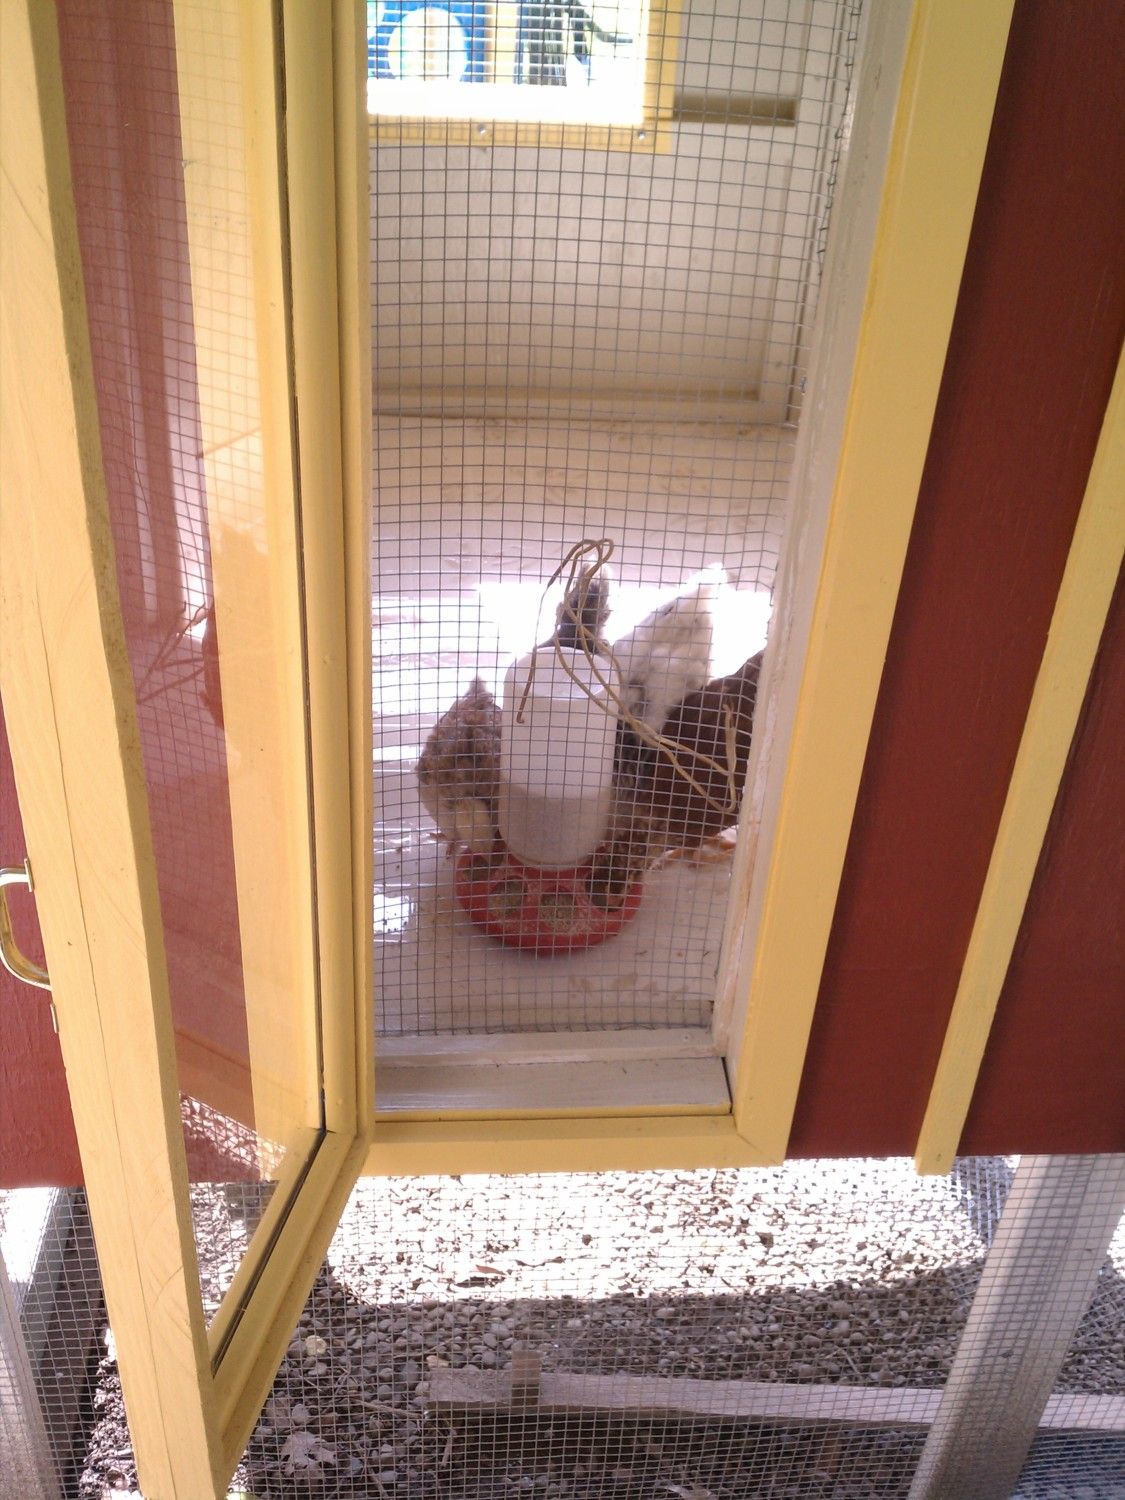
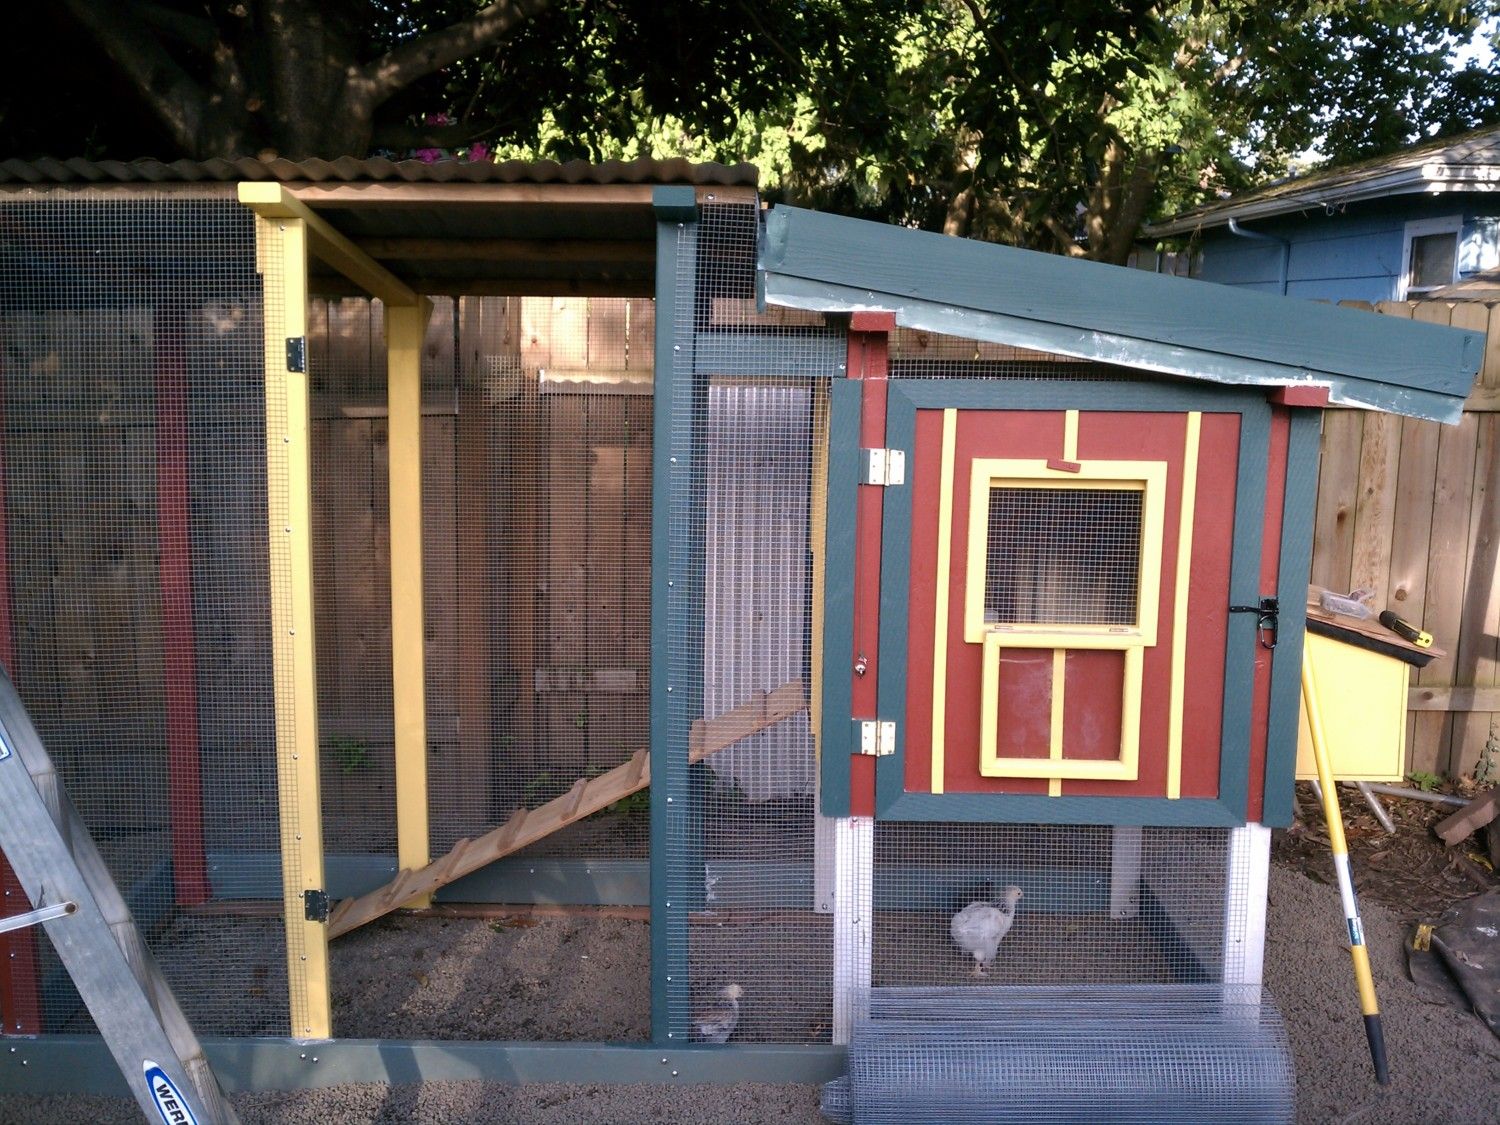
here is the most recent picture...about a week ago. The outside is sheathed with 3/4" exterior plywood (more leftovers from the re-roof...and no I didn't sheath my whole roof with 3/4" :) 
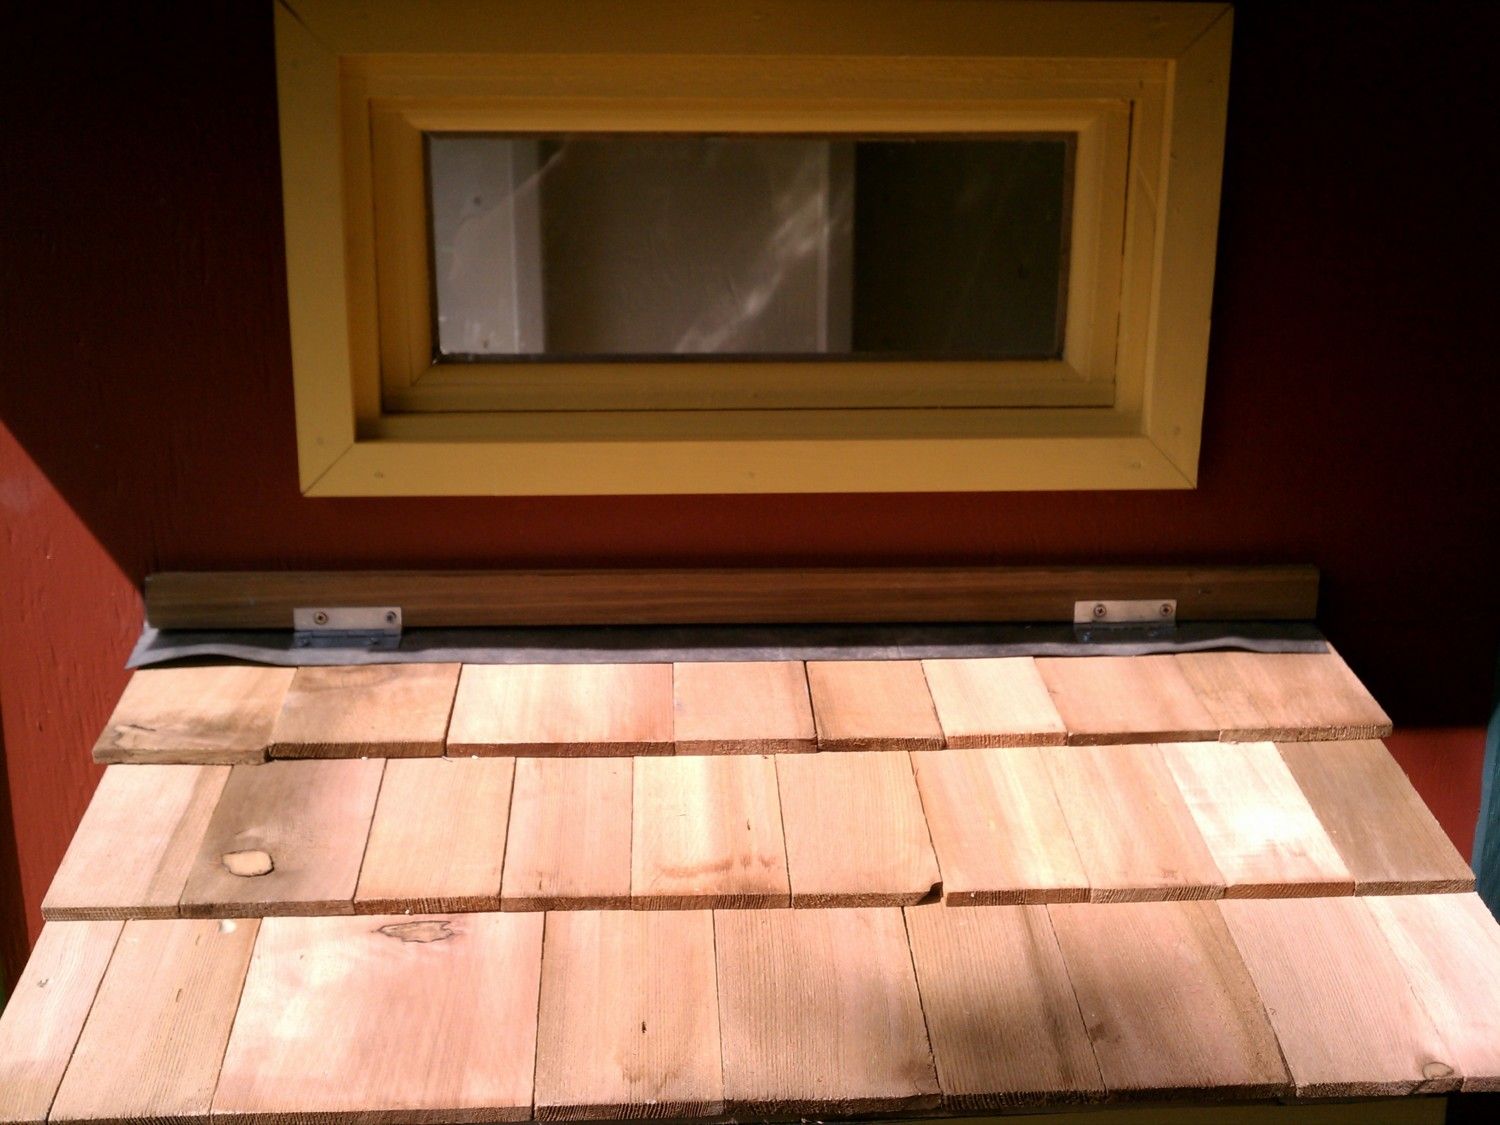
) We have since painted or at least primed everything. I also re-built the nest box lid since I did not include an overhang and water made the turn around the lip and into the nest box = no bueno...I also have the run framing mostly installed, just need to add some cross bracing and then do the run roof.


I'll post updates as we move along.

Let me know if you have suggestions for improvement as there is still time to change some things around! Thanks!
 
Last edited:
Looks like you're coming along pretty fast with that coup! What kind of chickens are you putting in there?
I have been working on my coup for quite a while, and have a suggestion for your fly pen...use sand in there.
I have had chickens for a long time, and have used all kinds of stuff in the pens, but with my new coup I finally tried sand.
It is awesome..it dries quickly if it gets wet..it absorbs the moisture out of the poop, and the dry poop particles filter down thru the sand to compost next to the soil. The chicken's feet stay very clean and dry, and they love to dust in the sand. I sprinkle food grade diatomaceous earth in my sand to kill mites and lice on the chickens as they dust.
You are doing an awesome job with your construction!

Happy building!

Aren't chickens fun!

sunshineseramas.com
 
I have 4 chicks at 6-7 weeks that hopefully will all make it into the new coop, rhode island red, salmon faverolle, light brahma and a dark brahma. I already have plans to extend the run this summer, it is 4x10 including under the coop and I want to give them more room than that.

Your advice for the run is great to hear, because I am planning on doing exactly that! I am putting down a layer of pea gravel for drainage, then a few inches of sand and pumice mixed per a suggestion from another member from the Pacific NW. I also have 25 lbs of food grade DE awaiting pick up in my neighbors garage that I plan on adding in (no not all at once!) :)

This is the first thing I have ever built besides raised beds and a few odds and ends in high school shop class! It has been a learning experience for sure...thanks for the kudos!

And yes, chickens (well, only 'chicks' so far) are a blast :)
 
I like the creative use of a pond liner for the roof.
KJF

In the last picture you can see the roof is boxed in with cedar planks. The roof box is going to be filled with a pumice/dirt/peat mix and we are going to grow succulents in it...and maybe a some baby lettuce and other greens for the hens. The pond liner serves as a root and water barrier. Though I may put a layer of landscaping fabric over it for added protection against root penetration.

I also originally put a piece of pond liner for the nest box roof, but I had to remake it. Once I remade it I remembered I had a small scrap of Ice and Water shield left from re-roofing my house last fall, and some number 4 cedar shake undercoursing. I am going to put the ice and water shield on the next box roof and roof over that with stained cedar shakes.

With all that said...I think you could absolutely use pond liner over plywood/OSB as a roof itself. I would only be worried about UV breakdown, but I suppose you could paint it for UV protection. It would be a light, cheap and easy roof!
 
Quote:
This made me think of the old pickup truck bed liners, the rubber kind. I would imagine it could be used in the same way.
 
Progress this weekend was great! The weather has finally started to be much more agreeable, which has helped a lot.

We got a lot done since the last round of pictures I posted: much painting, put up the run, re-made the nest box roof, and put up all the hardware cloth. Last night (in the dark) I put the door to the run on, added the hardware cloth to it and put the latch on which was thing needed to make the whole thing secure. I don't have pictures with all the hardware cloth and the door on, but the last picture is pretty close to where it is at now. We are going to pick up some sand (probably today) to add to the run and put up a couple more trim boards around the henhouse roof. We are also going to mix our own soil/peat/pumice for a lightweight substrate for the green roof that hopefully won't soak up too much water. We are tentatively planning on growing succulents but I will probably throw in a few lettuce seeds to see if we cant make some treats for the ladies :)

I am only working a half day today so when I get home (relax, I'm on morning break!
wink.png
) we should be able to have it completely done. I am eventually planning on making a coop page with more detail on certain aspects and an extensive 'post-mortem' wherein I review all the mistakes I made so that a future reader may be able to avoid them!

They spent their first night in the coop last night. I did put the heat lamp out there just to be sure our runt salmon faverolles was OK as she is still recovering from a bout of cocci, is much smaller than the rest and is not as feathered out. Though I will probably take the lamp out in the next couple days as her back feathers are finally almost all in.

Enjoy the photos and constructive criticism is welcomed...I like learning from mistakes :)

I decided to throw in a pic of my home-made paint stirrer - four 1.25" dywall screws, one 3" x 1/4" carriage bolt with the head sawn off, two nuts, two 3" pieces of 1x1 and two 8x.75x.5 inch pieces of plywood...works like a charm...


Here is the nest box roof. I used number 4 cedar shakes which I had left over from re-siding a couple wall projections during my roofing project last fall, they are 20 bucks a bundle at home depot and I used no more than a quarter of the bundle. Unfortunately I used the wrong fasteners (I work fast and leave my brain behind too often!) and the shakes had black streaks from the nails after being rained on, so we decided to paint it. A post-paint picture will have to wait though :)


Run framing up and "battens" installed. The walls are just 3/4" plywood but I thought the faux batten look would add a nice touch and I like how it turned out...the run framing was really wobbly at this point which is why the middle one has plywood gussets, the reason only the middle one has them is that I wasn't too impressed with the added stability, it helped, but not much...


The plants on the roof are our initial batch of succulents my wife found growing on a sidewalk on the way to the park with the kids...sidewalks are an economical source of succulents! :)


My shoddy linoleum work!


First time eating at home...


Here is the last picture I took yesterday evening, our RIR led the way down the ramp, the light brahma followed with a jumping/flying escape and the other two required some assistance :) I think I am going to stain the ramp and sprinkle sand on it when the stain is wet to give them some traction, but I might just let them get used to it since the ramp really isn't that steep...time will tell :)

Since I mentioned the gussets on the run framing (middle framing member) above, I should mention that once the 'purlins' were on and the metal roof installed I can hardly move the run framing at all so I won't be adding additional support, it is quite sturdy.


My new babysitters - chickens and a cage! :) high startup costs, but I think it will pay for itself real quick at the going rate of daycare!!
ep.gif


Last edited:

New posts New threads Active threads

Back
Top Bottom