It was quite a project! We've never had chickens before, so I immersed myself in chicken coop study and found SOOO many great ideas on this site!
First we laid the foundation for the run. My husband was very obsessed with things like "level" and "square". Who knew these things were important???

Then up went the walls of the run.

I attached the hardware fabric to most of the walls and dug the trench to bury the fabric underground (wow, the was A LOT of work!). HINDSIGHT: I didn't push the fabric strait down into the trench in an "L" formation. It was kind of sloping out, so when I shoveled the dirt back on and tamped it down, some of the fabric pulled away from the base and needed to be reattached. WORTH NOTING for newbies like me: Hardware fabric is the most expensive item on the building materials list. I was able to purchase it online through Amazon for a fraction of the price of the big box hardware stores.

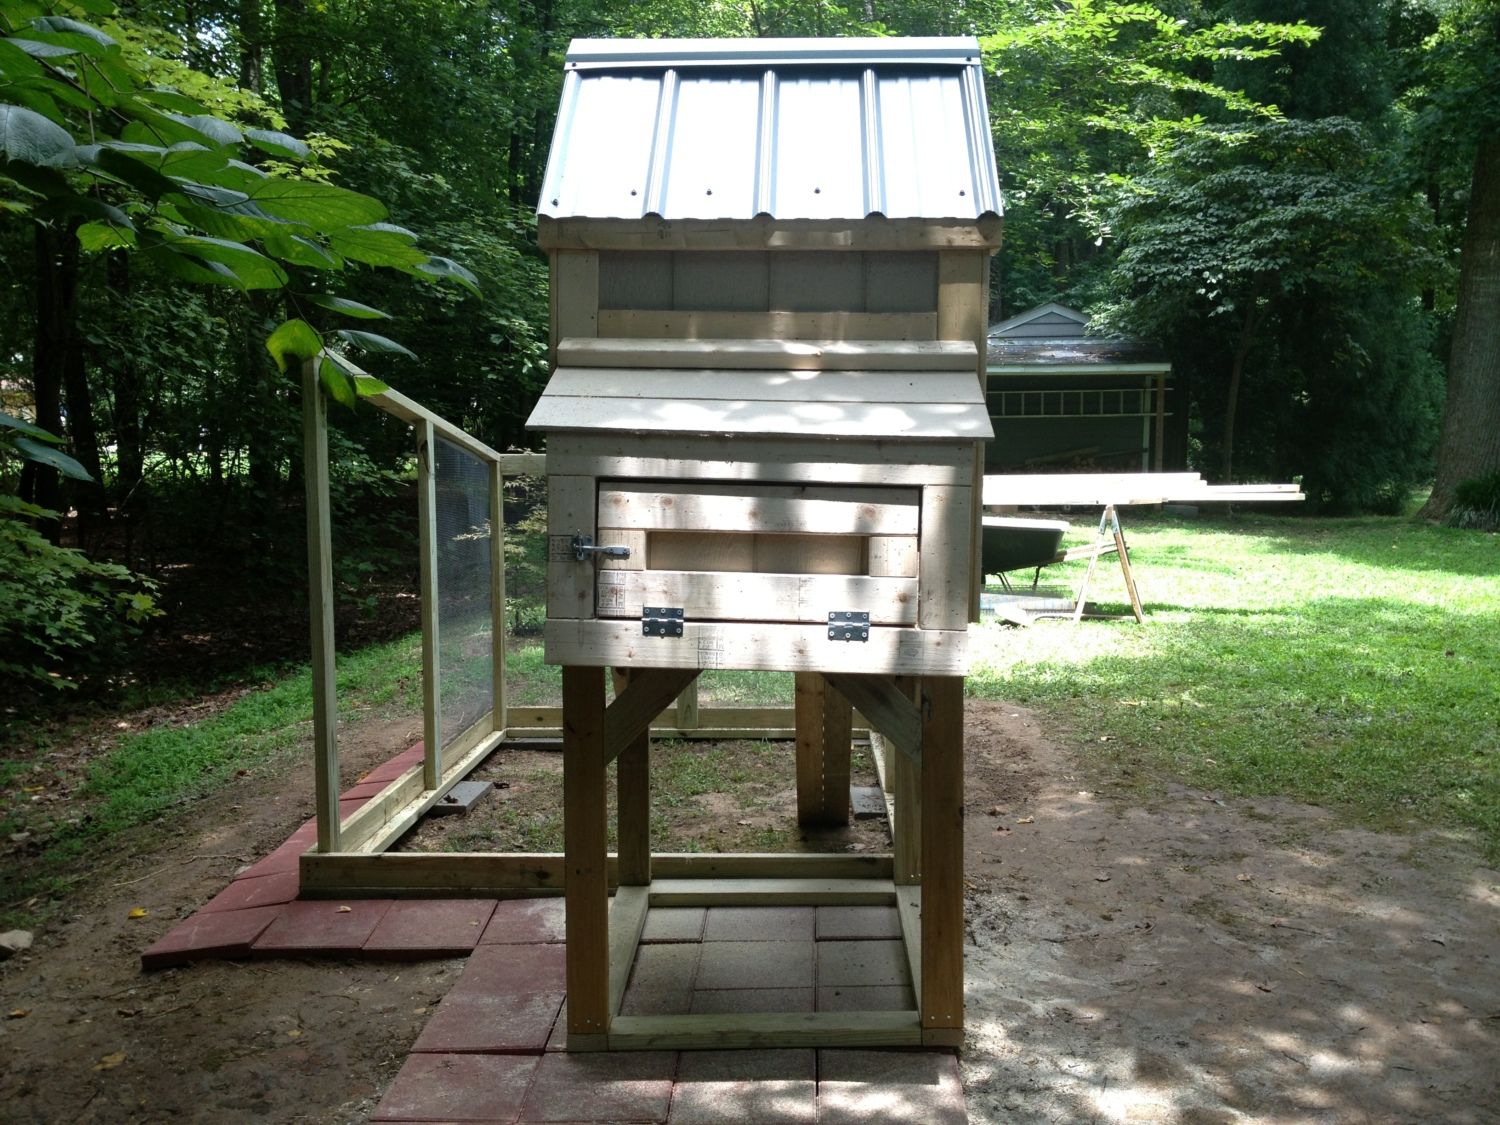
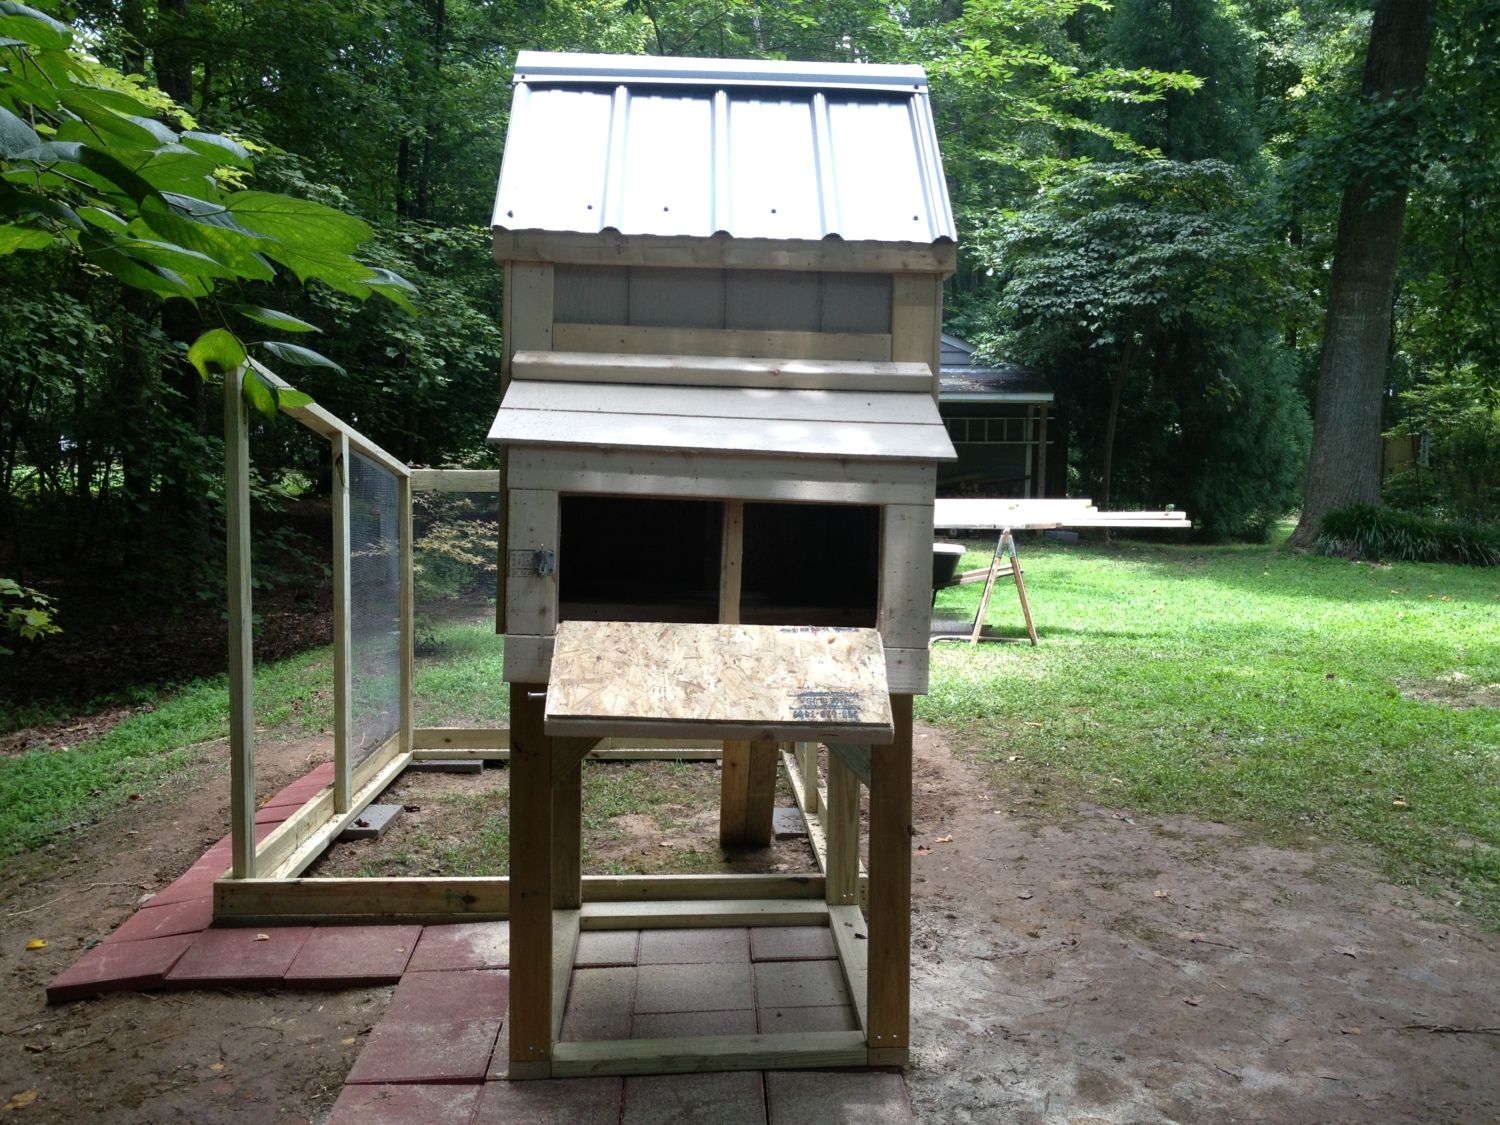
We hired out the coop building because we were short on time and expertise. Curtiss Coops here in Raleigh built the coop on-sight in approximately 6 hours! Here's their progress throughout the day:


Once the coop was built, I painted and finished the screening while my husband installed the metal roof.

I got pre-washed, course construction sand from a local granite quarry. WORTH NOTING: course construction sand is called "screenings" here in North Carolina. If you have a pick-up truck, or can borrow one, it's well worth your time and effort to buy direct from the quarry. I got one pick-up truck load of sand (3/4 ton) for $11.00!!! This was more than enough to cover the ground of the run with more than 3 inches of sand. I also put sand on the floor of the coop.
Here's a picture of the quarry and them dumping the sand into the truck (just because it was cool!), and a close up picture of the "screenings".


Here's the finished coop and our new little babies enjoying their home!


Thanks to all of you on BYC for all the inspiration and expertise!!!
First we laid the foundation for the run. My husband was very obsessed with things like "level" and "square". Who knew these things were important???
Then up went the walls of the run.
I attached the hardware fabric to most of the walls and dug the trench to bury the fabric underground (wow, the was A LOT of work!). HINDSIGHT: I didn't push the fabric strait down into the trench in an "L" formation. It was kind of sloping out, so when I shoveled the dirt back on and tamped it down, some of the fabric pulled away from the base and needed to be reattached. WORTH NOTING for newbies like me: Hardware fabric is the most expensive item on the building materials list. I was able to purchase it online through Amazon for a fraction of the price of the big box hardware stores.
We hired out the coop building because we were short on time and expertise. Curtiss Coops here in Raleigh built the coop on-sight in approximately 6 hours! Here's their progress throughout the day:
Once the coop was built, I painted and finished the screening while my husband installed the metal roof.
I got pre-washed, course construction sand from a local granite quarry. WORTH NOTING: course construction sand is called "screenings" here in North Carolina. If you have a pick-up truck, or can borrow one, it's well worth your time and effort to buy direct from the quarry. I got one pick-up truck load of sand (3/4 ton) for $11.00!!! This was more than enough to cover the ground of the run with more than 3 inches of sand. I also put sand on the floor of the coop.
Here's a picture of the quarry and them dumping the sand into the truck (just because it was cool!), and a close up picture of the "screenings".
Here's the finished coop and our new little babies enjoying their home!
Thanks to all of you on BYC for all the inspiration and expertise!!!
")
