Home made cabinet style incubator with digital thermostat and digital auto turn control
I Had an idea bouncing around in my head for a while of how I could build a auto turn for a cabinet machine, My wife would tell you that the idea had a heap of room for bouncing in
Well the only way to give a an idea a chance is to start building so this is what I came up with. A lot of this machine was built on the fly so to speak. As I hit a snag I thought about it and worked out a fix.
In all I estimate that it took close to 4 weeks to build the aluminium rack, design and build the auto turn circuit, construct the cabinet and fit every thing up into it. The thermostat was kindly given to me by a fellow incubator nut from australia that designed and built the circuit.
Chipboard loves to soak up excess moisture and swell and go soft, all of the butt joins are assembled with silicone caulk in the join and the stuff that oozed out was smeared down to a nice finish. This seals the join and prevent any ingress of moisture into the join.
I used a product called INOX to lubricate all the pivoting and sliding surfaces to ensure the minimum of binding issues, INOX is an Australian product that is based on the oil from sheeps wool (Lanolin) and it is rated as food process safe.
This is the auto turn insert ready to be mounted, the rest of the pics are detailed photos of the rack.
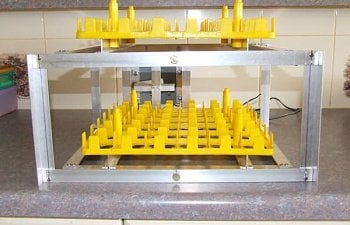
different angle

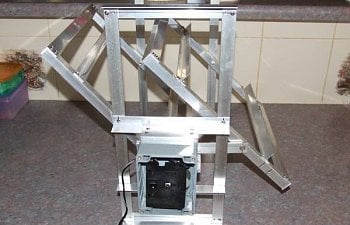
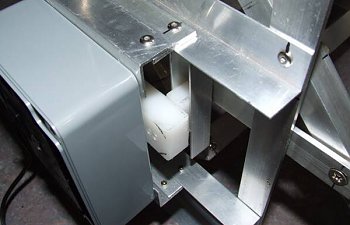
As you can see there are 2 egg racks that hold 36 eggs each, they are connected by a link strap that runs behind the gray motor box.
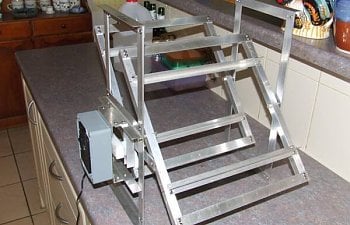
The motor is out of a battery operated (3 Volts) rotisserie motor for a BBQ that I have mounted in a electronics box to protect it.
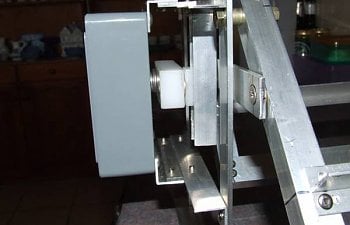
The link strap has a channel riveted to it, from the motor is a arm like a bicycle pedal arm, at the end of the arm is a block that is sized to fit into the channel.
The block rotates just like a pedal on a bicycle.
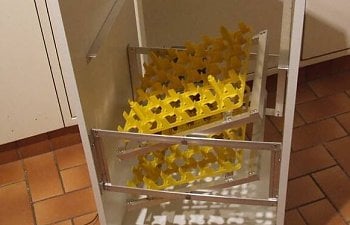
Test fit into the Melamine coted chip board cabinet that will be the incubator.
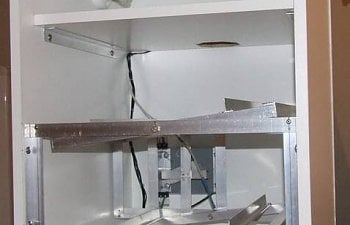
Separating shelf in place with PC fan fitted, back of the cabinet fitted, light fittings mounted and some of the wiring running in to the micro switches that tell the motor to turn off when it reaches the right tilt point.
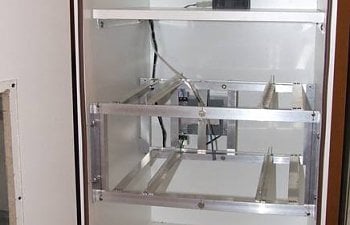
Door fitted and weatherstrip to seal the door from draughts.
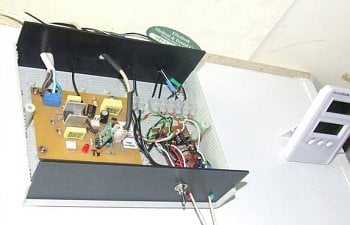
The brains, the circuit board on the leaft is the picaxe based thermostat, it also includes a transmitter that sends data to my PC so that I can log what the incubator is doing in an Excel spreadsheet and display it as a graph. The circuit on the right is the Auto turn control board.
It makes the motor tilt the eggs from left to right every 40 minutes, or whatever I decide to program it to do.
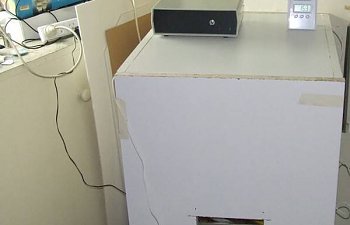
Closed up but not running yet, I have since removed the masking tape and fitted proper latches and fitted iron on edging to the bare chip board edges.
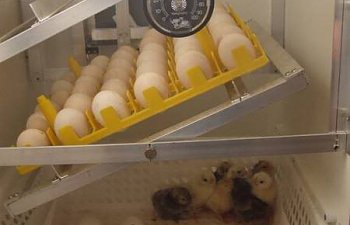
First hatch, some cross breed eggs that were not a huge issue If there were any bugs on the first run, the second set of eggs in the rack are at day 2.
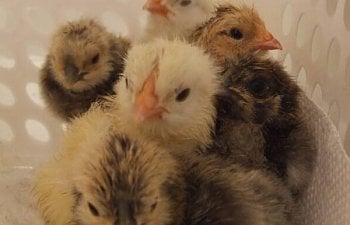
And a close up of the Babies as I cant resist Chicks.

