MATERIALS
Cooler
Mesh Wire
Water Heater Thermostat
Plug with 2 or 3 Feet of Wire
Light Fixture
40 Watt Light Bulb
Caps
2 Half Inch Plastic Clamps
Wooden Box
Shallow Pan
Sponges
Thermometer/Hydrometer
Water Wiggler
Water Bottle
Tubing
Screws
Nuts
Sharpie Pen
Fertile Hatching Eggs
PC Fan
Two Jars with Water
PVC Pipe
8x10 Piece of Glass
Duct Tape
Thermometer
The materials assembled…
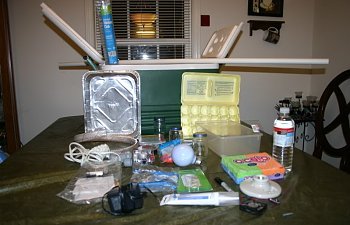
PROCEDURE
1. Gathered materials. Had some items at home. Spent $71.26 at Lowes Hardware on remaining materials.
2. Drilled four holes – two for ventilation and two for turning rod.
3. Cut cooler lid and installed glass
4. Placed pan in bottom of cooler and put four sponges in pan.
5. Cut and formed mesh wire and inserted it into cooler.
6. Cut bottom out of wooden box and attached mesh wire to bottom.
7. Inserted rod and wooden box through holes in cooler.
8. Glued two pvc pipes with caps into holes for air flow.
9. Installed light fixture with bulb.
10. Installed pc fan.
11. Installed thermostat.
12. Filled two baby food jars with water and put them in incubator.
13. Added water to pan and plugged in incubator.
14. Monitored temperature and humidity to make sure everything worked.
15. Went to a farm and picked up eggs.
16. Weighed and candled eggs, numbered eggs one to twelve and labeled sides x and o.
17. Put eggs in incubator on March 18, which started day zero.
18. On days one through seventeen I checked temperature, humidity and turned three times a day: in the morning before school, in the afternoon after school, & at night before bed.
19. On day eight, fourteen, and eighteen, I candled and weighed the eggs and documented and took out any eggs that were not developing.
Outside of incubator...
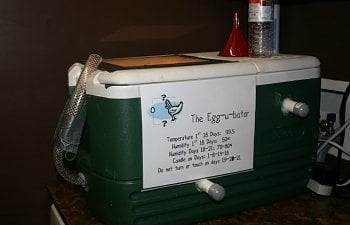
Hose for adding water without having to open incubator...
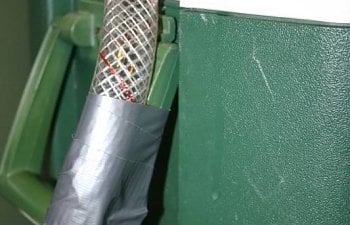
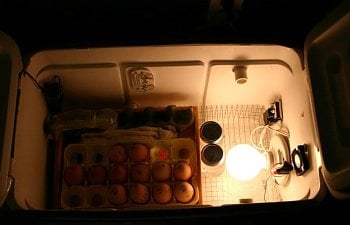
Inside of incubator...
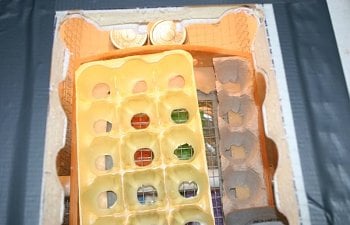
View from above...
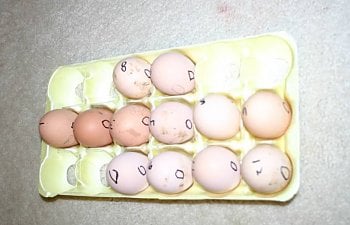
Chicks numbered and marked and ready to go in. There are 3 RIR and 9 Dominique...
All settled in...
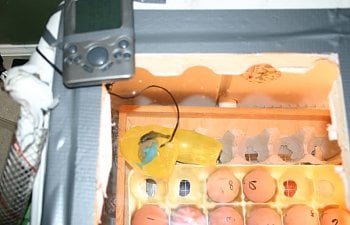
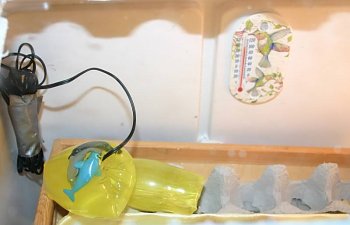
The elusive "water wiggler" toy (finding this might have been the hardest part of this project)...
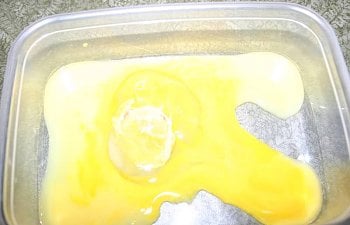
Day 14, we had two that didn't develop... one had a bloodring...
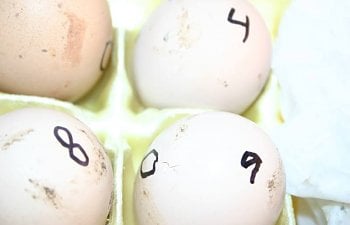
On Day 19, little chick #9 started to pip...
Eight hours later, it finally popped out of the top...
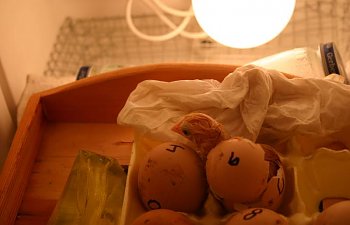
Checking out the new, bigger digs...
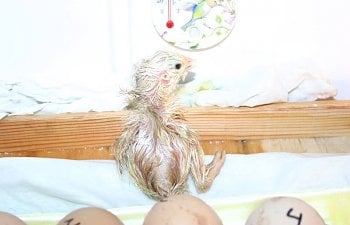
There is a video of the chick coming out of the shell here...
We turned the eggs three times a day. Our temp dropped as low as 98.2 and went as high as 105 for a brief time. Average temp was in the 99-100 range. Humidity stayed in the high 30's during the entire time. The highest we were able to get it was 41%, even in these last days of hatching.
Thus far (we're on Day 20), out of 12 eggs, two did not make it and were removed at Day 14, the one little chick hatched and the second has unzipped and is trying to get out. A 3rd chick has poked a little hole out of the side.
We candled on days 1, 8, 14 and 18. Eggs ranged in weight on day one from 1.9 ounces to 2.3 ounces. Only one egg had lost weight by day 8. Day 14 had seen lots of changes. The 2.3 ounce egg weighed 2.1 ounces. Most eggs had lost 2/10's of an ounce.
