Below are instructions and photos for assembling the chickens as shown in this thread:
https://www.backyardchickens.com/forum/viewtopic.php?pid=1317892#p1317892
The instructions are different than for the chickens shown in the etsy ads.
The Etsy chicks actually look like they are much easier to assemble since they require just two squares of fabric rather than three and dont have compound seam intersections.
Pin cushion chicks:
You need large squares (anywhere from 3 to 6 inches) and 3 small squares (1/2 the width of large squares or less. 1 for beak and 2 for wattles and comb)
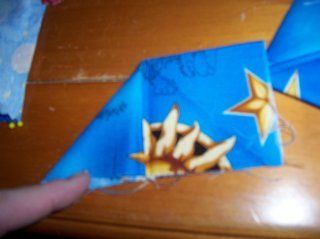
Create the tail pieces, make 2. Fold square in half and then fold each top corner (fold) down to form a triangle as shown:
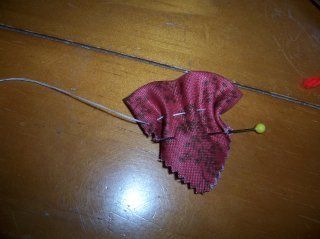
Make comb and wattles if you arent going to use beads (make 2). Fold small square in half to form a half-square triangle. Gather with thread.
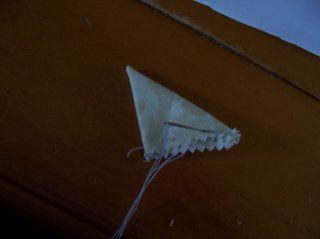
Make beak from small square. Fold into half-square triangel, fold points in and down to form a square. Fold square in half.
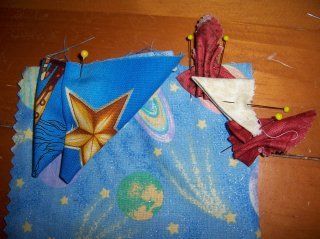
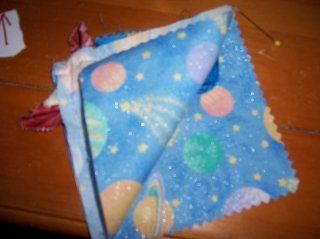
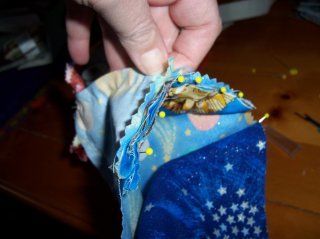
Pin comb, beak, wattles, and tail pieces (one slightly inside the other) to right side of a square of fabric setting them in 1/4 inch to allow for a seam. This placement of the tail will result in a tail that is high. See alternate placement for a low tail.
Place second square of fabric right side down on top of other pieces and pin edges where tail, comb, wattles, and beak are located and sew thru those seams stopping 1/4 inch from ends.
Turn right side out to check placement and then turn inside out again.
Next, fold back one half of top square on the diagonal to expose 1/2 of bottom square.
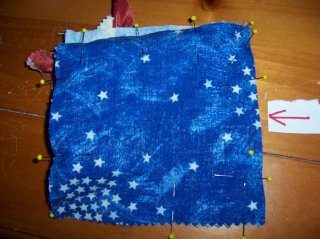
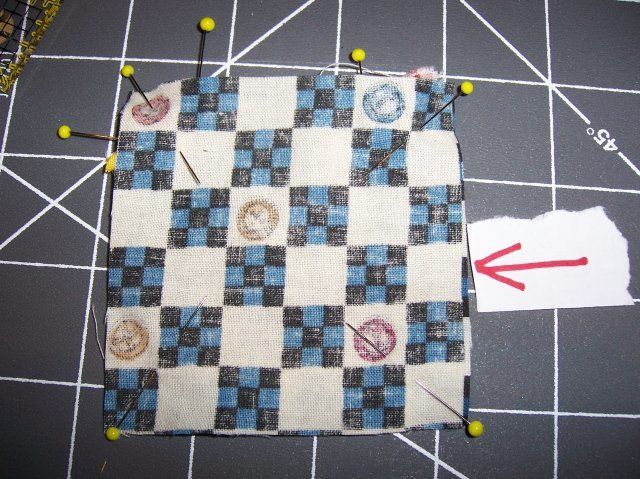
Take a third square and lay it right side down on top and pin around all four edges.
Sew around all four edges leaving a 2 to 3 inch opening in the center of one side for turning.
Turn fabric right side out. Choose location of eyes and sew on beads for eyes or make french knots.
Fill top 1/4 of bird with tissue or stuffing and bottom 3/4 of bird with zip lock sandwich bag containing rice, scratch corn, aquarium rocks, or sand.
Determine location of feet and stitch on three strings of beads for each foot or three chains of crocheted yarn for each foot.
Now that feet are sewn on you are ready to blind stitch the opening closed. At this point you can choose to take the fill material out of the plastic bag, or lleave it in. Your choice. Blind stitch opening closed. Fold the tops of the tail towards the front of the bird.
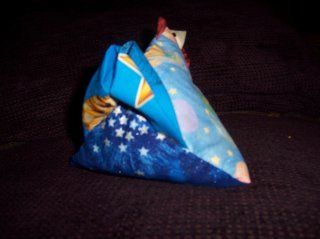
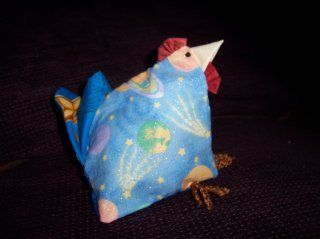
This tail assembly produces a bird with a high tail like this:
Alternate tail is mounted lower and set into the intersection of the three squares and looks like this from the rear:
Instead of sewing tail into the bird in the location shown above, instead insert tail when pinning on the third square, pinning the tail pieces open spanning the rear v-shaped seam. This shows the tail opened and pinned spanning the first two pieces at the rear end:
This is after the third square is pinned over the tail and it is ready to sew closed. Remember to leave an opening (anywhere except where tail is pinned on) for turning right side out.
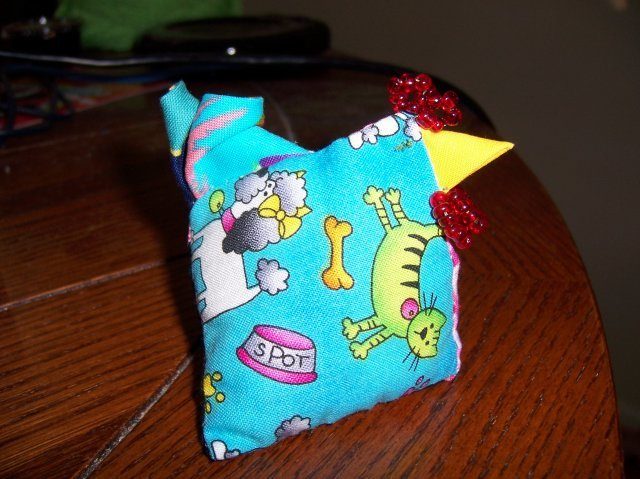
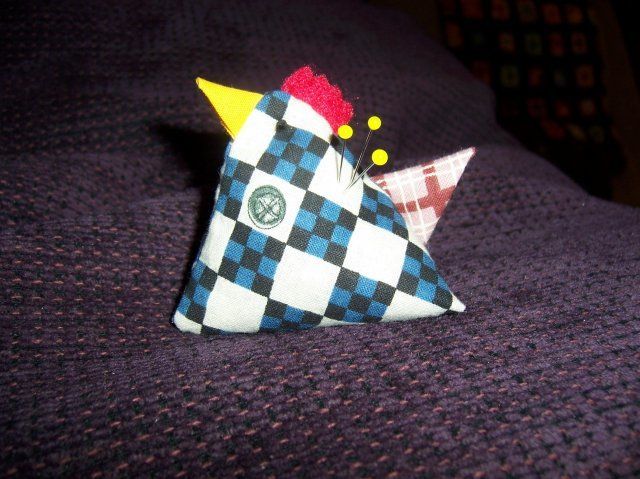
This is the finished chick with the low mount tail.
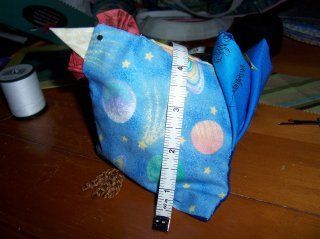
This chicken was made from charm squares and is larger than the chick shown with the high tail. That was made from 4 inch squares.
Edited to add: here are the instructions for the easier version:
https://www.backyardchickens.com/forum/viewtopic.php?pid=1327801#p1327801