
I would like some information from those using ceramic heat bulbs to raise chicks.I have both 50w and 200w bulbs.
What type of light fixture do you use it with?
I have both the metal cage holder and the Premier 1 light fixture.
What wattage do you use for how many chicks?
What are the pros and cons of it from your experience?
I am thinking I may give it a go on the next hatch due April 17th. I currently use a radiant heater I made from using two heat pads but it’s just another thing to clean. I am thinking the ceramic heat bulb would make it much easier to clean the brooder.
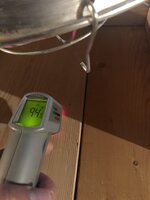
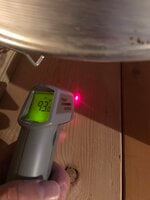
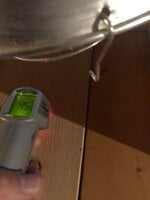
What say you. Here are some photos of the fixtures and bulbs I have. I was surprised to see the 50w and 200w bulb were the same size. One last question has anyone used the ceramic bulb in the Premier 1 fixture?


Please post pictures of your ceramic heat bulb setup!
What type of light fixture do you use it with?
I have both the metal cage holder and the Premier 1 light fixture.
What wattage do you use for how many chicks?
What are the pros and cons of it from your experience?
I am thinking I may give it a go on the next hatch due April 17th. I currently use a radiant heater I made from using two heat pads but it’s just another thing to clean. I am thinking the ceramic heat bulb would make it much easier to clean the brooder.
What say you. Here are some photos of the fixtures and bulbs I have. I was surprised to see the 50w and 200w bulb were the same size. One last question has anyone used the ceramic bulb in the Premier 1 fixture?
Please post pictures of your ceramic heat bulb setup!


")


 (my brooder is more on the large side hence the higher wattage)