Converting A Mini-Fridge to an Incubator... Need Help!

Not sure how to help, but I just realized I have an old one in the garage, and I'm looking into trying to hatch out this year....

WOW I'm gonna watch this post.

TNT
 
Quote:
I've been reading about them in the coop section but can't find just a simple plan for one like mine. Most of them in thta section are from freezers, not mini-fridges. Though there really isn't a big difference.
 
I've been doing the same, and I am/was leaning more to an old cooler. But if you think about it you have a well insulated box already. Just gut out the coils and compressor, and strip it down to a metal "cooler" with a magnetic seal.

The only difference in the mini fridge, and mini freezer is how cold the compressor gets the inside air temp. And all that would be of no use for an incubator.

Gotta do more research....

I am leaning toward an automatic turner also.

TNT
 
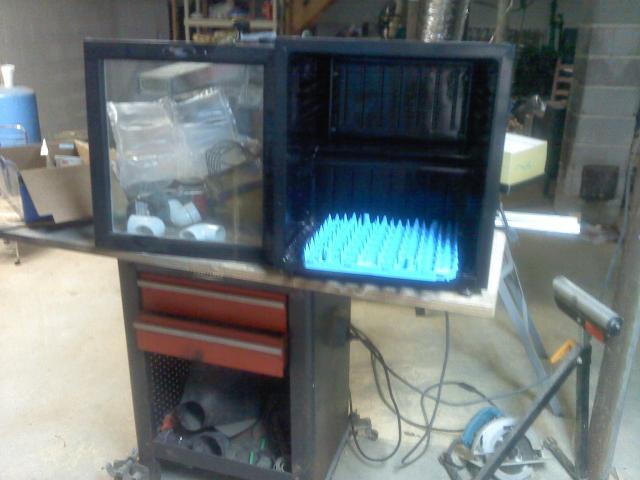
I had started a project with a similar cooler, except it had a glass door.
14833_1229101856.jpg


I probably wont be finishing it because I will be relocating soon and will probably have to get rid of all my birds when I move.
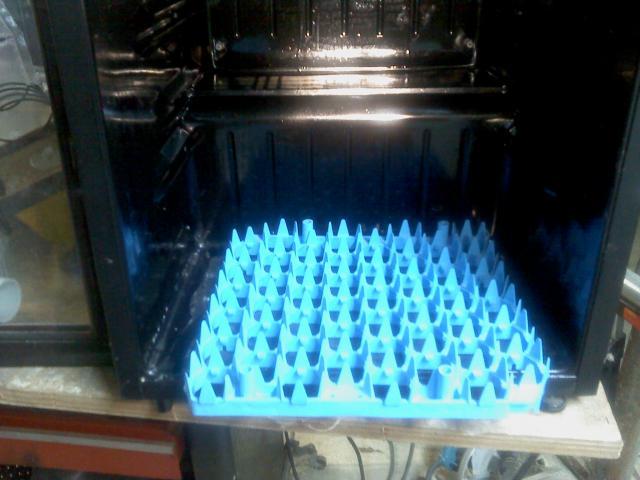
Here is what i had in mind to make it work. As you can see, from this pic,
14833_1229101857.jpg
the normal 48egg trays wont fit in the bottom and you can only use one in the top if you want a automatic turner. That pesky hump in the back is just in the wrong spot. My suggestion would be to find a couple of the automatic turners that fit in the styrofoam bators and mount them in the top above the hump.

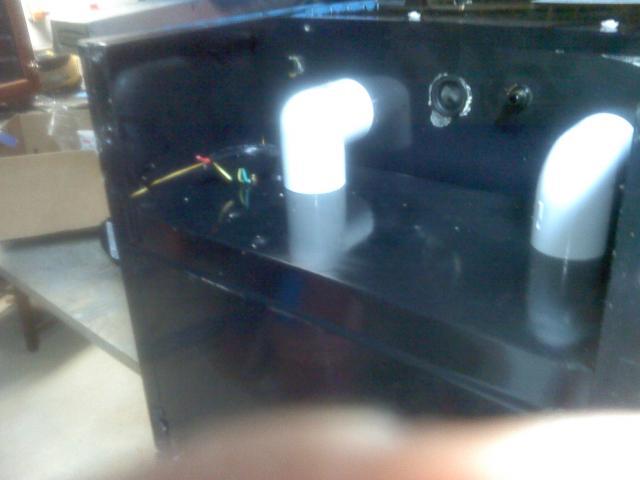
The spot in the back where the compressor was mounted,
14833_1229101903.jpg
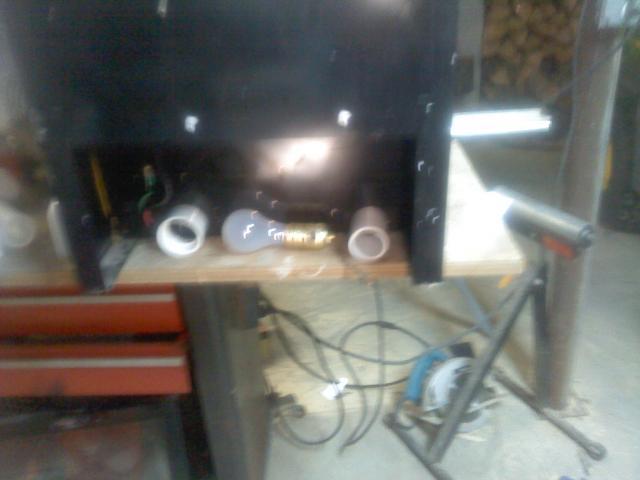
makes a good spot to mount your heat source,
14833_1229101912.jpg
The white pvc pipe just marks the spots you can drill holes to force the warm air inside the incubator. My thoughts where to drill 2 holes in the bottom of the hump for mounting 2 computer fans, and two more holes in the bottom back to let the air return. The lightbulb heat source would be located between the two holes. You would also need to fabricate something to enclose where the bulb is mounted to help hold heat. Since you will at some time need to get to you heater, you could also locate your water holding humidity pan close to the heat source. The area is plenty big enough. If you want you can try a water heater thermostat and since the enclosure is made out of metal, it will probably function better than it would in a wooden or styrofoam box. I would mount it inside with the light bulb or other heat source so it will cycle faster than it would if it was mounted inside with the eggs. Just use your thermometer to get to the right temp, and dont be afraid to move the thermostat around until you achieve the accuratcy you desire.
 
i'm in the process of building one... the only difference is that it's used/broken and i got it free on craigslist... LOL... it was super clean, and it's just that they were chipping away on the ice, and they accidentally made a hole on the little freezer thing and caused it to leak... drove 10 minutes, and came home happy with a broken piece of junk...


hahahaslk;dfjask;fdj;askldfjalds...


the first thing i did was tear out all of the hardware... very easy... aviation snips, and my snap-on screw driver... then i took off the door because it needed adjustment... i just banged the bottom hinge with a hammer... no biggie... wile the door was off, i took off that seal thingy... lifting it from the inside exposes like a billion screws... so that comes off... that plastic stuff that holds the ketchup and what have you... i cut around it... it has like a little lip that sits flush with the seal thing... i'll take pictures tomorrow... someone remind me... so i cut out all of the insides... i broke it a little but that's because it was old and stuff... then i put it back on... i drilled the modded (with holes everywhere) water heater thermostat about an inch or two inside the left wall when i open the door... almost on the top... i really don't know why i put it there... but i work mostly with aquatics... and that's how we do fish tanks... to keep the entire tank stable, the sensor has to be far away from the heat source... i dunno... it works in my head... i hope it works for the incubator... so i put the door back together...


anddddddddddddddddddddd...


that's all i have done.. LOL... been sitting in my room for a month now... okay here's what i plan to do...


•cut out viewing window on door... i will put a sheet of acrylic on the outside and inside to help insulation...
•place heating element in the back... i know i won't fit a whole carton or egg flat whatever, but i'll still be able to hatch out 40 or so chicken eggs with flats... that's more than enough for me... heating element will be two quality 40W black light bulbs... they will sit on ceramic moguls...
•both of the bulbs will be covered up with either a thin sheet of styrofoam, or thin plywood... i'm leaning towards the plywood... it will only have two openings... one on the right, and another on the left...
•the fan will be on the right side... sucking in the air from the eggs and such and blow past the bulbs to the area of the eggs... or i'm thinking about having the air come out of the top... either way it's not going to hit the eggs directly...
•right before the fan intake port, i'm going to have a piece of PVC drilled in... i will use different caps to control fresh air... but this one will always be open... either no cap, or cap with three holes, or cap with one hole... i know that it will draw in a lot of air positioned right there...
•i will have two other holes nearing the middle top of the mini fridge... both with different caps to regulate humidity...
•i will make a dual PVC egg turner with egg flats glued to them... the egg flats will have the bottom cut out a bit so they can sit and get more air that way... well, maybe... i dunno yet... i'm mostly hatching bantams... i figure bantam eggs just swim in the egg flats... LOL...
•i acquired an egg turner via eBay.... it was 20 bucks shipped... it's the stock one from the little giant and whatever turner motors... don't really care, this is going to be a light load for the motor...
•in home depot i got this strip of aluminium... it's like 5 feet long and cost 5 bucks... i took off the little plastic nub that the motor had, and drilled/modified a small piece of aluminium to fit tightly onto the motor pin... from there, it will grab onto another piece of aluminium bolted up to the first egg rack towards the middle... then on the other side of the rack, a piece of aluminium will hold both pieces together so they can turn as a unit...
•install a slim 12V led light bar in the front of bator for light... maybe on the side so i can see everything...


then covered bowl for humidity, sponge, thermometer, hygrometer, switches whatev'skeez...

it think i'm going to make a write up after it's done and have hatched my first hatch.... i'm collecting eggs right now... just waiting for my lavendar's to give me more eggs so i can have at least 20 to see what my hatch rate will be with this monster...


and, i'm only spending like 60 bucks in total... maybe less, i just typed whatever came to my head... LOL... sorry...


i hope this helps...


edit: and btw... it is the same exact model/dimensions as the one you're looking at... but just white and old... LOL... it should work... i might just try some quail eggs first... we'll see...
 
Last edited:
I have one I currently use as a hatcher.

What ever you do.... spend the $ on the thermostat. just about everything else can be cheap/free stuff
find things on craigslist like broken heaters (heat supply) old computer fans, etc.

Be careful with any wiring. I tested my first 7 day run in a place that would not catch fire or would not burn my house down if it did. (outside shed far enough from house)

What ever your heat supply be careful not to get the plastic hot inside the frig/freezer. Even a light bulb can melt the plastic.

use ceramic connectors or sockets if you can. less likely to cause problems when running 24/7

create a way to refill the water reservoir for humidity without having to open the incubator.

Hope this helps as each project is unique.
 
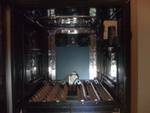
This is the inside of mine, you can see, I run 2 fans in the back pulling air into the air duct i built instead of a false back & blowing it out at the bottom, & the heating element comes from a LG, its mounted in the top, my thermostat witch is mounted on the upper right will be moved because when i open it i hit the wafer with my arm every time, it is the wafer type, & I also use the turners from a LG. & every thing works fine, just going to do some rearranging & tweaking.
61634_dla.jpg
 
Last edited:
Rebel, got any more pics of your layout. I cant see inside layout to much, but am intrested.

was it a mini fridge? or like a wine chiller with a glass door?

The LG parts, did you get replacement parts, or part out an old LG??

TNT
 

New posts New threads Active threads

Back
Top Bottom