I've learned a lot in the past two months. When chick shipping season came to an end I ordered hatching eggs from ebay, bought an incubator, more eggs, then another incubator, then more eggs, another incubator for hatching, thermometer / hygrometers, water wigglers, medical thermometer, sponges, and stopped myself from ordering more eggs. This was my first good lesson in chicken math. When you order eggs they will send extras, sometimes several extras, and you might buy another incubator if you have too many eggs. You might then buy another expensive thermometer / hygrometer, and you may find yourself unable to resist ordering ordering more eggs to fill the second incubator. You may then realize that another incubator is needed for hatching so the eggs can all be moved to the hatcher as they reach day 18. You may notice your wallet becoming significantly lighter and you could find yourself eating fifteen cents worth of ramen noodles for dinner while the dogs and chickens are eating like royalty. Buyer beware of chicken math.
The equipment: Two Little Giant forced air incubators with automatic turners, one Hova Bator 1602N still air incubator for hatching (with added computer fan), Extech 445703 Hygro-Thermometers, water wigglers, digital medical thermometer for checking water wiggler temperature, and cheapo thin sponges for the hatcher.
The eggs: All ordered through ebay. I won't go into too much detail on the first "clutch" of eggs because I failed to incubate them properly. They were handled more roughly in the mail than the ones I received later (badly ruptured air cells), but I was new to incubating and made a couple big mistakes. The second clutch of eggs came from five sources: two breeders of Black Copper Marans, two breeders of Swedish Flower Hens, and one breeder of American Bresse. I was very happy with these arrivals. Details on the SFH and American Bresse sellers and egg shipments were posted in another thread: https://www.backyardchickens.com/t/826242/swedish-flower-hen-chicks#post_12244016 . These eggs were very well-packed and fertility was great. As for the BCM, I was very pleased with their packaging and fertility as well. The BCM were received from sellers brwalden1975 and lowlight3. Both of these shipments came with a surprising number of extra eggs. (Every buyer may not receive as many extras as I did so I won't say how many, but I was very impressed.)
The method: Since all eggs were shipped, they sat pointy-end down, undisturbed for at least 24 hrs. I ran the first 18 days using the dry-hatch method, ignoring humidity as long as it stayed above 20%. I used a $9 walmart hygrometer and based on its reading, I never added water. I used the probe thermometers that came with the incubators. I calibrated them by using a ziploc bag full of water and wrapping it around the medical thermometer after hours of acclimation. I later learned that these probe thermometers cannot be trusted. They fluctuate wildly and calibration is impossible, and don't even think about using the thermometer that comes installed in the lid of the incubator. The first run was a complete loss.
For the second run I stepped up my game. I ordered better hygrometers. I meant to order the ones with the probe, but accidentally ordered the probe-less model. That turned out to be okay, as the hygrometer fits neatly beside the egg turner in the LG incubators and did not cause any interference with large eggs. I mostly ignored the temperature reading on this and relied on the water wiggler for temperature maintenance. The wiggler was kept in the incubator with the eggs. I would pull it out and stick the medical thermometer inside and squeeze it repeatedly to keep the water moving around the thermometer. I would take two or three readings to ensure accuracy. I learned not to move the thermometer around too much inside the water wiggler, as it would get hot rubbing against the rubber and give a bad reading. The hygrometer-thermometers always showed a higher reading than the wiggler test and I eventually learned how much to compensate for the difference and didn't need to check the wiggler temperature as often.
The first run had come out with huge air cells after incubation. On the second run I didn't adhere so closely to the dry-hatch methods I had read about. I added one to three tablespoons of water whenever the humidity dropped below thirty percent, depending on how low it was. If I came home from work and the humidity was at fifteen percent, I added three tablespoons. I found a good way to add water when the incubator is full of eggs. I bought some aquarium airline from walmart and a vet syringe from the Tractor Supply store. I poked a hole in the styrofoam lid, ran the airline down between the eggs, and added warm water from the syringe.
I candled on day 7 and culled clear eggs and those with a single blood ring (no veins). I candled again on day 18 and culled eggs that didn't have enough shadow. The BCM eggs were so dark that only the obvious clears were culled. I made pedigree baskets from 1/4 inch wire mesh to separate eggs from different lines. The Hova Bator incubator is so much better than the Little Giant for hatching. The LG has two tiny channels for water and holes in the bottom so you can't add water anywhere else unless you plug the holes. I work overtime and I can't be around to add water four times a day. The Hova Bator has a removable plastic tray for water. The tray covers the entire bottom of the incubator, has several channels and has a large channel in the center which is perfect for adding a sponge. I made the Hova Bator 1602N into a forced-air incubator by screwing an old computer fan inside the lid, right below one of the big vent holes. The computer fan was wired to a 12v DC adapter that I had laying around. (You can get computer fans and DC adapters on ebay.) This setup made for a great hatcher. I had to turn the red plug upside down and halfway cover the vent hole to keep the temperature and humidity steady.
Once the bottom was filled with water and a sponge and the plug was properly positioned there was no need for "lock down". The humidity recovered very quickly with this setup. I kept it around 60-65%. When a chick hatched I could crack the lid, snatch the chick out, replace the lid and put the red plug into the hole. The humidity would barely drop. Within minutes it would be back within the desirable range and the red plug could be pulled and turned upside down to cover half the hole. I used a powerful computer fan (90 cfm), but it was so close to the styrofoam that it didn't feel like it was blowing very hard. It took a couple days to get the temperature and humidity stabilized, but it stayed fairly manageable after it stabilized.
The eggs went into the hatcher in separate batches, because they didn't all start incubation on the same day. Day 19 for the American Bresse was day 18 for most of the BCM. On that day I came home from work and the temperature was at 103 degrees! I should have turned down the temperature knob when I added the BCM eggs! The body heat from all the added eggs evidently caused the fluctuation. The Bresse eggs were smaller than the BCM and that must have made the critical difference. Smaller eggs change temperature more quickly. None of the Bresse survived. One assisted-hatch Bresse chick died a few days after hatching. A couple days later, when none of the Bresse had hatched I inspected them and most of them had appeared to have died around day 19. Fortunately I did catch the problem soon enough to save several of the larger eggs.
It was so exciting when they first began to pip! After six weeks of waiting the cheeping of a chick is the most beautiful song! The third one to pip hatched the next day after pipping. The first and second ones were dead in the shell when this one hatched. After a third chick died in the shell after pipping I made a new rule: If a chick pips and doesn't hatch within twelve hours, daddy's coming to the rescue. With that rule in place, most of my hatched chicks were assisted. I assume that the need for assistance was due to the fact that they were mail-order eggs and had experienced a rough life already. This is an assumption, mind you. All I know is that twelve hours after pipping, every chick I helped was ready to hatch, breathing well and not bleeding.
The chicks are one week old now (give or take a day for the staggered hatch) and the final count is: two Swedish Flower Hens (one from each breeder) and eight Black Copper Marans (five from one breeder and three from the other)!

I had told myself that if only one survived it would have been a success. I knew that hatching wouldn't be easy and that shipped eggs pose an even greater challenge. What better way learn than jumping in the deep end?
What I learned:
1. Tabletop incubation is not easy. You may buy an egg turner so you can leave and go to work, but you may find a temperature spike when you get back home. It is not an easy venture for absentee owners, or anyone else for that matter.
2. Shipped eggs are for the rich, famous, and/or chicken math challenged. (I personally love chicken math, 'cause I'm crazy like that.)
3. Don't count your...
Okay, enough with the typing already! Here'some pictures of my new lil' chickies:
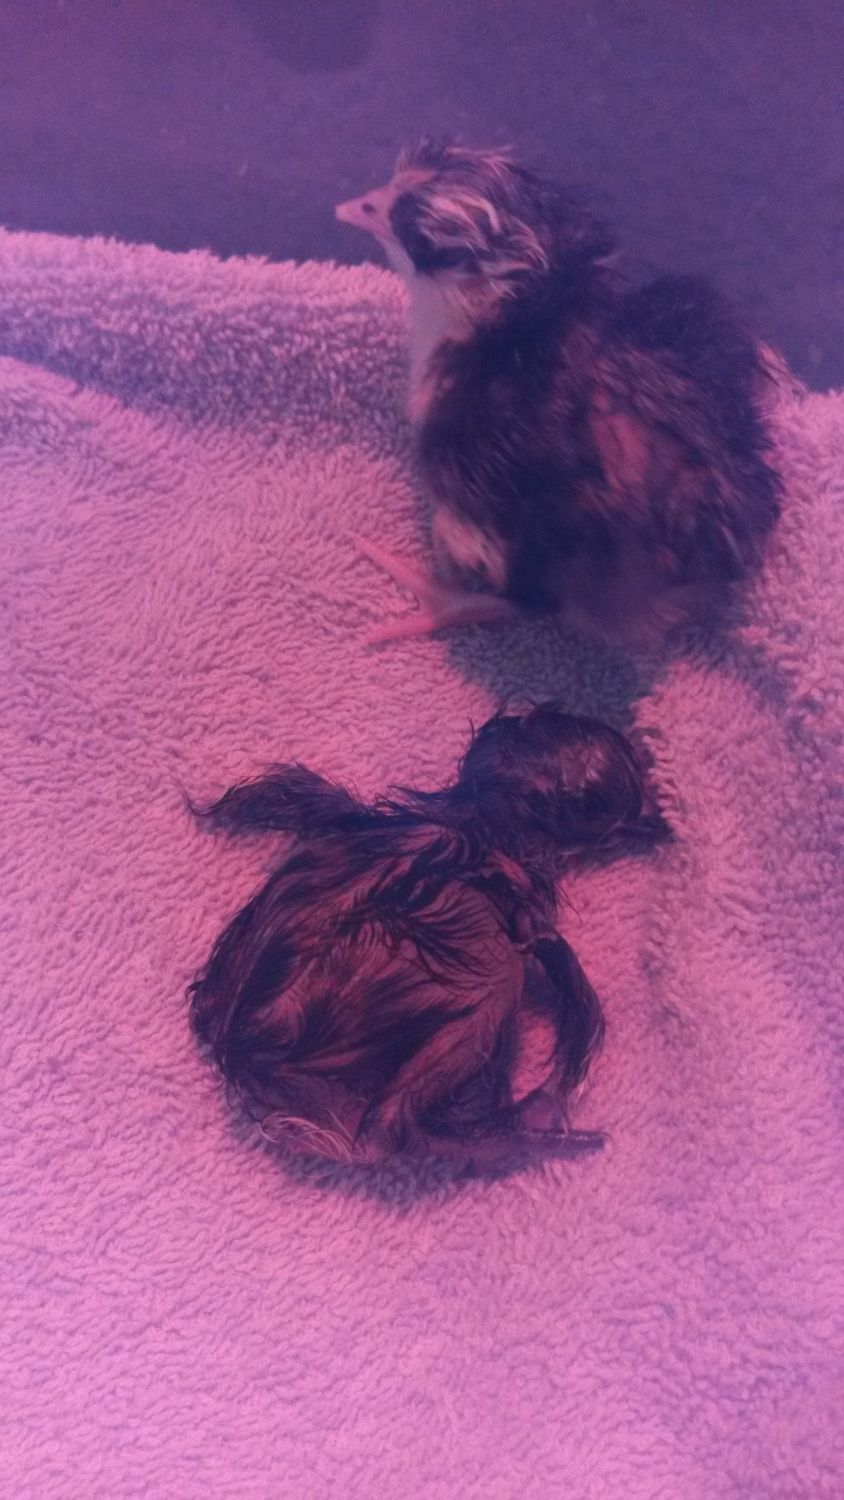
The first two to hatch, SFH on top, BCM below
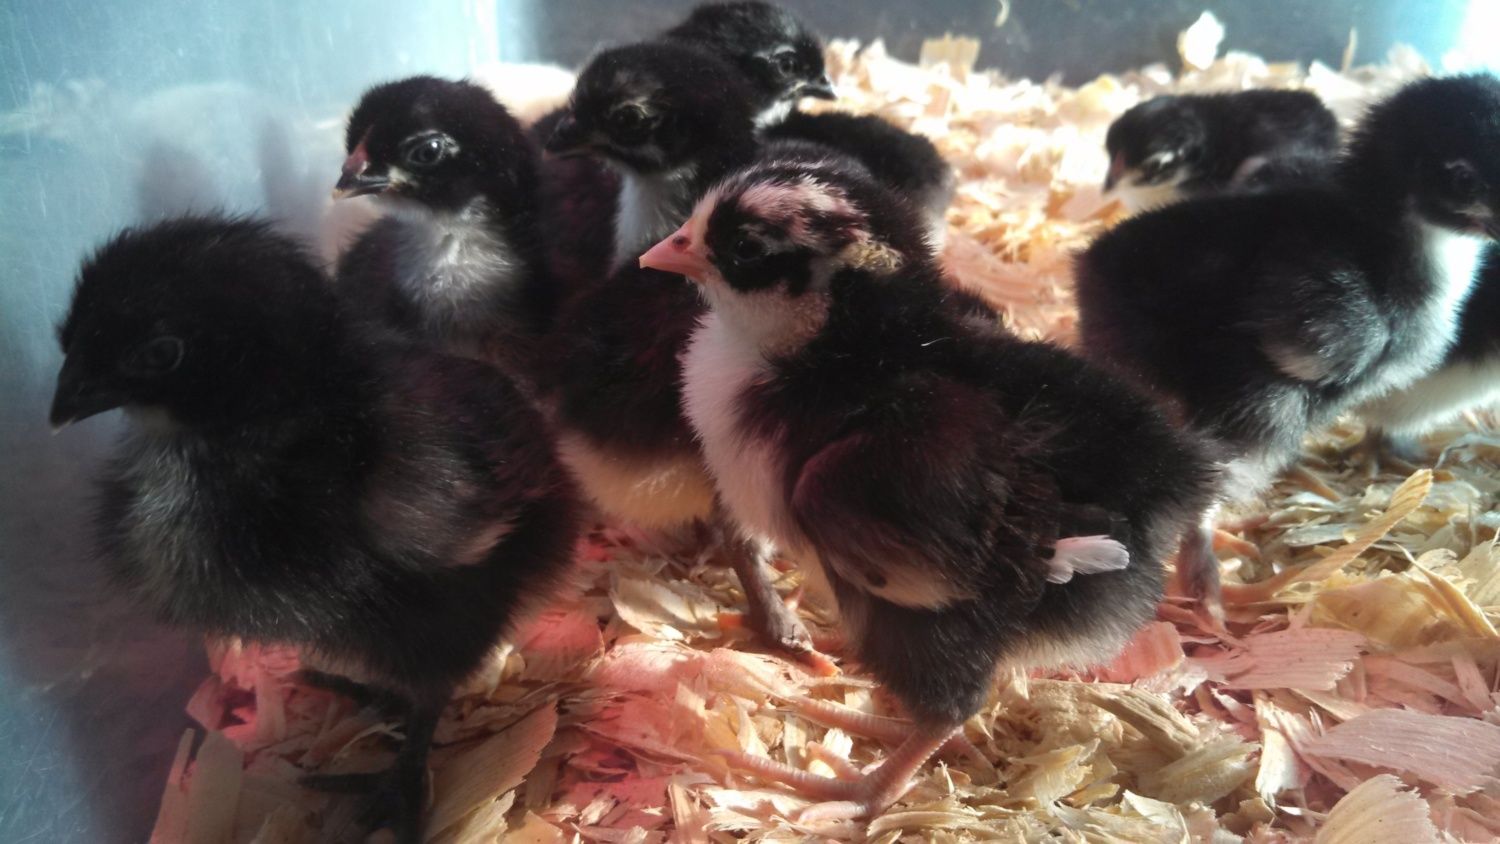
SFH front and center with the white-mottled head, the rest BCM
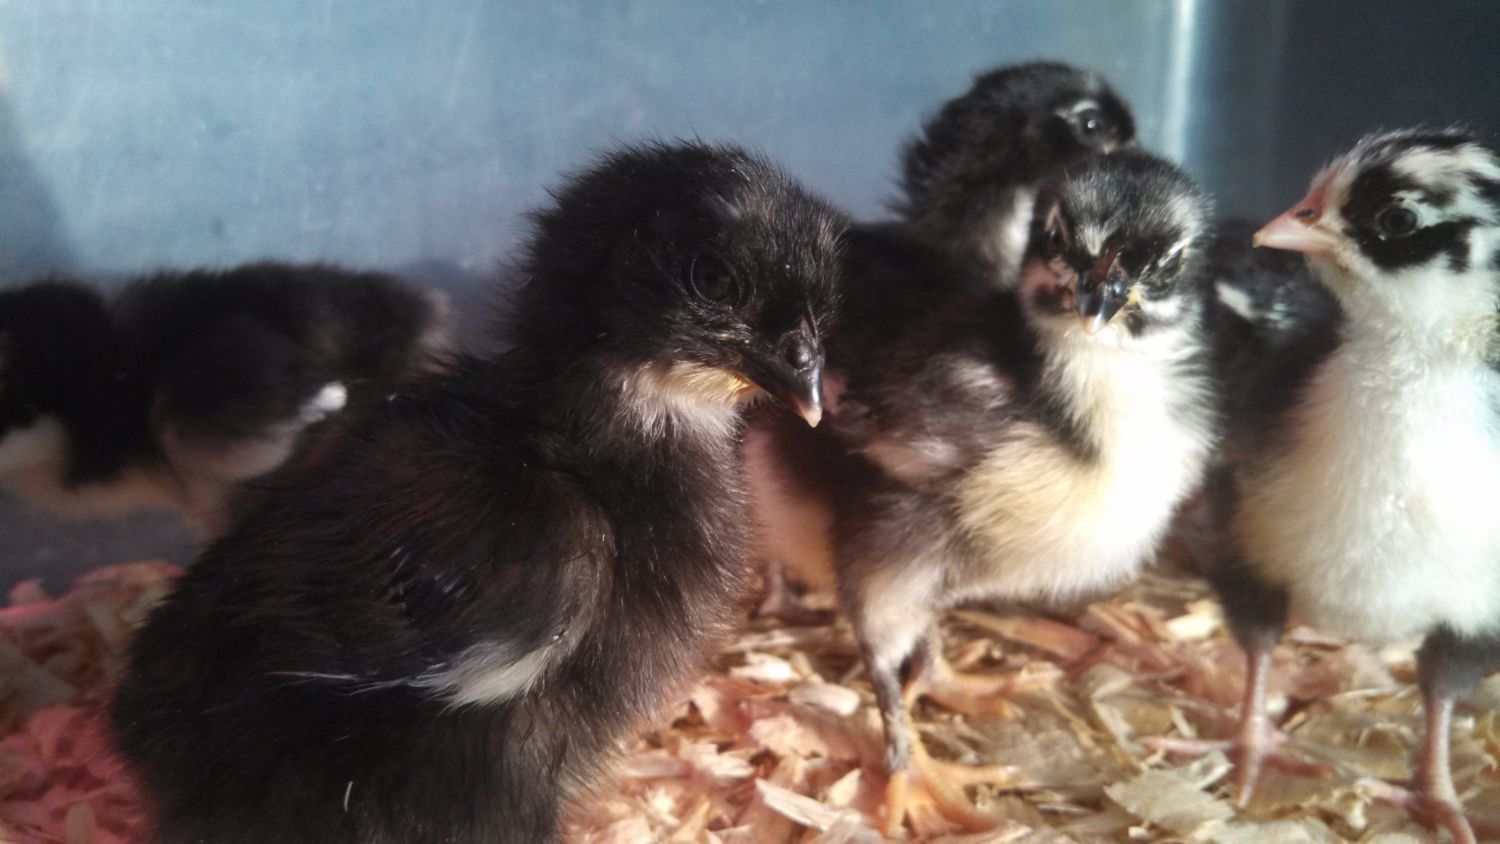
They would not hold still for the camera! If we were still in the 35mm days I would have shot two rolls to get these three pics.
The equipment: Two Little Giant forced air incubators with automatic turners, one Hova Bator 1602N still air incubator for hatching (with added computer fan), Extech 445703 Hygro-Thermometers, water wigglers, digital medical thermometer for checking water wiggler temperature, and cheapo thin sponges for the hatcher.
The eggs: All ordered through ebay. I won't go into too much detail on the first "clutch" of eggs because I failed to incubate them properly. They were handled more roughly in the mail than the ones I received later (badly ruptured air cells), but I was new to incubating and made a couple big mistakes. The second clutch of eggs came from five sources: two breeders of Black Copper Marans, two breeders of Swedish Flower Hens, and one breeder of American Bresse. I was very happy with these arrivals. Details on the SFH and American Bresse sellers and egg shipments were posted in another thread: https://www.backyardchickens.com/t/826242/swedish-flower-hen-chicks#post_12244016 . These eggs were very well-packed and fertility was great. As for the BCM, I was very pleased with their packaging and fertility as well. The BCM were received from sellers brwalden1975 and lowlight3. Both of these shipments came with a surprising number of extra eggs. (Every buyer may not receive as many extras as I did so I won't say how many, but I was very impressed.)
The method: Since all eggs were shipped, they sat pointy-end down, undisturbed for at least 24 hrs. I ran the first 18 days using the dry-hatch method, ignoring humidity as long as it stayed above 20%. I used a $9 walmart hygrometer and based on its reading, I never added water. I used the probe thermometers that came with the incubators. I calibrated them by using a ziploc bag full of water and wrapping it around the medical thermometer after hours of acclimation. I later learned that these probe thermometers cannot be trusted. They fluctuate wildly and calibration is impossible, and don't even think about using the thermometer that comes installed in the lid of the incubator. The first run was a complete loss.
For the second run I stepped up my game. I ordered better hygrometers. I meant to order the ones with the probe, but accidentally ordered the probe-less model. That turned out to be okay, as the hygrometer fits neatly beside the egg turner in the LG incubators and did not cause any interference with large eggs. I mostly ignored the temperature reading on this and relied on the water wiggler for temperature maintenance. The wiggler was kept in the incubator with the eggs. I would pull it out and stick the medical thermometer inside and squeeze it repeatedly to keep the water moving around the thermometer. I would take two or three readings to ensure accuracy. I learned not to move the thermometer around too much inside the water wiggler, as it would get hot rubbing against the rubber and give a bad reading. The hygrometer-thermometers always showed a higher reading than the wiggler test and I eventually learned how much to compensate for the difference and didn't need to check the wiggler temperature as often.
The first run had come out with huge air cells after incubation. On the second run I didn't adhere so closely to the dry-hatch methods I had read about. I added one to three tablespoons of water whenever the humidity dropped below thirty percent, depending on how low it was. If I came home from work and the humidity was at fifteen percent, I added three tablespoons. I found a good way to add water when the incubator is full of eggs. I bought some aquarium airline from walmart and a vet syringe from the Tractor Supply store. I poked a hole in the styrofoam lid, ran the airline down between the eggs, and added warm water from the syringe.
I candled on day 7 and culled clear eggs and those with a single blood ring (no veins). I candled again on day 18 and culled eggs that didn't have enough shadow. The BCM eggs were so dark that only the obvious clears were culled. I made pedigree baskets from 1/4 inch wire mesh to separate eggs from different lines. The Hova Bator incubator is so much better than the Little Giant for hatching. The LG has two tiny channels for water and holes in the bottom so you can't add water anywhere else unless you plug the holes. I work overtime and I can't be around to add water four times a day. The Hova Bator has a removable plastic tray for water. The tray covers the entire bottom of the incubator, has several channels and has a large channel in the center which is perfect for adding a sponge. I made the Hova Bator 1602N into a forced-air incubator by screwing an old computer fan inside the lid, right below one of the big vent holes. The computer fan was wired to a 12v DC adapter that I had laying around. (You can get computer fans and DC adapters on ebay.) This setup made for a great hatcher. I had to turn the red plug upside down and halfway cover the vent hole to keep the temperature and humidity steady.
Once the bottom was filled with water and a sponge and the plug was properly positioned there was no need for "lock down". The humidity recovered very quickly with this setup. I kept it around 60-65%. When a chick hatched I could crack the lid, snatch the chick out, replace the lid and put the red plug into the hole. The humidity would barely drop. Within minutes it would be back within the desirable range and the red plug could be pulled and turned upside down to cover half the hole. I used a powerful computer fan (90 cfm), but it was so close to the styrofoam that it didn't feel like it was blowing very hard. It took a couple days to get the temperature and humidity stabilized, but it stayed fairly manageable after it stabilized.
The eggs went into the hatcher in separate batches, because they didn't all start incubation on the same day. Day 19 for the American Bresse was day 18 for most of the BCM. On that day I came home from work and the temperature was at 103 degrees! I should have turned down the temperature knob when I added the BCM eggs! The body heat from all the added eggs evidently caused the fluctuation. The Bresse eggs were smaller than the BCM and that must have made the critical difference. Smaller eggs change temperature more quickly. None of the Bresse survived. One assisted-hatch Bresse chick died a few days after hatching. A couple days later, when none of the Bresse had hatched I inspected them and most of them had appeared to have died around day 19. Fortunately I did catch the problem soon enough to save several of the larger eggs.
It was so exciting when they first began to pip! After six weeks of waiting the cheeping of a chick is the most beautiful song! The third one to pip hatched the next day after pipping. The first and second ones were dead in the shell when this one hatched. After a third chick died in the shell after pipping I made a new rule: If a chick pips and doesn't hatch within twelve hours, daddy's coming to the rescue. With that rule in place, most of my hatched chicks were assisted. I assume that the need for assistance was due to the fact that they were mail-order eggs and had experienced a rough life already. This is an assumption, mind you. All I know is that twelve hours after pipping, every chick I helped was ready to hatch, breathing well and not bleeding.
The chicks are one week old now (give or take a day for the staggered hatch) and the final count is: two Swedish Flower Hens (one from each breeder) and eight Black Copper Marans (five from one breeder and three from the other)!
I had told myself that if only one survived it would have been a success. I knew that hatching wouldn't be easy and that shipped eggs pose an even greater challenge. What better way learn than jumping in the deep end?
What I learned:
1. Tabletop incubation is not easy. You may buy an egg turner so you can leave and go to work, but you may find a temperature spike when you get back home. It is not an easy venture for absentee owners, or anyone else for that matter.
2. Shipped eggs are for the rich, famous, and/or chicken math challenged. (I personally love chicken math, 'cause I'm crazy like that.)
3. Don't count your...
Okay, enough with the typing already! Here'some pictures of my new lil' chickies:
The first two to hatch, SFH on top, BCM below
SFH front and center with the white-mottled head, the rest BCM
They would not hold still for the camera! If we were still in the 35mm days I would have shot two rolls to get these three pics.
Last edited:
