- Thread starter
- #31
Eggcentric NanaJ
Nanna's Eggcentric Laybrary & Eggcademy
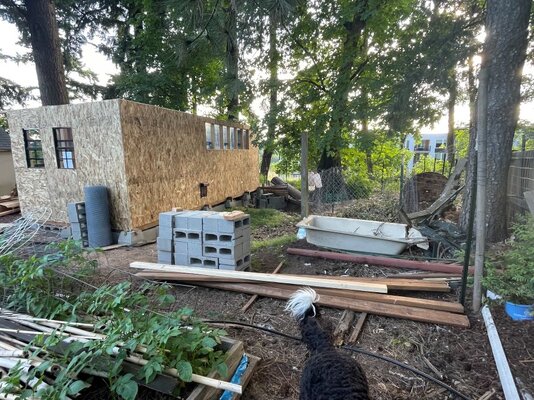
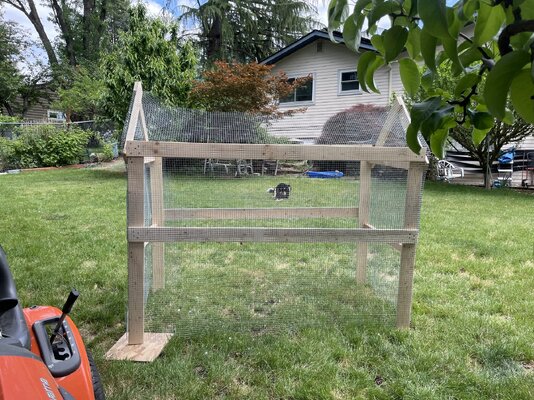
I am almost ready to start painting the inside and outside of the coop. I took a break and modified the brooder to expand the space the chicks have. Initially I constructed it outside then realized there was no way it would fit through the door. SO ~~ apart it came and putting it back together was quite quick. They really like it!!
Attachments
-
 BGUZ7336.JPG1.1 MB · Views: 5
 -
 BICS4229.JPG215.5 KB · Views: 4
 -
 IMG_8694.JPG255.3 KB · Views: 5
 -
 IMG_8704.JPG185.8 KB · Views: 6
 -
 IMG_8705.JPG233.2 KB · Views: 4
 -
 IMG_8706.JPG192.8 KB · Views: 3
 -
 IMG_8707.JPG210.3 KB · Views: 5
 -
 IMG_8710.JPG235.1 KB · Views: 3
 -
 IMG_8708.JPG188.2 KB · Views: 3
 -
 IMG_8711.JPG285.1 KB · Views: 2
 -
 IMG_8712.JPG266.1 KB · Views: 4
 -
 IMG_8715.JPG192.8 KB · Views: 5
 -
 QRSJ3201.JPG270.8 KB · Views: 6