My new coup... with ??

cwlongshot

In the Brooder
8 Years
Oct 11, 2011
38
0
22
Connecticut
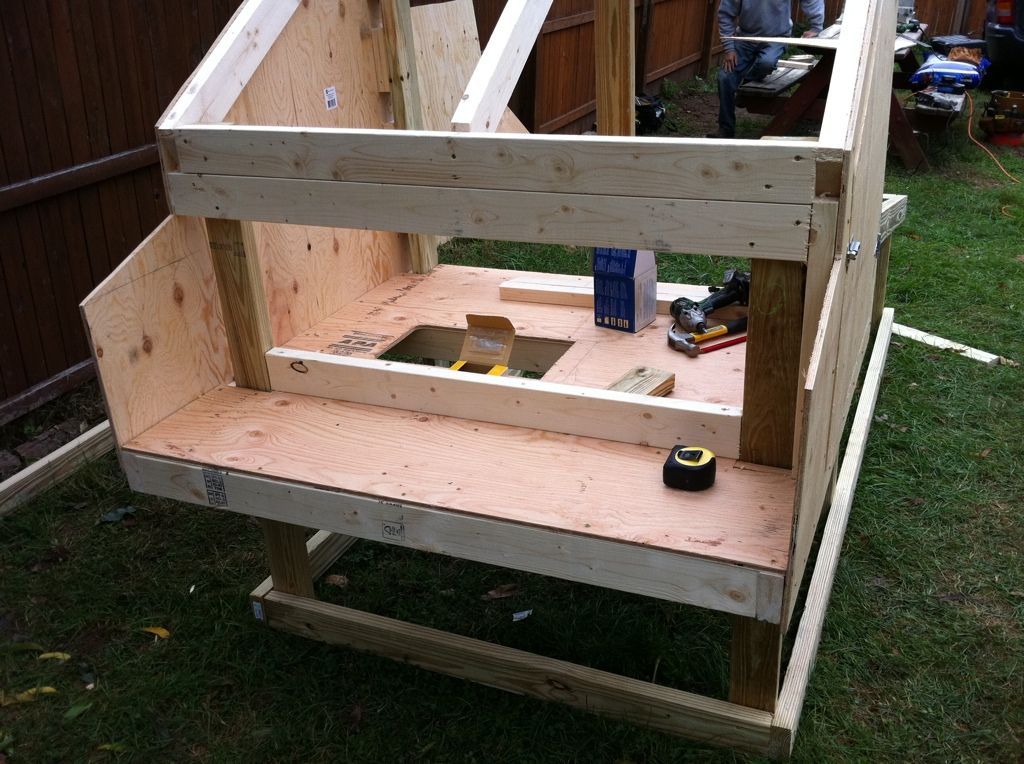
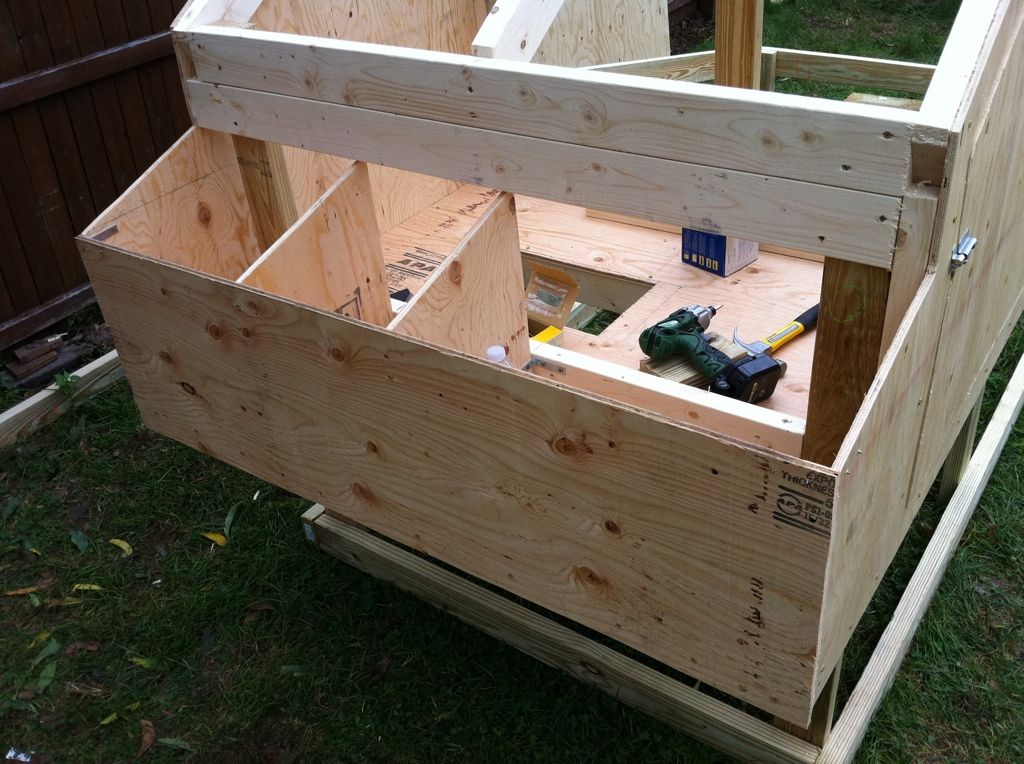
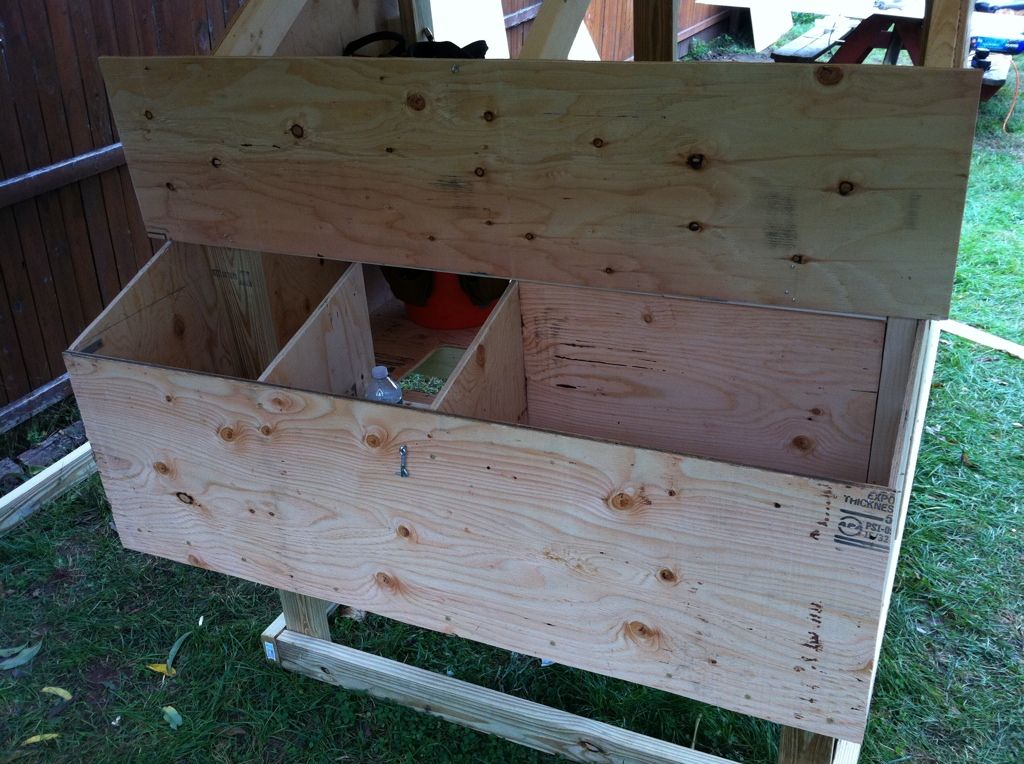
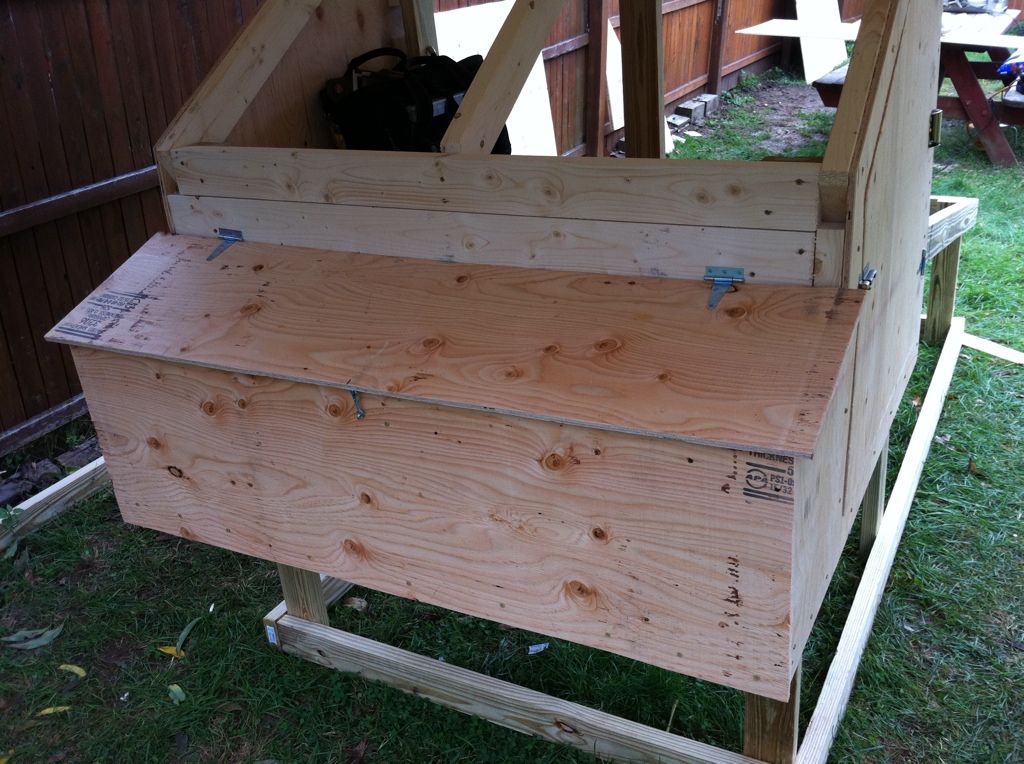
We made allot of progress today on the coupe... Pics later...

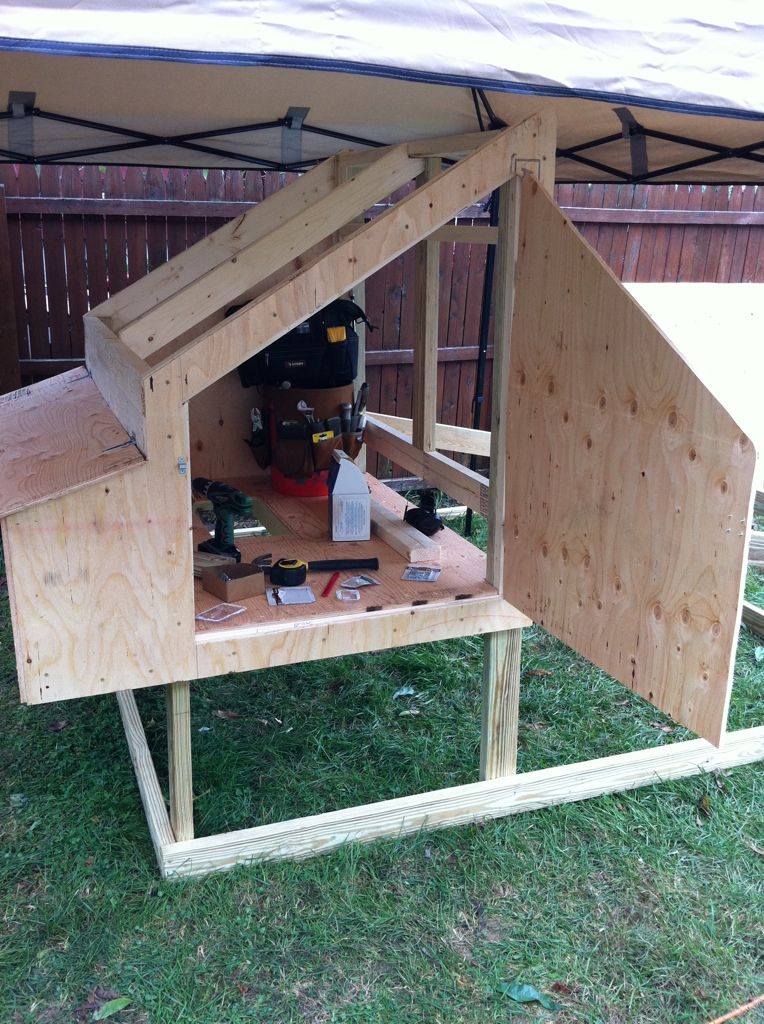
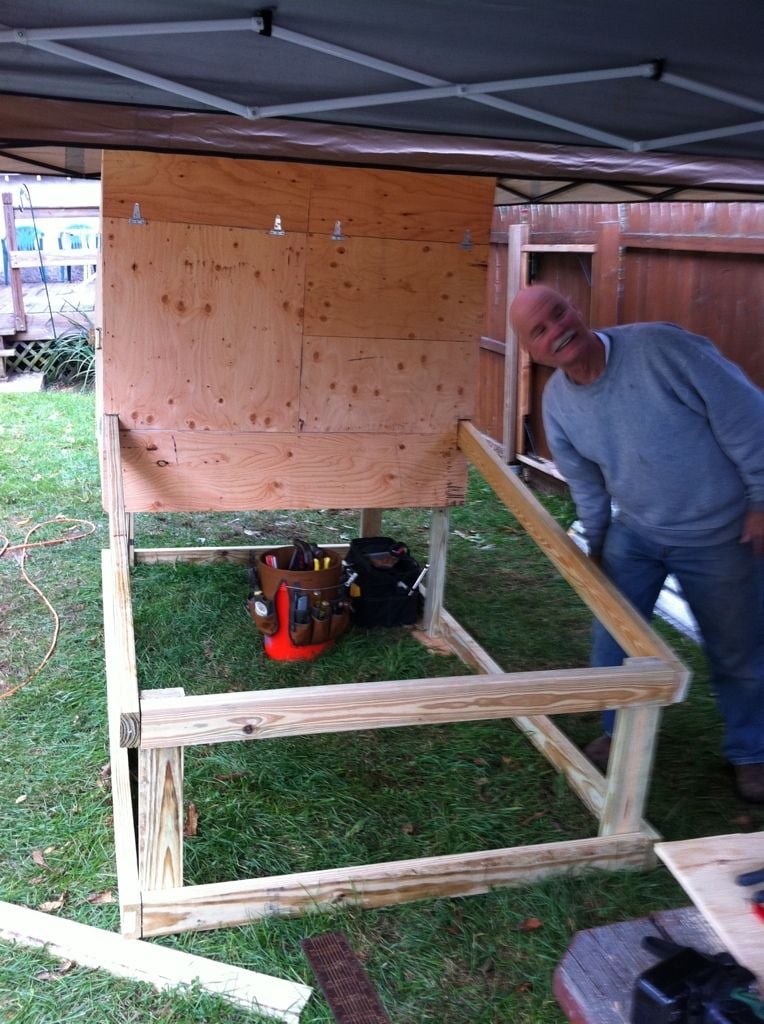
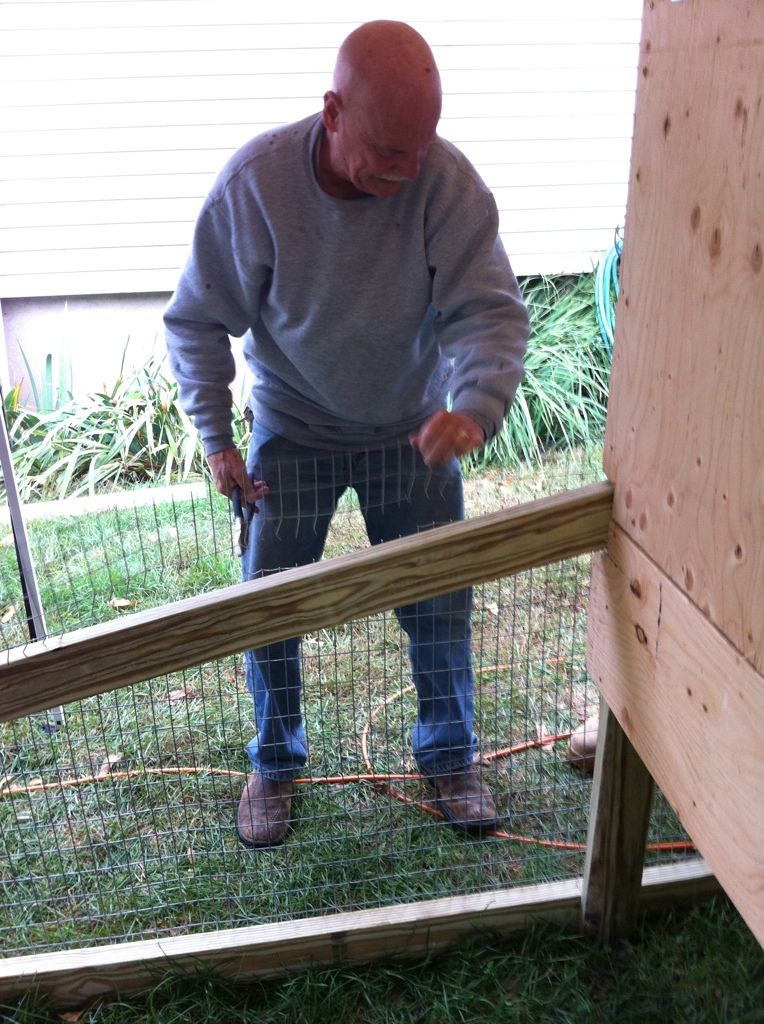
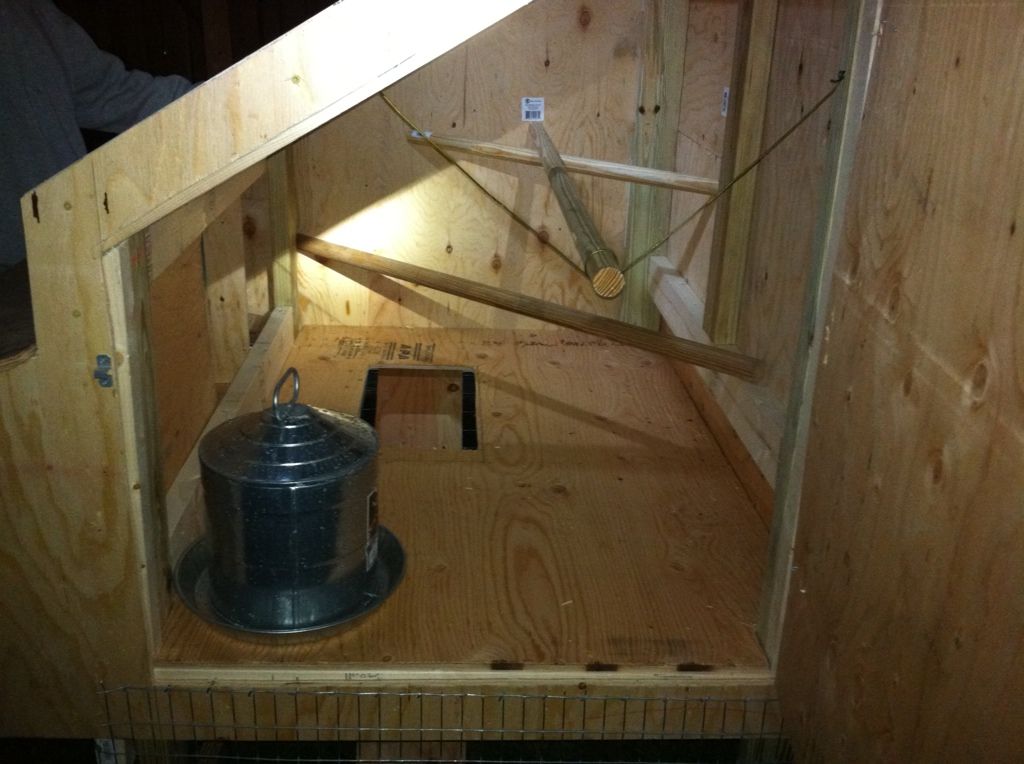
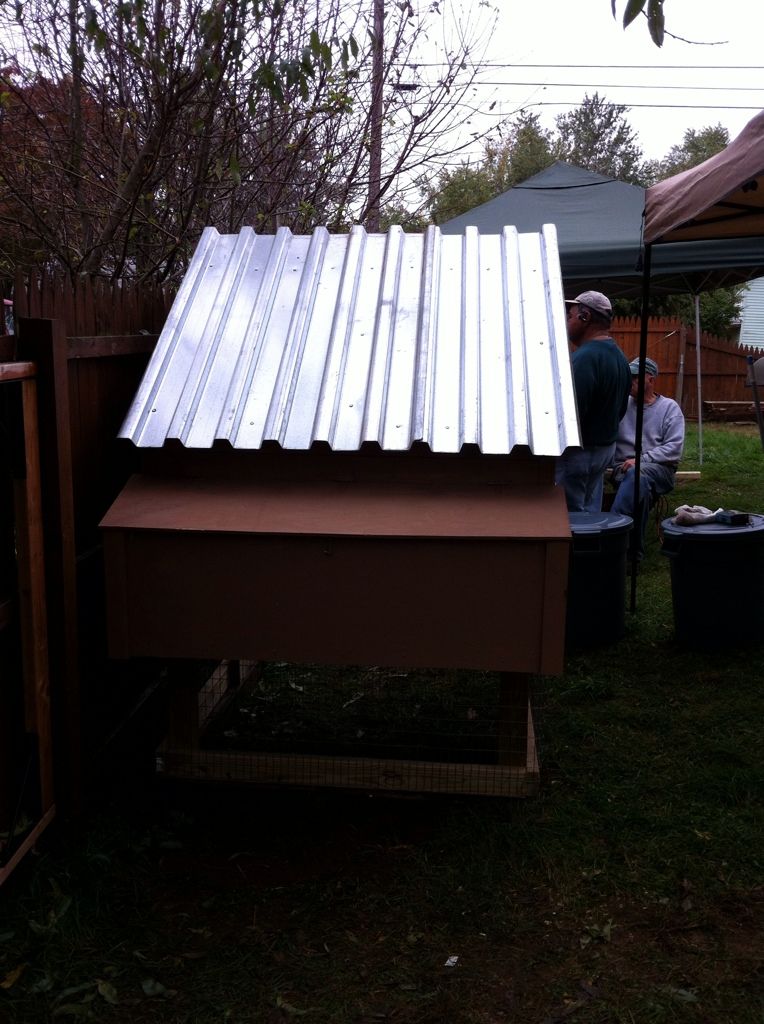
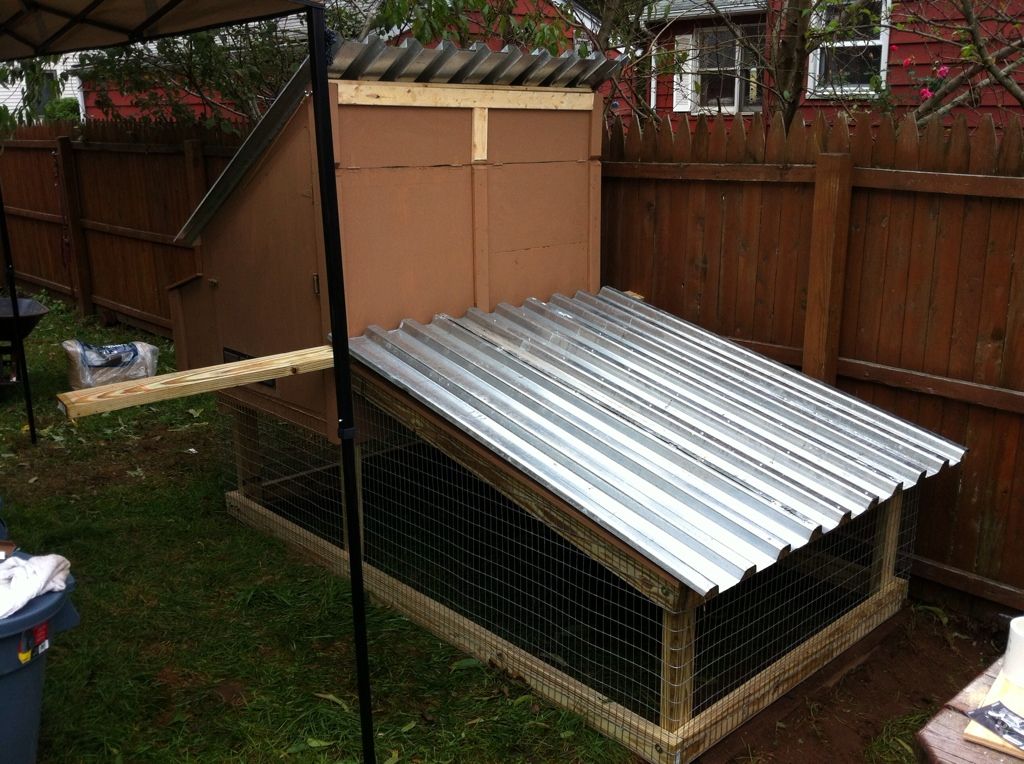
Got to work on the ramp and lift of the ramp, roof on the pen and the coupe. I wanted to use that blue closed cell foam as some extra insulation in the floor and ceiling... then got to thinking maybe I would do the walls as its easy and cheap enough...

What do you guys think?

CW
 
Last edited:
Personally I like insulation. If your coop has windows (free heat in winter), or if you ever plan on supplemental heat, it pays to insulate. If your housing isn't tight, insulation helps to keep out drafts. Just remember that even with insulation, you still need ample ventilation. And insulation does need to be covered with something (at least the stuff they can reach), because they will peck at and eat it. Now if your coop is tight, and doesn't have windows, I don't know that I'd bother with insulation in the walls...it wouldn't hurt anything, but I also don't know that it'd help anything.
hu.gif
 
Thank you for the comments!
I was concerned about that.... I don't really want to have to cover everything inside...

Maybe I'll just do the roof and floor...

Its constructed pretty tightly, I have added two vents in the top of the tall wall, 7" wide and 48" long with doors on them. (its a shed roof) I can stop them open at any degree. I know I need some ventilation but unsure where to allow it in...

CW
 
Here is some pics of what I have so far...

First off here is my plans...

Chickencoop001.jpg


I haven't stuck to it 100% as things come up that are or seem to be better... But its a good place to start.


$212 for the trip to Home Depot for supplies and its time to start...

Got the basic foot print and up rights screwed together...

3c90b5d3.jpg


Then got the floor in...

2ee546c9.jpg


Then the side walls...

263f67e0.jpg


The laying/storage box...

3118b7eb.jpg


4587e303.jpg


ff696452.jpg


9a00f45e.jpg


The side door the clean things out...

4493d05f.jpg


Then the back wall...

baa972a2.jpg


Now for the wire...

5aaa25d9.jpg


Running out of light today... But here is a shot of the inside and a quick mock up roost...

601f5799.jpg


More to come..

CW
 
Last edited:
Quote:
I would not, and did not insulate. The air space is plenty. You don't need heat either, in my opinion you don't want any heat. It is not beneficial, actually quite the opposite.

If you think about it, the coop needs to be ventilated, and ventilated well. The net result of that ventilation will be heat (and hopefully moisture) loss. Spending money on insulation gives you no benefit whatsoever.

Very nice lookin coop. Passion and precision are a very good combination.
 
Nice job! I agree with the previous post. One thing I would change are the roosts. I would use a 2x4 with the wide side laying flat so the chickens can roost with their feet covered. I did that for my layers and it makes a big difference for wintertime. No frostbite on the feet. Your top vents are great and I never closed mine in the winter unless we had a blowing snow storm. As an fyi, you can build a cheap cookie tin water heater for your waterer for the winter. Just search for it on the forum. Worked great for us this past winter. Cant wait to see the finished product!
 
Today wasn't as productive as I would have liked... we did not finish. But we are close and can safely house the birds if we get rained out tomorrow as forecast...

We started the day with some errands and a doctor visit, then a trip back to the home center for more supplies... Another 120$
roll.png


After reading about proper ventilation I bought four screened and louvered 4"x10"covers. I drilled 3/3" holes and covered them with the louvers. I put then in each side of the coup.

e6106304.jpg


847b2c11.jpg


ae07606f.jpg


eeaa2c79.jpg


I also got a coat of stain on the outside of the coup too! Got that for $5 as it was a wrongly mixed color. Its good enough for a chicken coup! Then I got the roof on.

bf1ac3de.jpg


3de92f9a.jpg


The ramp is done and I even added a hinge and a cord to close it at night. Lastly I started on the roof over the run.


This is where we stalled, as we needed more 2x4's and didn't have them... SO, back to the home center... again!! LOL Tomorrow I will frame out the roof and attach it and the hinges, Caulk a couple spots and a second coat and trim color and its good to go!!

Her is how it should look once done..

52d4944b.jpg


All comments welcome,
CW
 
Last edited:
looking good
just couple thing missing a door one the bottom
and vent near the top because that where the heat need to exape because heat rises
 

New posts New threads Active threads

Back
Top Bottom