Everlong
Chirping
Ok, built went fine with the Chinese temp control, thumbs up to china for coming up with a piece that was 6$ shipped.
My "box" is 18x12x18. 100w bulb.
it takes it half an hour to get to 37.5C which is 99.5 which I think is too long. As soon as I start the fan to recirc the air It drops dramatically.
My questions are:
1. is my incubator too tall?
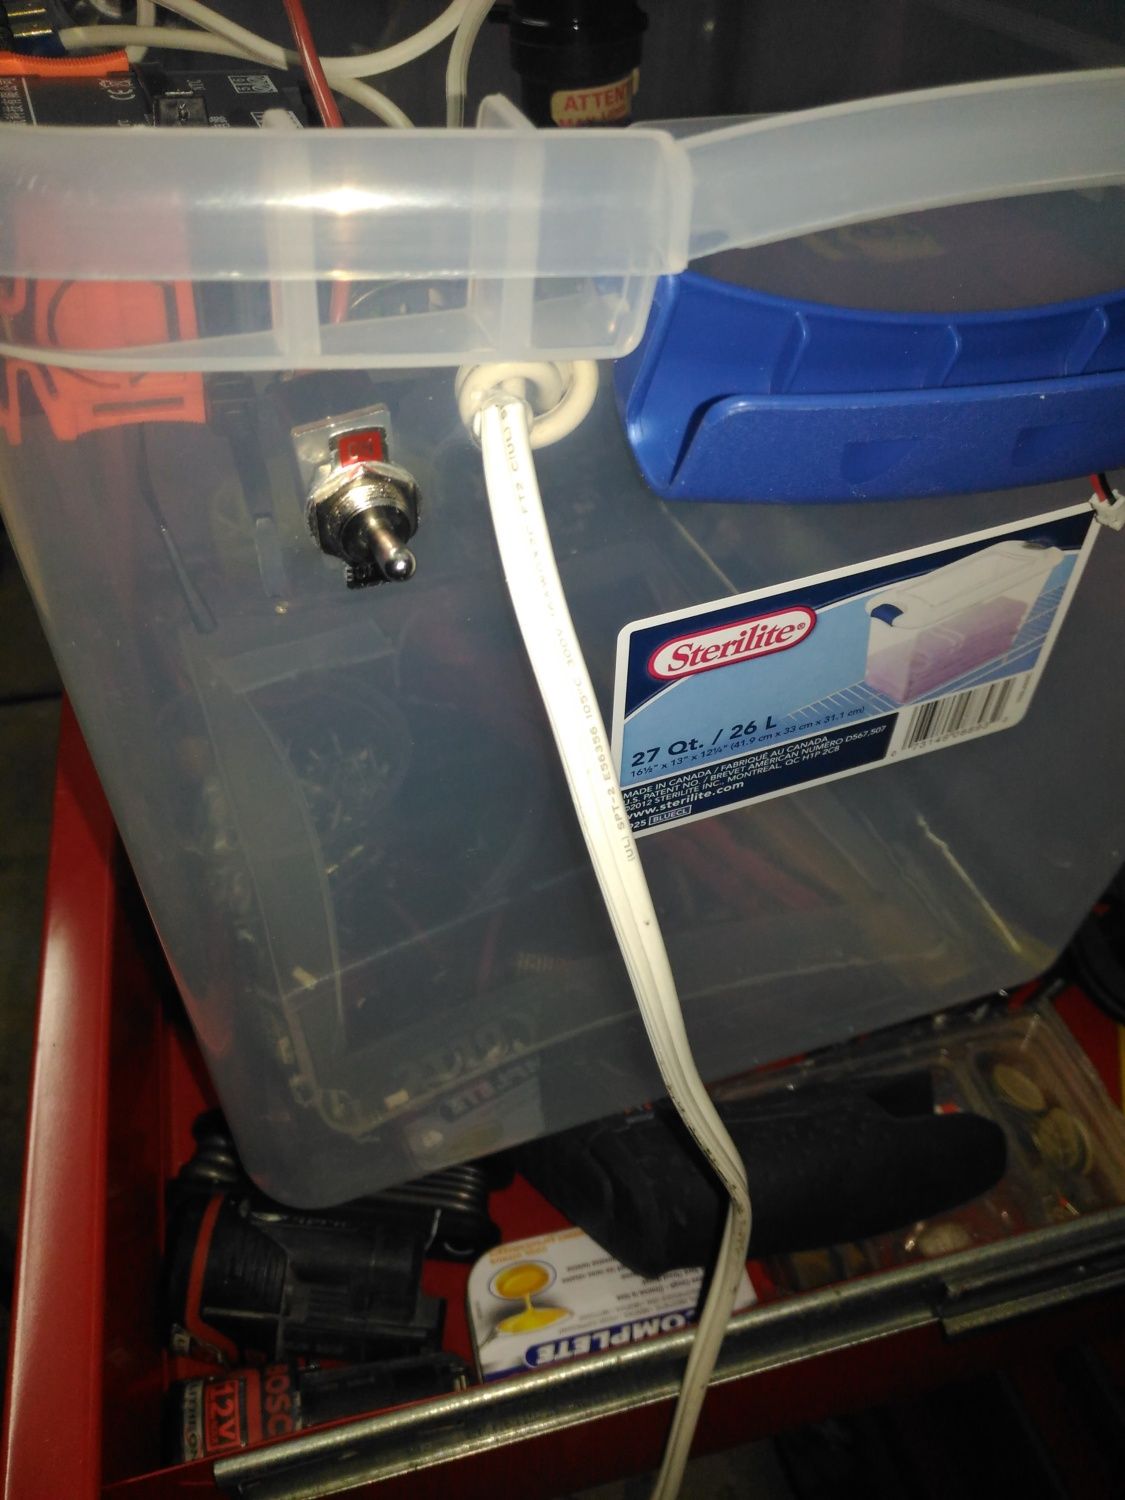
2. how do I control the 12v fans? at the same time as 120ac comes on? or separately?
3. is my box, being 18" high too high?
4. is a cooler the only option? I would like to see more. Yes I know its insulated, what bulb?
5. Fan! I see people use case fans, which are 4", my fan was only 2 and it failed.
6. suggestions?
here are the pics...

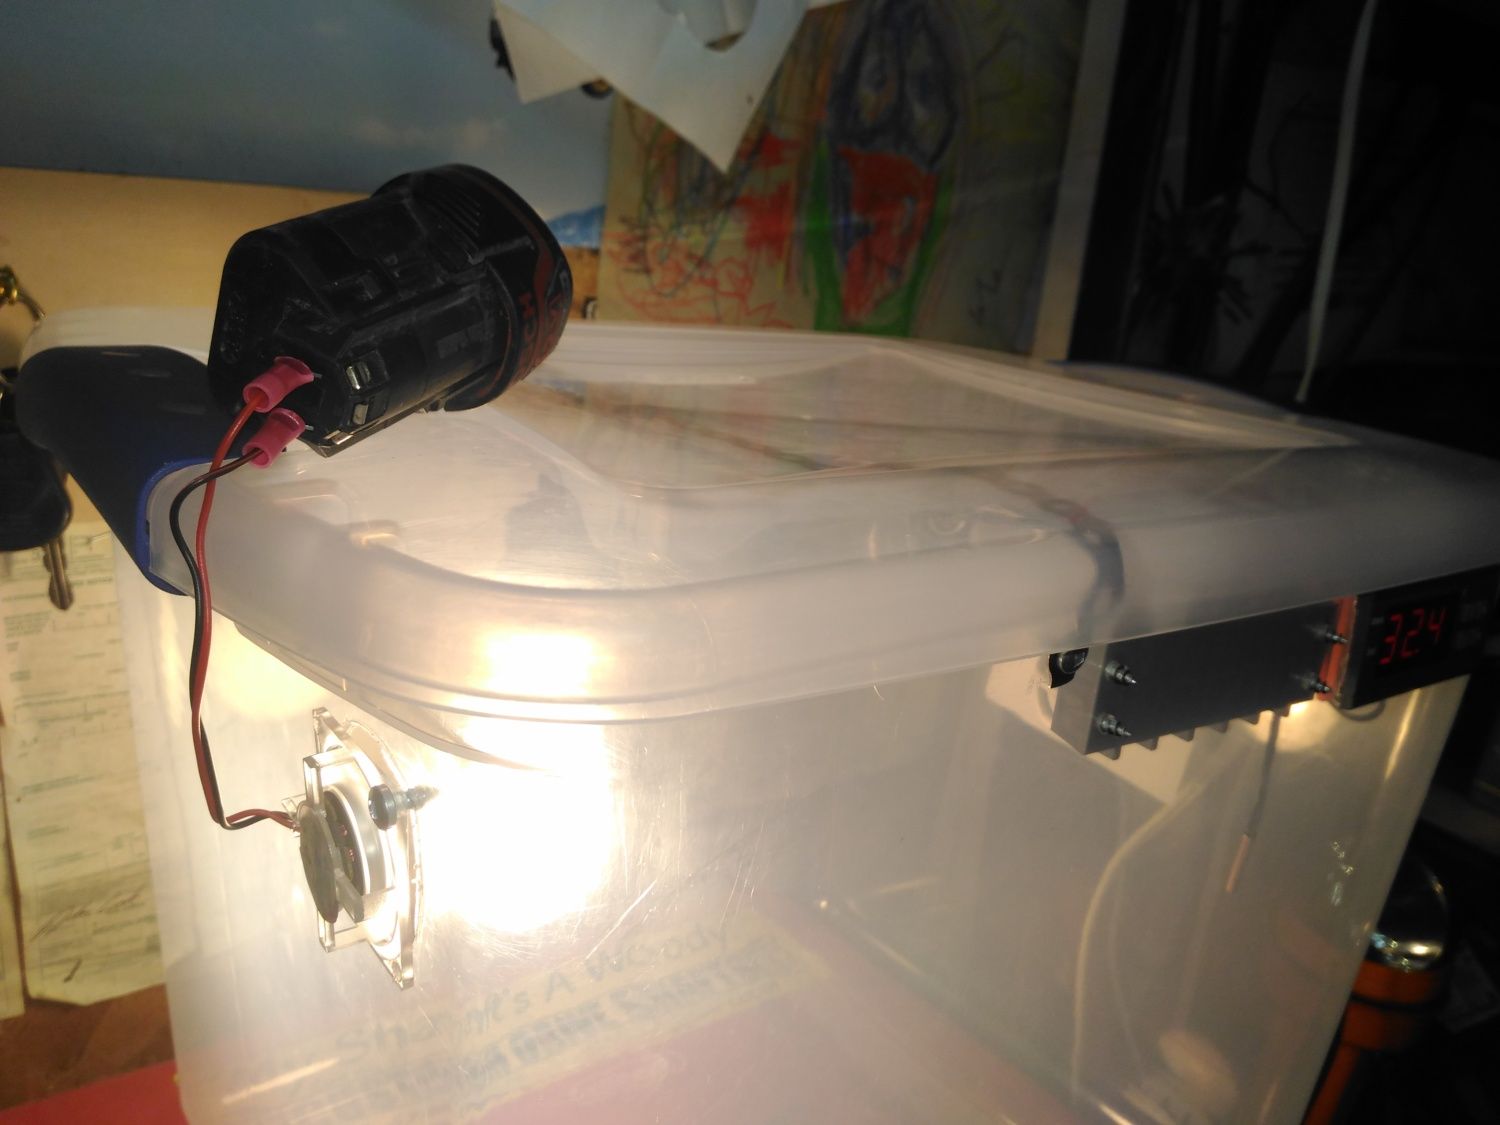

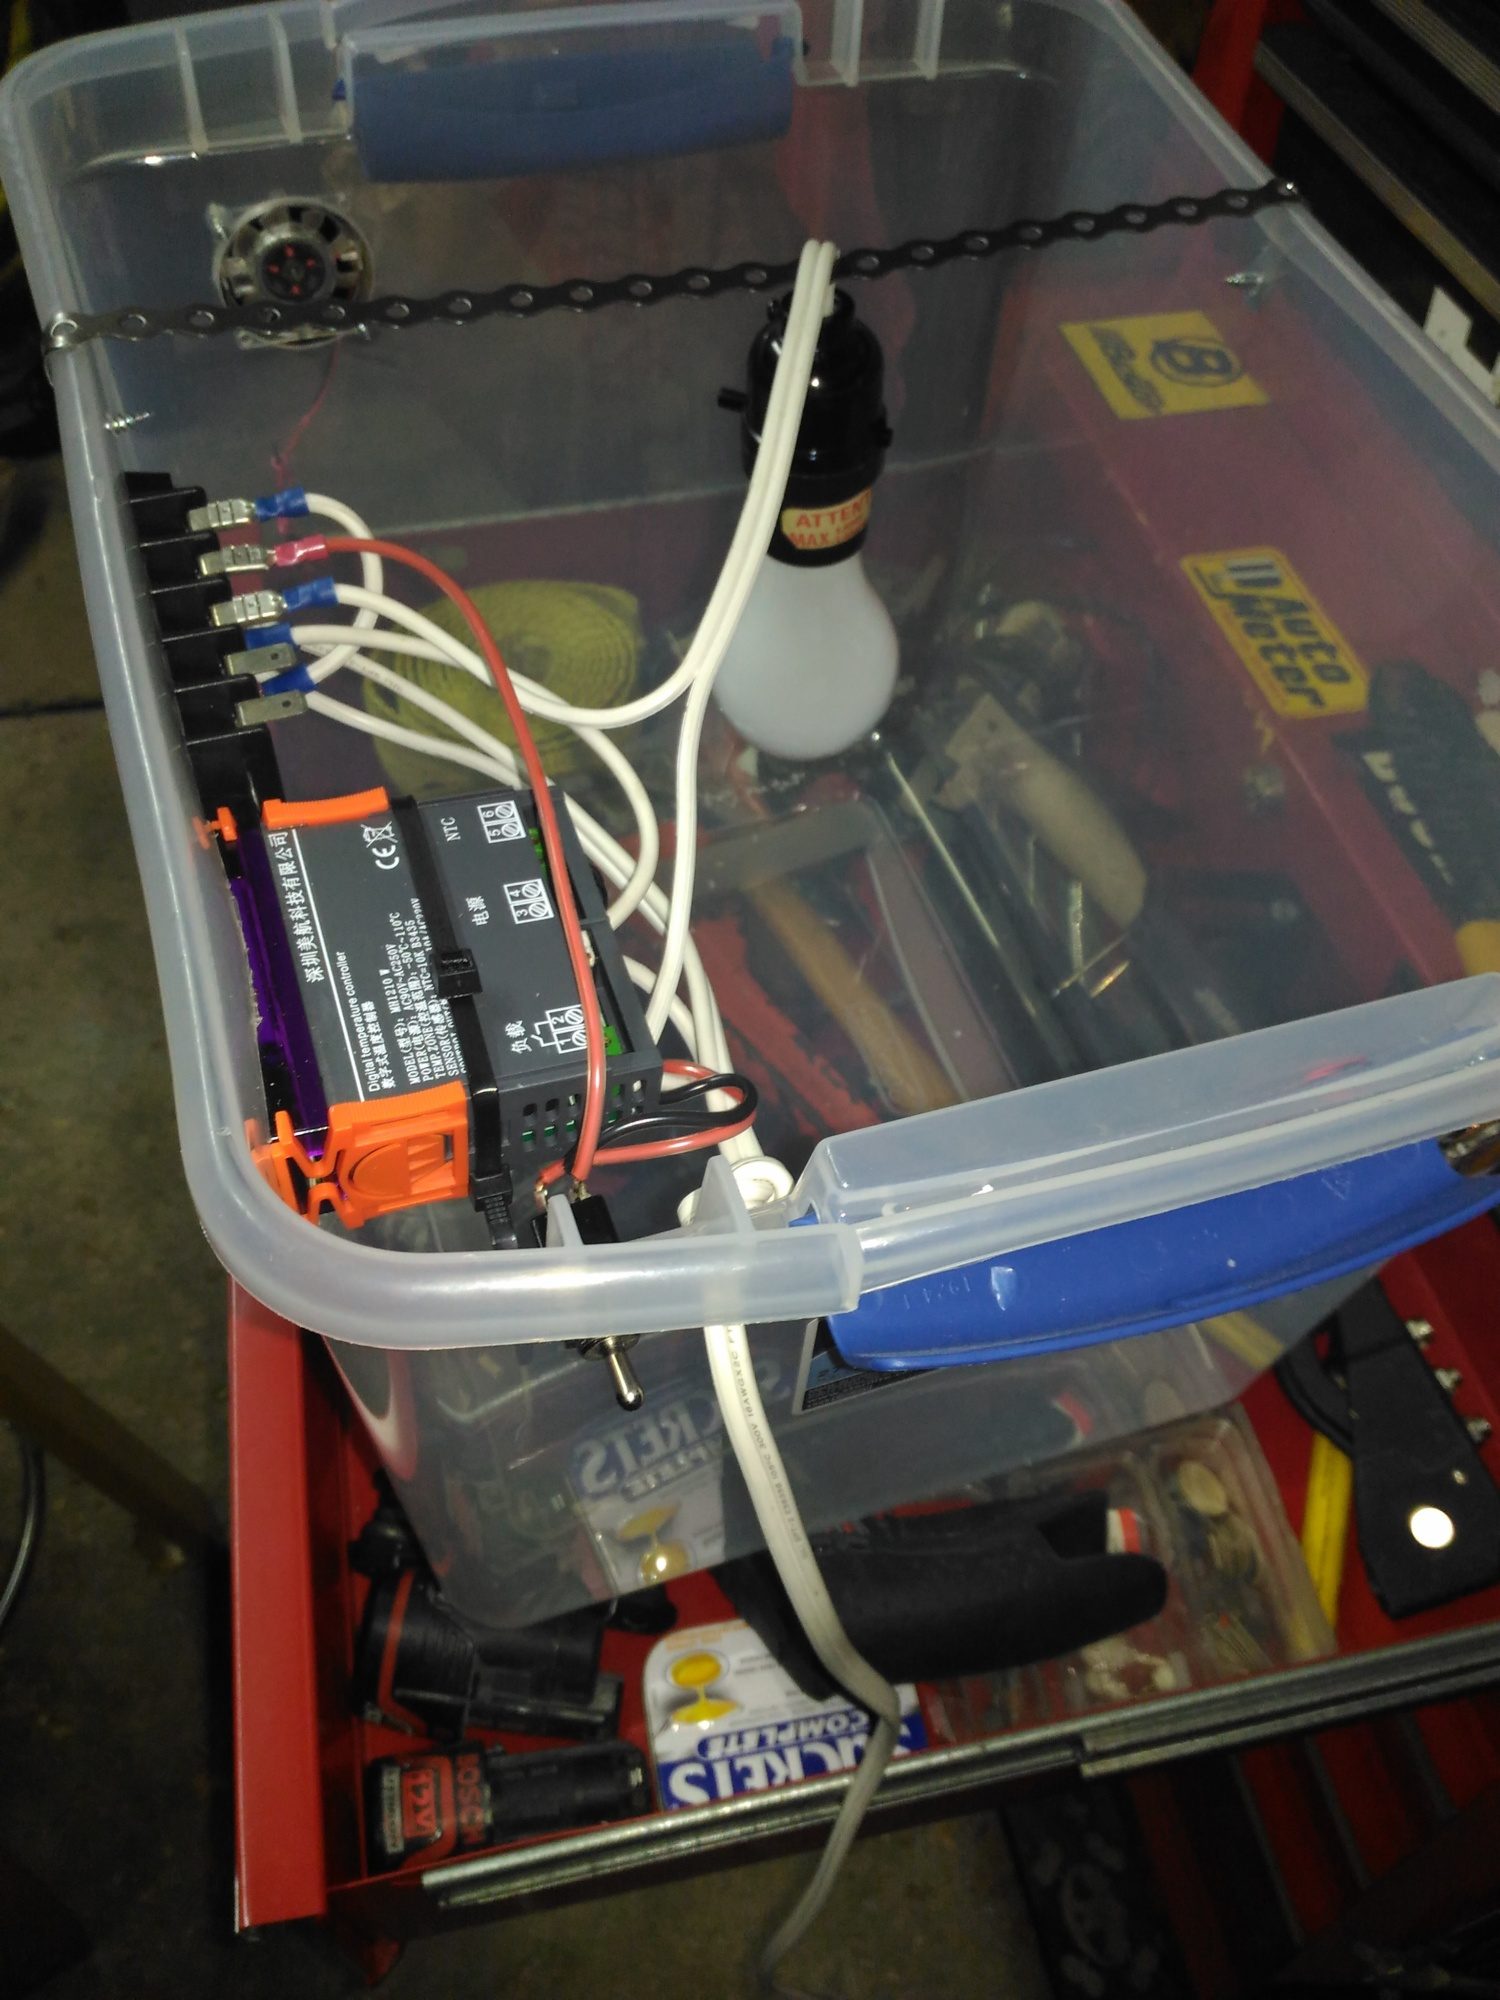
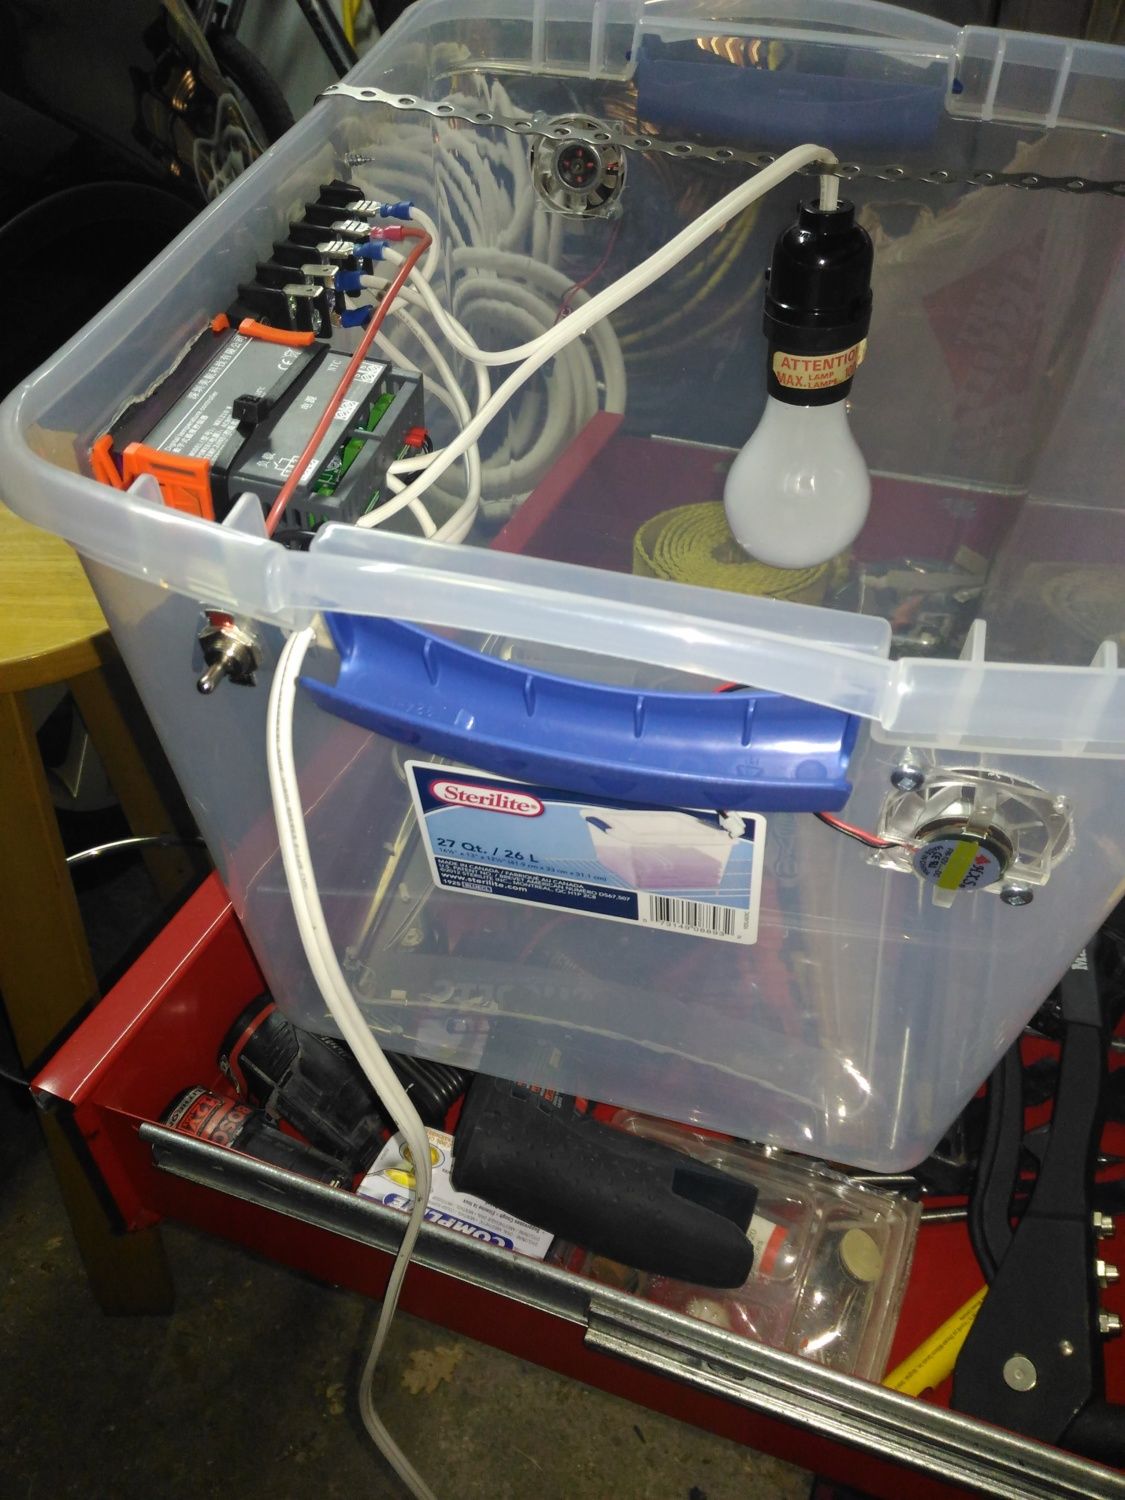
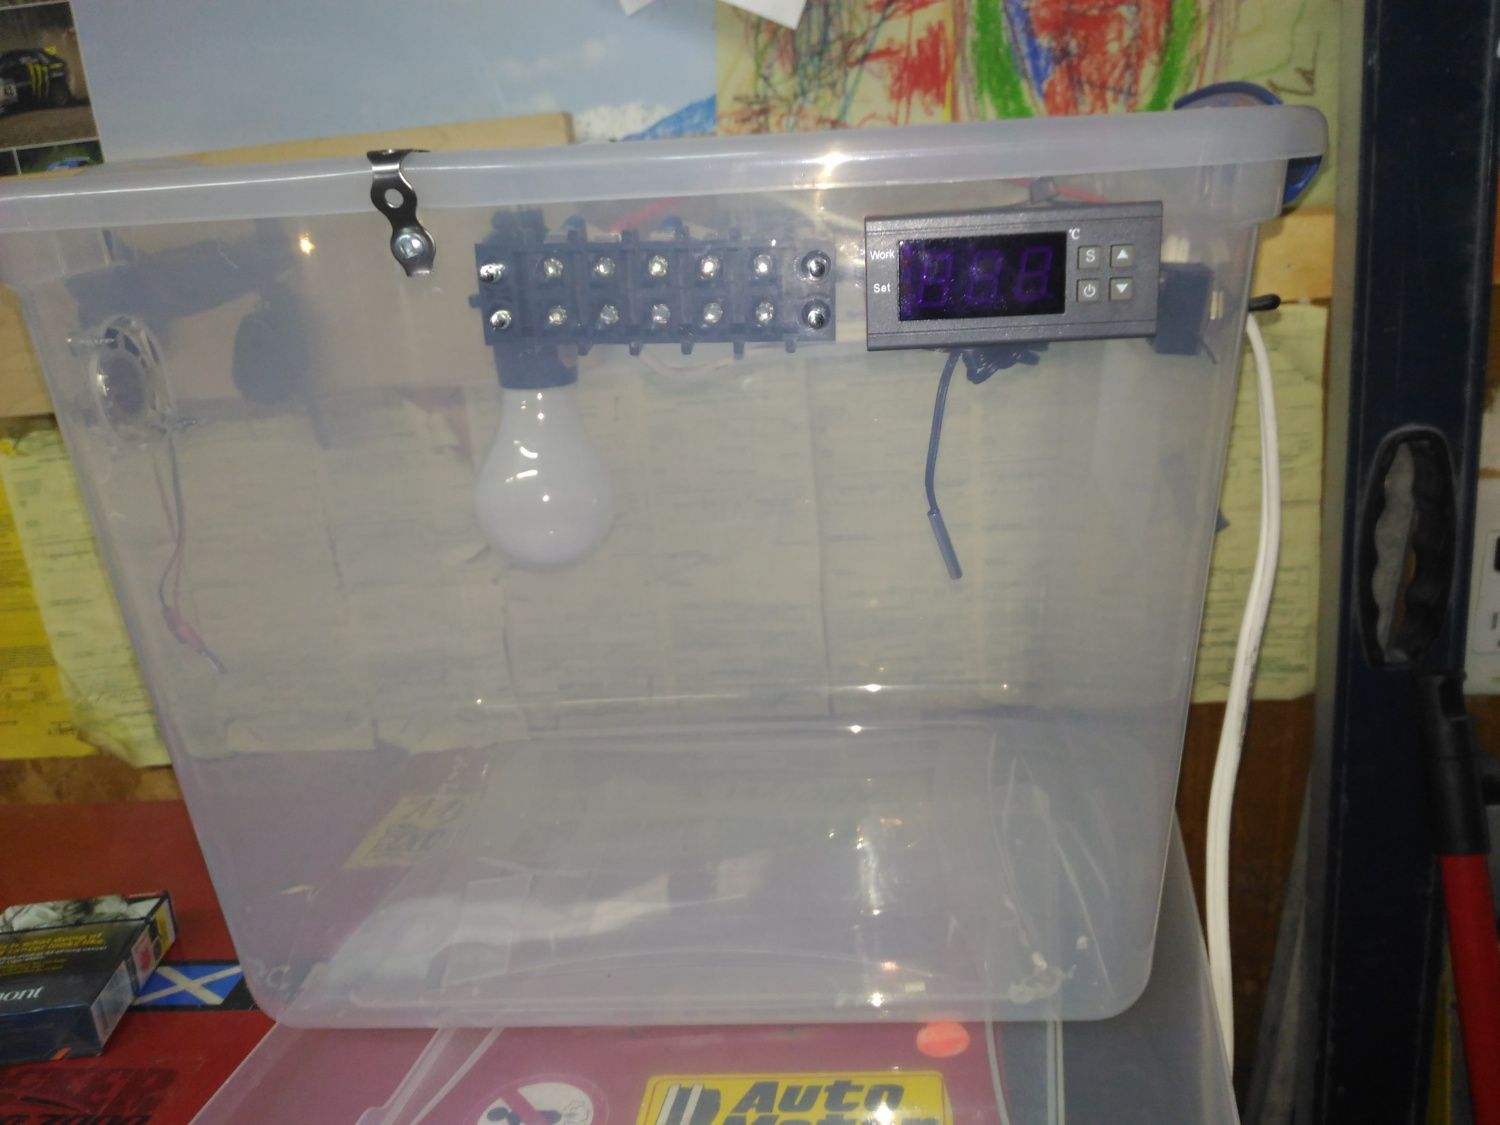
My "box" is 18x12x18. 100w bulb.
it takes it half an hour to get to 37.5C which is 99.5 which I think is too long. As soon as I start the fan to recirc the air It drops dramatically.
My questions are:
1. is my incubator too tall?
2. how do I control the 12v fans? at the same time as 120ac comes on? or separately?
3. is my box, being 18" high too high?
4. is a cooler the only option? I would like to see more. Yes I know its insulated, what bulb?
5. Fan! I see people use case fans, which are 4", my fan was only 2 and it failed.
6. suggestions?
here are the pics...
")
") But don't tell him I said that haha!
But don't tell him I said that haha!