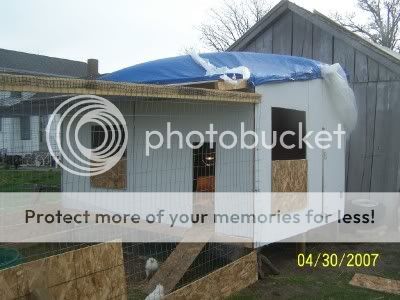
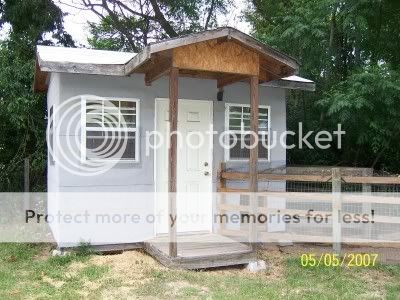
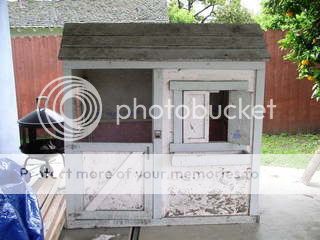
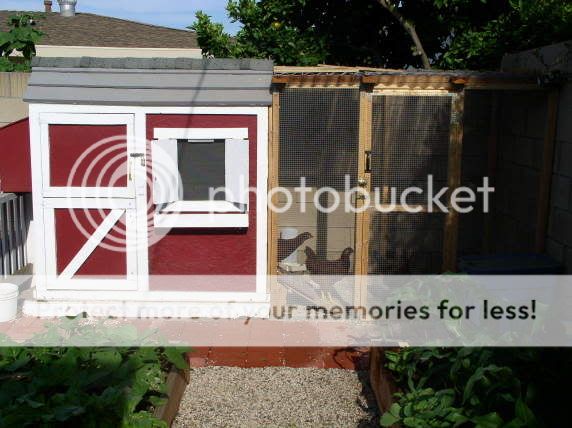
This is a Economy Coop, I built with no plans and I just adapted as I went along. Not Beautiful but totally fundtional.
The total cost of materials that I purchased was around $140. this does not include paint or roofing material. I had some around here from a previous project. You can get tar paper for around $ 12 or search for a discount or surplus yard. I paid $ 7.00 a bundle for the shingles at such a place. I also used insulation in the roof under the shingles and across the back wall. I used a foil coated foam designed for under layment for wood floors. I had that on hand and I will help deflect the sun in summer more that anything else. I had to place a layer of plastic sheeting over the foam because the chickens will peck at it as I found out in a previous coop.
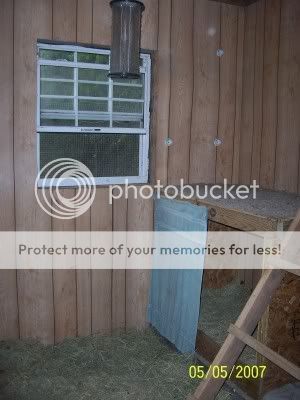
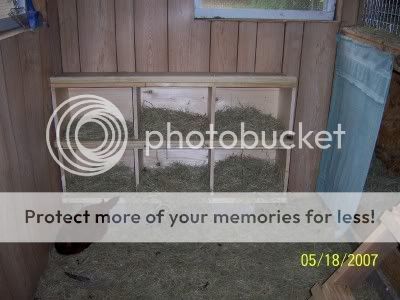
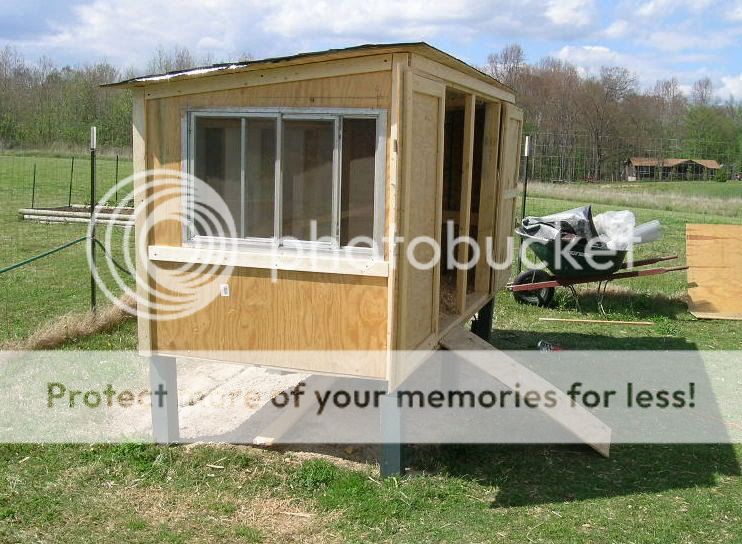
I did have some things laying around here and I found the window at a garage sale for $3.00. My orginal idea was to put a vent in that side.
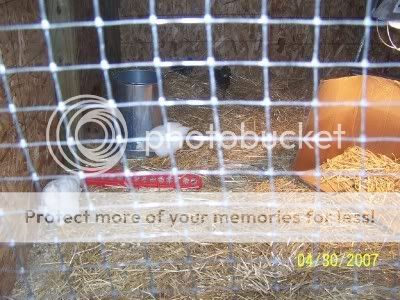
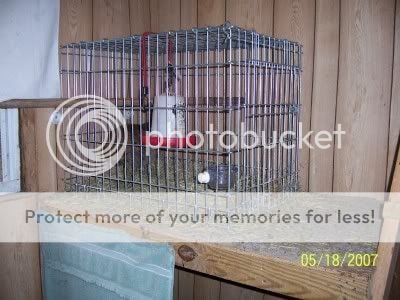
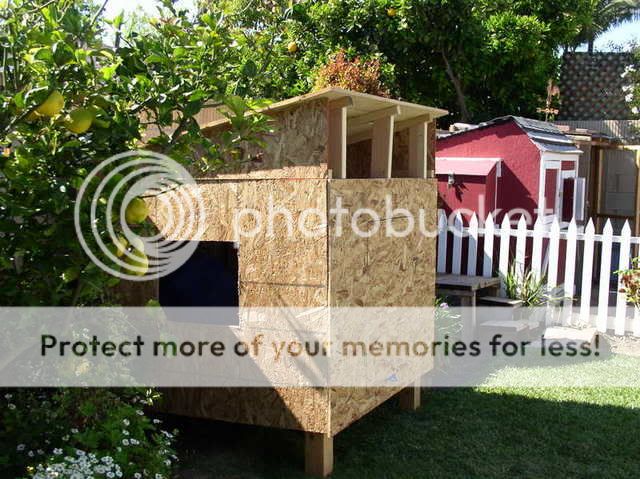
This little hutch type coop will hold 8 standards and up to 12 bantams.

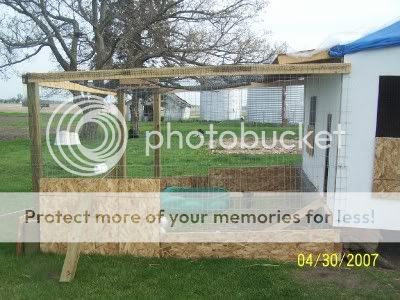
I started by attaching 2x4's to a piece of 4x8' plywood. I left 1/2" space along the sides of the board for the siding to sit on later on. I then attached that to 6, 16" 4x4 posts. I like the elevated coop because I can reach in and clean it out easily and it gives shade underneath as well as reducing the cost substantially. It also make a small space for the birds to maintain their body heat in the winter.
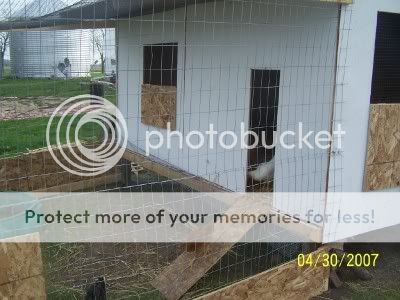
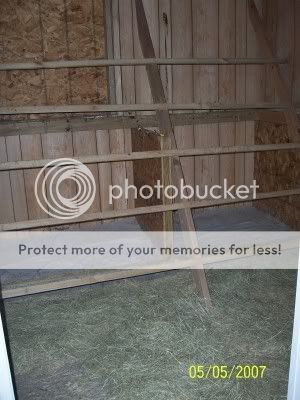
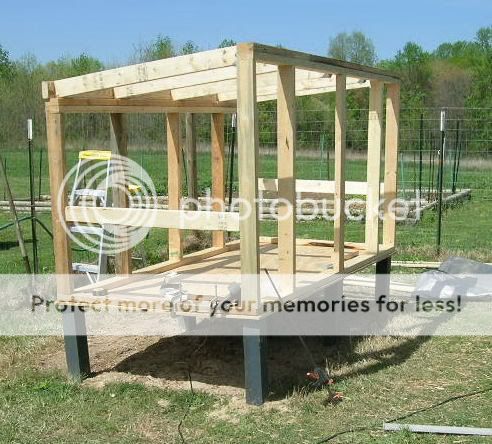
To make the wall frame you can do one of two things. Construct it to fit your dimensions and then place it on the floor and screw or nail it into the floor section or, as I did, I screwed the boards to the floor section one at a time by toenailing the screws to the stud and the floor. I then attrached the top board screwing the top board across the top of each stud. On the front section I adjusted it for two doors that are about 30" each. You can make your door width whatever you want. Actually one wide door would work better but I like to use two so the daytime opening is not so big. I don't build a chicken door so one side stays open all day. I used the metal joist hangers available at the hardware stores for the roof joists. It makes it easier and you don't need to cut angles. In order for them to fit properly, I found that I needed to add a second 2x4 across the top.
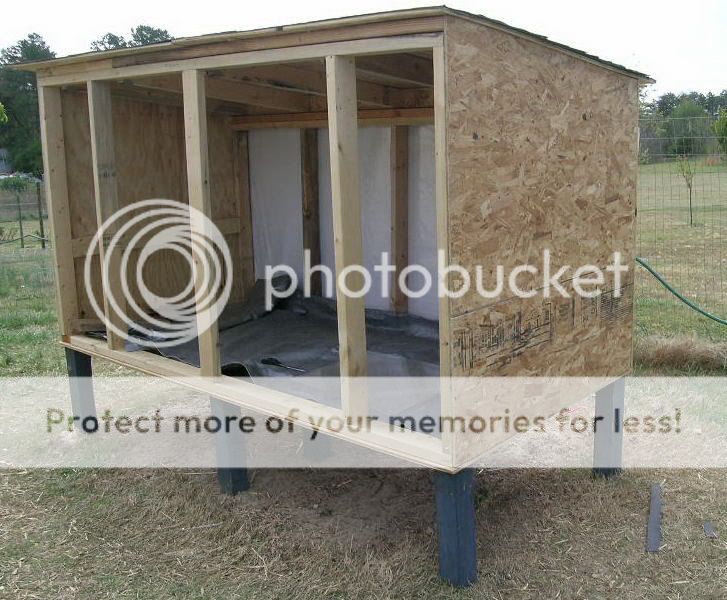
I had my biggest problem with the doors. This is where knowing someone who had some carpentery skills would be helpful. The plywood was slightly bowed and it did not want to fit snugly. I will probably replace one door later on. I just cut the plywood to fit the opening leaving a small space at the middle where it rests on the center stud. This stud I placed on the frame with the 4" side facing outward so I would have plenty of room for the doors to meet and not leave any space for draft.
All that is left is to paint it and apply some rubbermaid no slip shelf liner to the ramp for the chickens to go in and out and that will be all there is to it. Also I need to mention the openings on the front are covered with screening I have frames that I will attache plastic sheeting to and then hang them. I may wait till winter if the rain does not go in to bad if so I will hinge along the top and just have them lifted up 6 or 7 inches and propped open with another piece of wood.
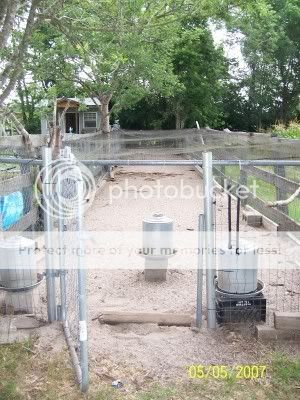
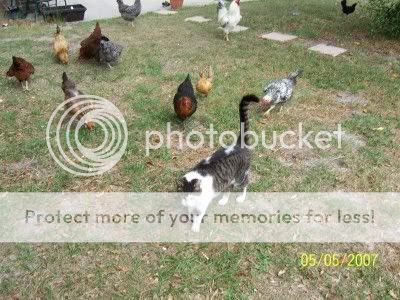
I would be happy to answer any questions you have, feel free to email me and I will try to help. This is the 5th unit I have made to house different groups of chickens so I am getting better at this construction thing. I don't usually have a plan since they are usually not designed for my particular limitations or needs. This unit sits in a fenced area about 30x50 and I may section some of that off to allow some space for my others to range somewhat during the nice weather. Like I said, It is not professional or beautiful but it is functional and if you are just starting out the cost is not so staggering as going to Loewes or Home Depot and investing 6-8 hundred dollars for an 8x8' building.
The total cost of materials that I purchased was around $140. this does not include paint or roofing material. I had some around here from a previous project. You can get tar paper for around $ 12 or search for a discount or surplus yard. I paid $ 7.00 a bundle for the shingles at such a place. I also used insulation in the roof under the shingles and across the back wall. I used a foil coated foam designed for under layment for wood floors. I had that on hand and I will help deflect the sun in summer more that anything else. I had to place a layer of plastic sheeting over the foam because the chickens will peck at it as I found out in a previous coop.
I did have some things laying around here and I found the window at a garage sale for $3.00. My orginal idea was to put a vent in that side.
This little hutch type coop will hold 8 standards and up to 12 bantams.
I started by attaching 2x4's to a piece of 4x8' plywood. I left 1/2" space along the sides of the board for the siding to sit on later on. I then attached that to 6, 16" 4x4 posts. I like the elevated coop because I can reach in and clean it out easily and it gives shade underneath as well as reducing the cost substantially. It also make a small space for the birds to maintain their body heat in the winter.
To make the wall frame you can do one of two things. Construct it to fit your dimensions and then place it on the floor and screw or nail it into the floor section or, as I did, I screwed the boards to the floor section one at a time by toenailing the screws to the stud and the floor. I then attrached the top board screwing the top board across the top of each stud. On the front section I adjusted it for two doors that are about 30" each. You can make your door width whatever you want. Actually one wide door would work better but I like to use two so the daytime opening is not so big. I don't build a chicken door so one side stays open all day. I used the metal joist hangers available at the hardware stores for the roof joists. It makes it easier and you don't need to cut angles. In order for them to fit properly, I found that I needed to add a second 2x4 across the top.
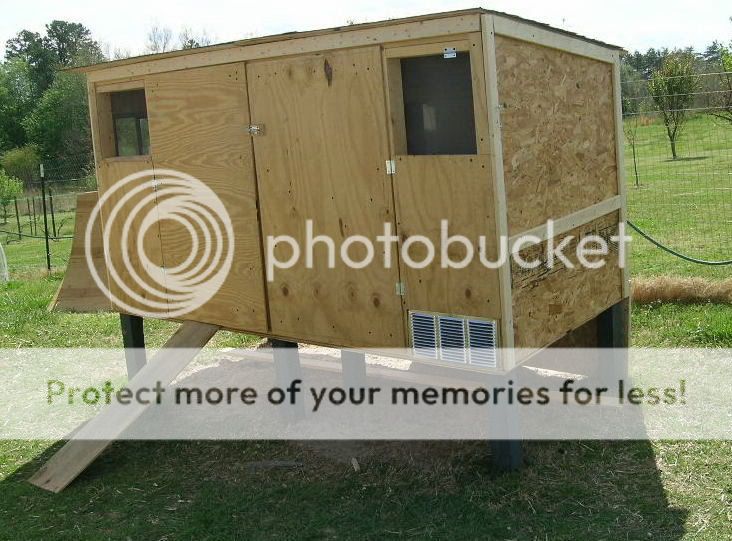
I had my biggest problem with the doors. This is where knowing someone who had some carpentery skills would be helpful. The plywood was slightly bowed and it did not want to fit snugly. I will probably replace one door later on. I just cut the plywood to fit the opening leaving a small space at the middle where it rests on the center stud. This stud I placed on the frame with the 4" side facing outward so I would have plenty of room for the doors to meet and not leave any space for draft.
All that is left is to paint it and apply some rubbermaid no slip shelf liner to the ramp for the chickens to go in and out and that will be all there is to it. Also I need to mention the openings on the front are covered with screening I have frames that I will attache plastic sheeting to and then hang them. I may wait till winter if the rain does not go in to bad if so I will hinge along the top and just have them lifted up 6 or 7 inches and propped open with another piece of wood.
I would be happy to answer any questions you have, feel free to email me and I will try to help. This is the 5th unit I have made to house different groups of chickens so I am getting better at this construction thing. I don't usually have a plan since they are usually not designed for my particular limitations or needs. This unit sits in a fenced area about 30x50 and I may section some of that off to allow some space for my others to range somewhat during the nice weather. Like I said, It is not professional or beautiful but it is functional and if you are just starting out the cost is not so staggering as going to Loewes or Home Depot and investing 6-8 hundred dollars for an 8x8' building.
Last edited: