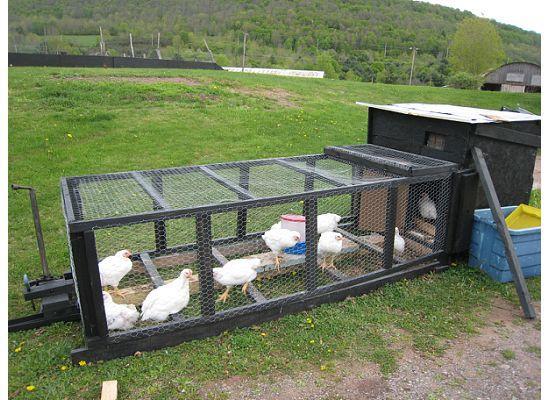
The Chicken Tractor for the "Meaties"
In the spring of 2010, I built a chicken tractor for the Cornish Rock Cross meat chickens I was going to raise. Like my coop, I used scrap lumber, except for the 6x6 post that I used for the "axle", and some of the "hardware". The "coop" part of it is roughly 3'x3' and the pen is 3'x8'. It was mainly built using 2x3s, scrap plywood and luan, plus a old cabinet door.
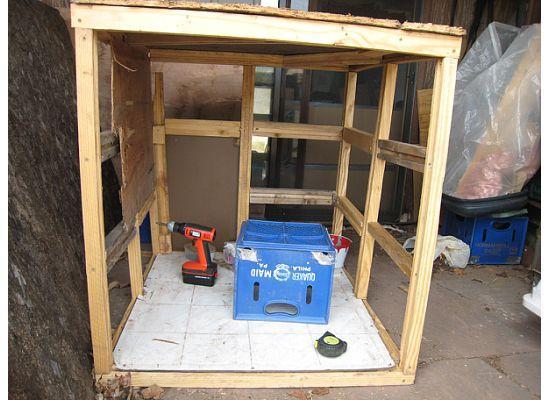
Here it's framed out except for the one side; the door and flooring installed;
plus the plywood for the roof and part of one side put on:

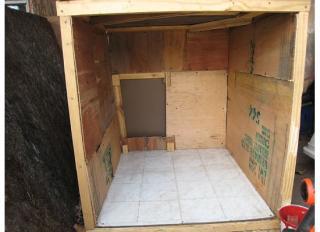
Luan on the inside of coop - lots of scrap pieces:
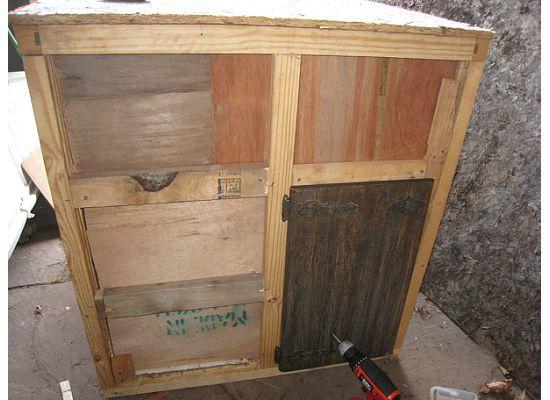
The outside of the coop with cabinet door installed:
Insulation & outside plywood installed,
metal roof screwed down, framing for run started, and the
outside of the coop "painted" with roof cement
.
(cheaper than paint, waterproof, helped "glue" and "seal" the scrap
plywood and black color provided extra heat for chicks in early spring;
dried to semi-hard finish")
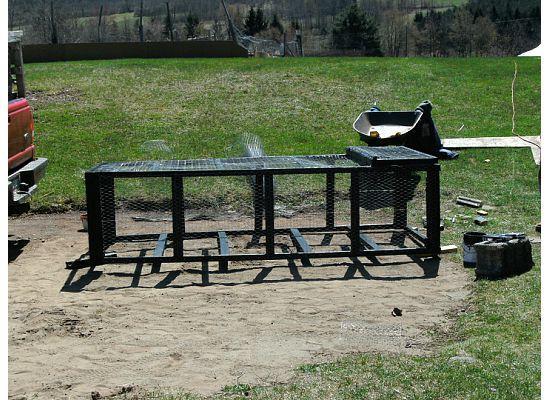
Run painted and chicken wire stapled on;
Hinged opening for "coop clean-out" access:
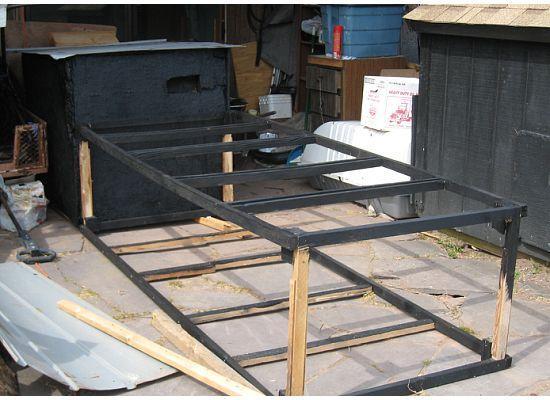
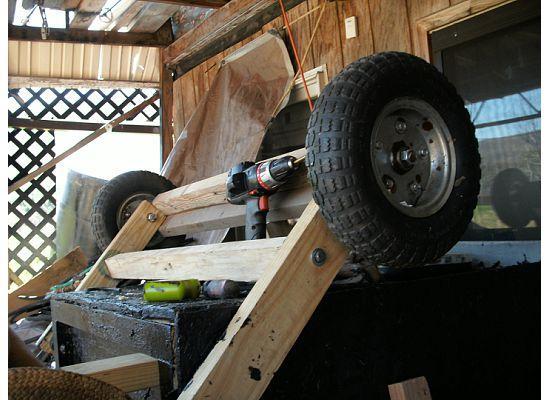
Up close view of wheel assembly being built by my brother;
The tires came from a metal wagon that had rusted out.
"Legs" under coop being installed (lower left corner of photo).
In the spring of 2010, I built a chicken tractor for the Cornish Rock Cross meat chickens I was going to raise. Like my coop, I used scrap lumber, except for the 6x6 post that I used for the "axle", and some of the "hardware". The "coop" part of it is roughly 3'x3' and the pen is 3'x8'. It was mainly built using 2x3s, scrap plywood and luan, plus a old cabinet door.
Here it's framed out except for the one side; the door and flooring installed;
plus the plywood for the roof and part of one side put on:
Luan on the inside of coop - lots of scrap pieces:
The outside of the coop with cabinet door installed:
Insulation & outside plywood installed,
metal roof screwed down, framing for run started, and the
outside of the coop "painted" with roof cement

(cheaper than paint, waterproof, helped "glue" and "seal" the scrap
plywood and black color provided extra heat for chicks in early spring;
dried to semi-hard finish
Run painted and chicken wire stapled on;
Hinged opening for "coop clean-out" access:
Up close view of wheel assembly being built by my brother;
The tires came from a metal wagon that had rusted out.
"Legs" under coop being installed (lower left corner of photo).
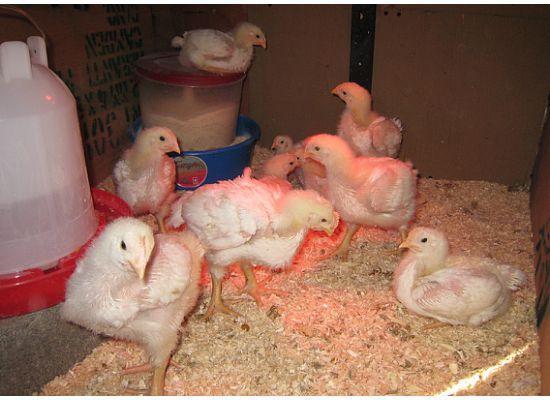
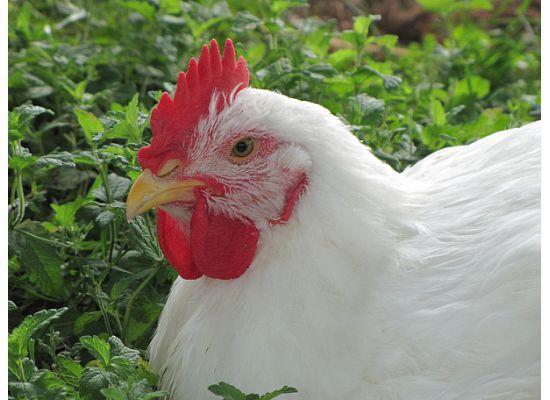
Two-week-old Cornish x chicks "testing out" the run before it's finished.
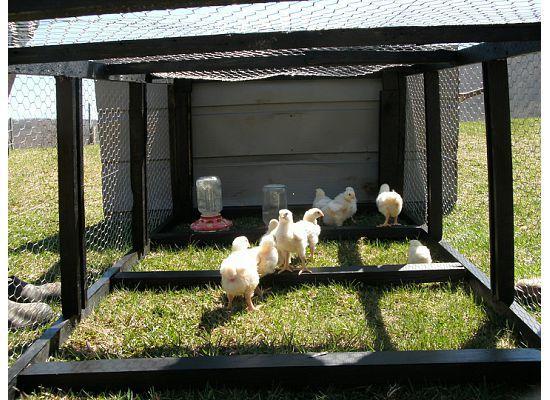
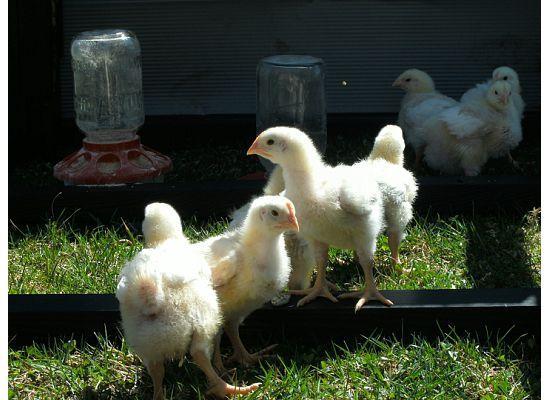
The 3-week-old Cornish moved in on April 20th!
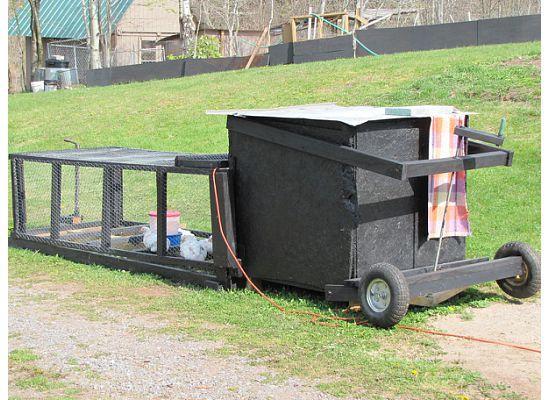
The Finished Product
It took about 2 weeks to build,
not working every day - April 7th - 20th
Cost: about $70
The "system" for raising the coop is hard to explain, but
hopefully the pictures will help.
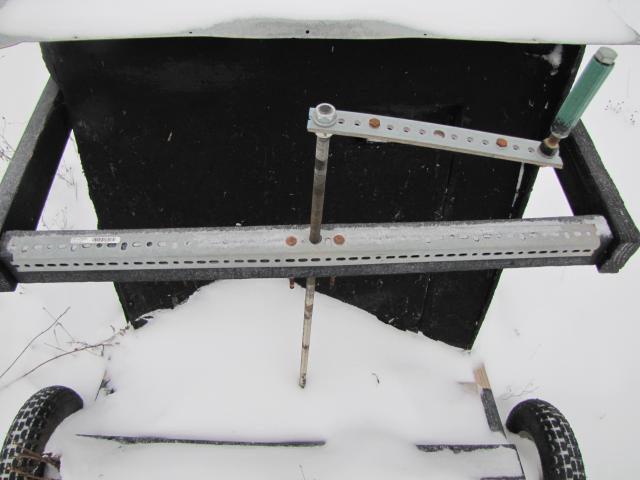
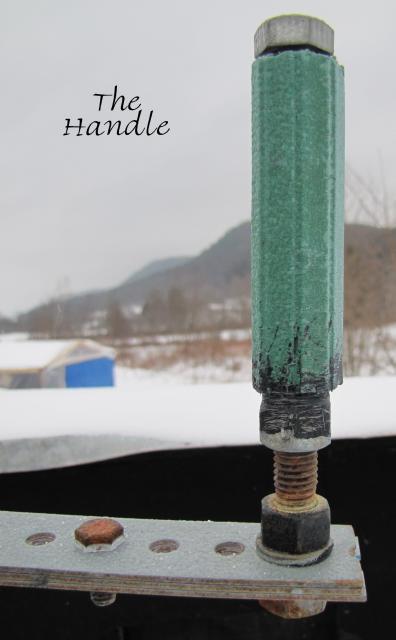
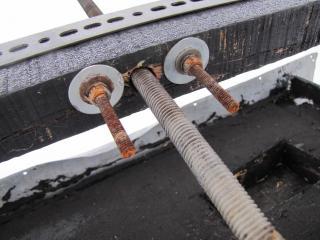
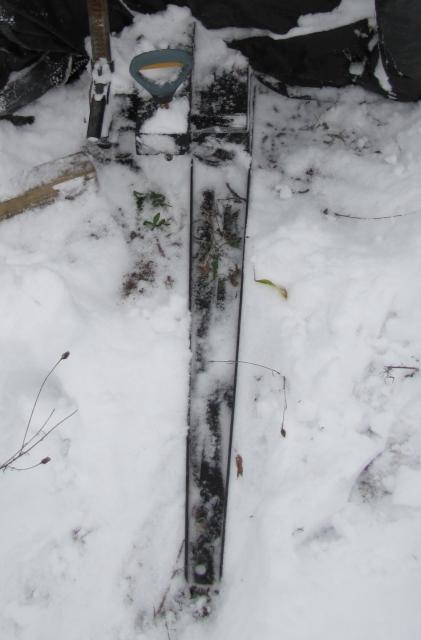
The handle is made out of a short piece of 1/2" threaded rod with a piece
of 5/8" garden hose slipped over top and nuts & washers to hold it in place.
Then, there's nuts and washers on either side of "2 pieces of 1/8" slotted plate (bolted together)"
that connect the handle to the 5/8" threaded rod with some more nuts and washers.
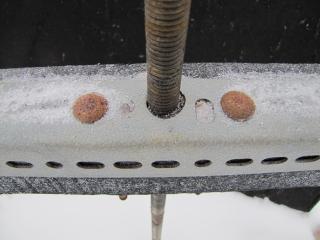
The main rod is then threaded through an angle iron strip that's bolted to a hardwood board (above).
In the middle of board, the angle iron holds in a 5/8" nut that raises and lowers the wheel assembly.
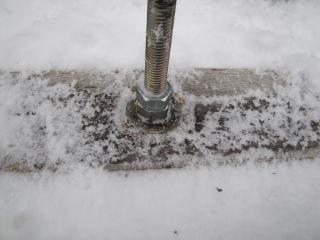
The threaded rod is secured with more nuts and washers
on the top and bottom of the axle assembly.
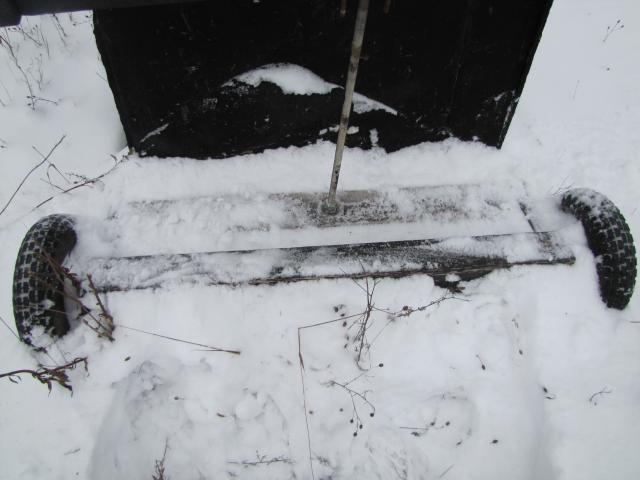
The axle full length 5/8" thread rod with roller bearings on the wheels.
Note: Grease is in between all the bolts of the moving parts.
All of the axle assembly should have be made of out box steel bolted or welded together, but
we built it with wood for economy, not for longevity or strength.

When I crank the handle, it will raise or lower the "tractor" by
"threading" the rod through the nut inside board that's connected to the coop.
The coop and run are connected via a couple boards bolted to the coop and run, plus some screws
that hold the run to the 6x6 post that runs the length of the "tractor".
At the end of the 6x6, a metal "hitch" made out of solid angle iron
that form a "V" with a hole drilled out where they meet for a hitch pin.
The "chicken tractor" is heavy enough that it has to be moved via a lawn tractor,
but's it's still easily moved (before the jack broke).
What I'd like to change on this chicken tractor:
1. Fix the "jack", because the boards that connect it to 6x6 are broken,
so that we have to "help" raise the tractor to prevent it from falling.
2. Make the tractor more easily moveable, since it's hard to turn and get into small spaces.
One idea I had for this was to remove the run, shorten the "axle" so that just the coop
can be moved into smaller places. But, the difficult part would be to easily and securely
connect the coop with the run, since 6x6 and hitch would be in the way.
3. Make the run larger or "expandable" by making other runs that can be connected to the
existing one. Especially if I get Freedom Rangers in 2011, since I'd want them to forage, but
they'd have to be a dog-proof fence.
4. Make a wall feeder and use water "nipples" for the tractor, since the feeder and
waterer took up half the space in the coop. Plus, the water spilled on the floor frequently and
made a mess of the bedding.
5. The floor also needs to redone, since I didn't use proper support or plywood under
the current thin linolium.
6. Paint the inside walls, since I never had time for that before the meaties moved in.
By 9 1/2 weeks old, the meaties moved to the hen's fenced-in yard under the shade trees.
They continued to sleep in the coop and run (covered with a tarp), but the last week
or so, they discovered that under the new coop was a good place to sleep. It was enough of
a job to pick up and carry 8-10 lb chickens (making at least 10 trips) to put them to bed,
but to have to retrieve them from the small space under the coop was too much.
Thankfully, no predators discovered them, but I will have to do something about
that when future "meaties" out-grow their small 3x3 "coop".
While this chicken tractor was a great start and served its purpose, it definately needs
some improving upon. But, thanks to other BYC'ers, there's plenty of ideas to draw from.
