Great article. A wiring diagram will be a great add when you can get to it.
Navigation
Install the app
How to install the app on iOS
Follow along with the video below to see how to install our site as a web app on your home screen.
Note: This feature may not be available in some browsers.
More options
You are using an out of date browser. It may not display this or other websites correctly.
You should upgrade or use an alternative browser.
You should upgrade or use an alternative browser.
Reviews by azurbanclucker
Filters
Show only:
Loading…
- azurbanclucker
- 5.00 star(s)
This is the way...
To get a 5 star coop rating. Lots of photos and details. Well done and enjoy the covert.

To get a 5 star coop rating. Lots of photos and details. Well done and enjoy the covert.

RebelEgger
You had me at ‘this is the way’ 
Not bad. Watch for typos, and general grammatical errors. The info is good. The photos are solid. Just little things here and there to make sure you clean up.
Chez Poulet Too
- 24 min read
5.00 star(s)
13 ratings
- Views
- 4,863
- Reaction score
- 23
- azurbanclucker
- 5.00 star(s)
Excellent article, full of details and with great photos at various stages along the way documenting the build.
Bananabread
Thanks!
- azurbanclucker
- 4.00 star(s)
Informative, quick read. Nice work.
- azurbanclucker
- 3.00 star(s)
Interesting idea. Some photos of a practical application would help.
- azurbanclucker
- 3.00 star(s)
Informative.

The Crested Partridge
- 3 min read
3.14 star(s)
7 ratings
- Views
- 1,890
- Reaction score
- 1
- azurbanclucker
- 3.00 star(s)
Good article.
Sir Sacabambaspis
Thanks!

The Ultimate Poultry and Caged Bird Care Guide: Housing, Farming, Species, Enrichment and More
- 74 min read
4.33 star(s)
6 ratings
- Views
- 13,360
- Reaction score
- 1
- azurbanclucker
- 5.00 star(s)
Holy Cow! GREAT Article. Lots of info, pics, and credits. Well done.
- azurbanclucker
- 4.00 star(s)
informative videos. This is not something I personally would try out of fear of hurting my girls, but thank you for sharing for those braver than I. ")

How to Grow Basil for Happy and Healthy Chickens
- 5 min read
4.83 star(s)
6 ratings
- Views
- 5,723
- Reaction score
- 3
- azurbanclucker
- 5.00 star(s)
Another great herb article.
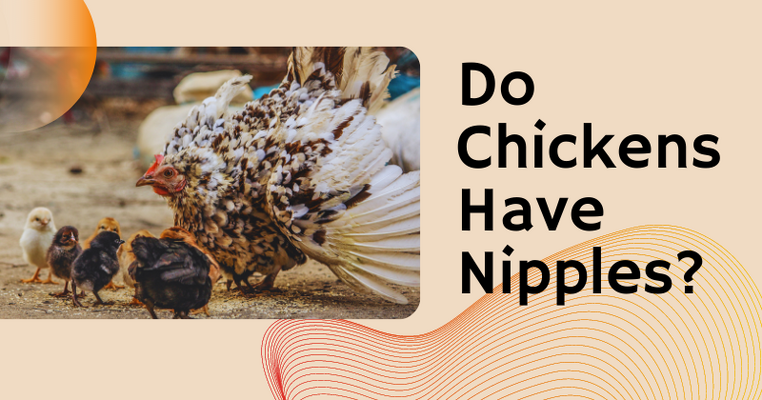
Do Chickens Have Nipples?
- 4 min read
4.67 star(s)
6 ratings
- Views
- 8,396
- Reaction score
- 1
- azurbanclucker
- 5.00 star(s)
Fun and informative.
- azurbanclucker
- 2.00 star(s)
There are some nice photos, although they're small and very difficult to pull any detail out of. To make a good build article, you would want to include some details about materials, some in-progress images (larger images all around), as well as some descriptions of how you went about building this to get the finished product.
New home for”all the single ladies”.
- 1 min read
3.00 star(s)
5 ratings
- Views
- 1,595
- Reaction score
- 1
- azurbanclucker
- 2.00 star(s)
These are some wonderful photos of the finished coop, but as a reference article, it could really use a lot more detail. Build plans or materials list, some "in progress photos", and a few paragraphs describing the process would really help other members get an idea of what's involved if they want to try and tackle a project like this.
- azurbanclucker
- 5.00 star(s)
Excellent build article with lots of pics and detailed discussion.
- azurbanclucker
- 3.00 star(s)
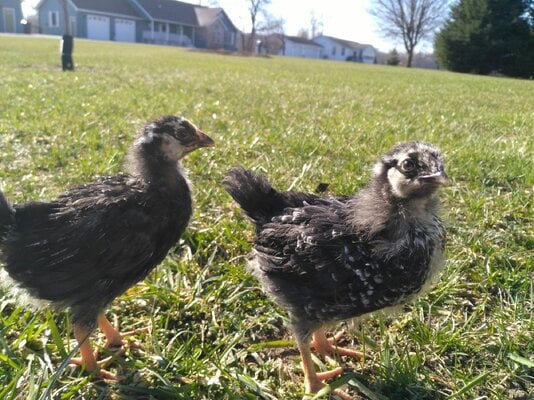
Informative article about your experiences. There are some formatting and grammar issues but overall it's a good read. Also needs more chick pics!
Shabby Chic-Hens
Can you point out the grammer issues please? I’ll fix the format stuff. And I can find many more after hatch chick pictures !
There you go. The only thing I'd like to see more in this article are your photos of the other varieties you are currently keeping.
Sir Sacabambaspis
Thank you so much for FOUR stars!!! I'm currently trying edit some more photos of my other varieties! Although I'm not making any new articles or finishing my drafts, I will be fixing my current articles. I also gave photo credit in my Old World Quail article series!
- azurbanclucker
- 5.00 star(s)
Lots of detailed drawings, lots of photos, and a great explanation of what/how you went about this. Excellent article.
- azurbanclucker
- 3.00 star(s)
Since this is a prefab coop, it's hard to provide details like materials and measured drawings for it. It would be helpful to have them for the run so folks have an idea of what to look for when shopping materials for their own runs. Some photos of that as well would be nice.
- azurbanclucker
- 1.00 star(s)
Same issue with the other zebra finch article. You're using content taken from other websites.
Sir Sacabambaspis
Ok, I will start a new article in drafts and then I will take the new and original one and put it into this one. I will also try to also rewrite the other one and I will connect it with this one. I do actually breed my own birds and do make a decent bit money from my own breeding so I really do want to teach other people about this awesome species and how you can breed and sell your own birds.
×
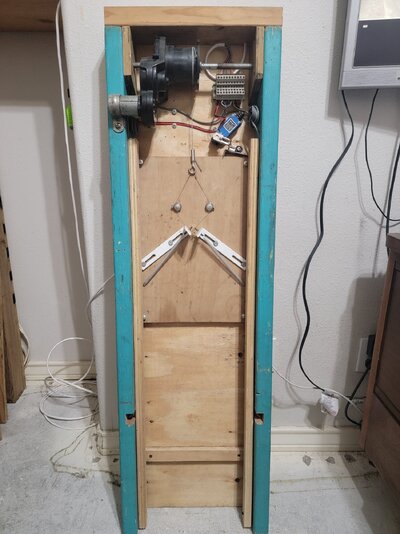
Pictorial, diagrams and videos will be added when I take it apart to add the DIY limit switches, cut the door and paint it. Of course I wasn't putting a rush on it, unless there was more interest. So far there hasn't been much.
Plus this is a door that I never intended to make or use. I sure do love it tho, a lot. I have it here next to my desk and every hour it runs an up and down cycle. I even click the remote, up and down for stress relief and when I get stuck on figuring out other circuits and ways to do things. After I finish it, I was just gonna give it away to the first person that wanted a coop door here locally. Probably will post it up on the local feed store. After all I have 6 other built door designs just laying here. It's a hobby.
Like this one that is going to be my main door. This one too needs to be painted. https://www.backyardchickens.com/threads/auto-coop-door-w-safety-feature.1580261/
I will be taking it off the back burner.
I will make a diagram soon. If you like I can taylor make one for your materials you have.
I have to admit it is a bit complicated. For 3 reasons.
1. I wanted it to be slow down and fast up. The motor is a bit fast so it needs a Motor speed control. If you plan on using the same motor the complexity can be bought down a lot by using only one speed.
2. I wanted to use the least amount of power when off. So that too adds to it. But if you are ok with the same speed that too will bring down the complexity. and it can still be using less power.
3. The lower limits. I used what I had on hand, and that meant using inductive proximity sensors, which required the use of a relay module. But the new DIY limits switches can take the full current of the motor so the relay module won't be needed. This is the hardest part, is making or implementing the lower limits.
So if you want to make this, again let me know if you want to build it with this motor (like i did) or if you already have a motor that is slower. PM me or leave a comment, where we can have a more interactive conversation.
Either way I will be making diagrams from what it is now to more simple.
Thanks for reviewing.
As I was writing this I decided to go ahead and diagram the most simple way. The diagram is done, but I need to go over it with a fine tooth comb before I post. Check in a few days.