Camille's Incubator by Camille's Dad
We wanted to get the full experience of raising chickens so hatching eggs to perpetuate the flock seemed like a fun project. I wanted to see if I could come up with a working 'bator without spending any money. I was victorious in my pursuit. The hardest thing to scrounge was the t-stat. I probably spent more time than it was worth getting it as they cost about $8.
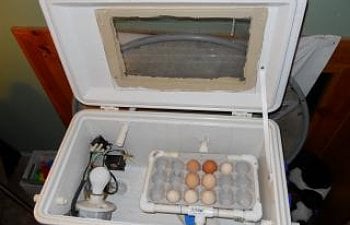
I started by cutting a rectangular hole in the lid of the cooler for the window. Notice it is not centered in the lid but shoved over to the right side where the egg tray is. Then I drilled a 3/8" hole in the bottom corner of the cooler opposite the egg tray for the power wires. I cut the ends off of a 12v transformer and a computer power cord saving the plug in ends. I ran both wires through the hole from the outside and direct wired the 12v to a computer fan. The fan is screwed to the back of the cooler using 2 1/2" deck screws with spacers cut from a bic pen tube. The spacers are 1 1/4" long
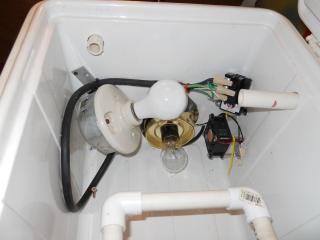
I then wired the big white light bulb(25w) to burn all the time. With 3 vent holes open it maintains 98-99F The 40w bulb in the gold fixture is wired through the t-stat. If the 40w bulb goes out I won't loose a rack of eggs. The constant switching on and off is hard on light bulbs so this method seems to have a fail-safe. If the 25w bulb goes out the t-stat light will still maintain the temp.
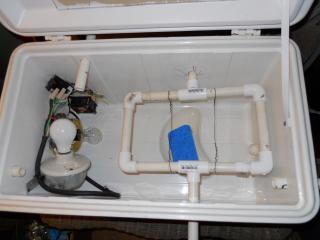
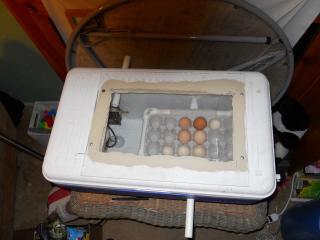
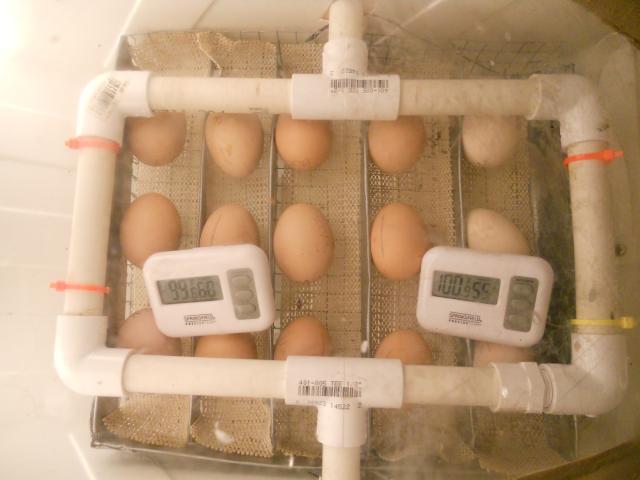
I put eggs in yesterday (4/12) and the temp been staying right at 99.5. I have 2 electronic thermometer/hygrometers in the egg tray that I can read through the window.
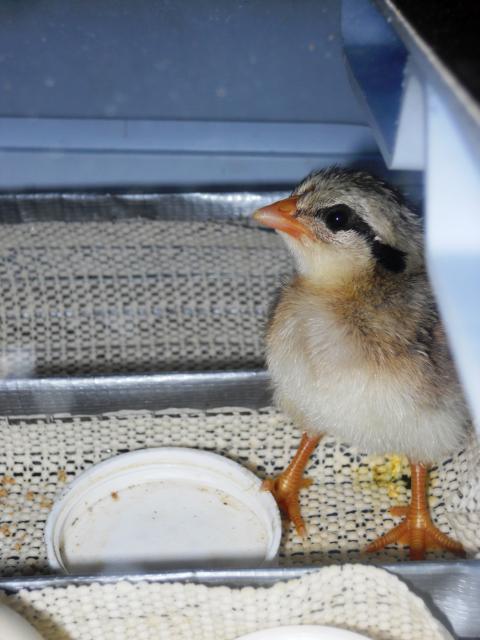
Our 1st egg hatched today at about 2:30 pm 5/2/10. The econobator works
great!
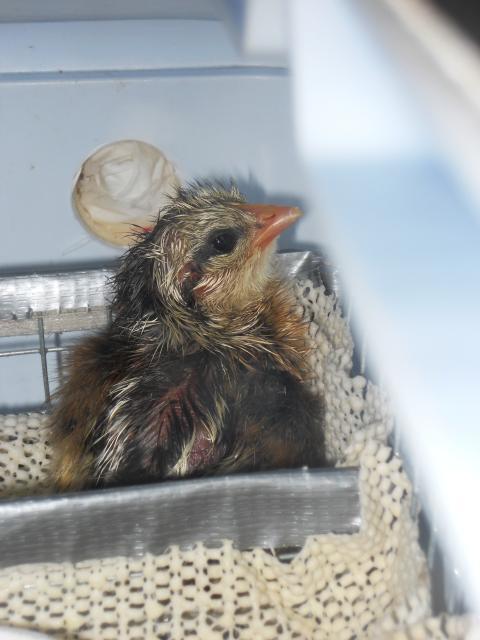
One hour old Silver Phoenix.
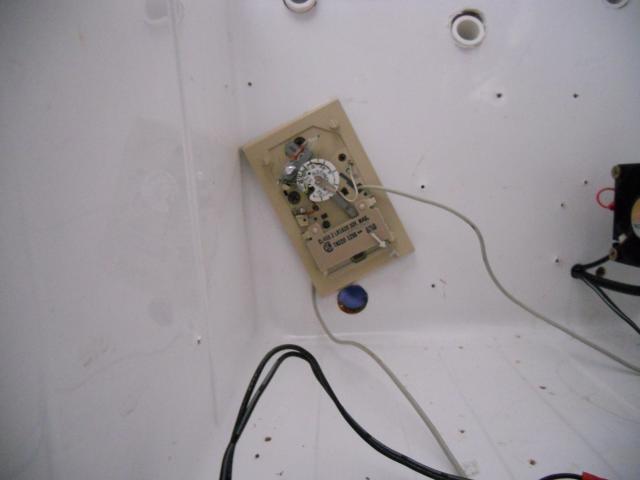
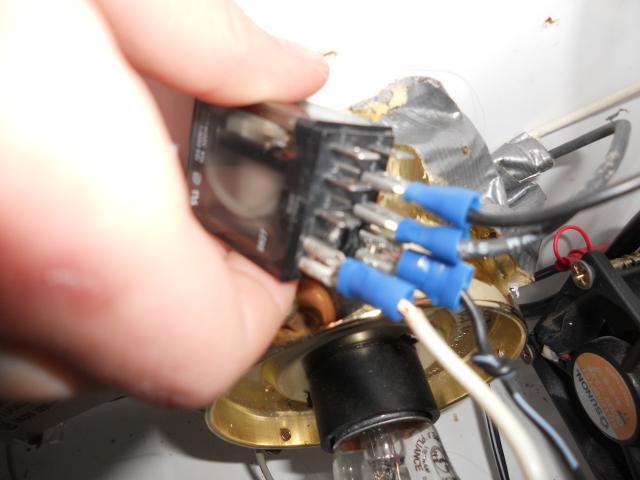
We fired up the cooler again this week to receive eggs. A major design flaw has been corrected. I was unsatisfied with the performance of the thermostat. I wasn't having very good luck with the hot water heater thermostats and I tried several of the same model. Not all of them would work well same model and all. I had some mercury bulb thermostats laying around but the temprature range seemed to be a problem. Mercury thermostats also only hold 30 V max so line voltage is not an option. The solution to both problems is cheap. I used a 12 v wall transformer, switched by my thermostat to power a relay. My light is then wired through the relay switch. To correct the temp range of the thermostat just tilt it about 15 or 20 degrees counterclockwise of plumb. Don't put the cover back on as it will impede movement of the tstat bulb. The relay cost 10$ at raido shack. I would bet this is as accurate as a wafer for little cost. I filled the 'bator today, 2/25/11 with 3 lav orpington and 12 BBSO.