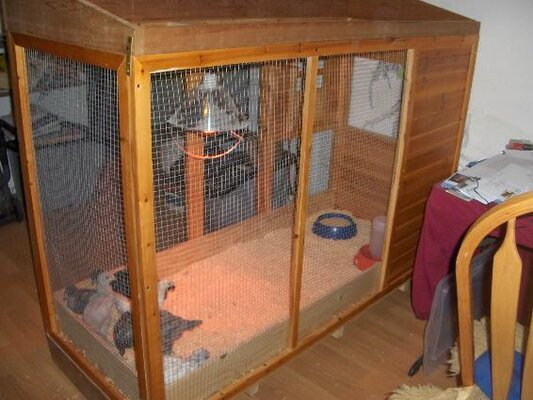
The Blue Brooder
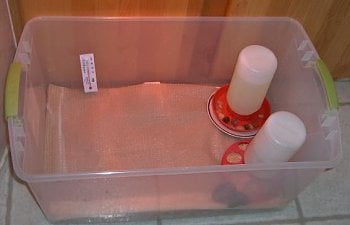
The brooder came about when my 8 new additions looked crowded in their plastic tote at a few days old.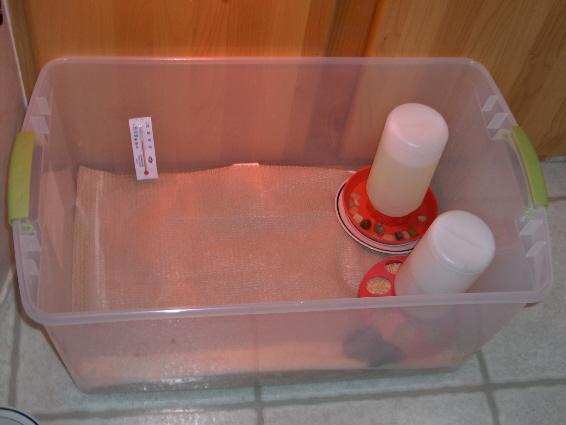
The plan:
A place large enough for them for a couple of weeks, good ventilation, easy to clean and get into for feeding and watering.
The materials:
1 - Sheet OSB 1/2"
- 1/4" hardwire cloth
2 - 1 1/2" hinges
1 - 8' pine 1 x 2
1 - 8' pine 1 x 6
3/4" and 1" wood screws
leftover paint from chicken coop - light blue
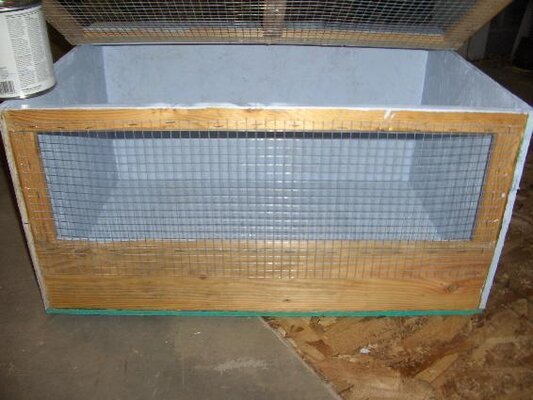
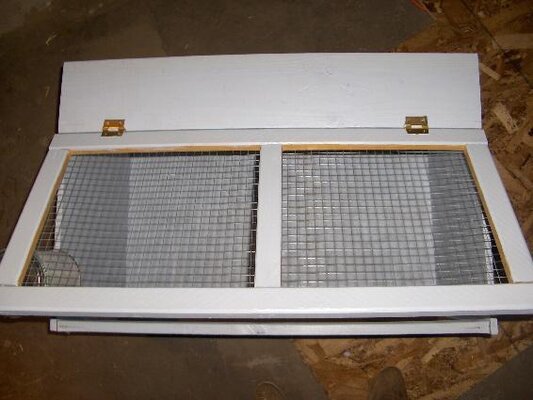
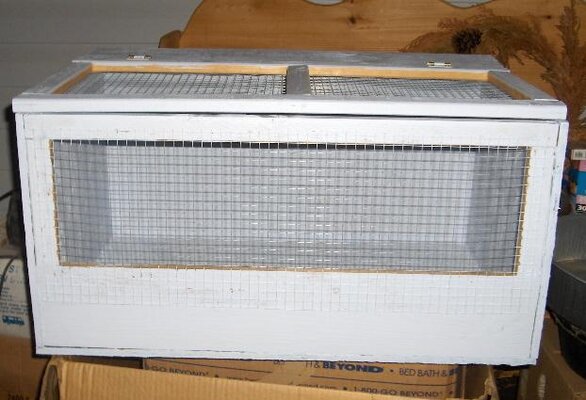
I made a three sided rectangular box size 4' W x 2.5' D x 22" H from the OSB leaving only the front and lid/top open. This was painted. I then made a front using the 1 x 6 across the bottom to hold in shavings and framed with 1 x 2. This was covered with hardwire cloth.
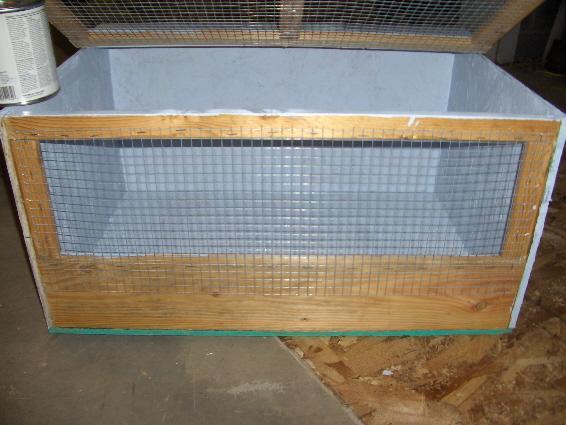
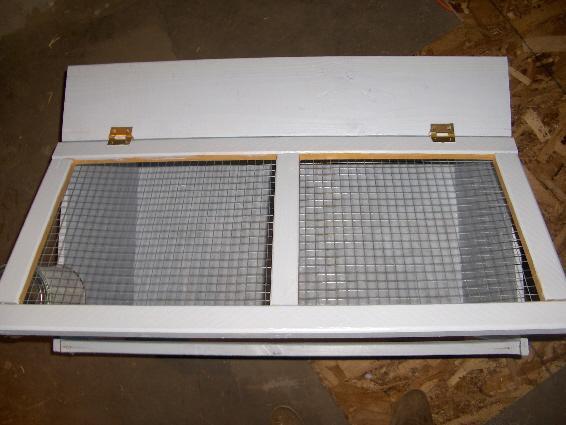
Everything was painted and left to dry.
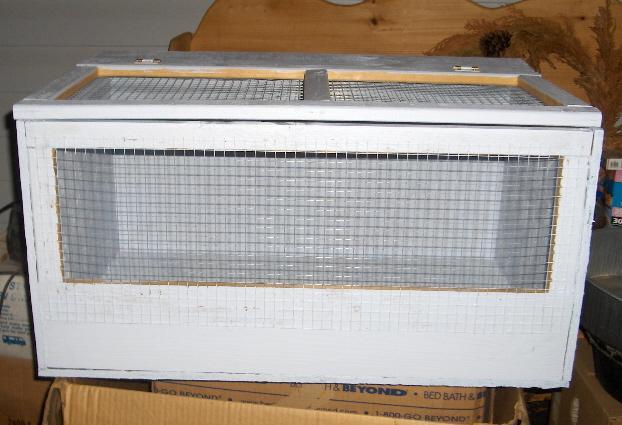
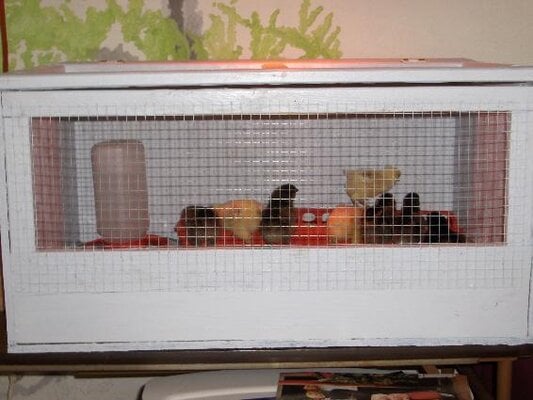
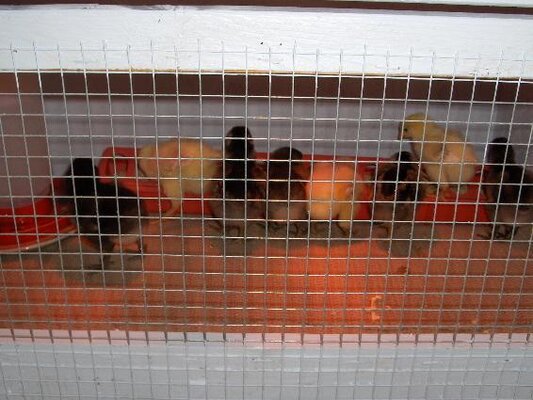
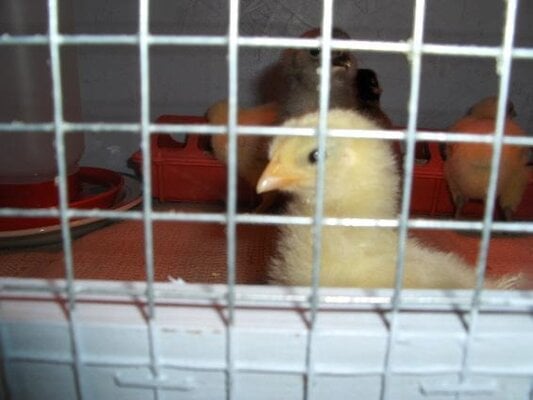
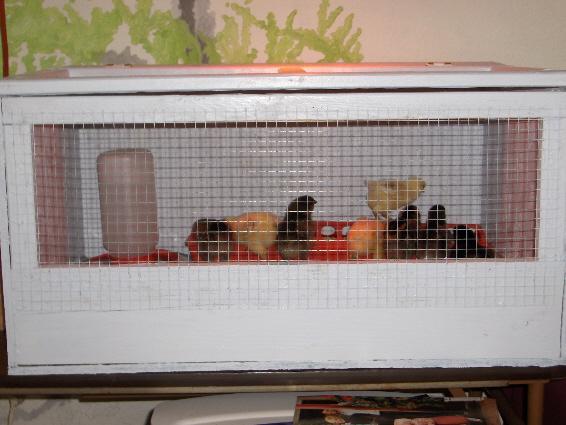
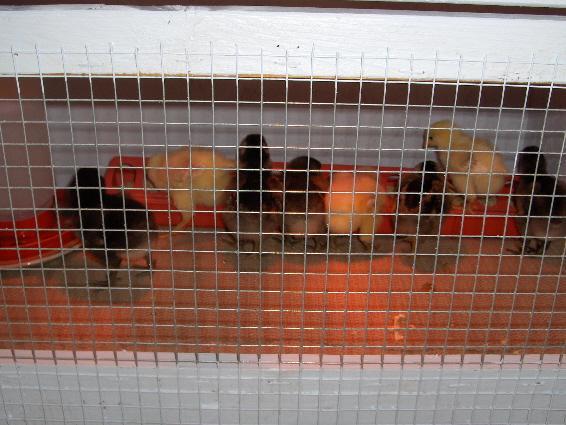
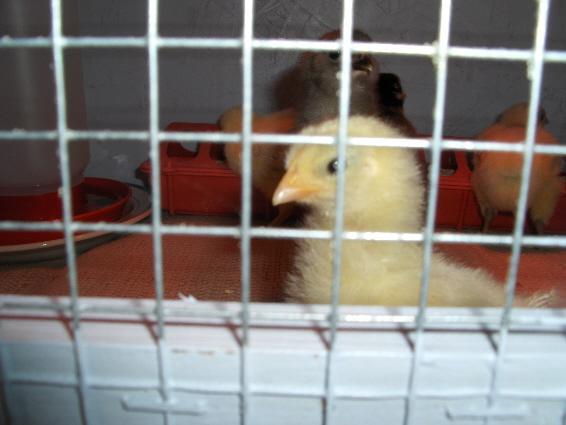
A puppy training pad was placed in the bottom, shavings were added on top of the puppy pad and then a vinyl shelf liner on top. The shelf liner was removed after a few days once they had figured out the shavings were not for eating. The brooder was placed beside my craft table so I could see the babies and talk to them whenever I was working. The heat lamp was suspended over the top and sat off to cover the middle and one end. This allowed the babies to move away from the heat if they were too warm. The babies were placed in the new brooder and began exploring.
[FONT=tahoma,arial,helvetica,sans-serif]Total cost in materials would have been less than $30 if purchased.
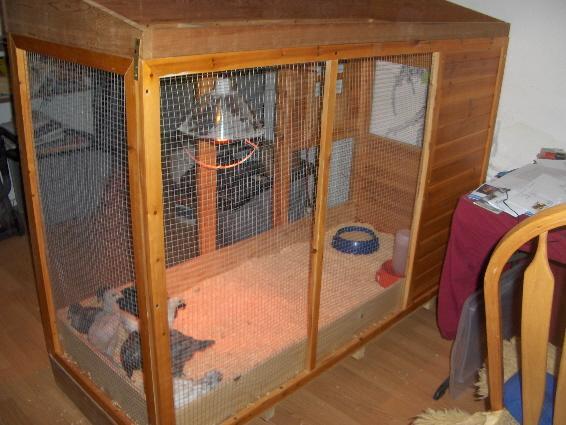
Once the chicks were too big for the blue brooder (about 3 - 4 weeks), they were moved into a small coop which measures 5.5' L x 3.5' W x 5' H. 1 x 6 was used around the base, the help keep the shavings inside. I purchase two of these little coops and modified one for use as a brooder/grow out area. They are large enough for a breeding pair of standard chickens or a trio of silkies. Great as a brooder.
