Am putting a strip of netting inside the lid so it can be lifted and propped open an inch or two in hot weather. Also need to put in sliding vents for air circulation.
Will edit first post to add picture of finished coop and run when it's done, could be a couple fo weeks though!!
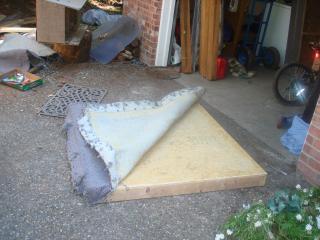
We started by taking off carpet from 5 2x4 and plywood (slabs) We placed them with 6' presure treated wood legs on the 4 corners
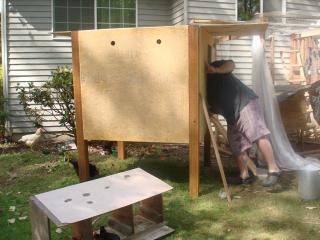
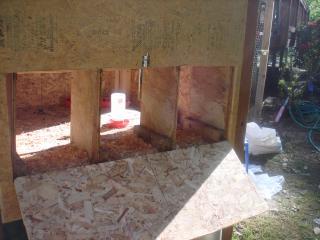
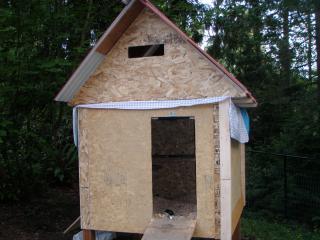
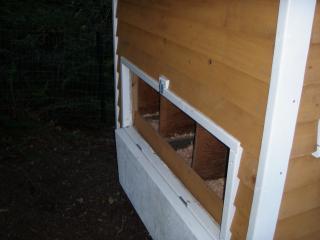
my son helping haul back the side with one of the legs ready to go Drilling 2 holes on the upper part, on each side, covered by wire for ventillation. we attached slats to the doorway short enough to get the door closed The 3 nesting boxes we got from a friend (free) fit great inside and we made an opening to access the boxes. we need a roof next. that comes soon (before the rain I hope)
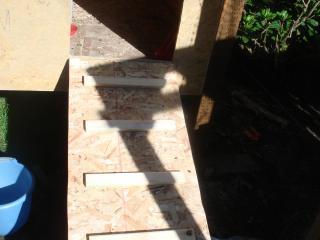
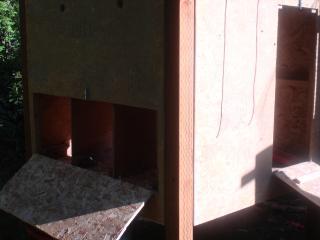
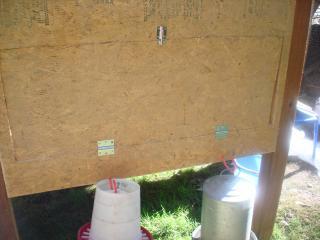
We just have a sheet of Particle board on top for now. the waterer and feeder are atached with bike hooks below the nesting boxes.
Lots and lots of Elbow greese.
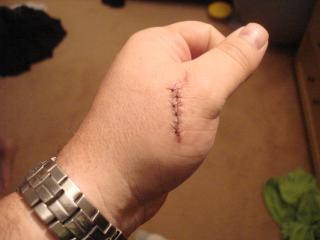
. We moved it. hubby got 6 stitches on his hand because of the outside being full of old glue.
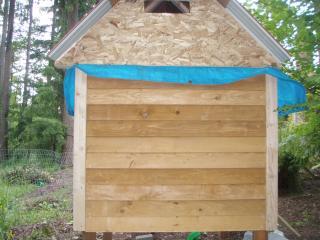
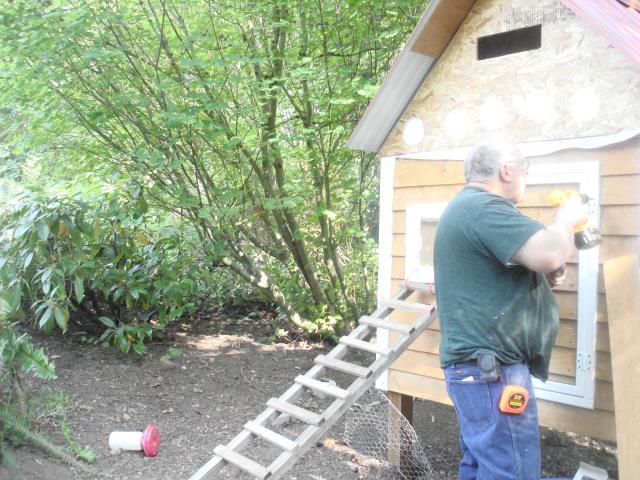
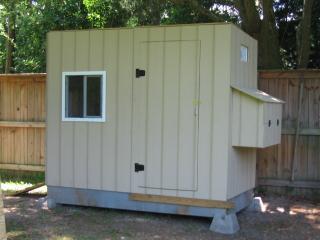
We moved it to the run area by a nice shady tree for the girls we added sides like our house to match. this is the back of the coop.with some siding I painted the trim before the siding went up. I added white circles because they were getting covered,and I had the paint
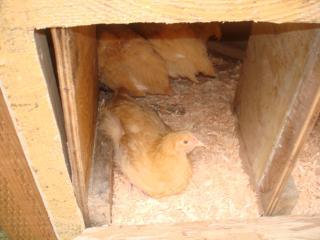
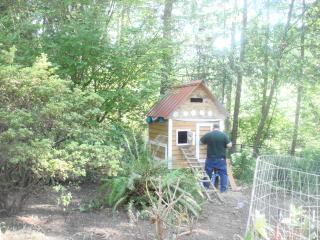
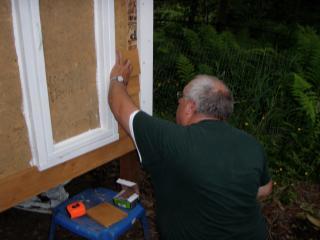
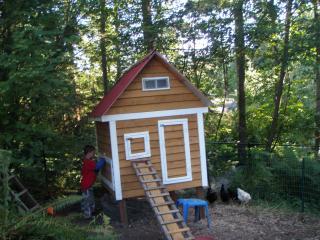
my FIL cut the siding and nailed each one , like our house. tada. the finished coop Under the eves are 2x6 with lg holes covered with wire for more ventalationThe small door is their door. it goes inside on top of the nesting boxes, the larger door is for cleaning pourposes, the nesting boxes are in the coop itself with a large access door that drops downward to collect the eggs. They like to be up in the roof area to perch my oop: board is used so the floor stays relatively free of poo. No windows so just in case I don't get to let them out until later in the morning. (The neighboors don't need to hear the girls whining to get out. I am still going to paint the "siding" grey like our house but the boards need to settle in place first.
Cost 25.00 for the recycled sides that had carpet.
28.00 for the 4 pressure treated legs
80.00 for the "siding"
5.00 for 2 2x6 we used for the under the eves for ventlation
40.00 for the hardware, nails, screws
8.00 for the 2 vent covers
12.00 for 1 qt of paint
16.00 for the 2x4's
28.00 for the particle board for the opposite roof sides
50.oo for the roof
10.00 hard wire cloth
total 302.00 give or take a little
This is Chateau Pollo. It is really just a very basic stick built design. It is 4' x 8' and houses 7 chickens, that free range in a 1/3 acre backyard. It is home to Sammy, Kap'n Karl, Jeanie, Janie, Jasmine, June, and Doris...
The walls are 2x4 on 16" centers etc. A lot of my wood came from old shipping crates. Stuff that was typically thrown away. The foundation are 2 x 12s that came from shipping material also. They sit on sit on frame blocks from a big box store. The windows are very inexpensive sliders and vents. The exterior siding is a product called "Smart Panel" that I got at another big box store. It had very good reviews for durability. Safety and comfort of our flock is very important. We have heavy duty wire on the outside of the windows and double lathching locks on the doors.
The back of the coop I used recycled fence boards. As I repair my fence I used the old boards to sheath in the back of the coop.
The walls are nailed but they are fitted to the deck/foundation with exterior deck screws. I wanted to be able to repair and replace parts if and when they need it. The interior walls, also scrap plywood, are insulated.
The coop was situated to take advantage of exposure and weather. During the summer it is very shady and relatively cool for LA (lower Alabama). During the winter the angle of the sun will hit it differently to warm it during the day.
The interior floor is made of scrap plywood with remnant linoleum. This is covered with pine shaving. The floor is made up of 3 equally sized panels that can be removed for cleaning and sanitizing.
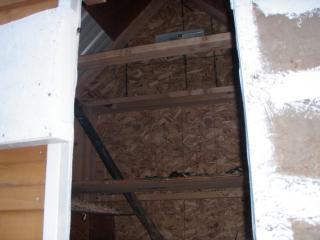
The roof (not shown) is scrap decking with asphalt shingles. There is a fan for cooling and circulation, as well as a light and a small radio. The radio is tuned to a local NPR station for music and information. Support your local stations please.
The nest boxes open for easy access.
I am in the process of designing a new structure to optimize use of material so that, dimensionally, waste is reduced. My initial coop if I decide to change it could be used as a tool storage building.
On our web page here on BYC you'll see our safety poster. We also want to make other signage just to play things up a little. Like
Eat mor Kow, Farmacy, inspirational signs, etc.
After lots of planning and construction (and more than one reality check), The Girls have moved into their new coop! We used a lot of recycled materials, and I did a lot of research on BYC and solicited a great deal of information from BYC members. Nothing in any of the books I read compares to the experience of my fellow BYCers! Please take a look at my page at https://www.backyardchickens.com/web/viewblog.php?id=50766-the-chicken-experience . Hope you enjoy our Chicken Experience!


 oop: board is used so the floor stays relatively free of poo. No windows so just in case I don't get to let them out until later in the morning. (The neighboors don't need to hear the girls whining to get out. I am still going to paint the "siding" grey like our house but the boards need to settle in place first.

