My 9 Chicks are getting bigger and bigger, so I decided to start building their permanent home. We have a barn, which has a roof extending about 10 feet out on one side. It was built as a three sided protection for horses. Since our sheep don't need all that space we're turn about a third of it into the coop, and they'll have a 7'X48' previously unused part of the yard as their run. I picked up a truckload of pallets, and am going to use them as much as possible in the coop construction. I am hoping to get away with just 3 pressure treated 4X4X8s.
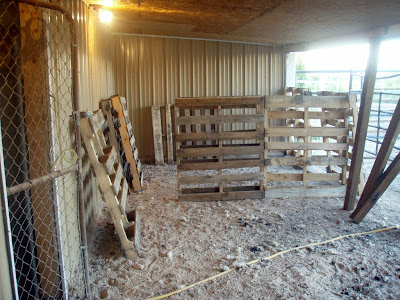
This is how it looked with me just standing up the pallets to get an idea on size. It'll end up around 9'X9'. A people door will go on the left. The other wall will have a fold up door in the middle aroung 2 feet tall, which can be used to shovel out the deep litter. It will have a window above it, as it is an east facing wall.
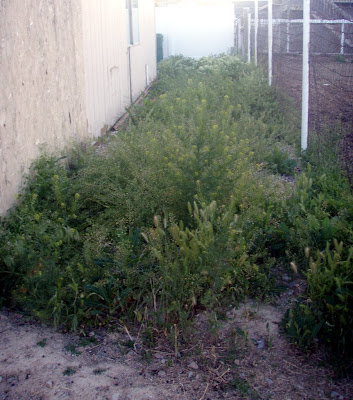
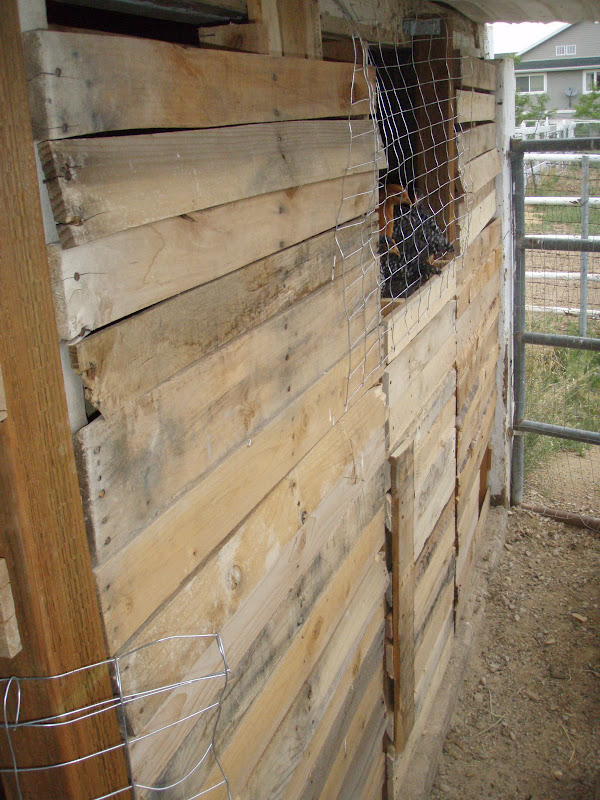
Here's where the run will be. I'll be putting a chicken wire roof on it. I'll also be punching a hole in the wall on the close left of the photo for the chickens to get from the run to the coop.
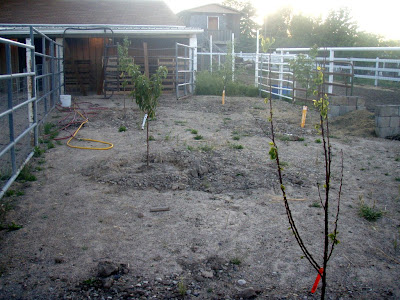
Here's a full shot to give a better idea of size.
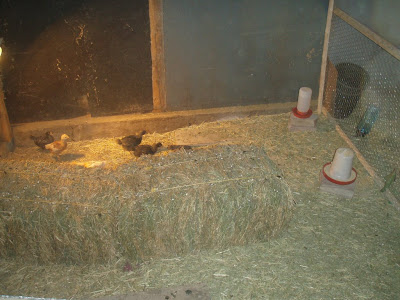
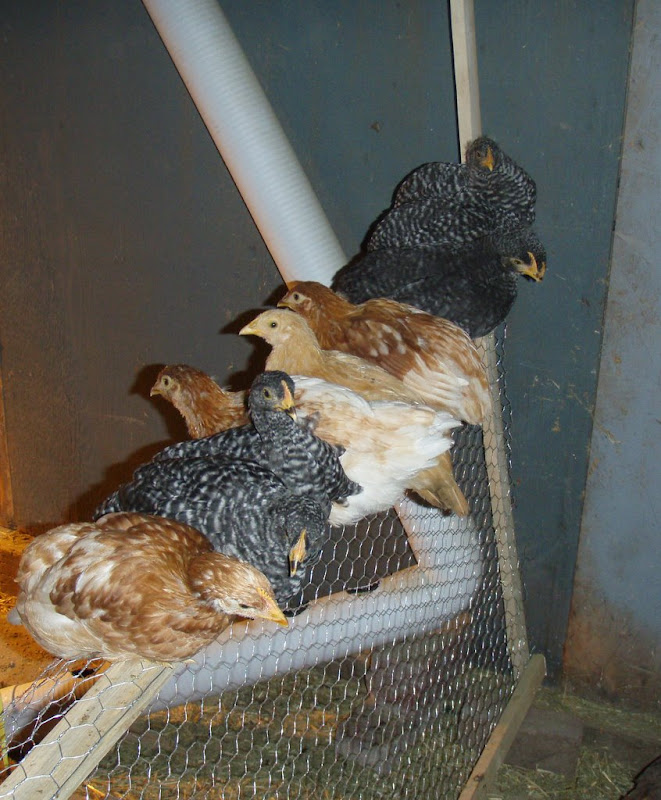
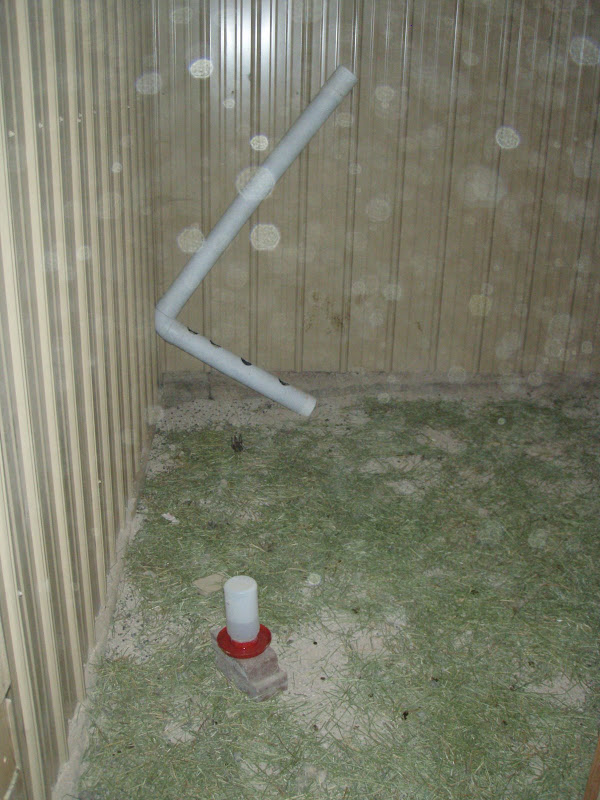
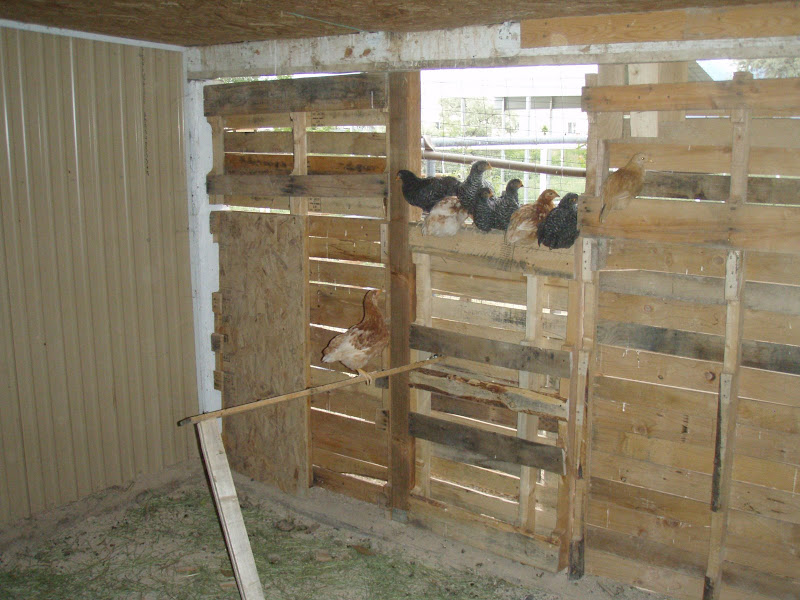
Here is their current setup.
A few questions:
Has anyone found a better way to break down the palletes? Currently I am using a circular saw to cut off the boards on one side, then putting up the pallet as is. to fill the spaces I am cutting the boards off one side, then prying off the boards from the other side, and using those boards, so I am "wasting" about half the boards, but it seems so much quicker to me.
Can I leave the run as is, or should I try to level it out and clear the weeds? Currently there are some mounds of left over gravel, around 12-18" higher than the rest of the run.
Probably a silly question, but is the almost 45 feet of run too much for a chicken? I'm kind of worried about them not keeping the weeds down. From what I have seen its about four times more than the minimum. Or should I just get more chicks now?

This is how it looked with me just standing up the pallets to get an idea on size. It'll end up around 9'X9'. A people door will go on the left. The other wall will have a fold up door in the middle aroung 2 feet tall, which can be used to shovel out the deep litter. It will have a window above it, as it is an east facing wall.
Here's where the run will be. I'll be putting a chicken wire roof on it. I'll also be punching a hole in the wall on the close left of the photo for the chickens to get from the run to the coop.
Here's a full shot to give a better idea of size.
Here is their current setup.
A few questions:
Has anyone found a better way to break down the palletes? Currently I am using a circular saw to cut off the boards on one side, then putting up the pallet as is. to fill the spaces I am cutting the boards off one side, then prying off the boards from the other side, and using those boards, so I am "wasting" about half the boards, but it seems so much quicker to me.
Can I leave the run as is, or should I try to level it out and clear the weeds? Currently there are some mounds of left over gravel, around 12-18" higher than the rest of the run.
Probably a silly question, but is the almost 45 feet of run too much for a chicken? I'm kind of worried about them not keeping the weeds down. From what I have seen its about four times more than the minimum. Or should I just get more chicks now?