(picture heavy) New guy with DIY cabinet incubator build, come follow along

Thangbom

In the Brooder
May 17, 2017
43
25
46
Houston
Hello, new guy here. I been waiting forever to be able to post!! I joined right when the conversion started so I never got a chance to post anything. I'm super excited to be able to share what I have been doing since then.

Here in my little introduction
https://www.backyardchickens.com/threads/its-me-thangbom-the-new-guy.1173491/

Some background info to help build a nice picture. My parent's are homesteaders that live out in the somewhat country side in the outskirts of Houston. Every neighbor has 2 acres of land. There are more animals out there than people basically. Just about every weekend my siblings and make our way to our parent's place and enjoy the open air and leave behind Houston City life. My parents always go overboard on everything they like and love. I can understand why. It's fun and make them happy so why not?

Now It's picture/adventure time!

First thing I would like to share is my mom has a green thumb. I guess she learn it in Nam or something because plants just thrive after she touches it. Here are some of her orchids that had bloomed and have had flowers for the last 5 months strait!

These orchids would of had flowers for over 1.5 years strait but she got sick and hospitalized spent about 30 days in the hospital over a 1.5 months span. She got sick and so did the plants. But she got better and they bloomed again and have since.

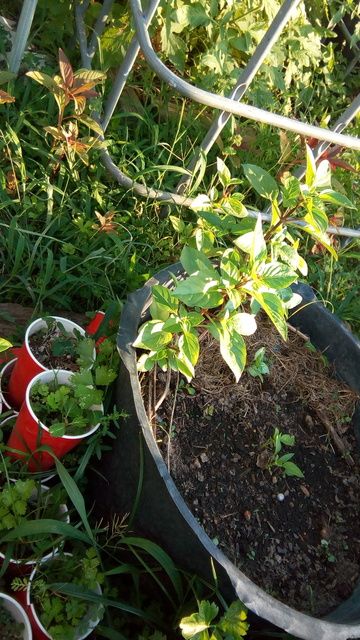
I just want to put it out there that I don't know what some of these herbs and veggies are but here they are anyways.
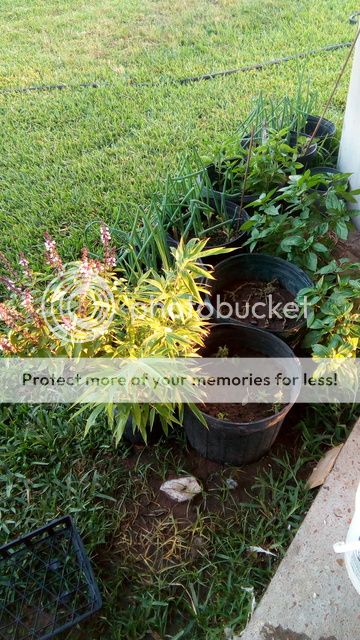
Thai basil n green onion

Here is a small taste of the forest of herbs and veggies.


Here are some Dragon Fruit plants.


Some greens


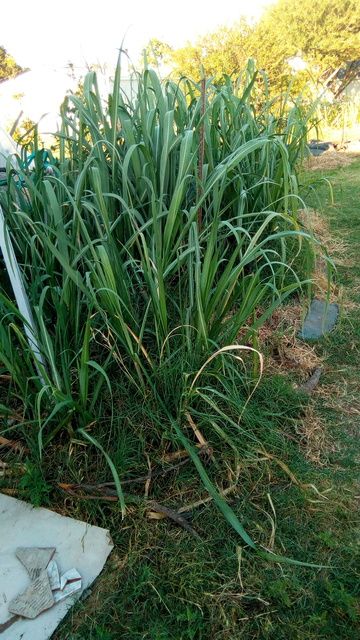
We have a big bunch of Cilantro that's about 3'x3' big. We never run out of it. They grow back so fast!


Some sugar cane growing back after the cold.


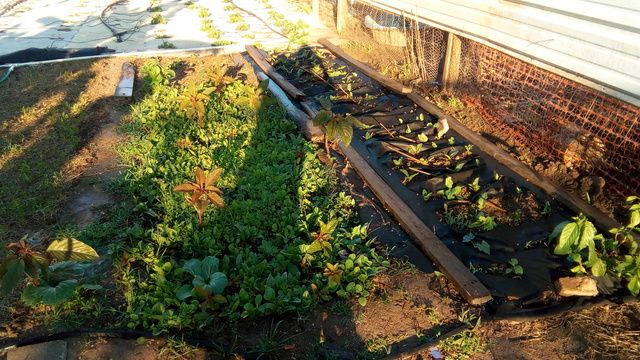
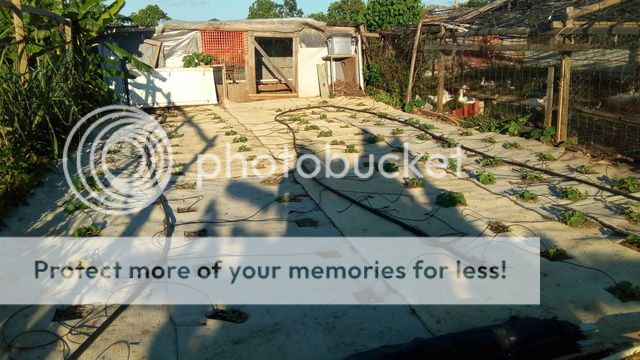
Here is a long picture view of one grow field. The coop strait ahead is the chicken coop (about 20'x30'). The duck coop is on the right. It's about 30' x 60' or even longer. Most of that green stuff is veggies not grass.


Water Spinach


Some kind of Choy? Snails been eating lot of the greens.. Trying to get rid of them somehow.


Some lettuce and choy?


Some veggie that get slimey when cooked I think


Some bitter veggie that we cook with fish soup


Some foot long string beans


IDK some kind of veggies


The patch on the left is just sprouting.


Mellon field. It's a bland melon we eat with ice cubes and sugar.
 
Here is a side picture of the duck coop. I couldn't capture the whole thing in one shot. It's tool long.


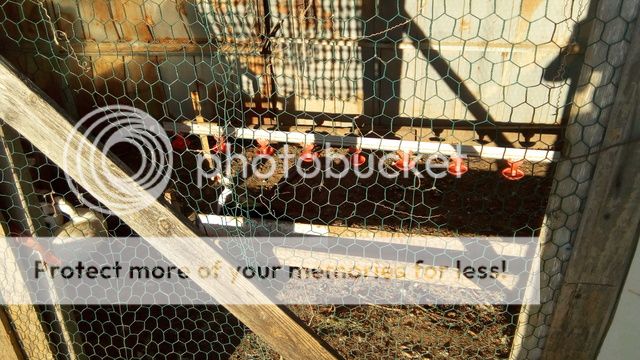
This is the auto water drinking thing in the chicken coop. We have a few ducks in there right now because we ate all the chickens. These thing have a little nipple thing that when the birds peck at, water drips out. Some of these are attached to water buckets while other are attached to garden hoses.


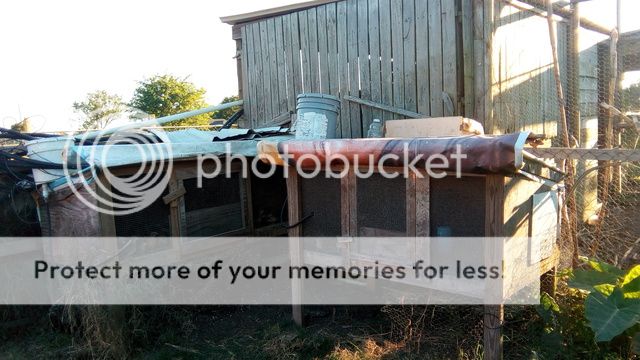
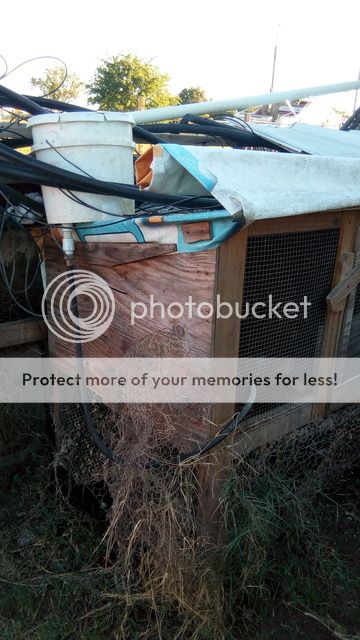
These are the quail coops. You can see the water buckets on top of them. In the cold and stormy weather, we unroll that vynle cover and protect them from the weather.

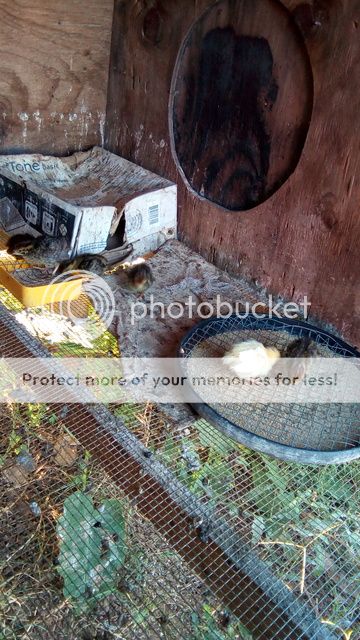
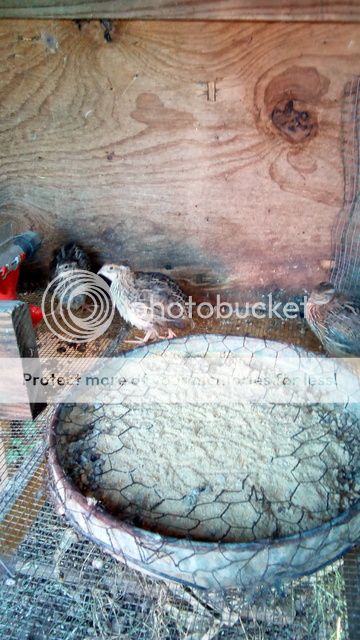
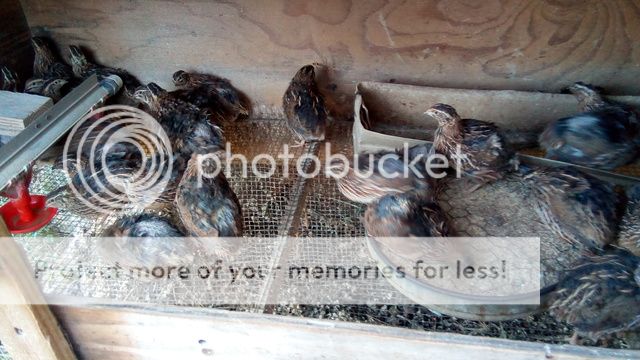
We been having a hard time with our quails after hatching. We successfully hatch a big batch of around 80-90 eggs. Then they would slowly die off in the brooder. We think it's the food. Anyhow, here are a few survivors.


This coop has the more mature quails. We get about 20-30 eggs a day from this coop.


Here is a pic of the water bucket supplying water to those drinking nipples.


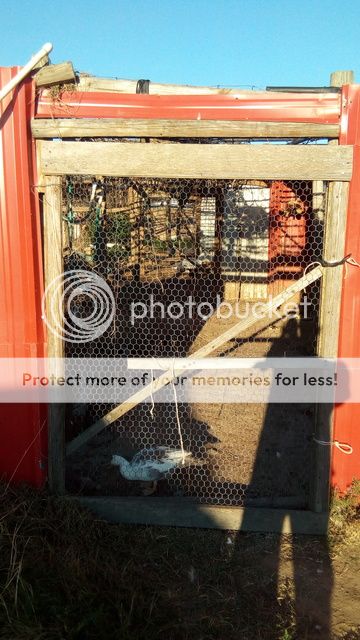
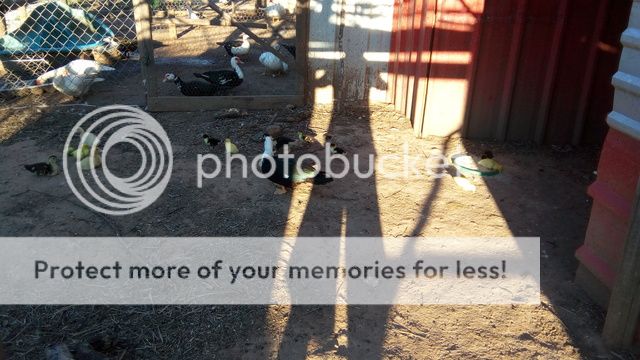
Here is the front entrance of the long duck coop. It's separated into 3 sections. Each section has a nice size house/pen area where they can run and get out of the weather. The roof of the coop is a lattice of wire fencing and stuff. The Gourd vines grow and cover the whole coop. It keeps the birds cool and makes it easy to harvest the gourds as they hang down. The birds like to eat them too.


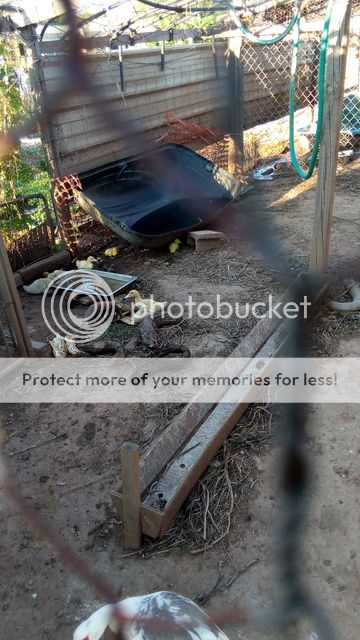
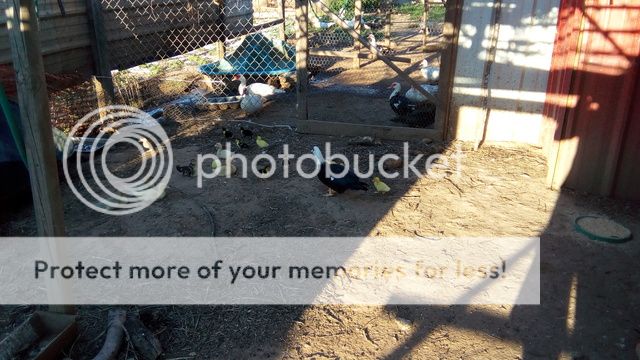
Some little ducklings


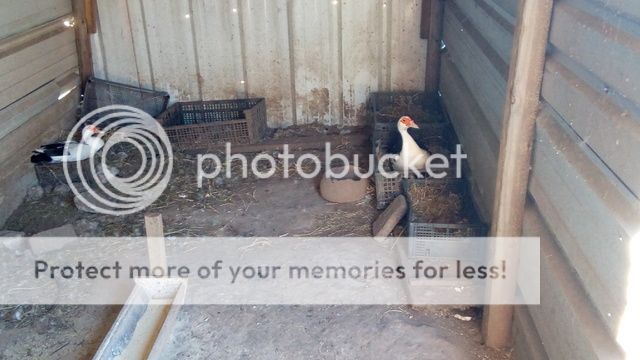
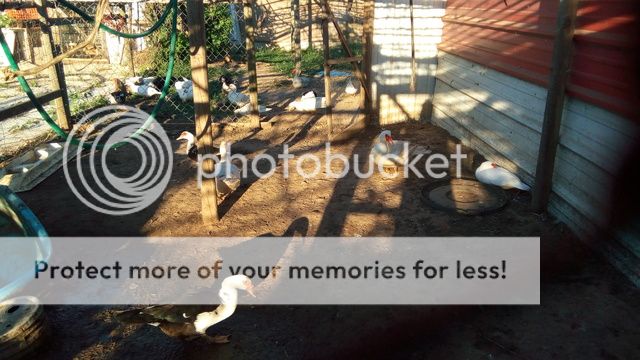
This is pen area where the birds can hide or sit in there nest.


Some ducks sitting on eggs


more ducks


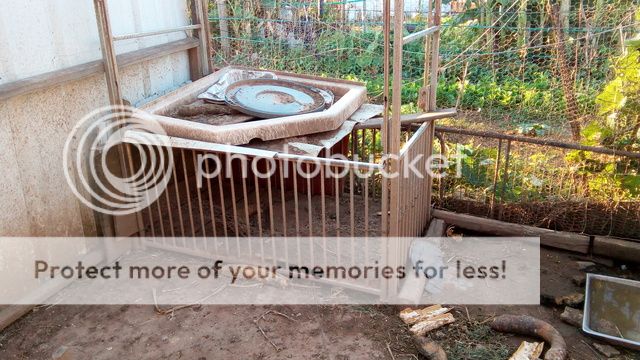
This is a heavy duty baby crib that we us to house and protect younger duckling form older bigger ducks. Sometimes the old guys beat up on the duckling so we raise then in there and let them out once they get big enough.
 
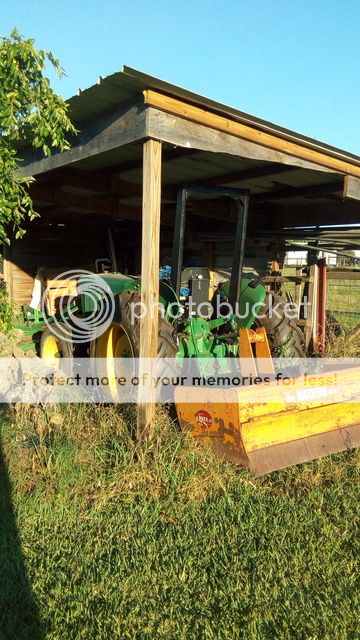
And of course the OLD trusty tractor!


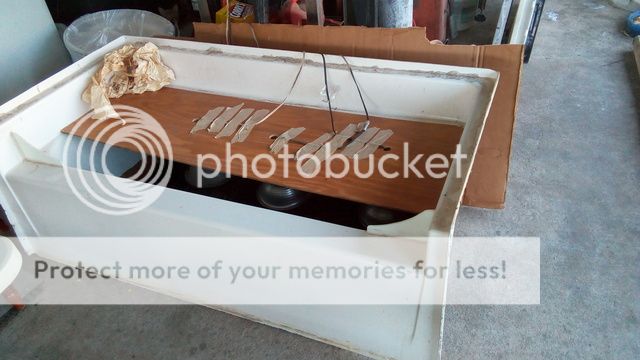
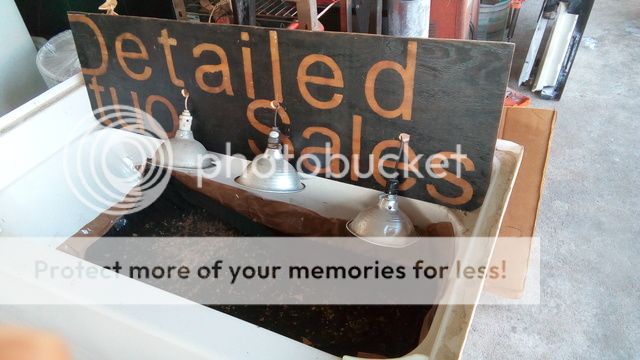
Here is our brooder. Its an old tub from our bathroom remodel. We had totally broke down the bathroom and make it handicap accessible for my mom. Now she has a giant 4' deep by 7' wide shower with grab rails all around the shower, bathroom walls and toilet.


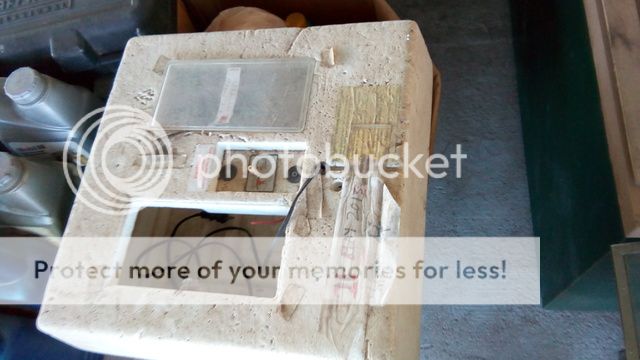
It all started with this incubator that was given to us.


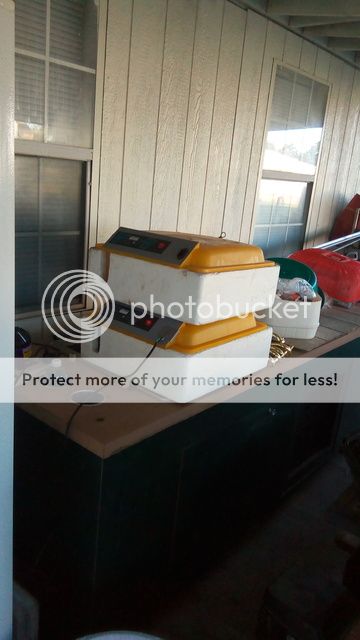
The original one broke so we got 2 Chinese ones. They seem to work fine for us.


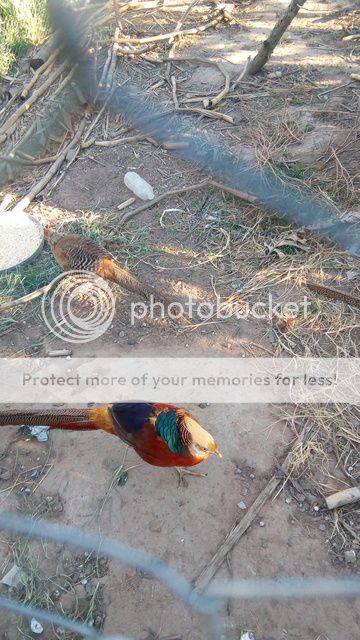
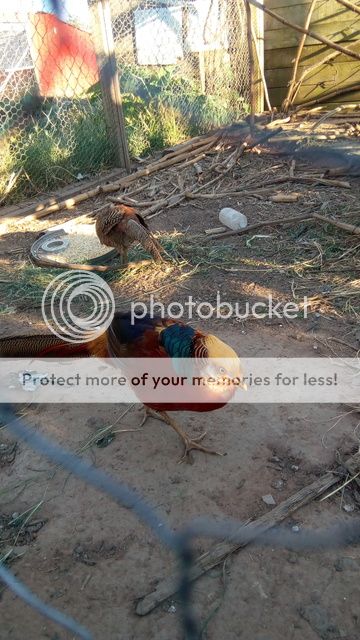
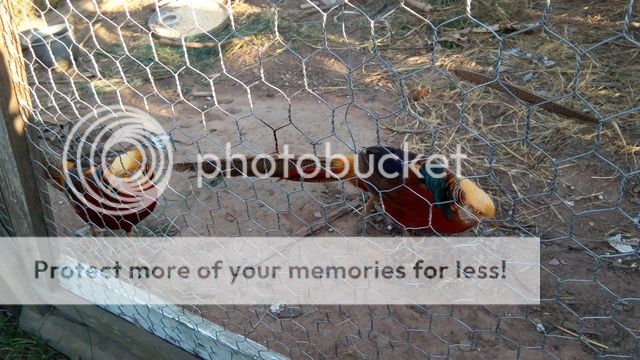
My dad and brother built this giant bird cage. Did I mention my parents like to go overboard?


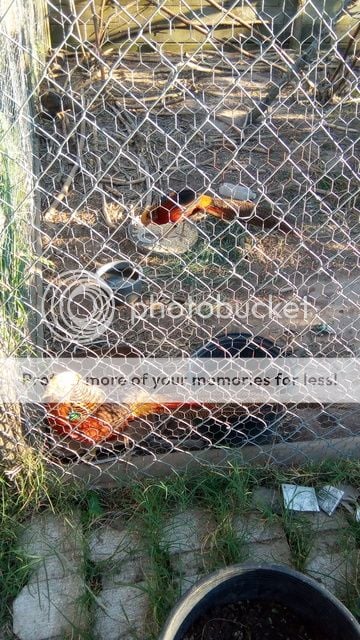
We have 2 pairs of those Goldy Pheasants.

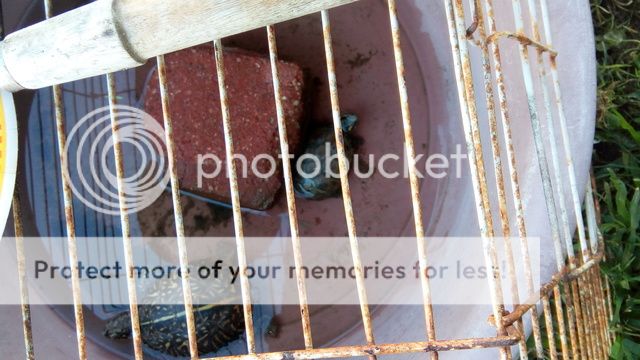
And the turtles.
 
And so with not being able to post or do much during the conversion, I decided to build a cabinet incubator for my dad. The old foam ones work ok but I wanted to build something better.

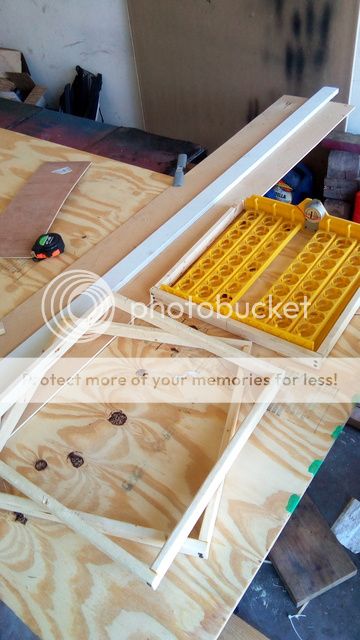
I built the rack to fit the auto turner from the foam incubators. The racks turned out to be something like 18''x18''

I didn't take and pic of me building that as they are self explanatory.
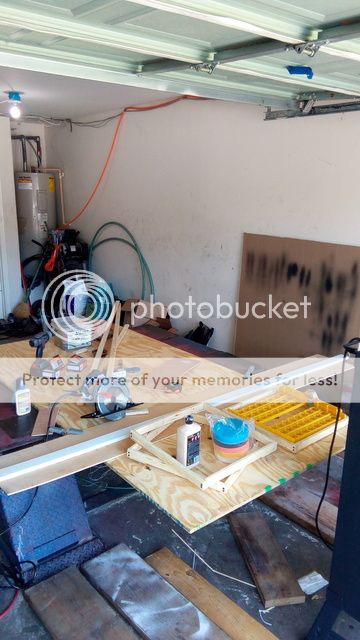
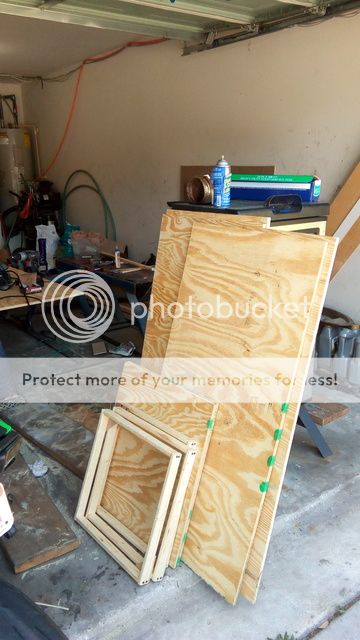
Now I gathered the rest of the things, 3/4'' plywood, saw, wood glue, screws, 1''x2'', 2''x2'' ect. I conveniently have a low rise car lift so I put it to the highest setting and instantly had 2 work tables.


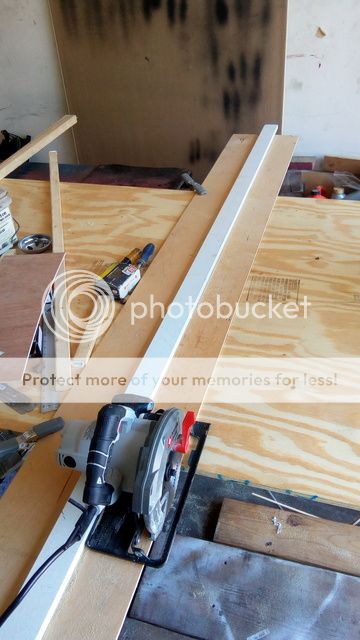
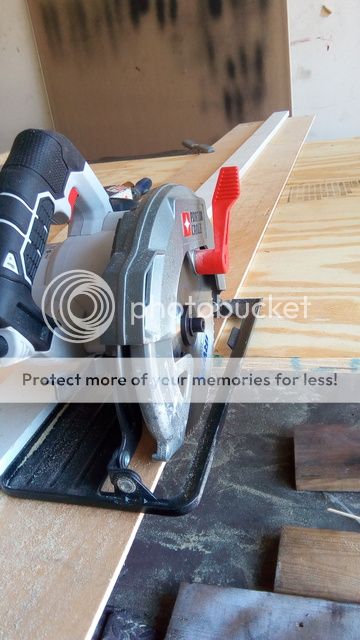
This is the saw fence I made a while back to rip wood. It's a piece of 1/4'' wood with a 1/2'' x 3'' piece of wood attached. Once it is attached, you simply run the circular saw down the length while butting the edge of the metal plate to the white wood. This will cut the 1/4'' wood so that it is just shy of the saw blade. Now every time I need to rip something. I simply put the right edge of the fence to my marks and clamp the fence down. I just have to pull back the blade guard and lay the saw on so the left edge of the plate rides the white wood and I cut. It's a strait cut every time!


This picture help show what I mean by setting the saw on the fence and pulling the blade cover back.


Some of the wood cut up ready to go.


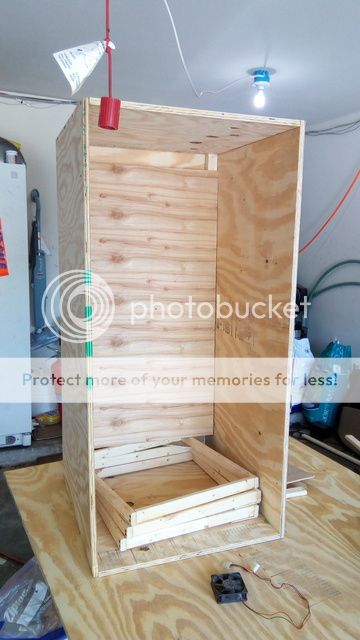
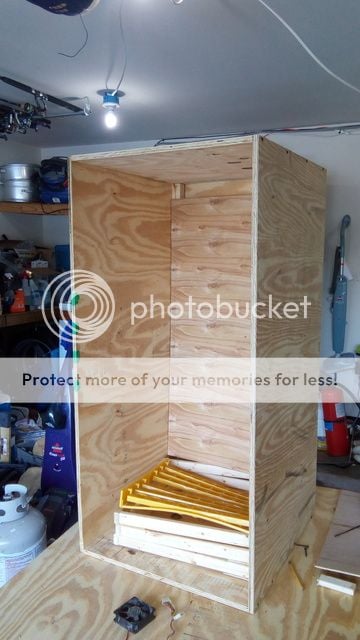
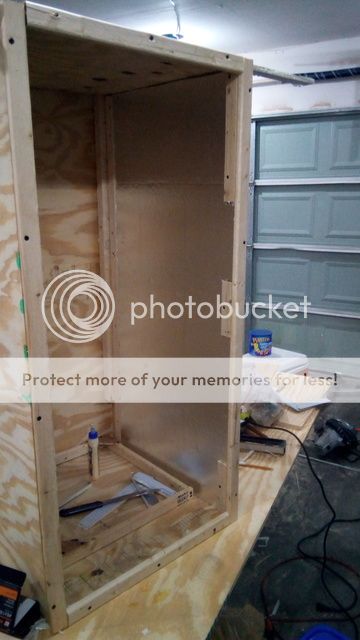
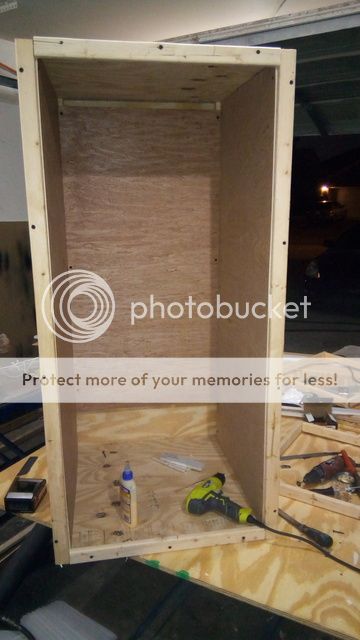
Those pieces put together. This picture shows the 2''x2'' backing where the recirculating suction intake will be.


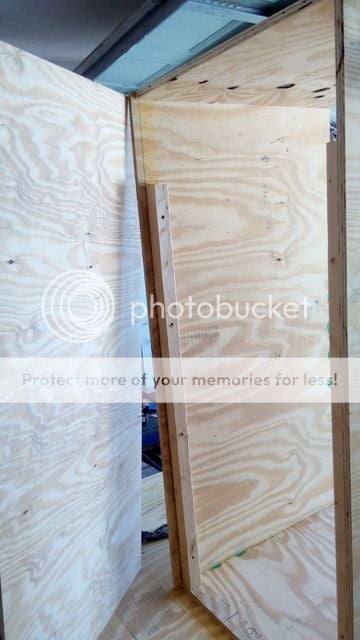
This is a mock up of the false wall.


And that's it for now until more parts come in the mail.

come back and visit again.
 
I just hit a snag. I tested out my cheap E by motor and it's probably not strong enough to rock 4 egg racks. What motor are people using? A link would be nice.

Thanks
 
I agree! Welcome to BYC!!! Lovin that Duck Coop!
I can post a few links to things I have saved up on motors! I wont sort through it as you may like seeing some of the misc stuff too! this is the link I grabbed the info from CLICK HERE (much more info there too)

DIY Turners & Egg Trays & Hatching Baskets Mics
Awesome Turner IDEA PLEXI GLASS!! post #80006
How to put a turner back together post #63577
Benny's Awesome MANUAL horizontal EGG TURNER post #64262
DIY turner upright cooler
post #13722
Easy manual egg carton pvs turners click HERE and another in HERE
https://www.backyardchickens.com/t/9302/semi-automatic-egg-turner
https://www.backyardchickens.com/a/bens-hens-diy-incubator
https://www.backyardchickens.com/t/9302/semi-automatic-egg-turner/10#post_67770
https://www.backyardchickens.com/t/968827/my-diy-automatic-egg-turner
Homemade automatic or manual HORIZONTAL egg turner CLICK HERE
Horizontal DIY Turner post #64675
DIY Quail Turner post #64682
Sally's manual cabinet turner with trays post #32186
Manual PVC turner for incubator HERE
Hatching baskets Egg Trays and sizes/depths post #64634
DIY Egg Tray Hatching Baskets out of Hardware Cloth post #64620
CHEAP EGG TRAYS click here and HERE
Egg trays, also look at Cutler Supply and Hawkhead Hatchery Equipment
GFQ Turner Supplemental Maintenance Manual with detailed images PDF CLICK HERE
Rotisserie motor considered using with a timer chkncanoe CLICK HERE
Rotisserie Motor - NEW MODEL 6RPM Click HERE
Replacement Egg Turner Motor for Little Giant, HovaBator, and Farm Innovators Click HERE
 
I have only worked on the cabinet a little since last week. I had to do another HD trip for more supplies. I'm still waiting for a few components to show up at the door. The little motor I originally bought was strong but I don't think it will be strong enough to rock 3 big trays. I went and bought a car window motor and will try and modify it to work. Those things are strong so I think it will work out right.

I added 1/2'' foam to the walls and insulated the cabinet. A few scrap pieces of 1'x2' was strategically placed to allow me to screw the inner skin onto the cabinet.


I skinned the inside to cover the foam. It looks nice in there! I also attached some wood to the front face of the 3/4'' plywood to clean up the face while also adding structural strength. I'm hoping that it will prevent the sides from bowing out.


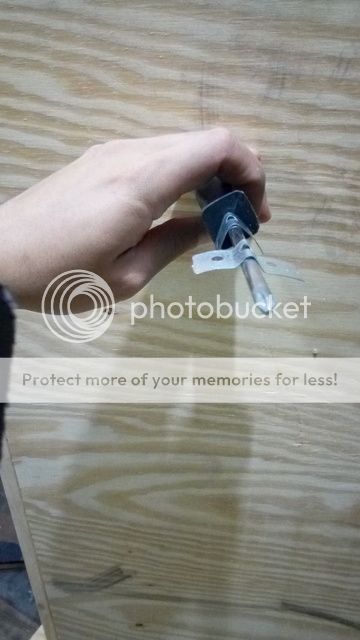
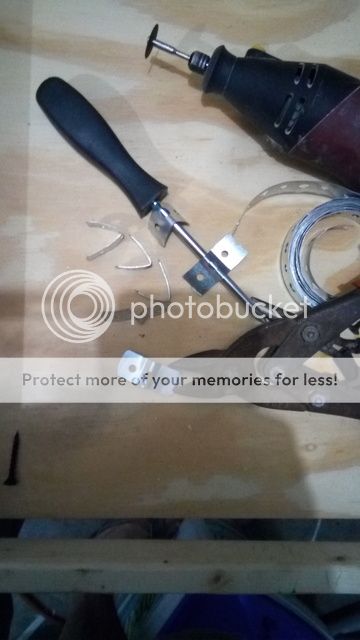
With the cabinet almost complete, I started on some simple hangers for the egg trays. I bought a small roll of steel pipe hanger, cut, grounded the edges down so they are not sharp, and formed them. I don't want to cut up my hands or my parent's hands while reaching inside to load the egg trays.


This was my trial one before I grounded the sharp edges down.


That's it for now. I'm heading back into the garage in a bit and try to configure out the eggs trays.

Thangbom
 
Like usual My siblings and I went to my parents. Look what we found when we got there.


107 Cortunix quails hatched 2 nights ago. My mom said it was like popcorn! The first one broke its shell and everything cascaded! I think they had 140 or 150 eggs total. All hatched in the cheapo Chinese incubator showed above.

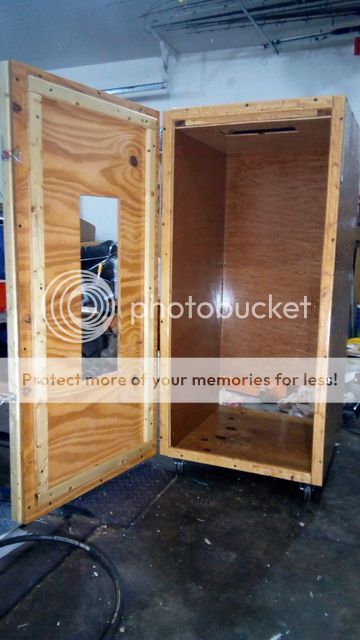
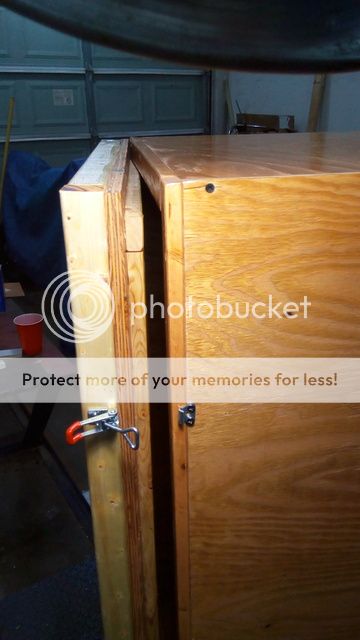
Anyhow, on with my build. I went ahead a added some trim on the inside and outside of the front door. The inside trim idea is a attempt to help seal the door better. It worked out great. I think it will do nicely without a gasket or anything. You can see it on the pictures below.

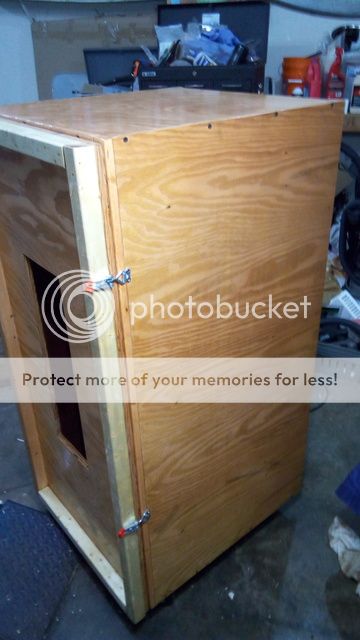
I got lazy and planned to simply polyurethane the whole thing and call it a day. My brother said no man. The thing looks sweet! He said he would stain it for me, so he did. He sprayed a few coats with the HPLV gun. I have to say it the contrast of the grains in the wood looks darn good. Glad he did it. I went ahead a sprayed 2 coats of poly on the cabinet then cut out some foam to wedge in the re-circulation duct area to help keep the cabinet temp stable.

I left that middle part bare because I didn't want the PC fans touching the foam.

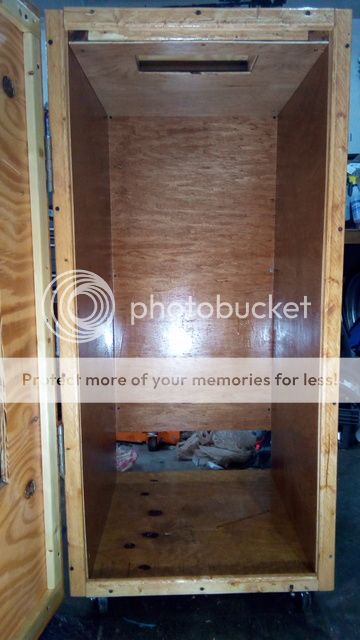
This is the cabinet with another 2 coats of poly. It looks darn good. I went heavy on the inside of the cabinet. I want to make sanitizing as easy as possible. I plan to simply fill a spray bottle with bleach and water and spray everywhere, then mop up the crud out in the bottom and let dry.


Here is a good picture of the inner lip. You can see how effective it will be in sealing the door.


And the latches are on.


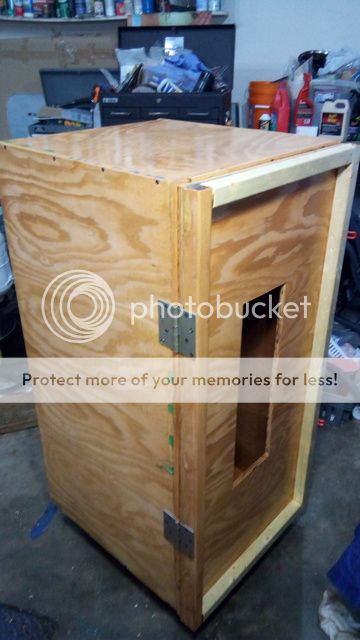
Here is a view of the heavy duty big hinges. I don't want the door sagging down the road due to the humidity and the weight of the door itself.


ThangBom
 
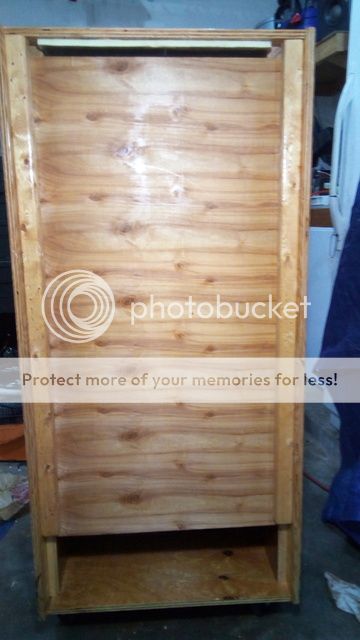
This is the back side of the cabinet again. I made it so that the back panel can be removed if needed. Much like the side and top of the cabinet, I will attached a foam board to the back panel to help insulate the cabinet.


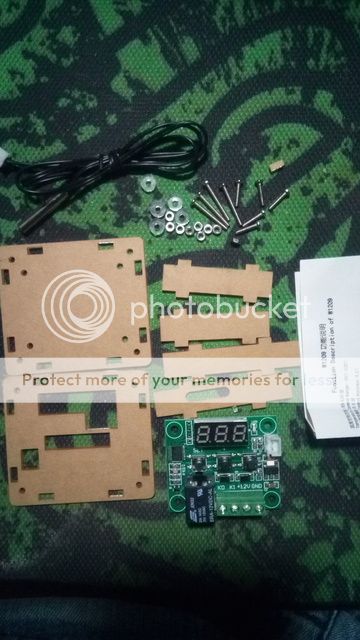
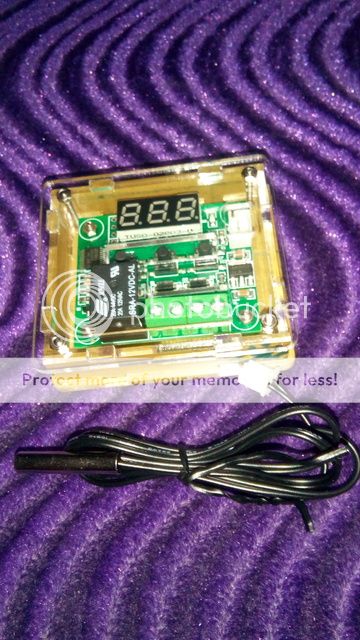
My Chinese temp switch came in. It looks better than I though. I thought I was only getting the board itself not a complete box, NICE! It's a W1209 temp controller.


Here it all all put together. Looks nice. The temp probe is only 18'' long or so.


Ill probably velcro the thing onto the side of the cabinet. That way, it's removable and I have some fiddle room with the short temp probe.

The only part I'm missing is the PTC heater. when that gets here, I'll be able to wire her up, attach the back panel, put on the two plexiglass pieces (one ont he inside of the door one on the outside of the door) and fire it up.

ThangB0m
 

New posts New threads Active threads

Back
Top Bottom