Update on My homemade cooler-bator. **PICTURES**

quintinp

Songster
9 Years
Oct 22, 2010
2,067
36
171
Southern Oklahoma
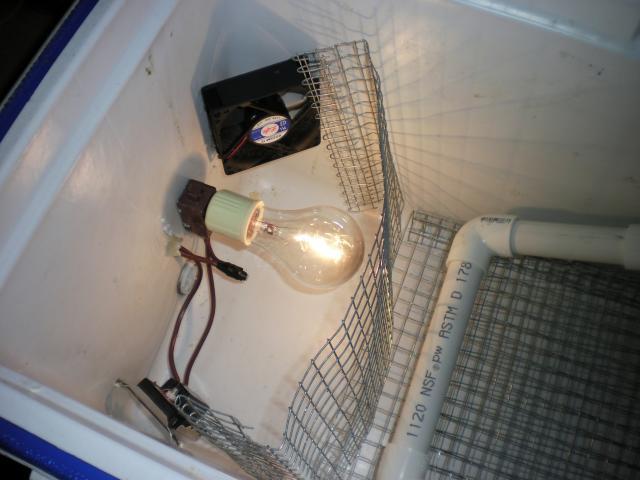
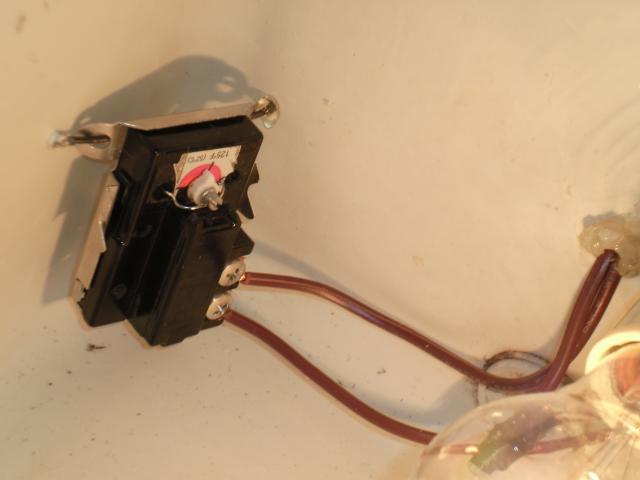
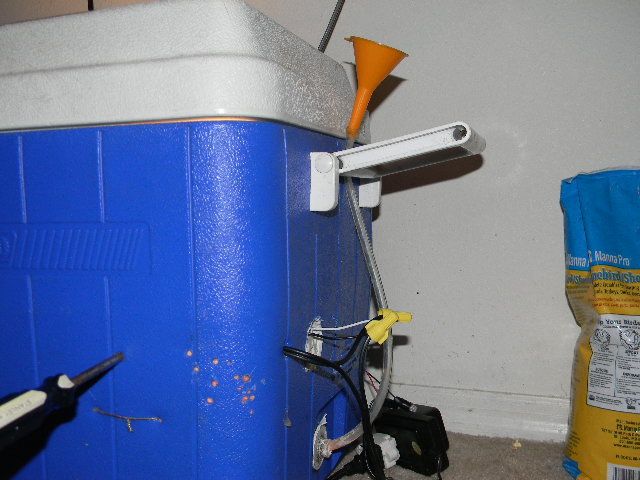
Well this is what my incubator started out looking like.
70328_humidity_pics_002.jpg
70328_newchickeneggs_003.jpg
70328_030.jpg
70328_031.jpg
70328_017.jpg


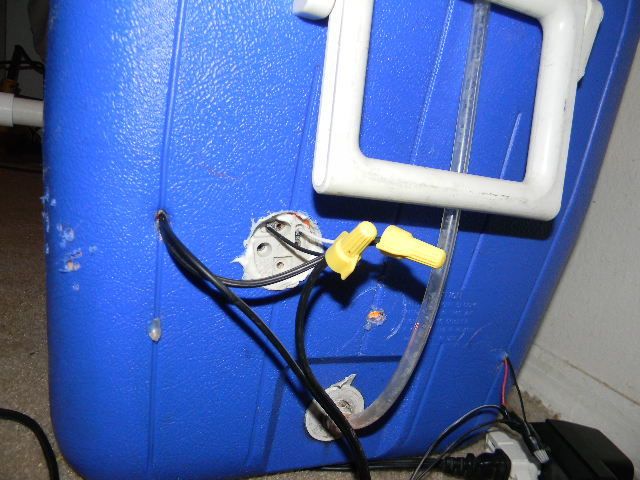
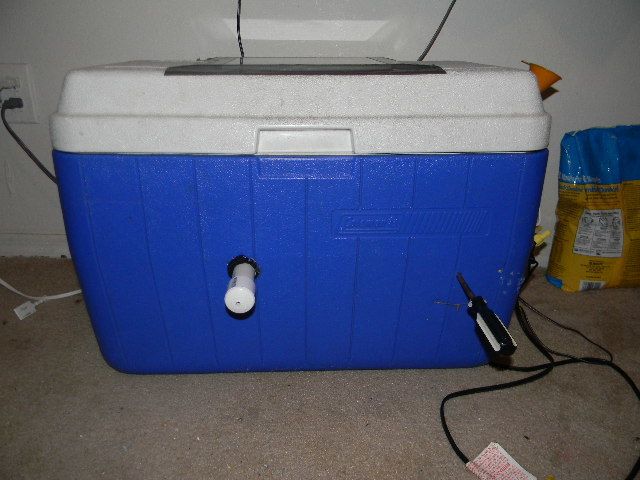
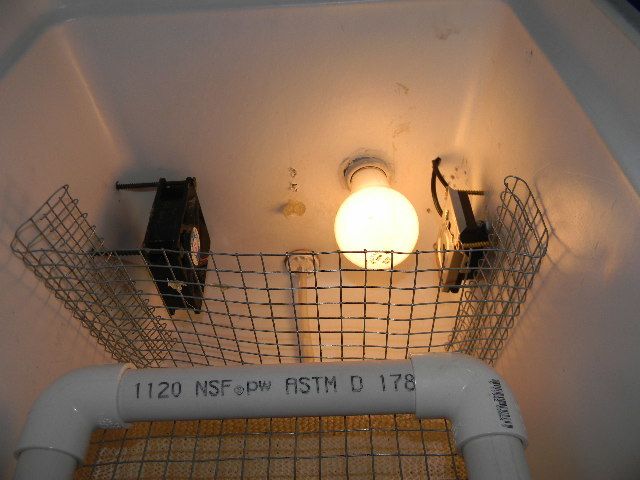
Here is the new and improved incubator. I hope it works better too. I just turned it on, and am waiting for it to stabilize.

70328_updatedcoolerbator_001.jpg
70328_updatedcoolerbator_002.jpg
70328_updatedcoolerbator_004.jpg
70328_updatedcoolerbator_005.jpg
70328_updatedcoolerbator_006.jpg

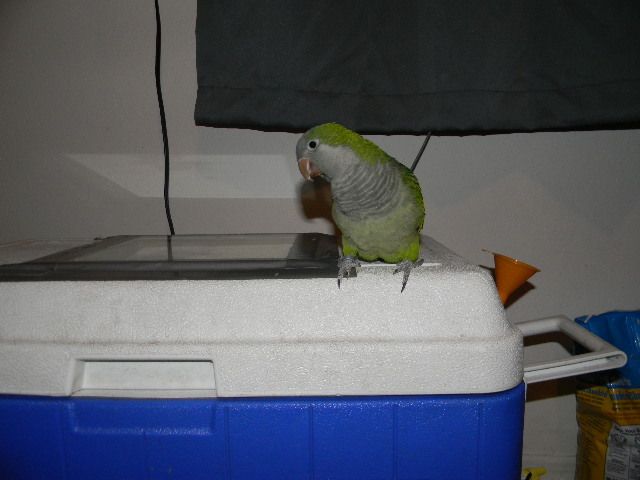
And I couldn't do this without my little man coming over to check it out and make sure I did it right.
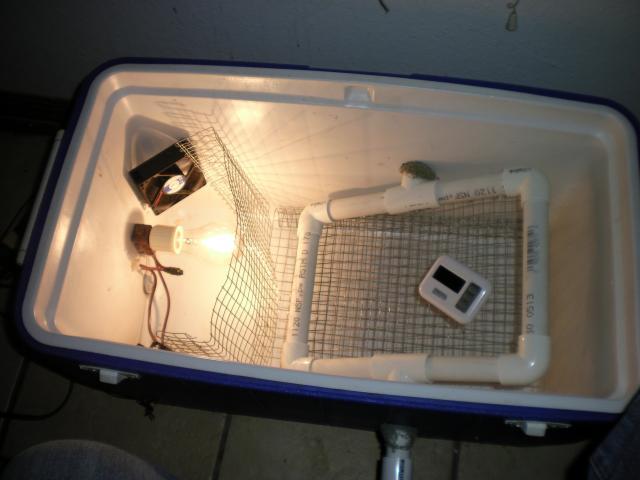
70328_updatedcoolerbator_007.jpg
 
Quote:
i'd be interested in knowing that myself and also how you wired it all up...would you have a wiring dia. looks really nice
 
Last edited:
It was very simple to wire. The new placement of the thermostat is really good too. I turned it on last night and got no fluctuation. It has stayed at 99.7 degrees. I had to calibrate my thermometer. It would say 100.4 when it was actually at 102 but I have the thermometer at 97 now. I am even happier. Here is the diagram.
70328_wiringdiagram_001.jpg
 
Quote:
Yeah. I made a hole in the side of the incubator and use the flat head screw driver to adjust. I don't keep the screw driver in at all times, I just did for the pictures.
 

New posts New threads Active threads

Back
Top Bottom